If you have recently upgraded to Windows 11 or 10, you may have experienced compatibility issues with some of your older desktop applications. While most software created for Windows 7 and Windows 8 works well on the newer operating systems, some older apps may not function properly or at all. However, there are ways to fix these issues.
Fortunately, Windows 11 and 10 have a built-in tool called Program Compatibility Troubleshooter, which can automatically fix compatibility issues. The tool uses settings from an earlier version of Windows to run the app. It scans the system for apps that might have issues and automatically searches for a solution to fix them.
If the troubleshooter can’t solve the issue, you can try manually running the app in compatibility mode. This will allow you to use settings from an earlier version of Windows to run the app. To do this, right-click on the application’s executable file, select “Properties,” and click on the “Compatibility” tab. From there, you can choose which version of Windows you want the app to run in compatibility mode.
It’s worth noting that compatibility mode is not a guaranteed fix for all compatibility issues. Some applications may still not work correctly, even when running in compatibility mode. In these cases, you may need to seek alternative solutions or consider upgrading to a newer version of the application that is compatible with your operating system.
In summary, Windows 11 and 10 offer built-in tools to help with compatibility issues for older desktop applications. The Program Compatibility Troubleshooter can automatically scan and fix issues, while compatibility mode allows you to configure settings manually to run an app as if it were running on an earlier version of Windows. While these tools can be helpful, they may not work for all applications, so it’s essential to explore other options if compatibility issues persist.
How to Use Troubleshooter for Windows Program Compatibility?
Follow these steps to Use Troubleshooter for Windows Program Compatibility:-
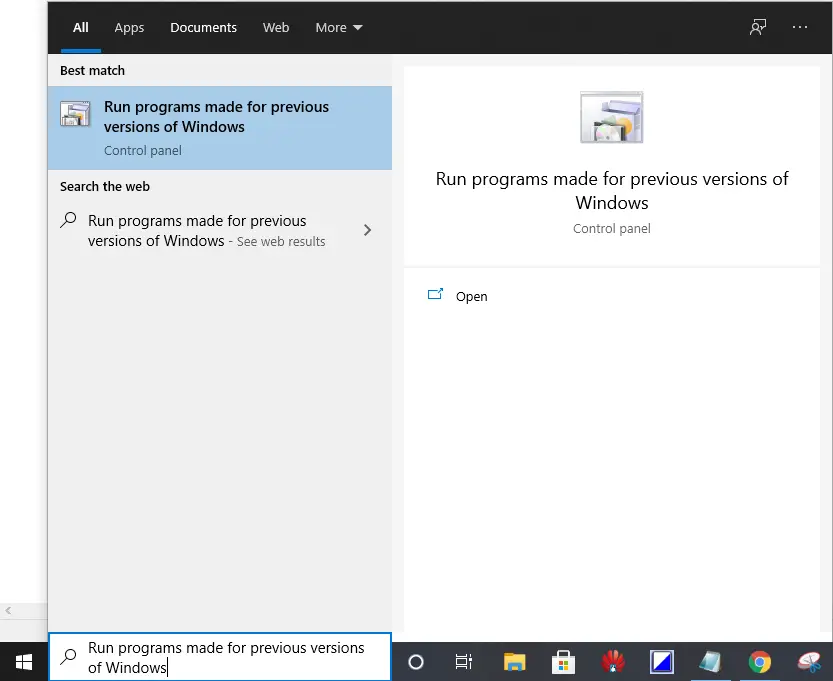
Step 1. Click on the Start button and type “Run programs made for previous versions of Windows.”
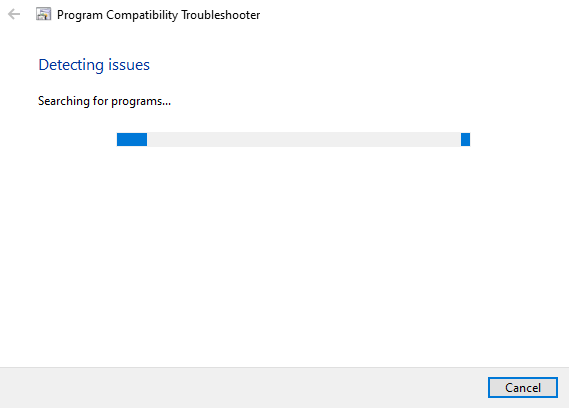
Step 3. Click on the Next button, and the troubleshooter will try to detect potential issues with your apps.
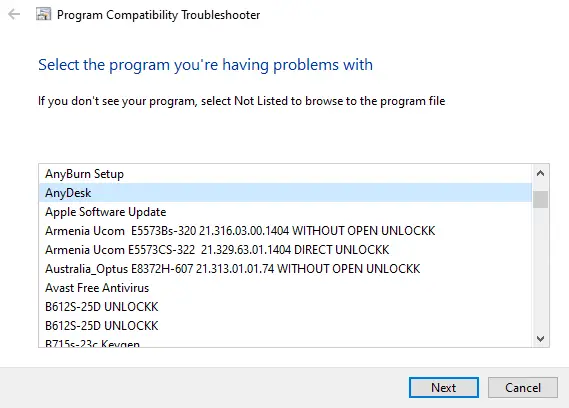
Step 4. Choose an app with problems in the next window, and then press the Next button.
Step 5. Select from the troubleshooting options: Try recommended setting or the Troubleshooting program.
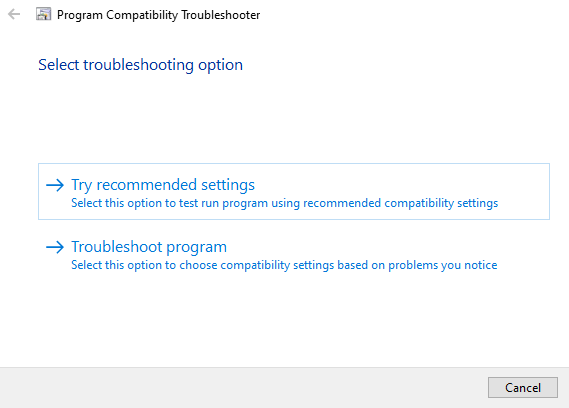
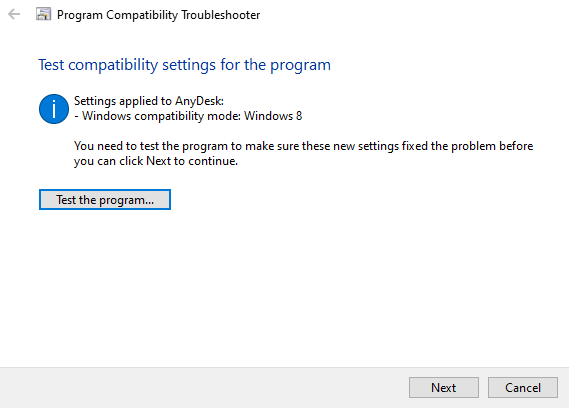
If you want to use the recommended settings, the troubleshooter will use a previous version of Windows to test the software so that you can see if the problem is solved.
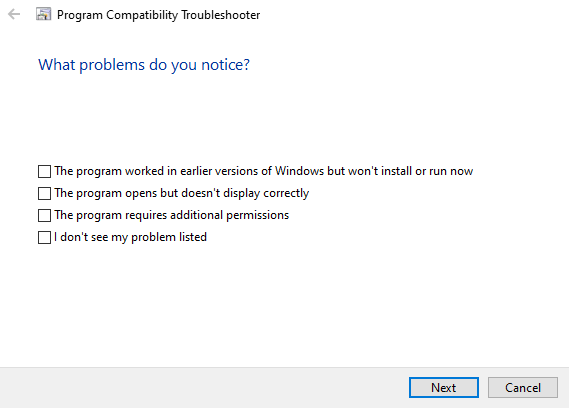
If you want to troubleshoot the app, the troubleshooter will ask you which issues you face. The troubleshooter will give tests and suggestions to fix the problem, such as checking the app’s display settings, depending on your selection.
For each app you have compatibility issues with, you’ll have to run the troubleshooter.
How to Run an App in Compatibility Mode?
Another way to address compatibility issues with older apps on Windows 11/10 is by accessing the app’s properties and adjusting its compatibility mode settings. This feature allows you to force an app to use settings from an earlier version of Windows, which is particularly useful if you know the app worked well on a previous version like Windows 7 or XP.
Aside from resolving compatibility issues, compatibility mode also lets you adjust the monitor and color settings for the app. With this feature, you can tweak these settings to ensure the app displays properly on your screen. Overall, compatibility mode is a useful tool for making sure that legacy desktop programs can still be used on modern Windows operating systems.
Step 1. Right-click the app and then choose Properties.
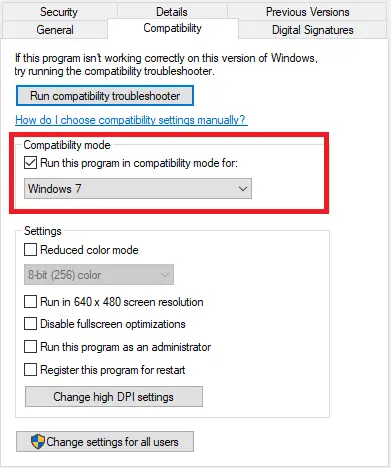
Step 2. Choose the Compatibility tab, then check the box next to “Run this program in compatibility mode for:”
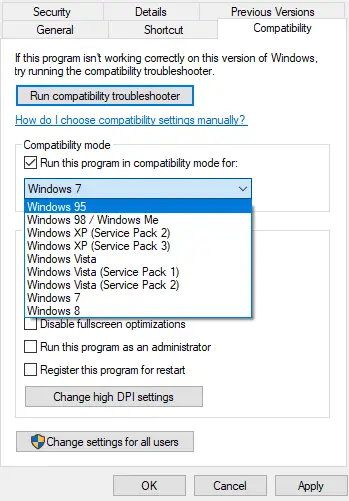
Step 3. Pick the Windows version that you want to use in the drop-down box for your app settings.
Step 4. Click on Apply and then OK.
Now, your unique program should work in compatibility mode.
Conclusion
In conclusion, while upgrading to Windows 11 or 10 may cause compatibility issues with some older desktop applications, there are ways to fix these issues. The built-in Program Compatibility Troubleshooter and compatibility mode can help resolve the compatibility issues. The troubleshooter scans the system for apps that may have issues and automatically searches for a solution to fix them. Compatibility mode allows the user to configure settings manually to run an app as if it were running on an earlier version of Windows. It is important to note that these tools may not work for all applications, and in some cases, seeking alternative solutions or upgrading to a newer version of the application may be necessary. With these tools and options, users can continue to use their legacy applications on modern Windows operating systems.