The Screen saver is still part of Windows 11 and 10, and you can easily customize them if you need it. For example, you can enable or disable the screen saver, change timeout settings, password protect the Screen saver, and so on.
If you want, you can either set a single photo or multiple photos as a screen saver on Windows 11 or 10. When you set numerous photos as a screen saver, the images will display as a slideshow when the screen saver is running on your Windows 11 or 10 PC. This is the built-in feature of Windows, which means you don’t need to use a third-party tool to set photo(s) as a screen saver on your machine.
This gearupwindows article will guide you on setting Photos as a Screen saver in Windows 11/10.
How to Set Photos as a Screensaver in Windows 11?
To set Photos as a screen saver in Windows 11, do the following:-
Step 1. First, press the Windows + I hotkey to open the Settings app.
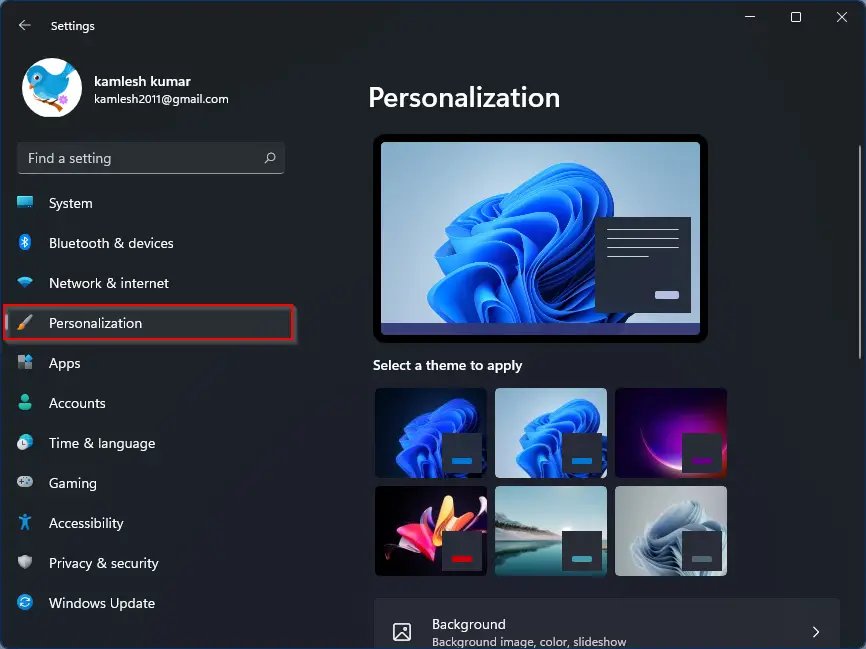
Step 2. Then, select the Personalization option in the left side pane of the Settings window.
Step 3. After that, click on the Lock Screen tile on the right sidebar of Personalization.
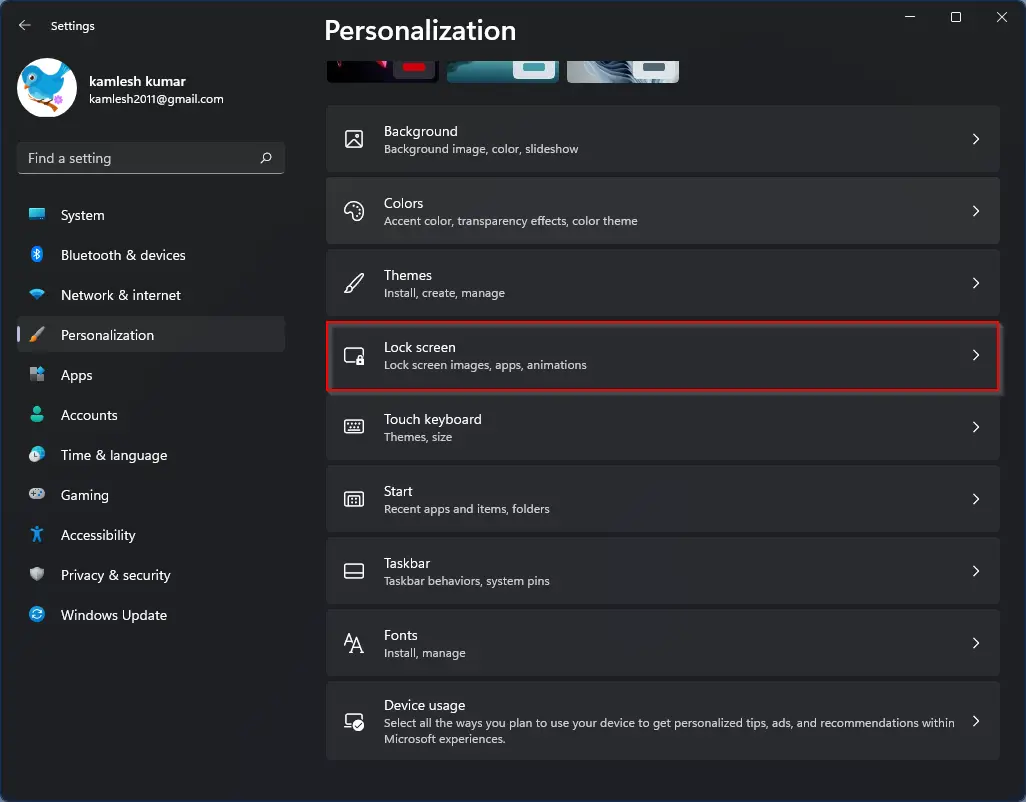
Step 4. Next, click the Screen saver option to open the Screen Saver Settings window.

Step 5. In the Screen Saver Settings window, select Photos in the “Screen saver” drop-down menu.
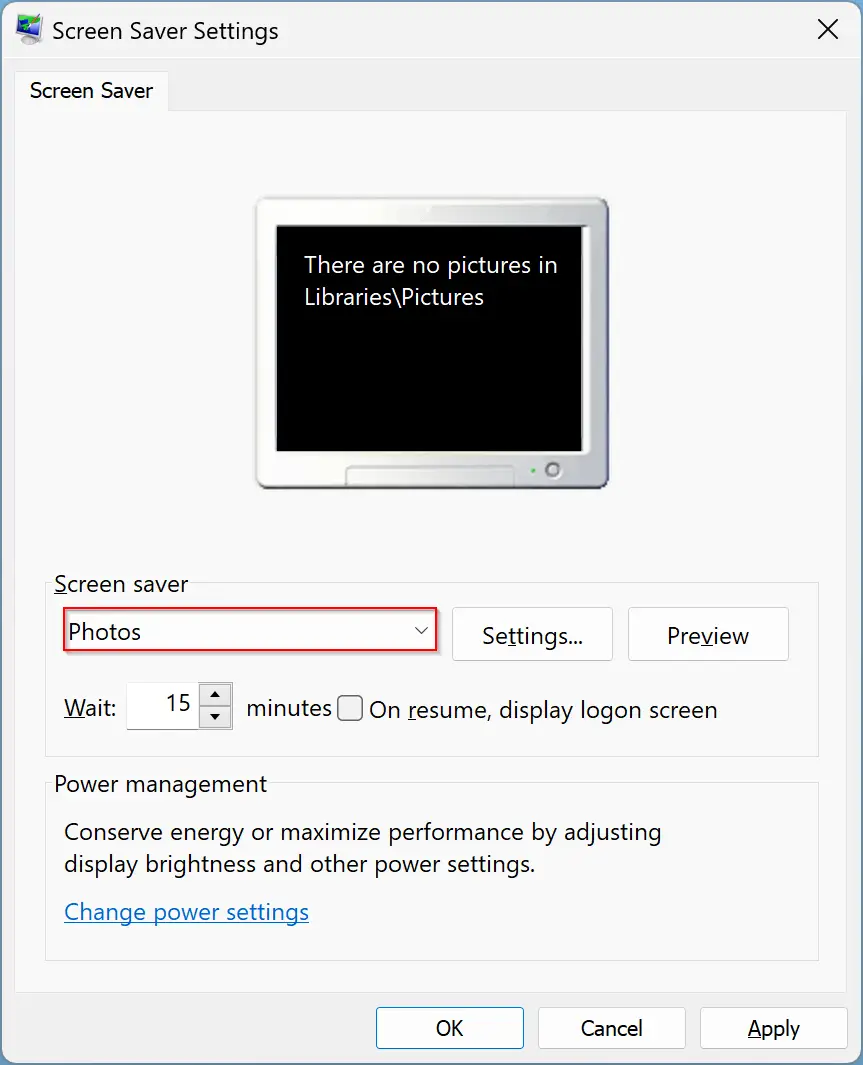
Note: By default, Windows 11 uses photos saved in the Pictures folder in Windows Library for the screen saver. To use the images from the other folder, keep reading the post.
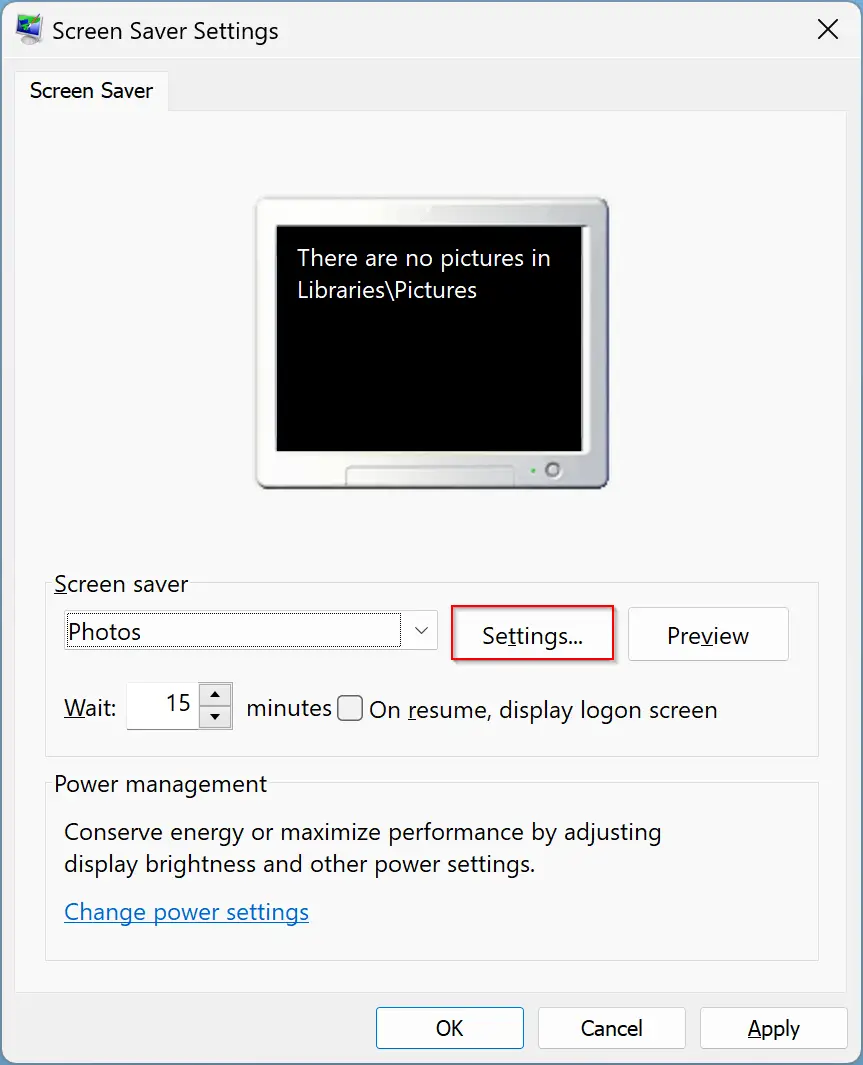
Step 6. Click the Settings button beside the Photos.
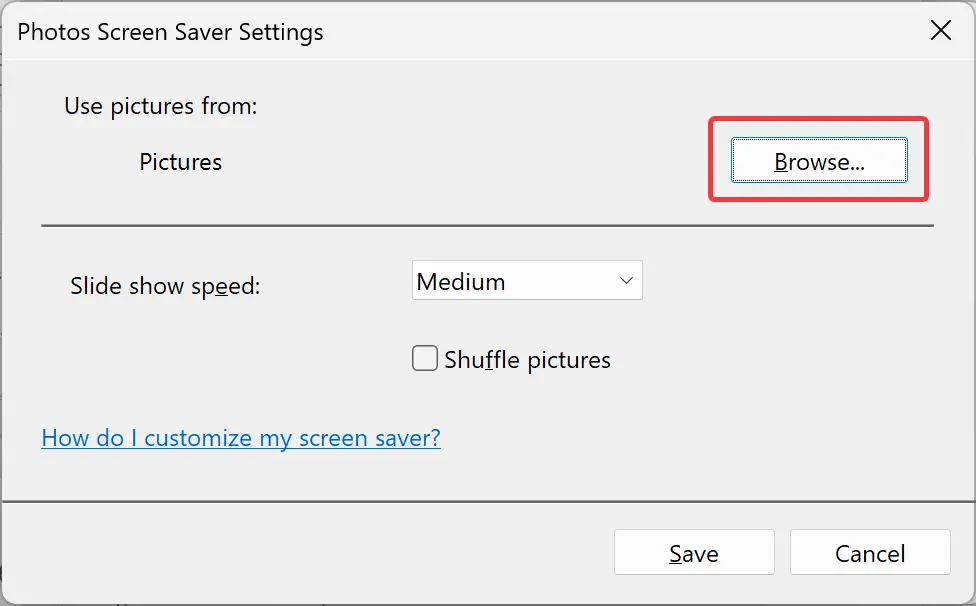
Step 7. Then, click the Browse button beside Photos when the “Photos Screen Saver Settings” window appears on your computer.
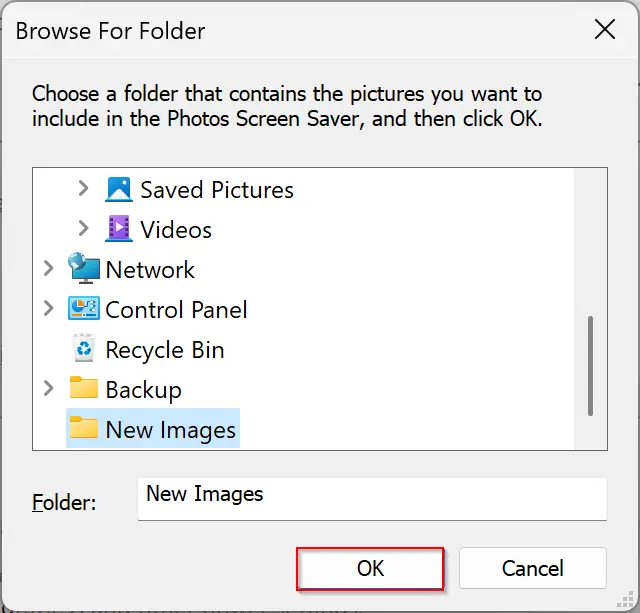
Step 8. Next, select a folder containing images you want to use as a screen saver and click the OK button.
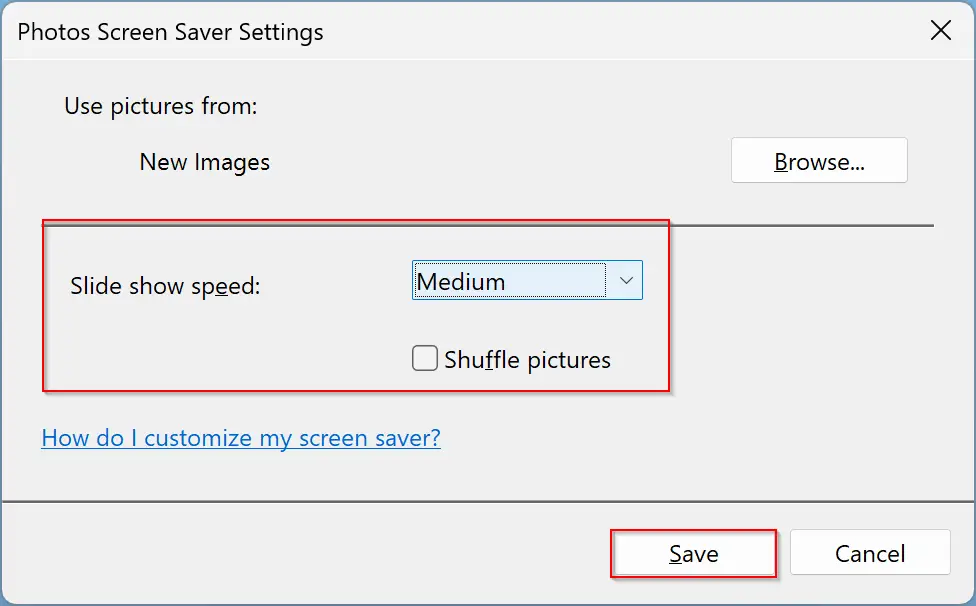
Step 9. Now, if you want, you can change the Slide show speed and enable the Shuffle pictures option. When you’re done, click the Save button.
Step 10. On the “Screen Saver Settings” window, click the Apply button.
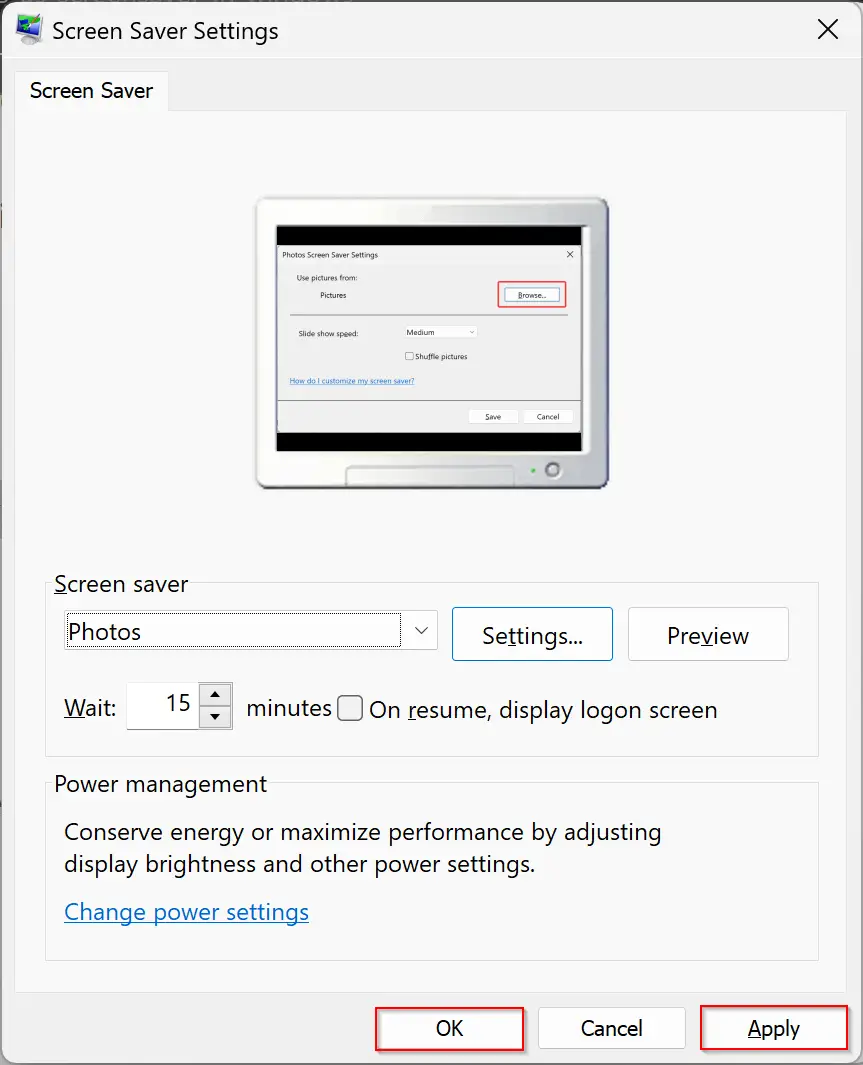
Step 11. Finally, click the OK button.
Note: If there are subfolders under the selected folder, photos in subfolders will also be used for screen savers by Windows.
How to Set Photos as a Screensaver in Windows 10?
To set photos as a screen saver in Windows 10, here are the steps:-
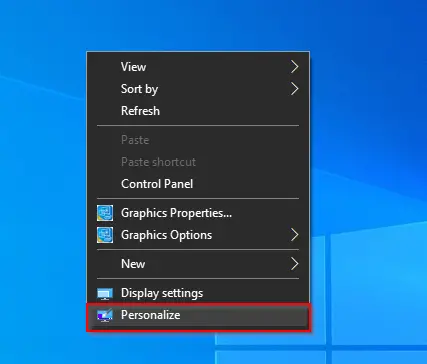
Step 1. At first, right-click on the empty area on the desktop and select the Personalize option.
Step 2. The above option will take you to the Personalization section under the Settings app.
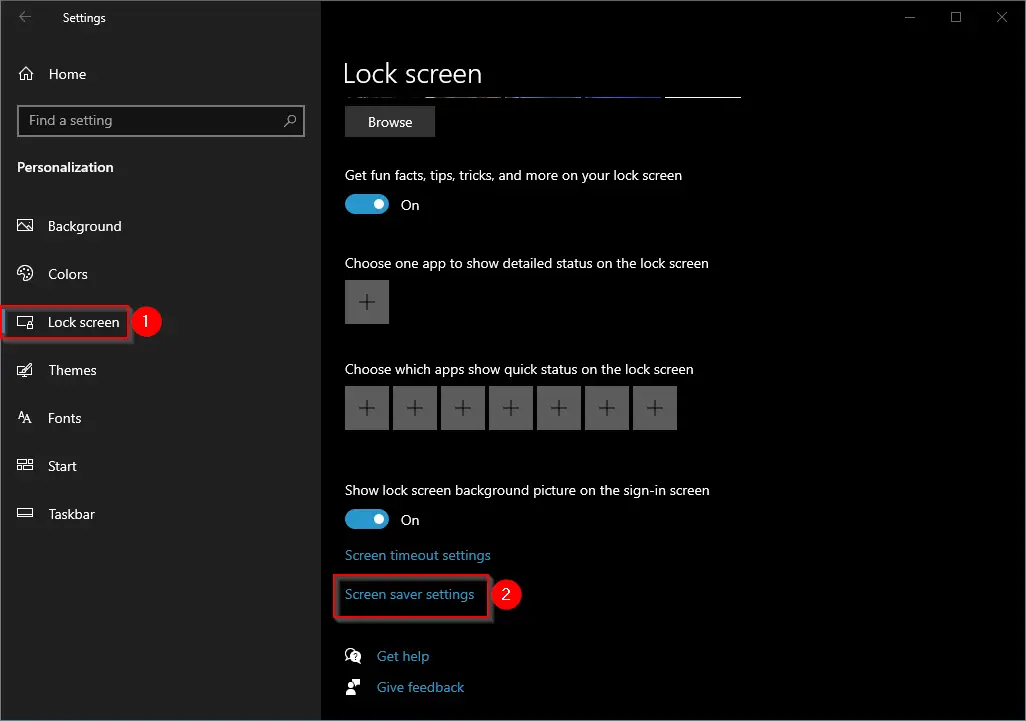
Step 3. On the left side of Settings, select the Lock screen option, and on the right-side pane, click on the Screen saver settings link.
Step 4. When you’re done, the Screen Saver Settings dialog will open on your computer. Select the Photos option from the Screen saver drop-down menu.
Step 5. Now, you will see similar options as you have seen in the above Windows 11 steps. In the Screen Saver Settings window, select Photos in the “Screen saver” drop-down menu.
Note: By default, Windows 10 uses photos saved in the Pictures folder in Windows Library for the screen saver. To use the images from the other folder, keep reading the post.
Step 6. Click the Settings button beside the Photos.
Step 7. Then, click the Browse button beside Photos when the “Photos Screen Saver Settings” window appears on your computer.
Step 8. Next, select a folder containing images you want to use as a screen saver and click the OK button.
Step 9. Now, if you want, you can change the Slide show speed and enable the Shuffle pictures option. When you’re done, click the Save button.
Step 10. On the “Screen Saver Settings” window, click the Apply button.
Step 11. Finally, click the OK button.
That’s it.
Conclusion
In conclusion, screen savers are still a part of Windows 11 and 10, and you can easily customize them to suit your preferences. Setting photos as a screen saver is a built-in feature of both Windows 11 and 10, and you don’t need a third-party tool to accomplish it. By following the steps outlined in this guide, you can set a single photo or a slideshow of multiple photos as your screen saver in Windows 11 or 10. Additionally, you can choose the photos from any folder on your computer and configure other settings, such as slide show speed and shuffle pictures. With these easy steps, you can personalize your screen saver and add a touch of creativity to your desktop.