When it comes to signing into your Windows 10 computer, many options are available. You can use a traditional password or PIN to sign in. Or, you can use the Picture Password option. However, if your machine uses biometrics, you can make the sign-in process even more accessible.
Microsoft’s Windows Hello feature lets you sign in to your computer using biometric methods such as facial or fingerprint recognition. Many laptops come with built-in fingerprint readers. But if you have a computer without a built-in reader, you can always buy and add fingerprint recognition to your PC.
In this gearupwindows article, we will guide you on setting up and using a fingerprint on your Windows 10 PC.
How to Sign in to Your Windows 10 PC with Fingerprint?
To be able to sign in to your Windows 10 machine with your fingerprint, first, you’ll need to set it up. After that, you can sign in to your PC using the same finger.
To sign in to your Windows 10 PC using a finger, use the following steps:-
Step 1. Open Windows 10 Settings.
Step 2. Click on Accounts.

Step 3. Select Sign-in Options under Account.
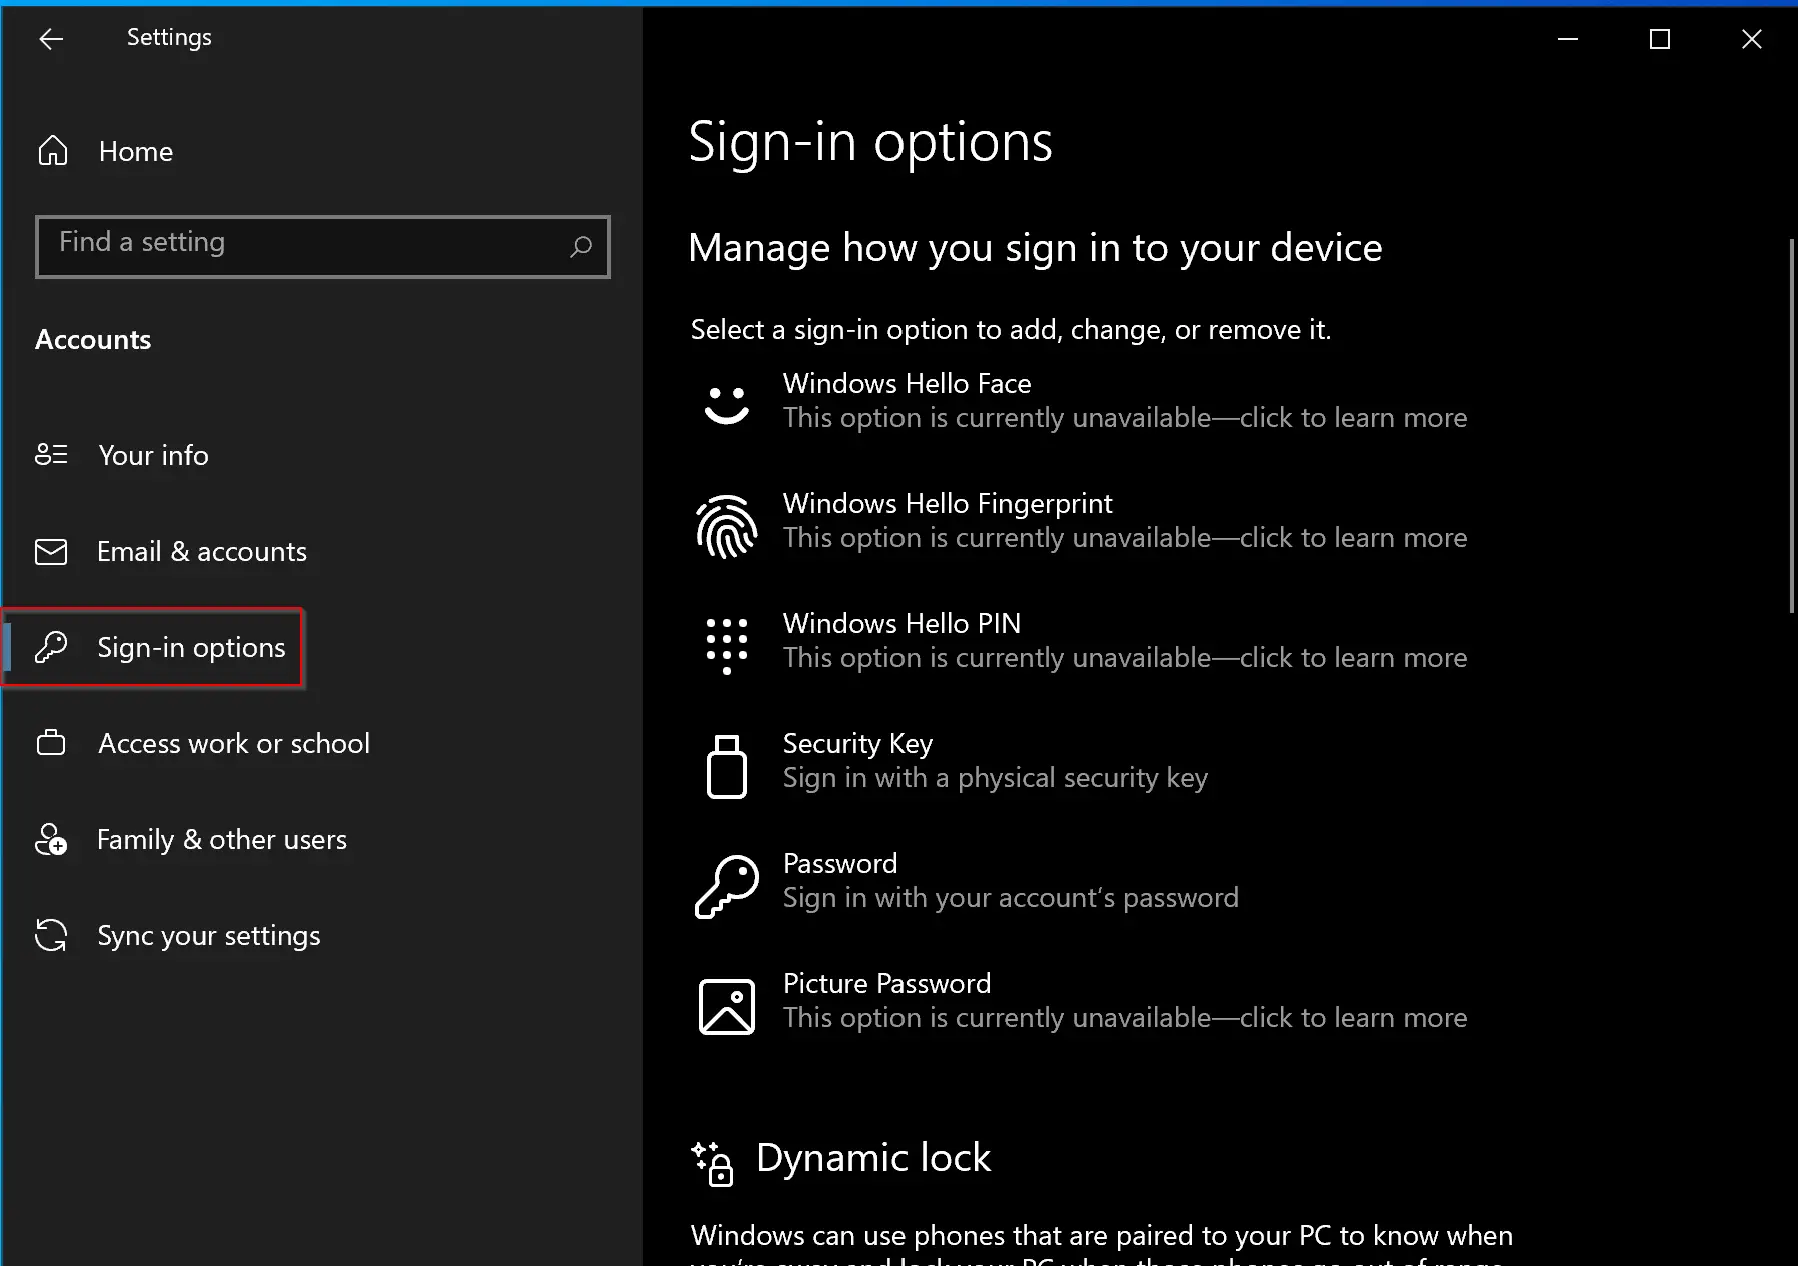
Step 4. On the right side of “Sign-in Options,” click Windows Hello Fingerprint.
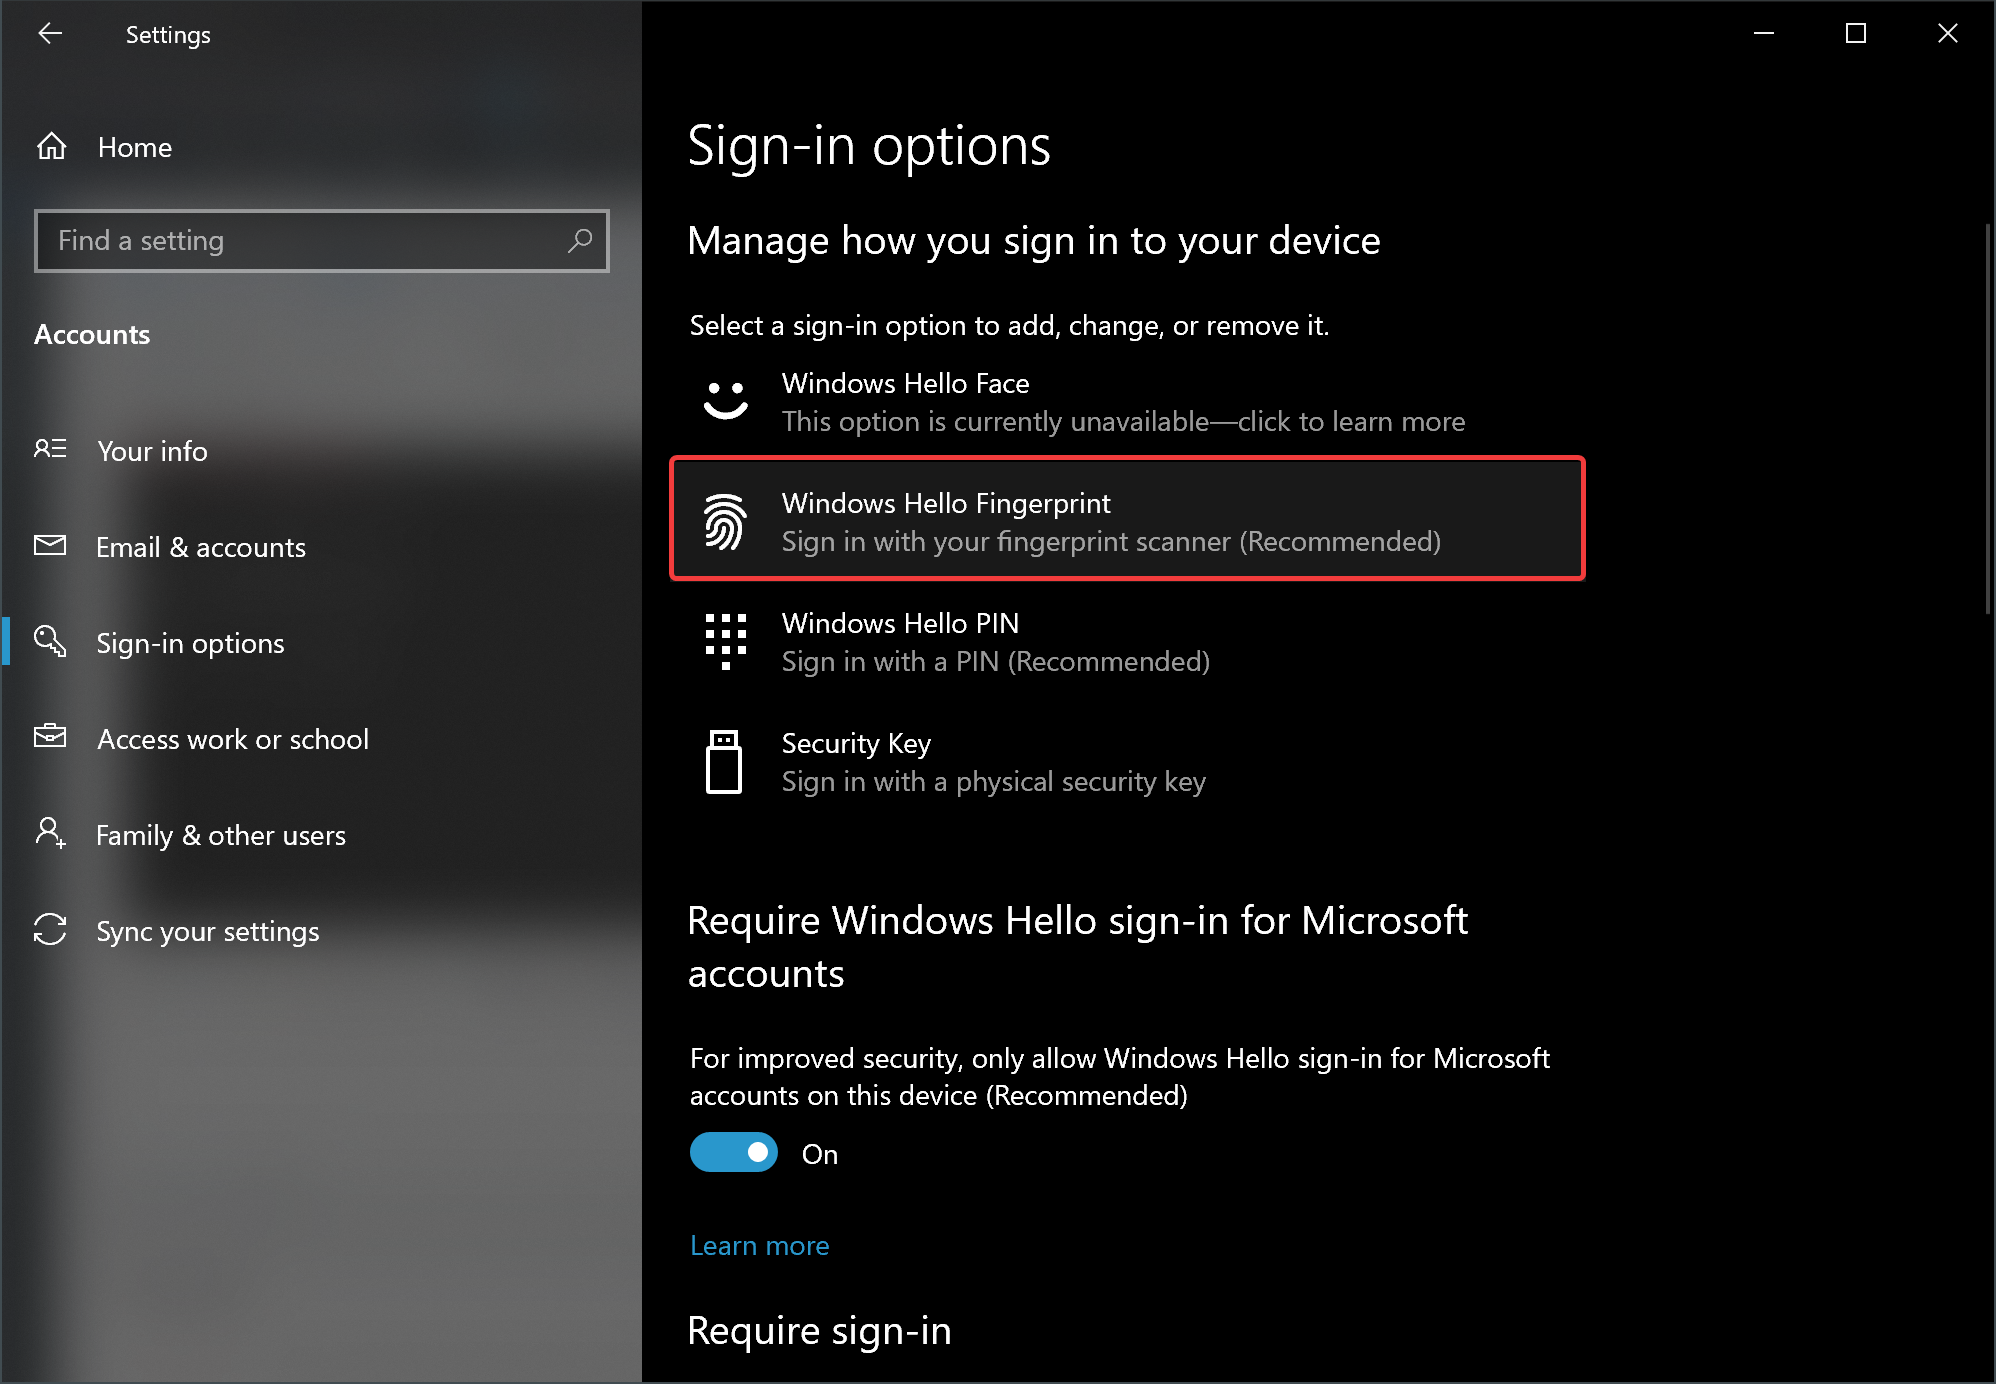
Step 5. Click the Set up button under “Windows Hello Fingerprint.”

Step 6. Hit the Get started button on the “Windows Hello setup” window.

Step 7. Next, key in your account PIN in the provided box.

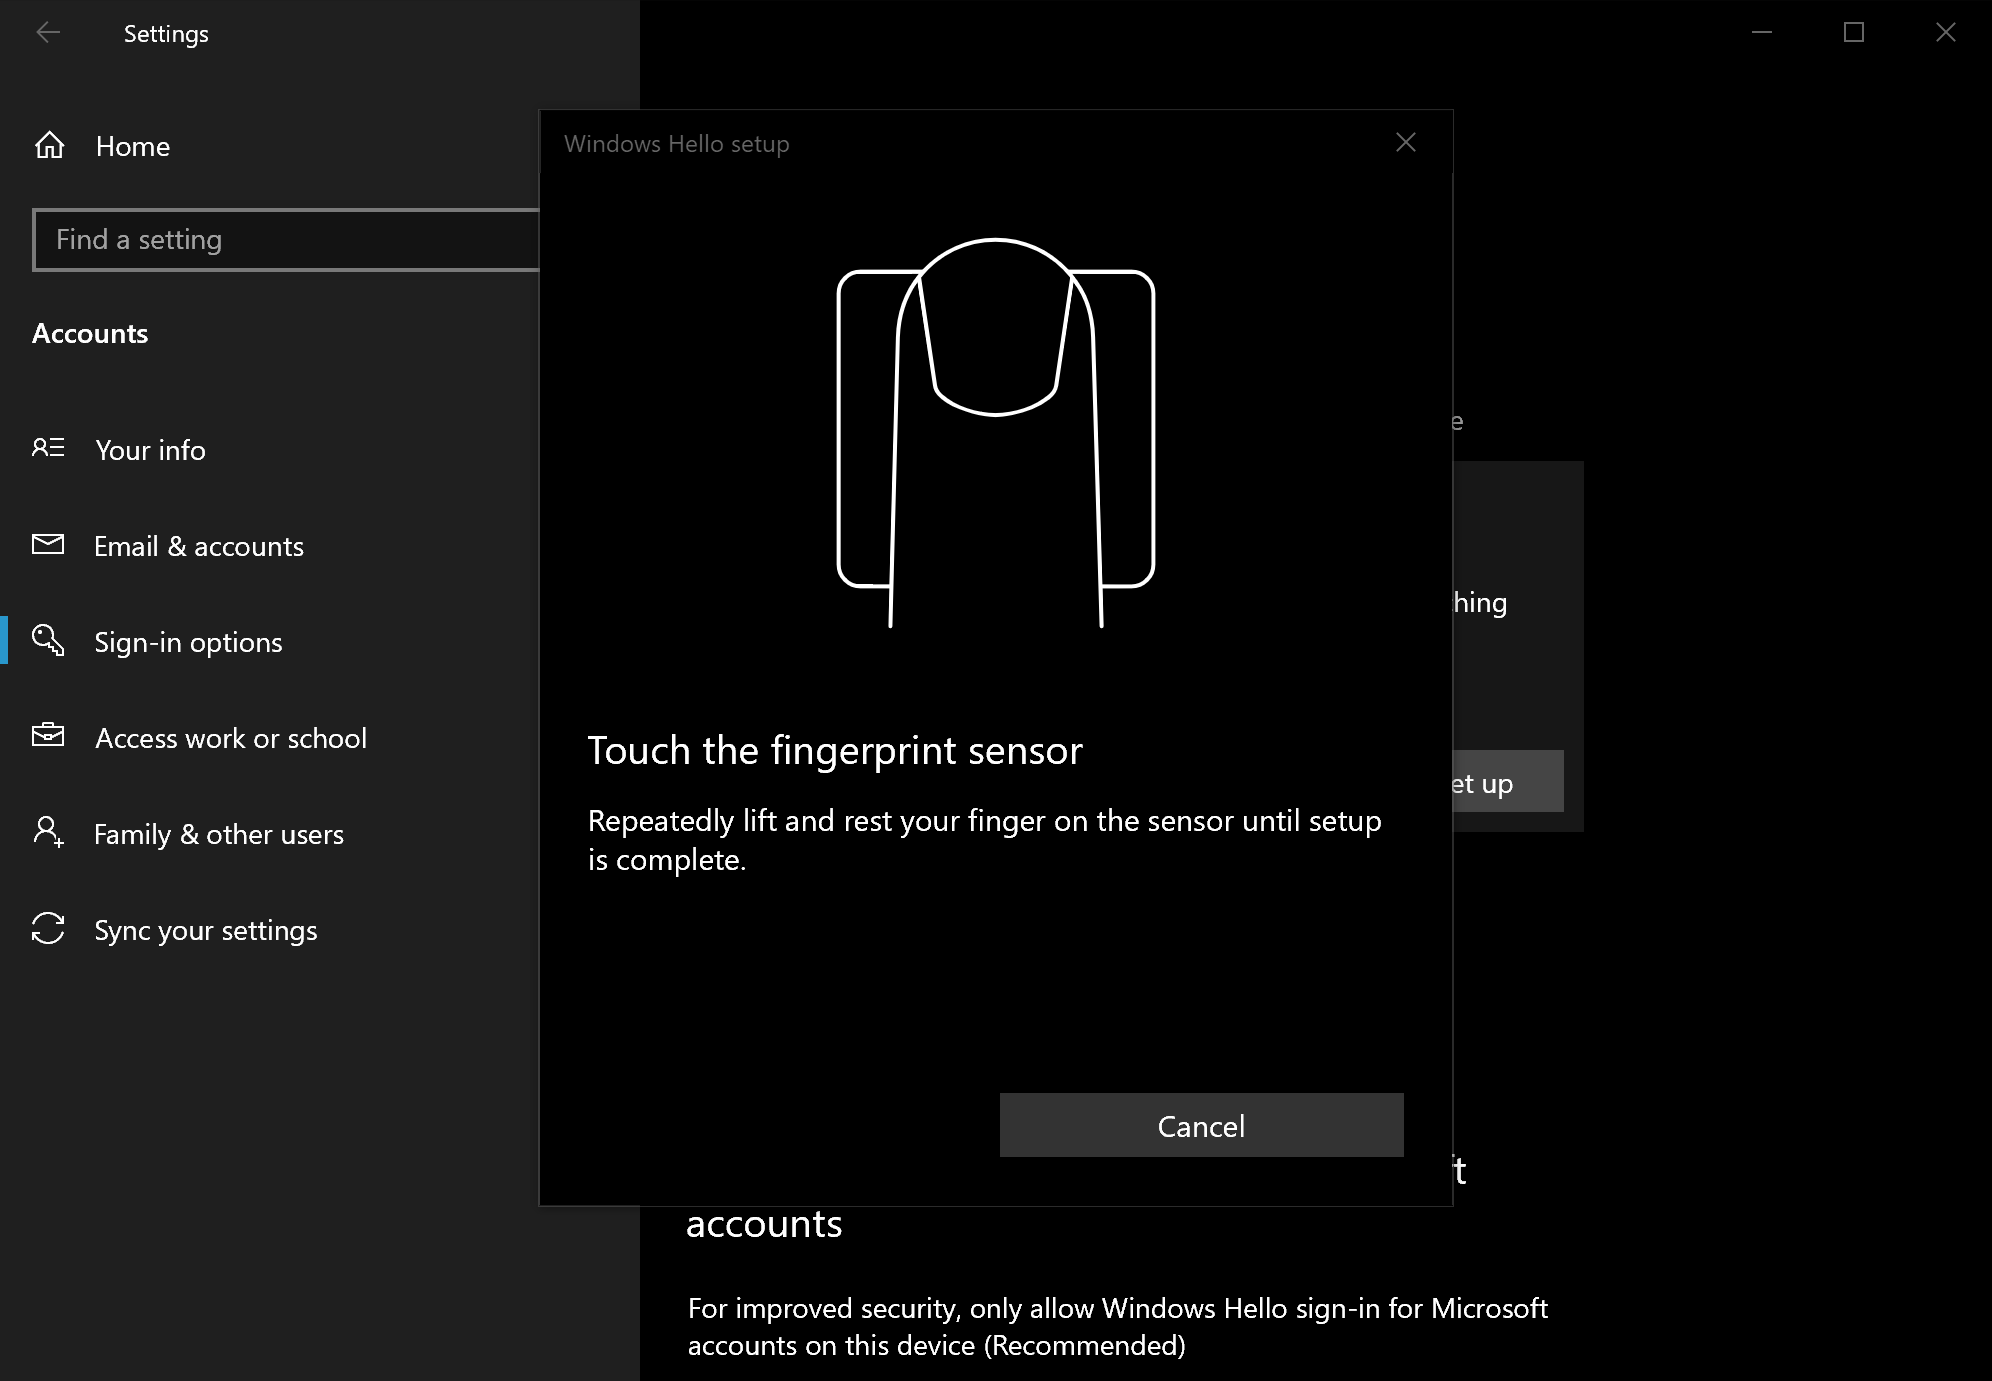
Step 8. Once you enter the correct PIN, you will be prompted to touch the fingerprint sensor. Repeatedly lift and rest your finger on the sensor until Windows recognizes your finder and complete the setup.
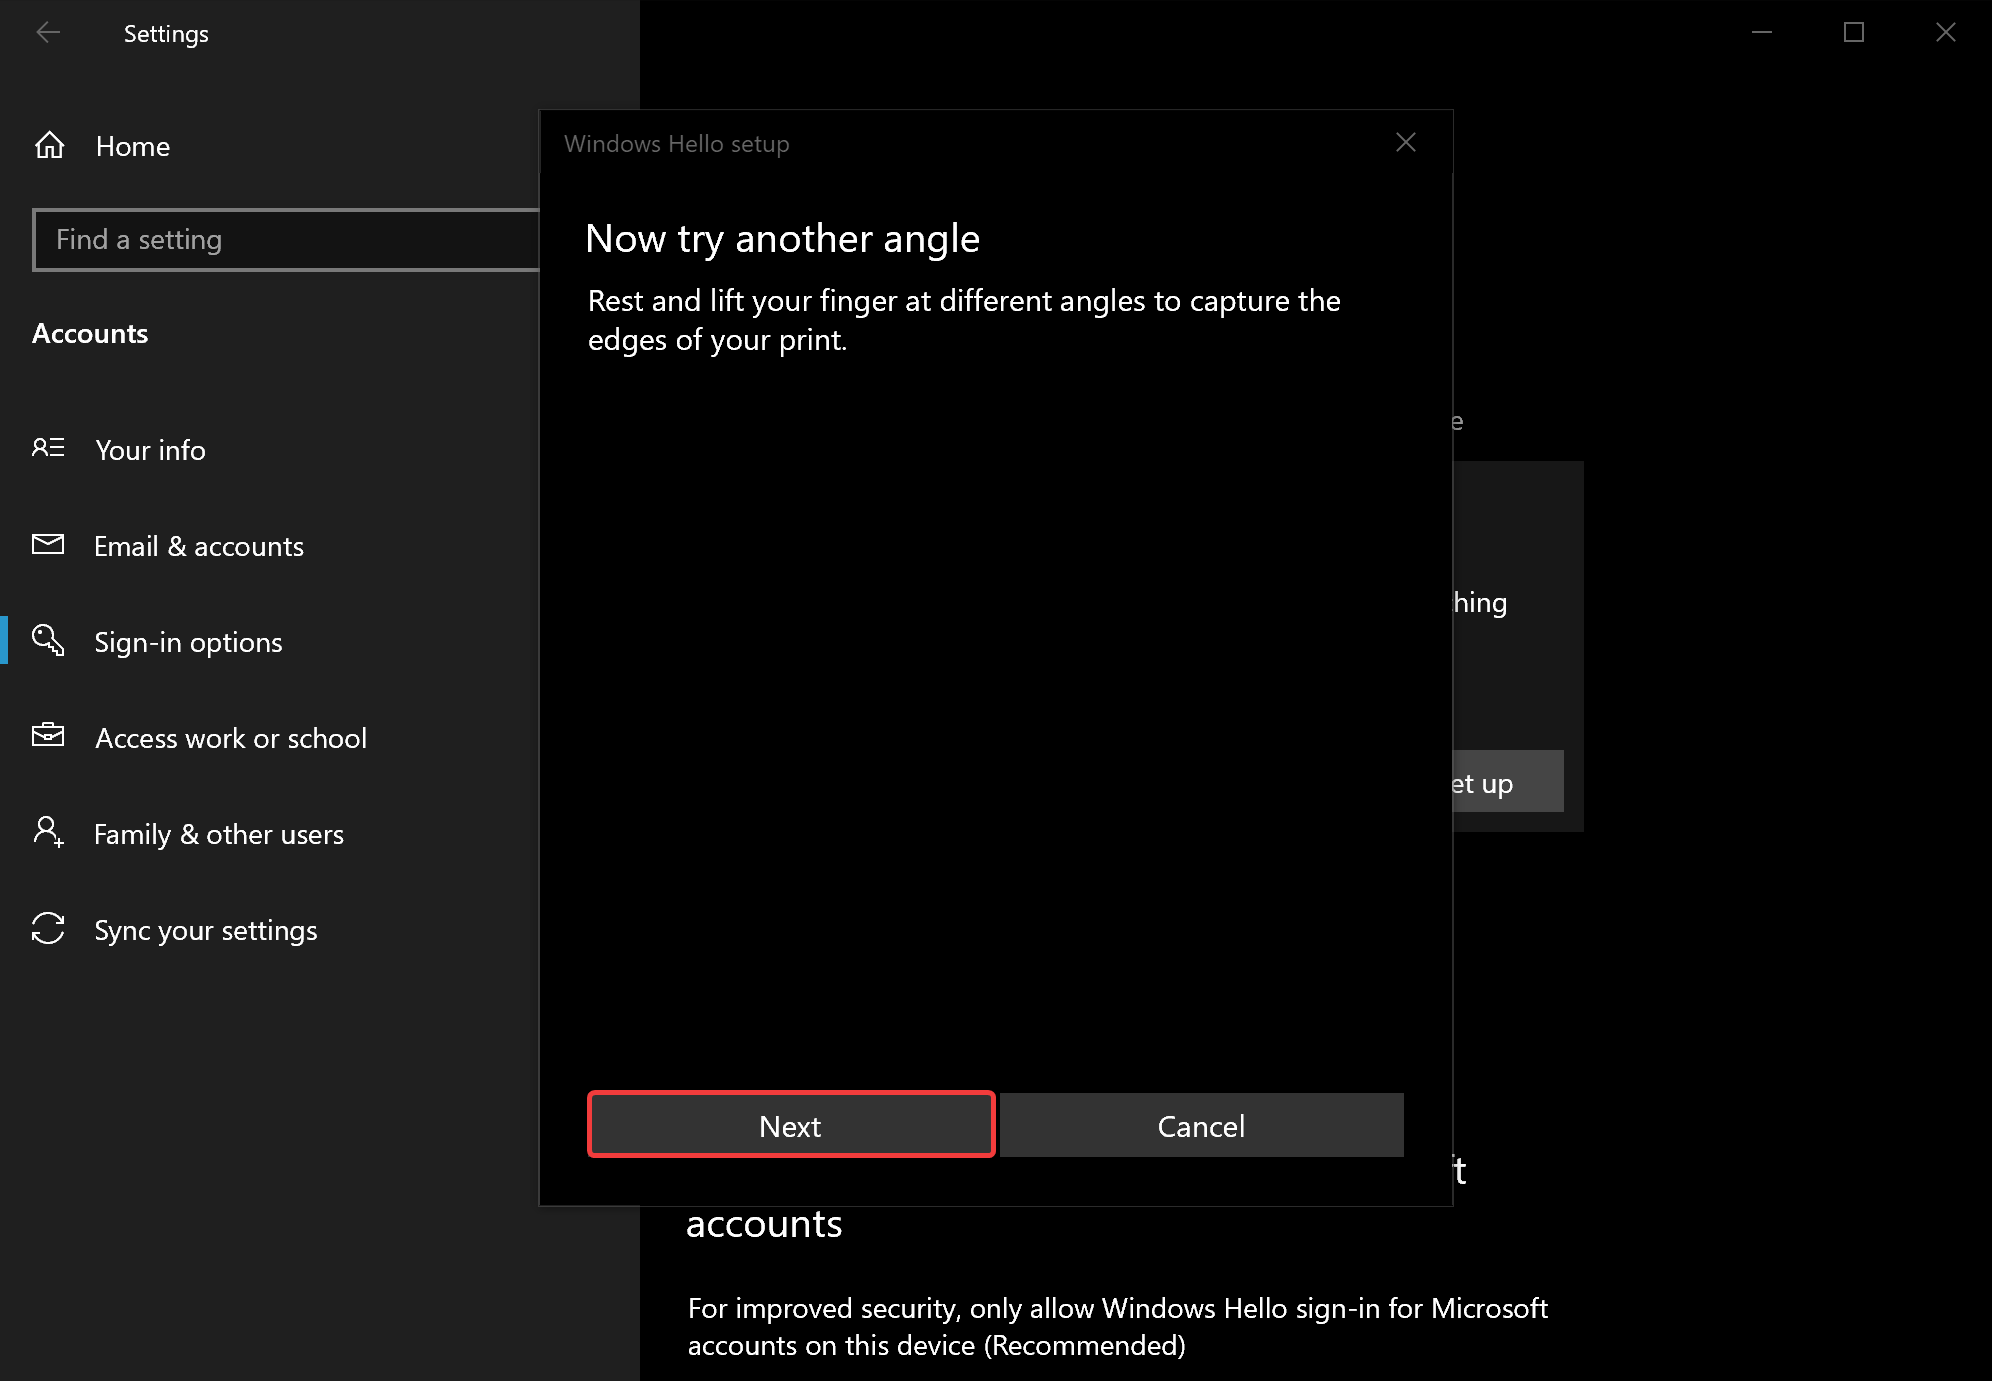
Step 9. When you see “Now try another angle” on the screen, click the Next button.
Step 10. Again, repeatedly lift and rest your finger on the sensor to recognize it by your Windows 10 machine.
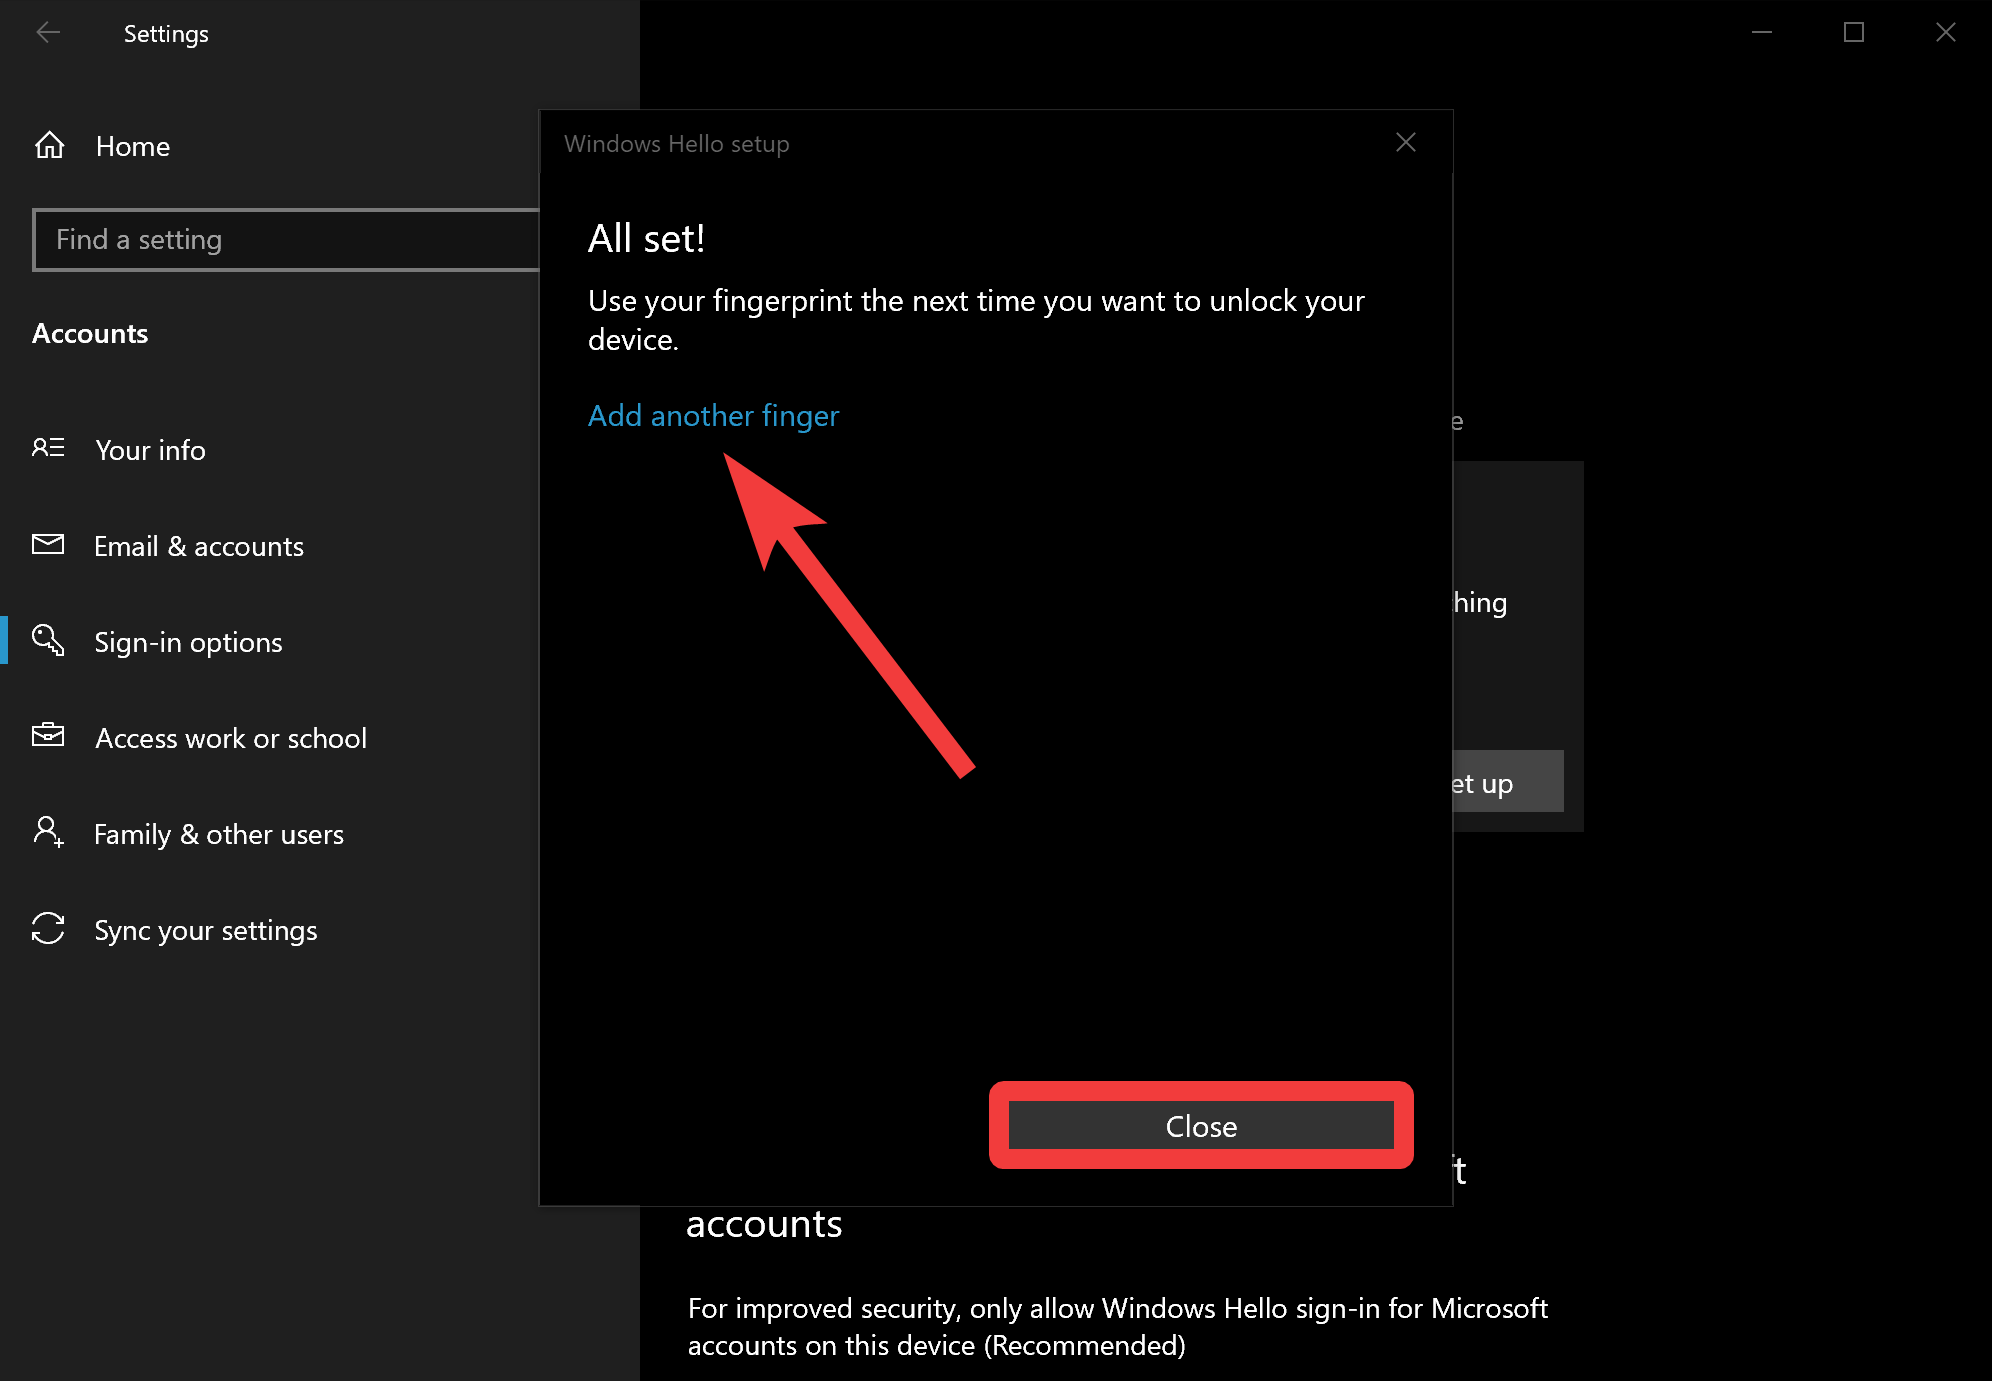
Step 11. When it’s complete, you’ll see the following message. If you want, you can add another finger. If you don’t want to add another finger, click the Close button.
Once you complete the above steps, the next time you log in or restart your system, you will need to use your fingerprint reader to log into your system.
How to Remove Windows Hello Fingerprint on Windows 10?
If you have used your fingerprint to sign in to Windows 10, you no longer need it after some time. For instance, you want to delete all your fingerprints and reset the feature if it’s not working correctly. Whatever the reason, you can remove fingerprint data and disable the biometric authentication feature. After removing the fingerprint data, you can still sign in using a password or PIN that you’ve set up before.
To delete Windows Hello Fingerprint on Windows 10, use the following steps:-
Step 1. Open Windows 10 Settings.
Step 2. Click on Accounts.
Step 3. Select Sign-in Options under Account.
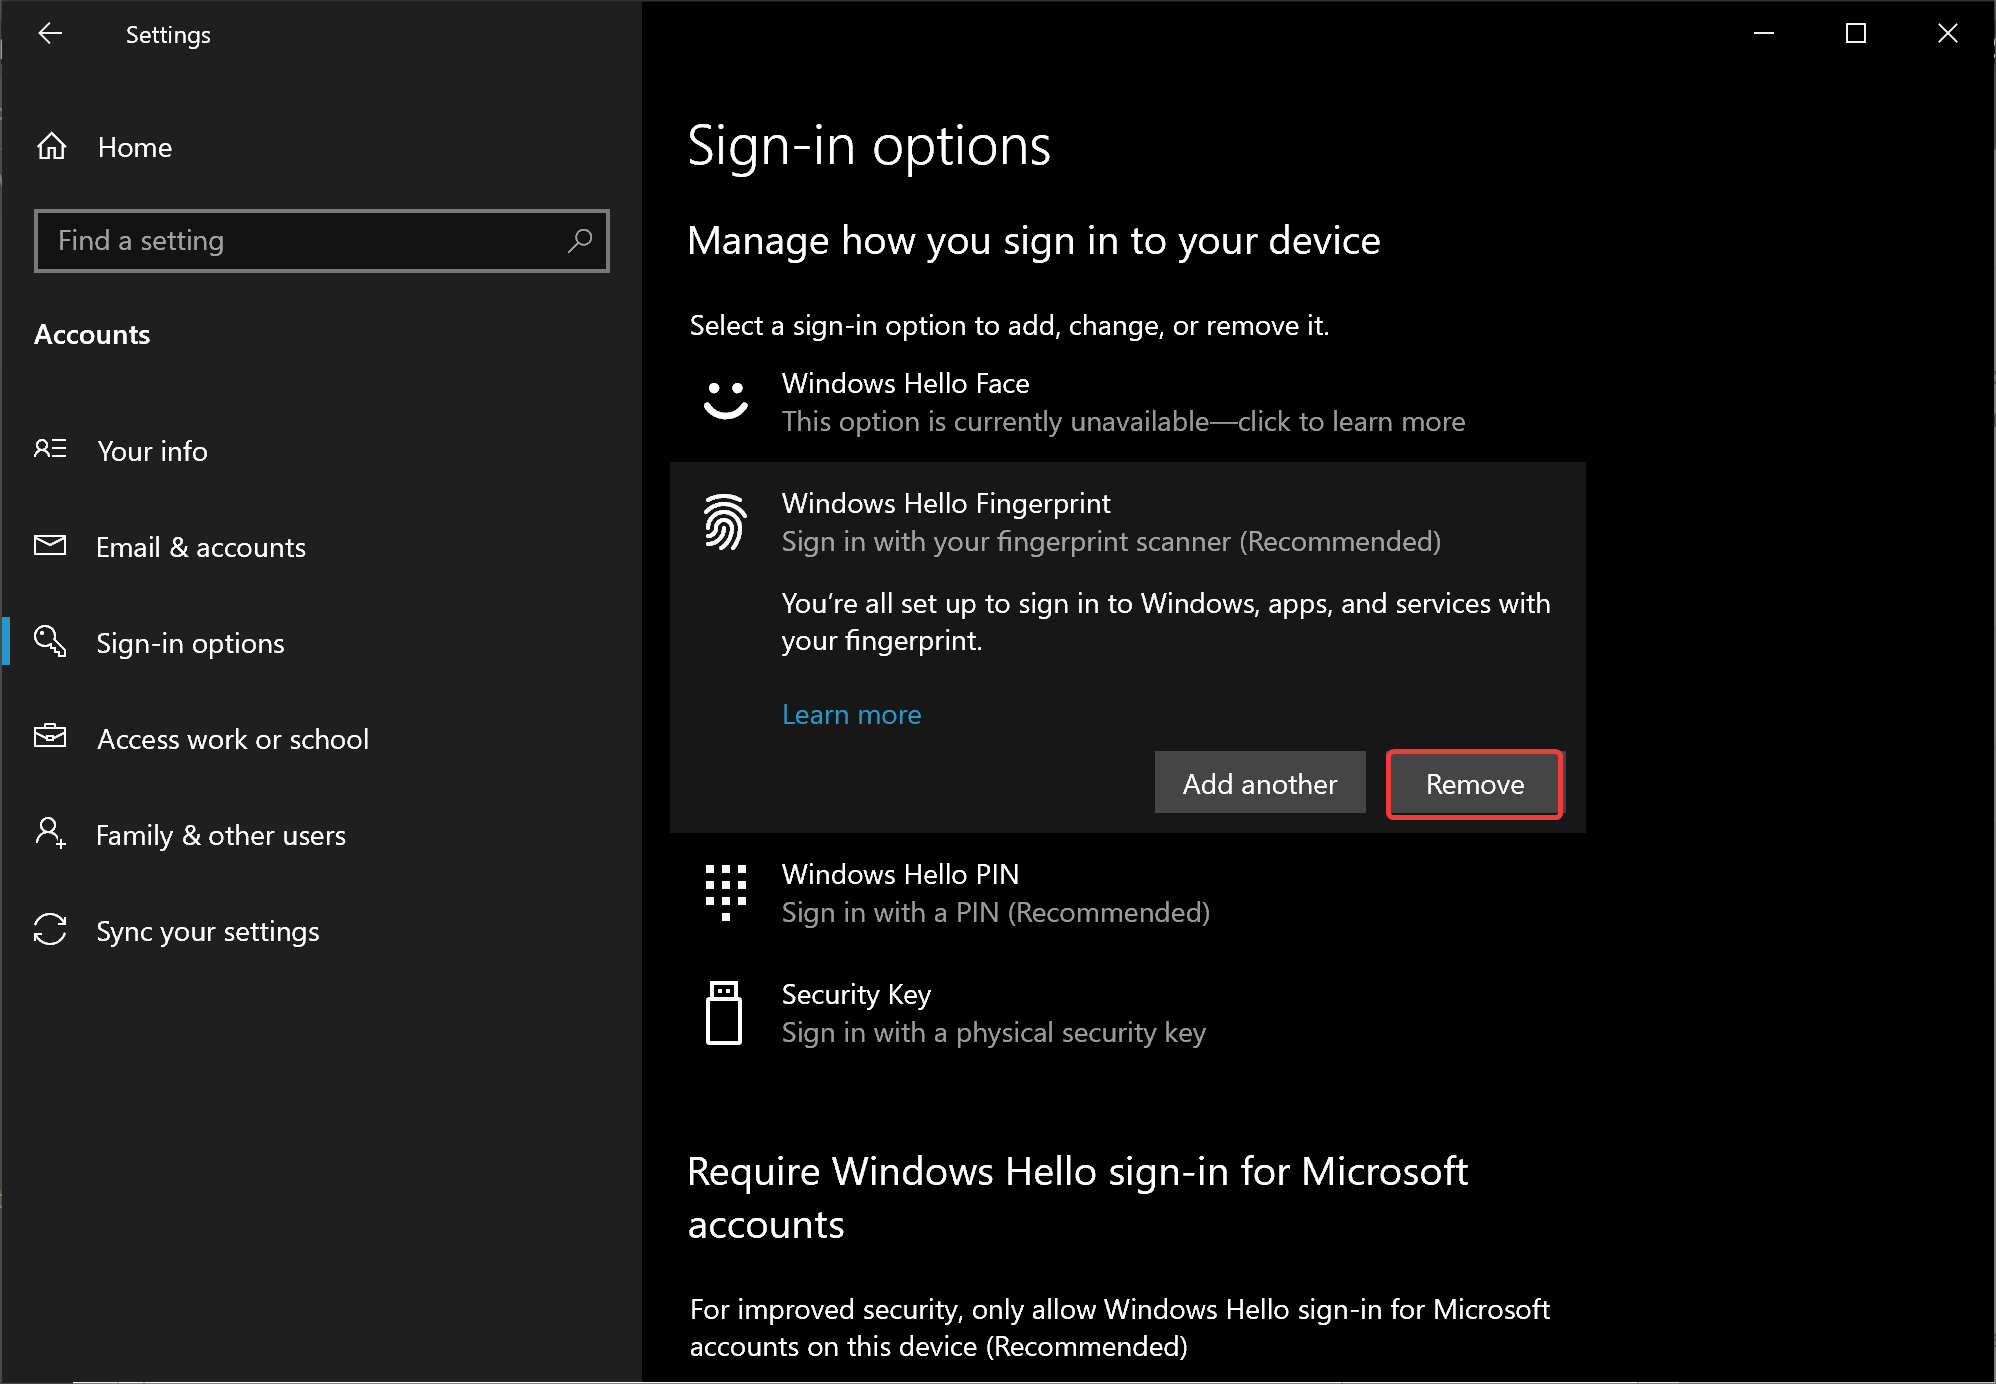
Step 4. On the right side of “Sign-in Options,” click Windows Hello Fingerprint.
Step 5. At last, click the Remove button under “Windows Hello Fingerprint.”
Once you remove the fingerprint data, you can still log in using your Microsoft account password or PIN if you created one.
Conclusion
In conclusion, Windows Hello Fingerprint provides an easy and secure way to sign in to your Windows 10 computer. With this feature, you can use biometric methods like facial or fingerprint recognition to log in to your device. Setting up Windows Hello Fingerprint is a simple process that can be completed in a few steps. Additionally, if you want to remove your fingerprint data from your device, you can easily do so by following the steps mentioned in this gearupwindows article. Overall, Windows Hello Fingerprint is a convenient and secure way to sign in to your Windows 10 computer, making the login process smoother and more efficient.