VirtualBox is a great freeware that lets you install any Windows OS virtually on your computer. Recently we have written the post to install Windows 10 on your VirtualBox. In this post, we will create a shared folder that will be accessible by both host and guest operating systems. It is very useful for those who want to access large files of the host as well as a guest machine. The benefit of the shared folder is that you don’t need to copy your files to a USB flash drive and then transfer them to the Guest machine. That means, by creating a shared folder, you can access the host files on the Guest without actually copying them onto the Guest machine. There is no need to copy the files on the Guest machine; in this way, you will save a lot of space because you don’t need to create duplicate files.
To share a folder that is available on the host machine and wants to access the Guest OS, you have to install the Guest additions.
How to install Guest additions on a Virtual machine?
Follow these steps to install Guest additions on a Virtual machine:-
Step 1. Run the guest Windows 10.
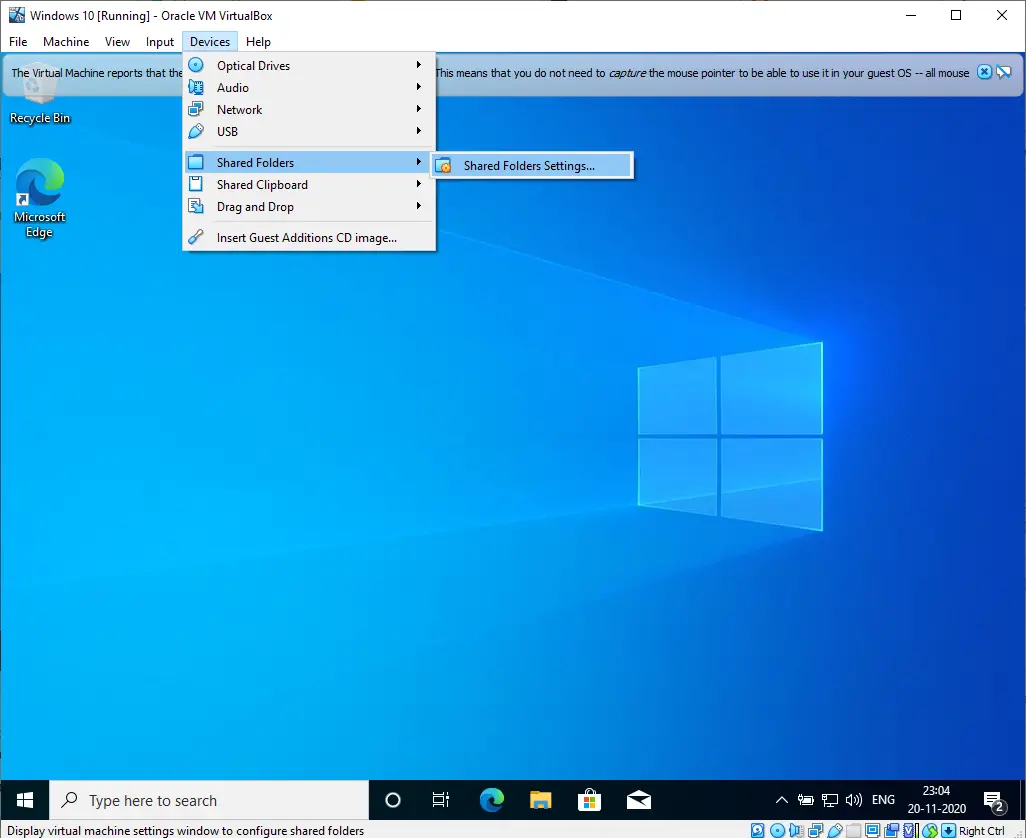
Step 2. From the VirtualBox menu, click on the Devices and select the “Insert Guest Additions CD image” option.

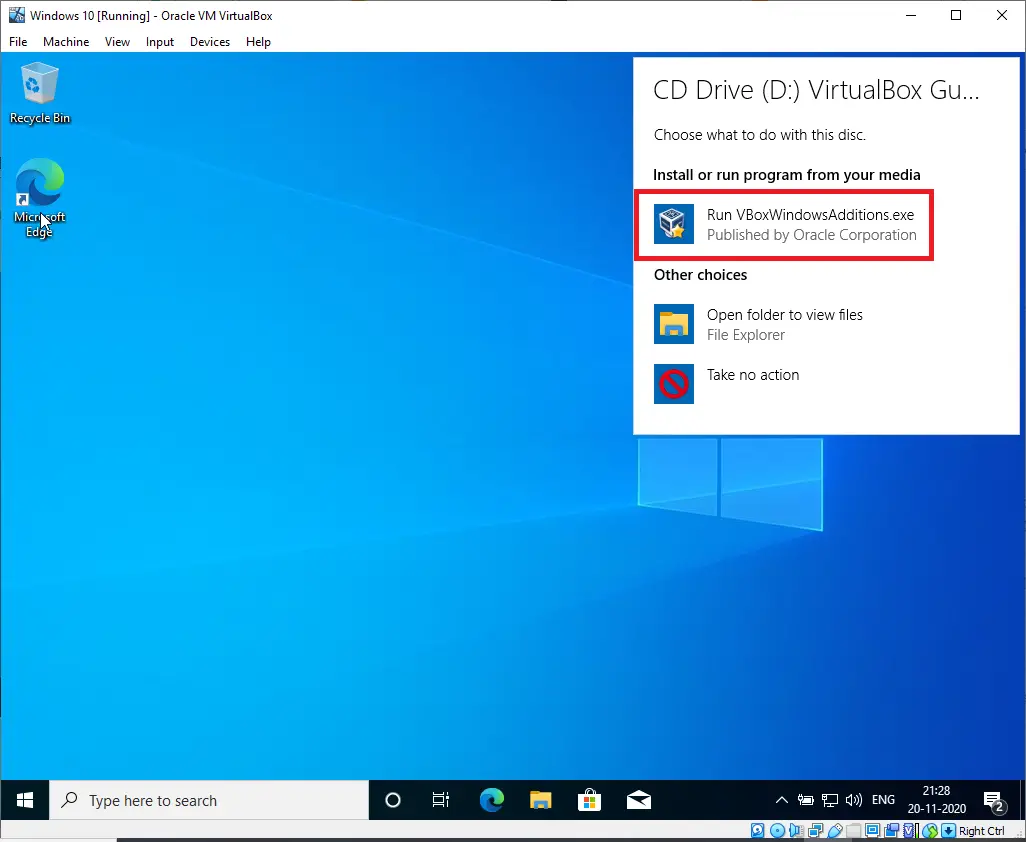
Step 3. Run the VBoxWindowsAdditions.exe, which will be automatically mounted on the virtual CD-ROM.
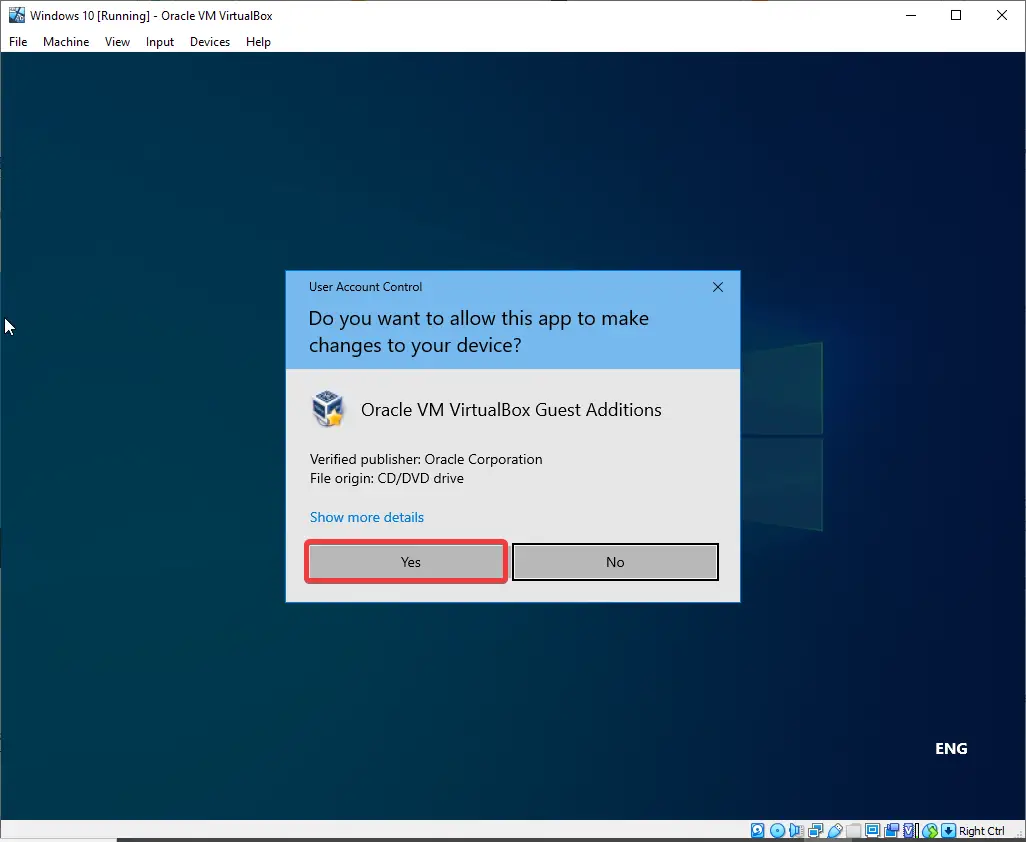
Step 4. If Windows UAC prompts, click on the Yes button.
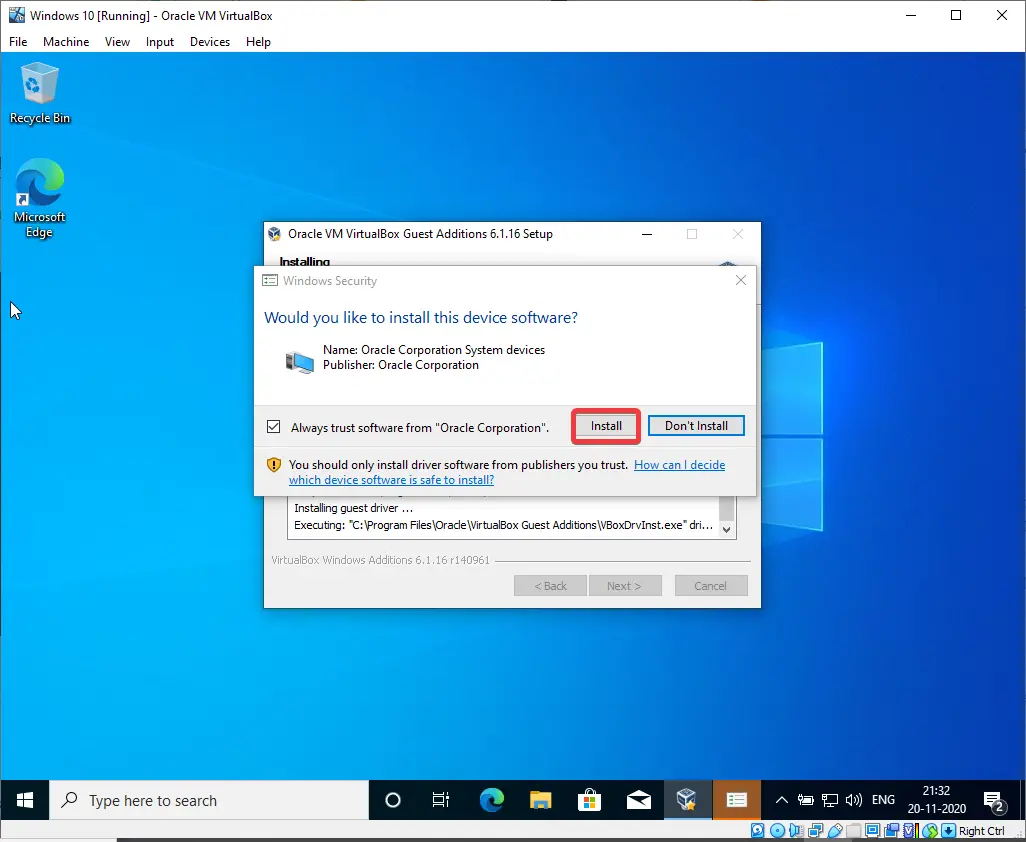
Step 5. During the installation of the virtual machine additions, it will prompt you to install device software. Click on the Install button.
Step 6. To complete the installation of the drive, it will prompt you to reboot the virtual machine; click on the Reboot now option to restart the guest Windows 10.
Step 7. Once the guest Windows 10 is running, login into guest Windows 10.
Step 8. Click on Devices > Shared Folders > Shared Folders Settings.
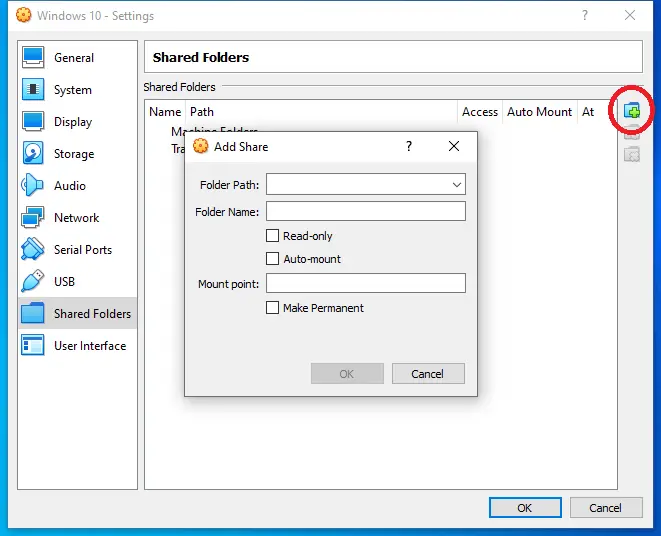
Step 9. From the newly opened window, click on the Shared Folders option.

Step 10. Click on the + sign to open the “Add Share” window.
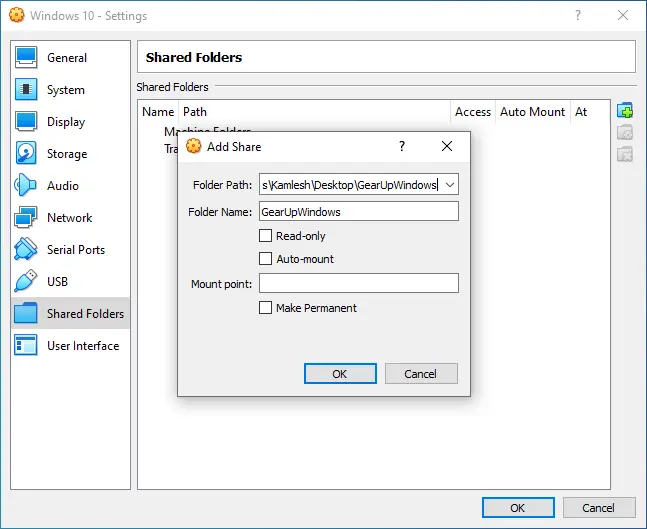
Step 11. Under Folder Path, select the folder from the host Windows, which you want to share with guest Windows, and then click on the OK button.
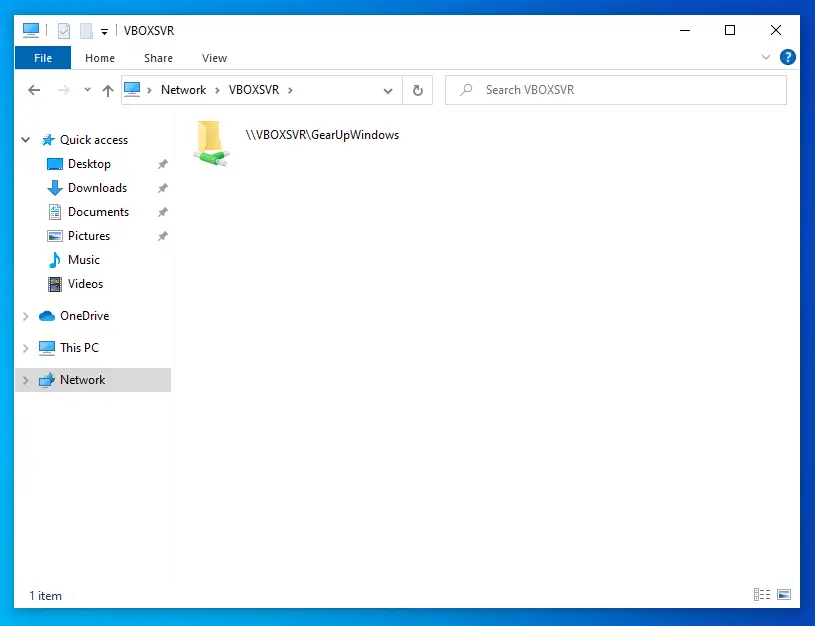
Step 12. Now, you have shared a folder from the host machine to the guest OS. Open File Explorer and click on the Network.
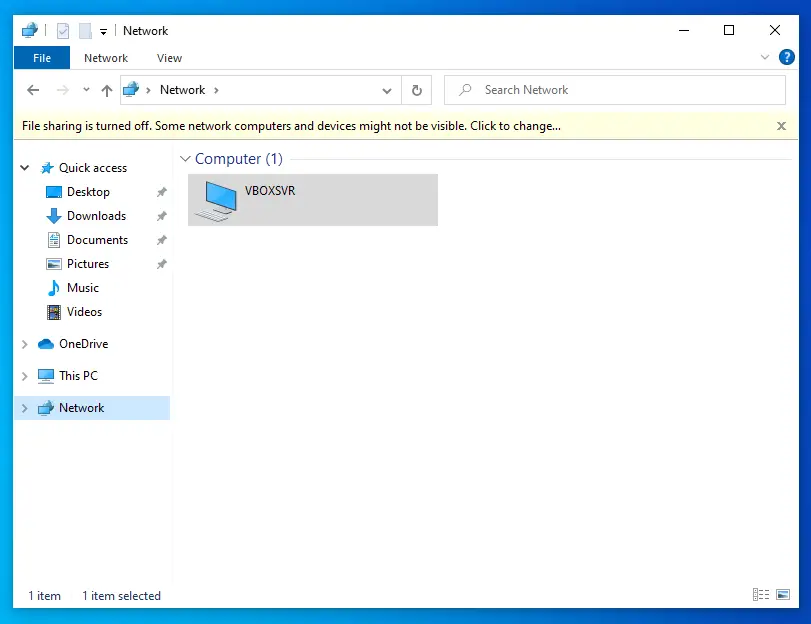
Step 13. Double-click on the available VBOXSVR under Computer to access the shared folder.
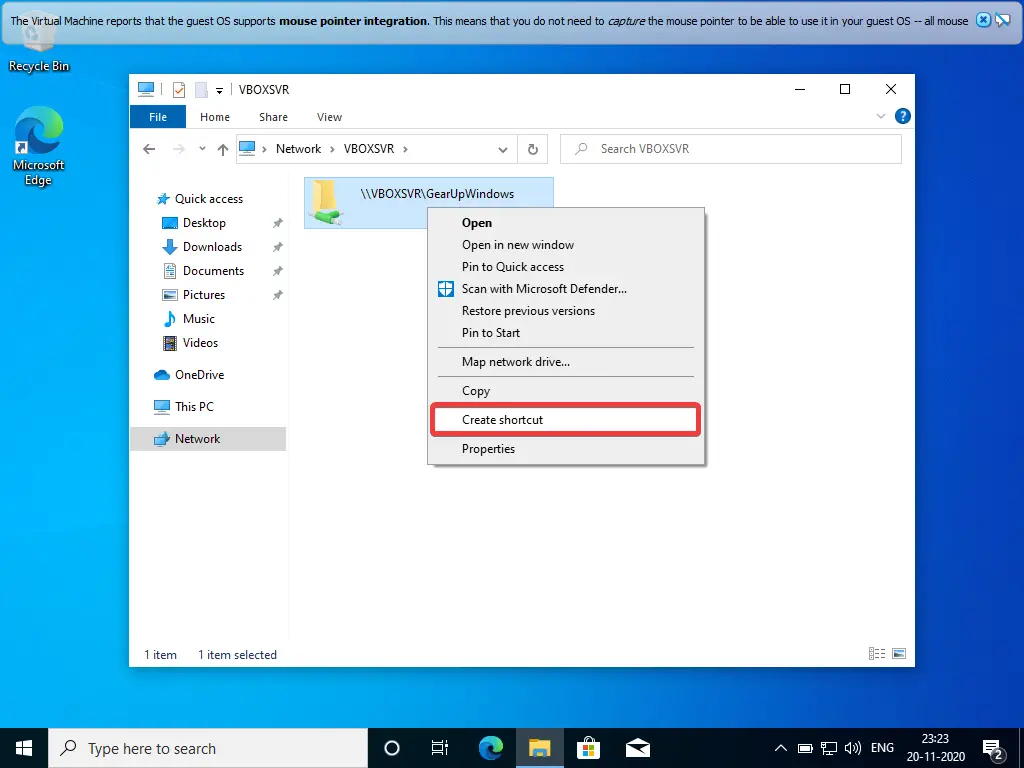
Step 14. To access the shared folder from the desktop, right-click on the shared folder and select Create shortcut option.
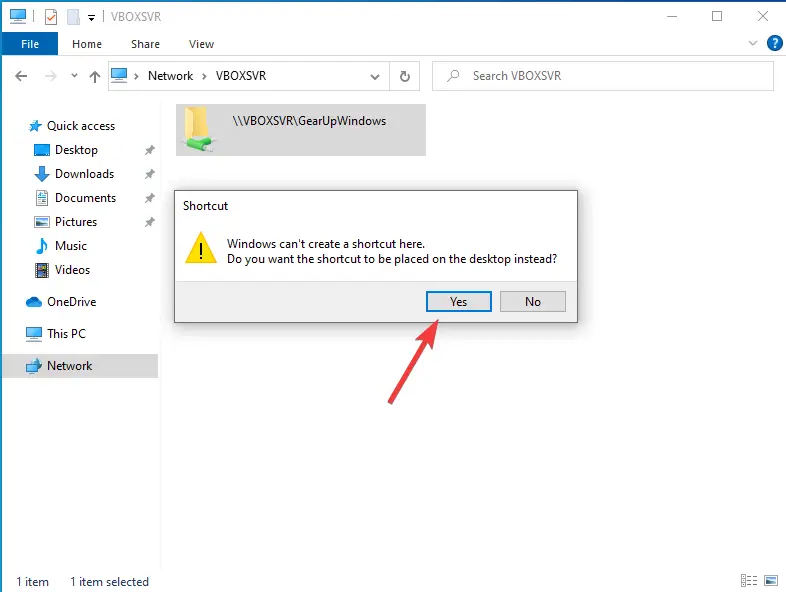
Step 15. A shortcut window will be opened, stating that “Windows can’t create a shortcut here. Do you want the shortcut to be placed on the desktop instead?“. Click on the Yes button to create the shortcut of the shared folder.
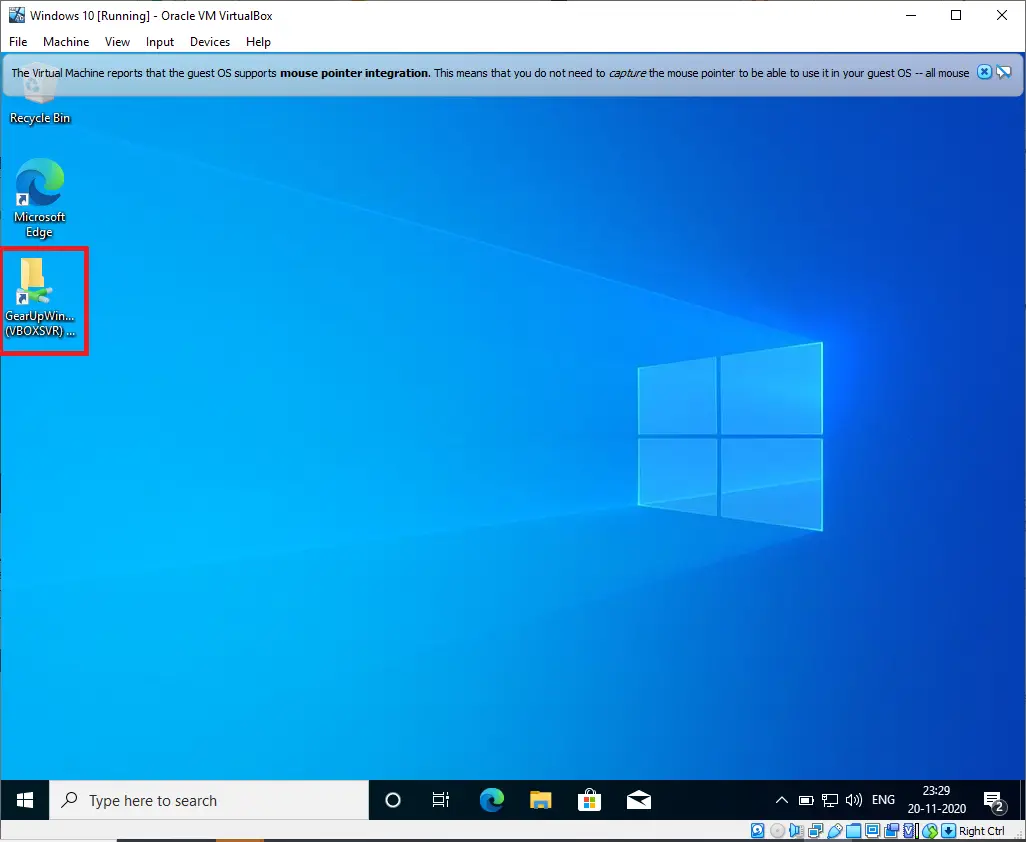
Step 16. Now you can access the shared folder from the desktop itself.
Conclusion
In conclusion, VirtualBox is a versatile and powerful tool that enables users to run multiple operating systems on a single computer. By following the steps outlined above, you can easily create a shared folder between the host and guest operating systems on a Windows 10 VirtualBox. The shared folder allows for easy and efficient file transfer between the two systems without the need for copying files onto the guest machine. With the addition of the Guest Additions software, you can further enhance the functionality of your virtual machine. By utilizing the shared folder feature, you can save time and storage space, making VirtualBox an indispensable tool for users who need to work with multiple operating systems.