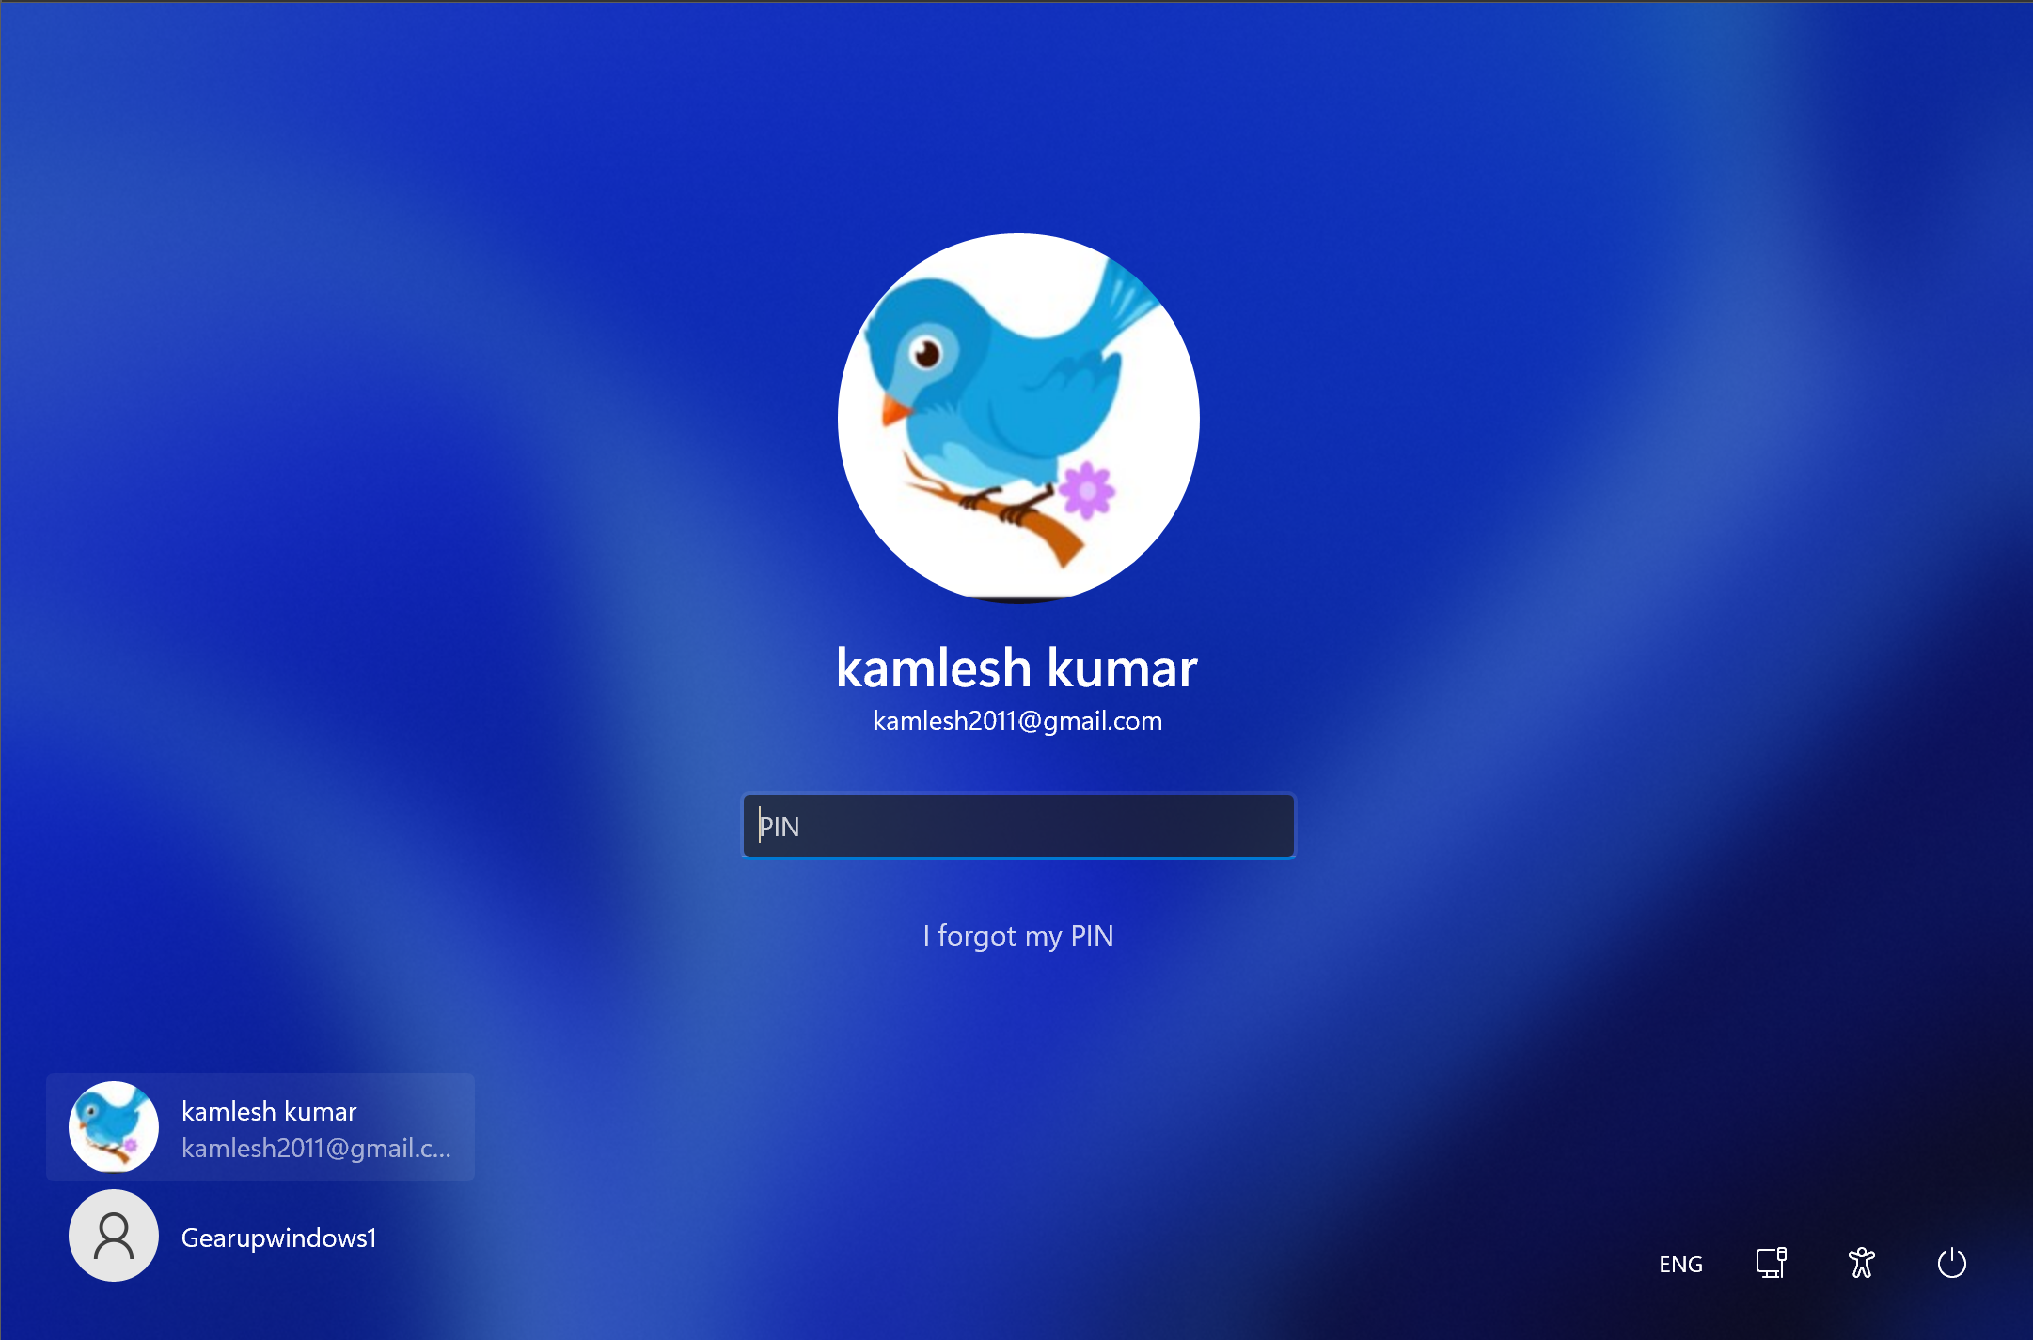
Due to some reason, Microsoft hides email addresses on the sign-in screen on Windows 11. If you wish to see the account details on the log-in screen, this gearupwindows article will help you. It is especially useful if you have more than one user account on your computer. By viewing the email address on the sign-in screen, you can quickly identify if the user account is local or Microsoft.
There are several ways to show or hide user account details on the sign-in screen on Windows 11. We will review them one by one.
How to Show or Hide Account Details in Sign-in Screen using the Settings app?
Follow these steps to show or hide Account Details in Sign-in Screen using the Settings app:-
Step 1. First, open the Settings app by pressing Windows + I keys from the keyboard.
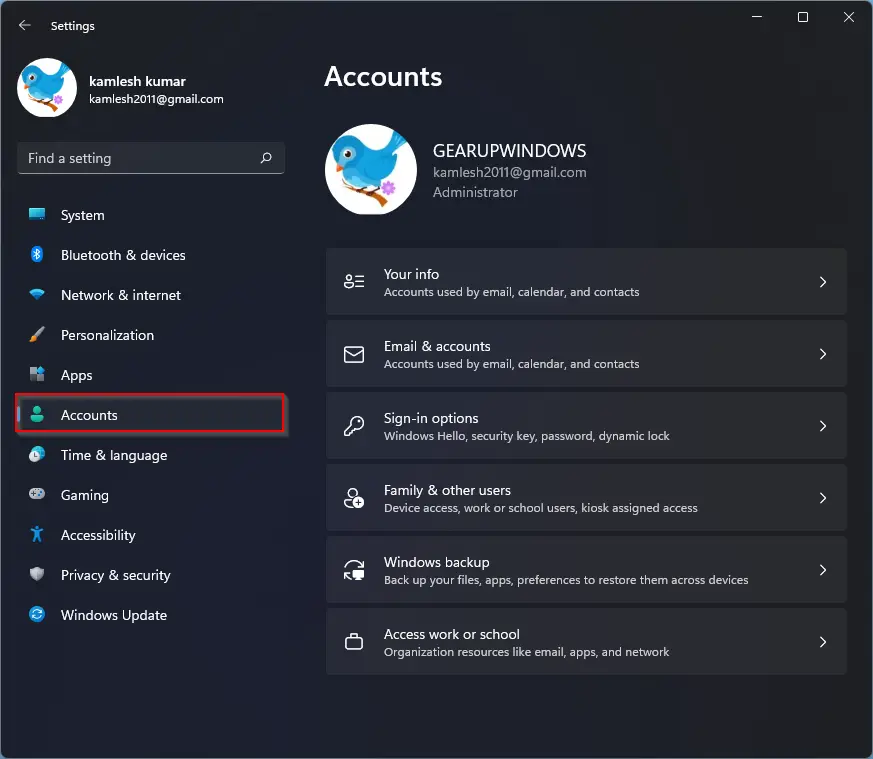
Step 2. When Windows Settings opens, select the Accounts category from the left sidebar.
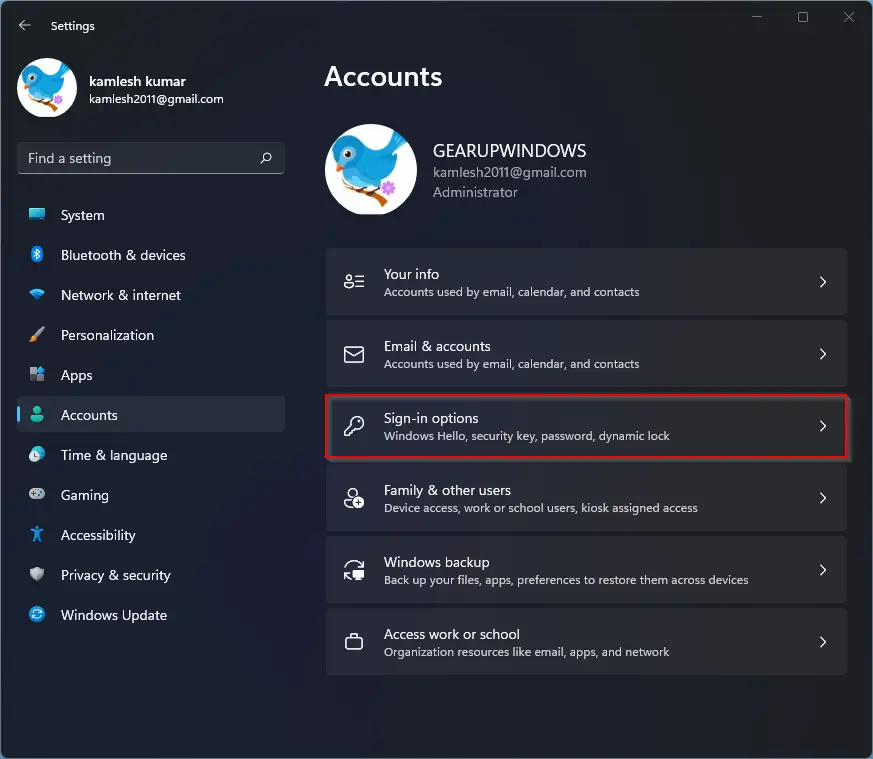
Step 3. On the right sidebar of Accounts, select Sign-in options.
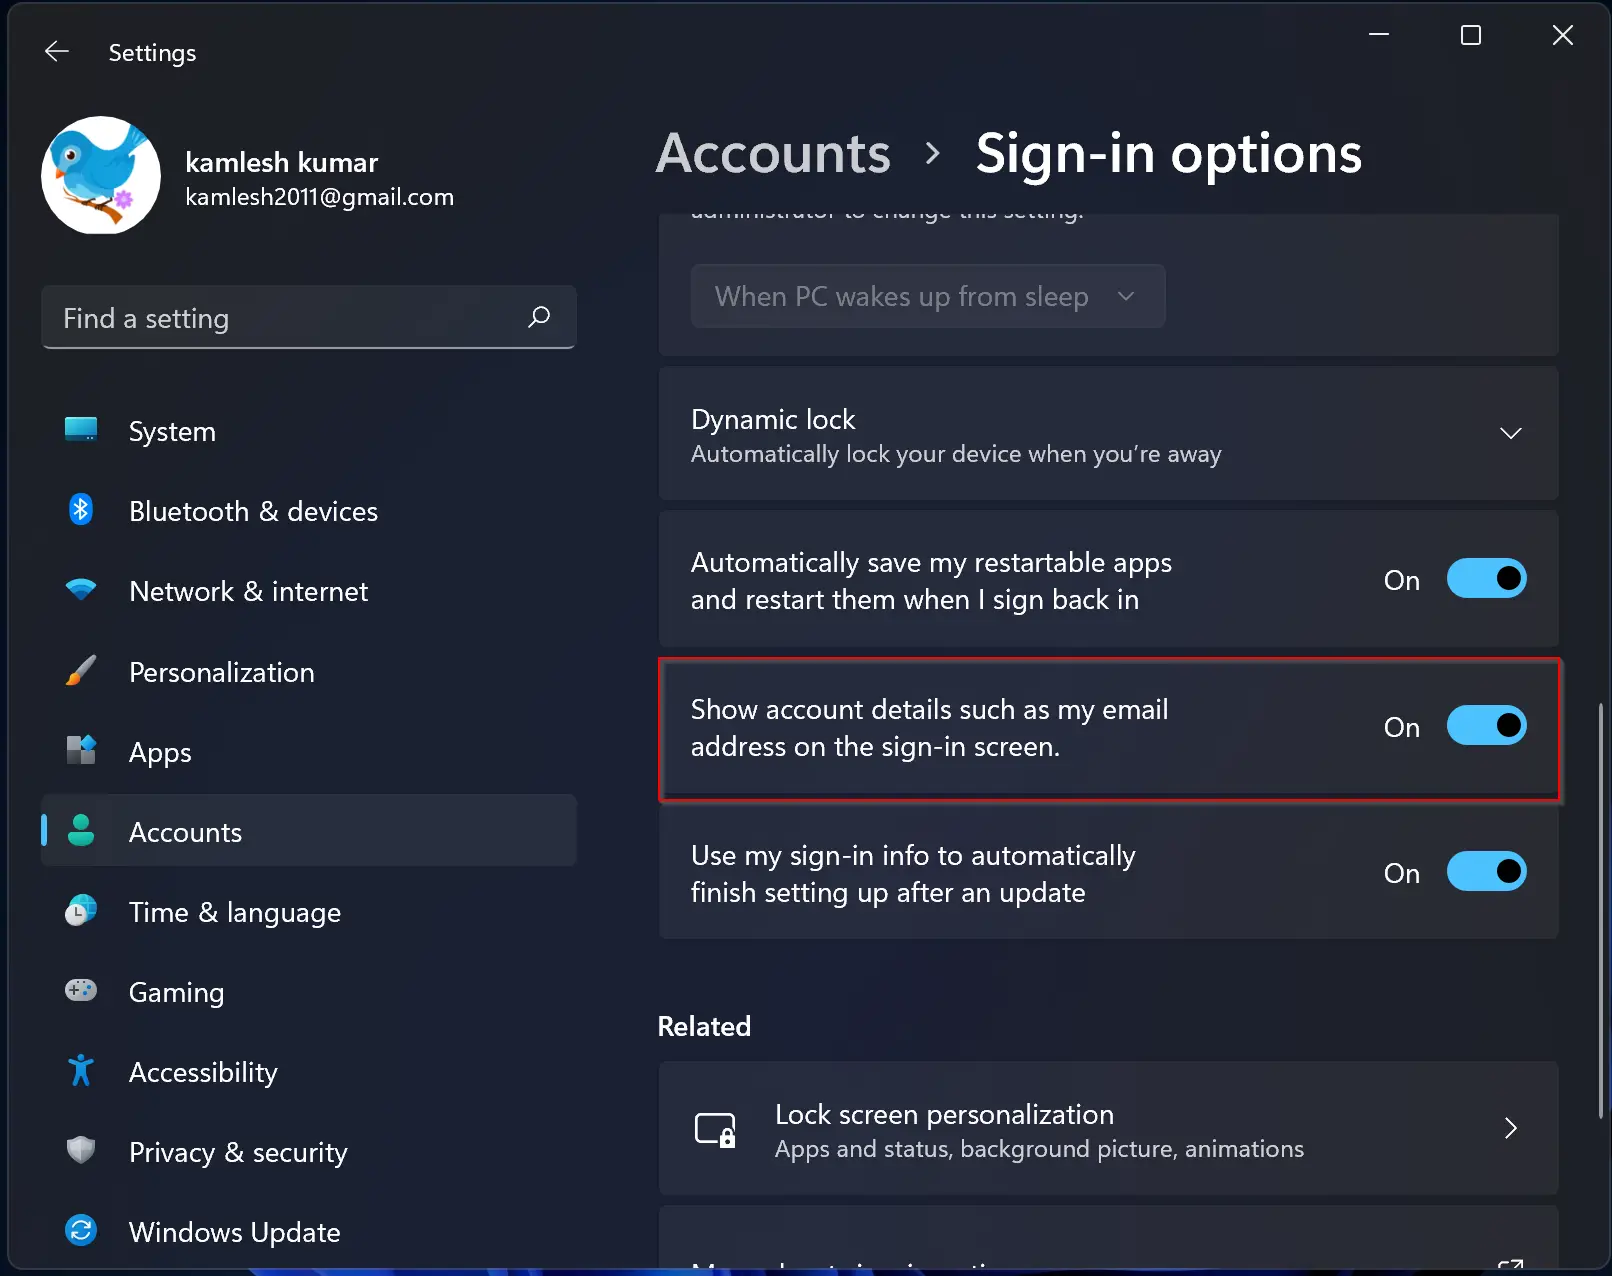
Step 4. Then, scroll down to the “Sign-in options” settings, and see the “Show account details such as my email address on the sign-in screen” option. Turn On the toggle switch to enable this feature. To disable this feature, just flip the toggle switch to the Off position.
Now, log off your computer to see the changes.
How to Allow Users to Show Account Details using Group Policy?
You can also use Local Group Policy Editor to show account details on the sign-in screen on a Windows 11 PC. However, gpedit.msc is not a part of the Windows 11 Home Edition. Either enable gpedit.msc or use an alternate method.
Step 1. Open the Local Group Policy Editor.
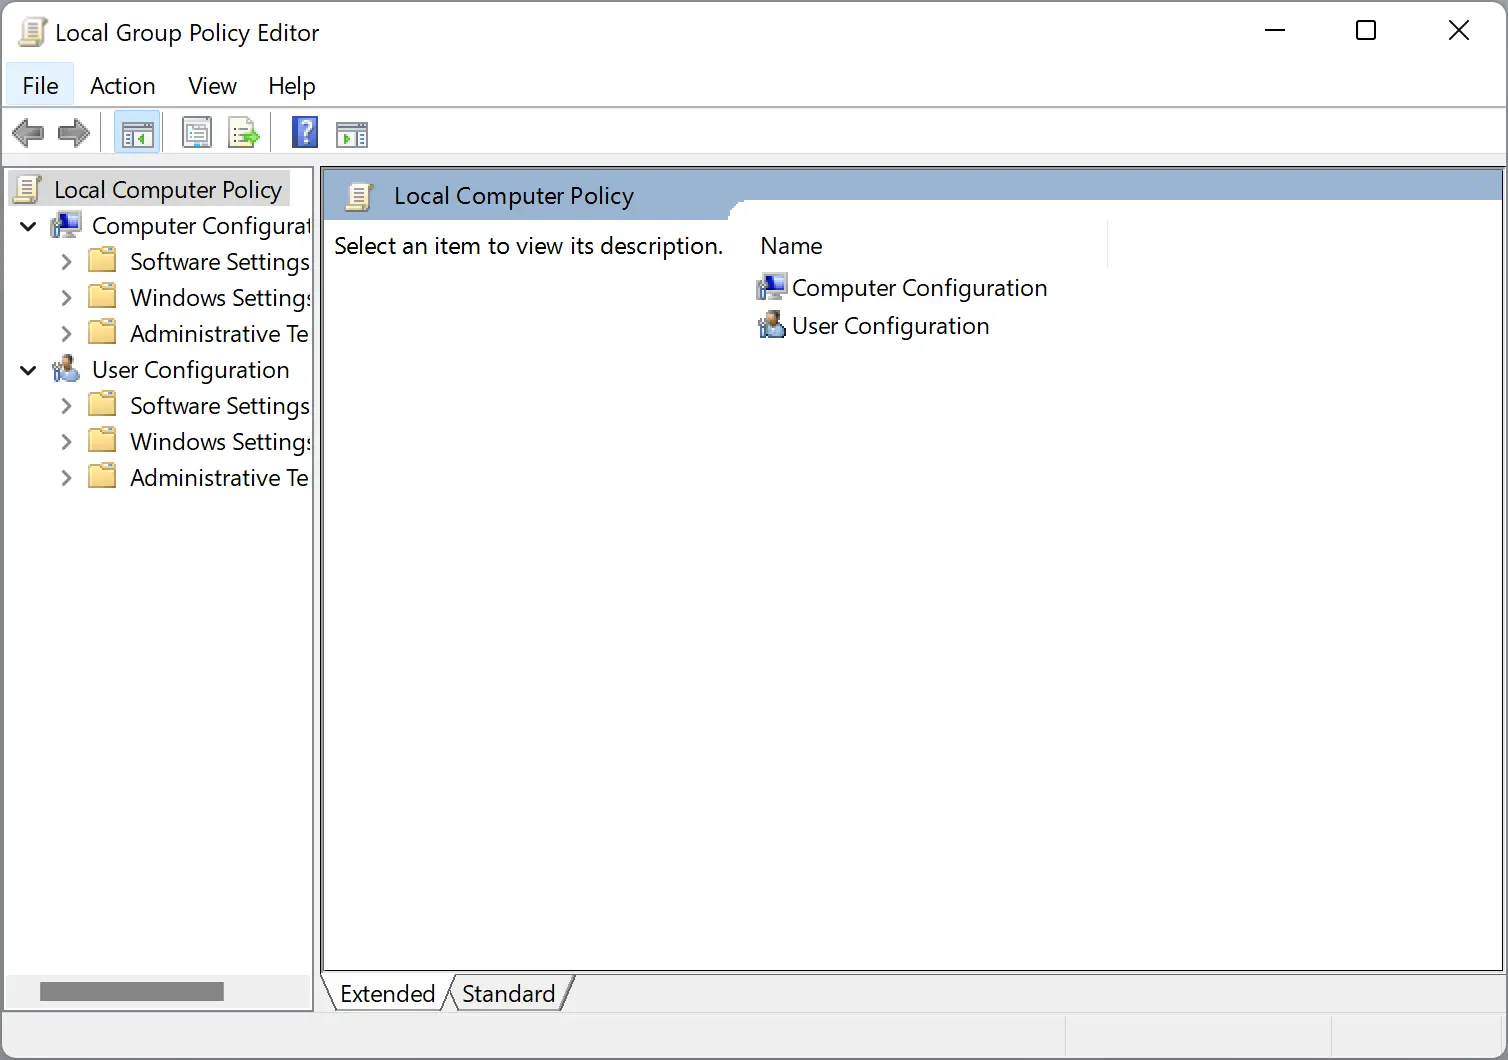
Step 2. When the Local Group Policy Editor window opens, navigate to the following path from the left sidebar:-
Computer Configuration > Administrative Templates > System > Logon

Step 3. On the right sidebar of the Logon folder, look for the policy name, “Block user from showing account details on sign-in.” Then, double-click on this policy to modify its settings.
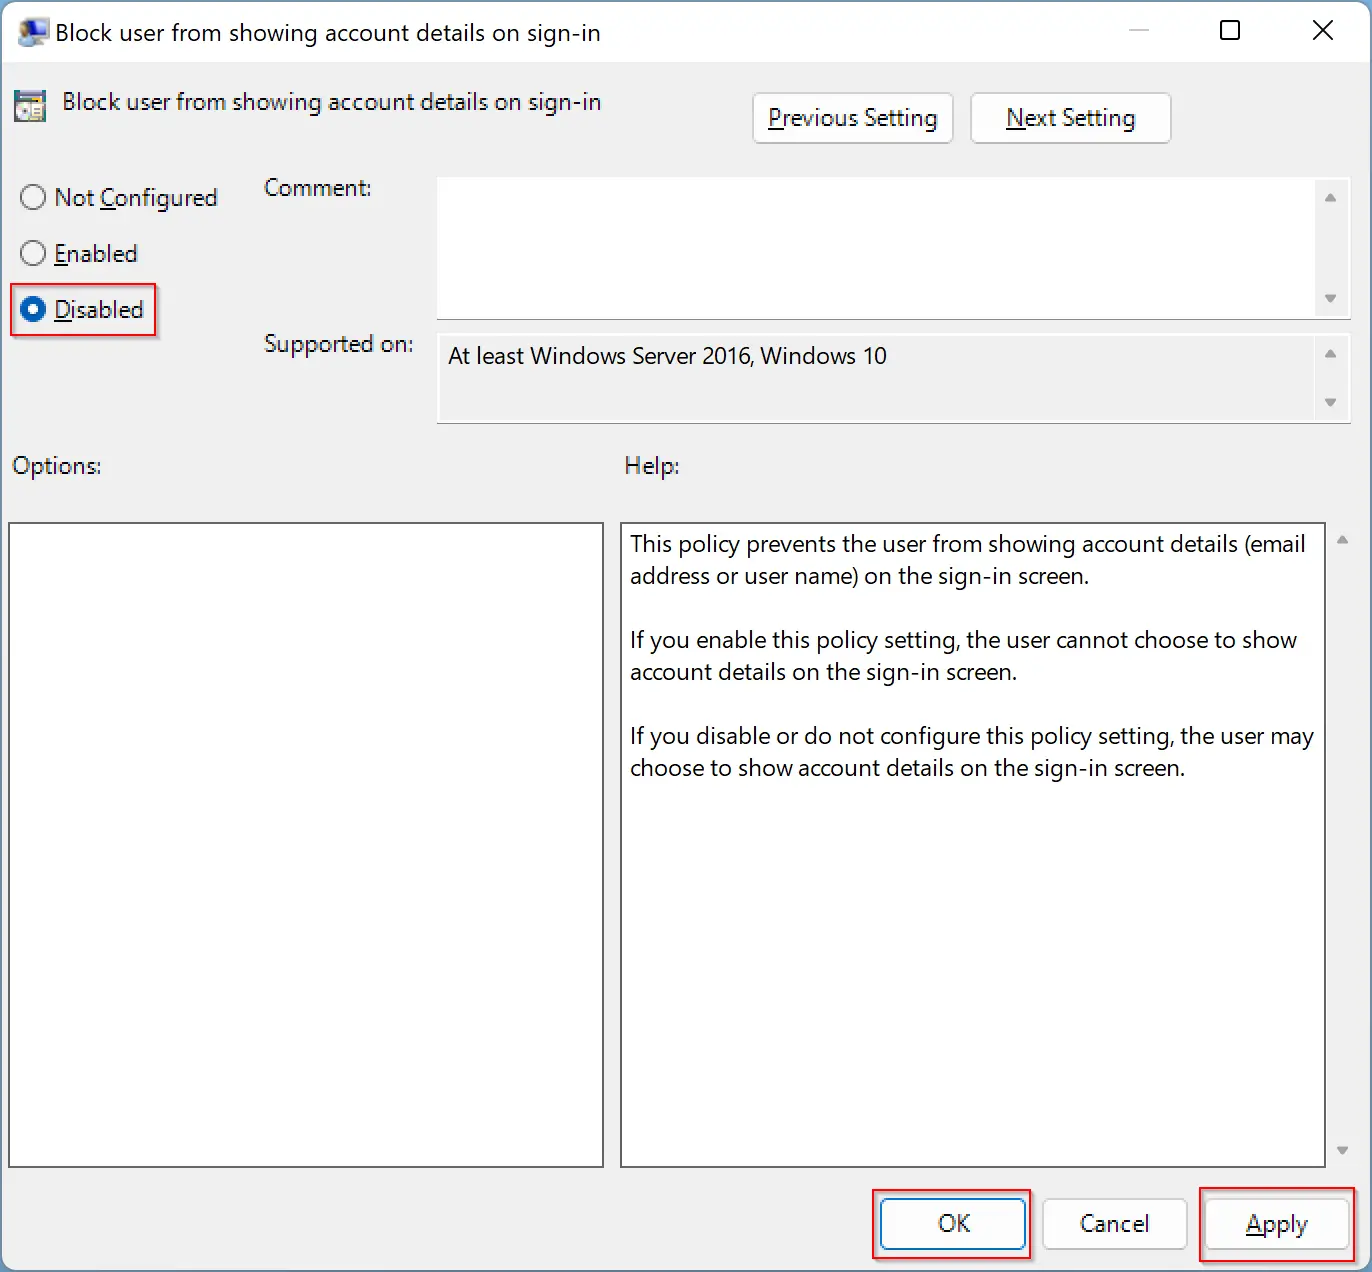
Step 4. Select the Disabled option to show the account details on the sign-in screen. To hide the account details from the log-in screen, select the Enabled or Not Configured option.
Step 5. When done, click the Apply button.
Step 6. Then click OK.
Reboot or log off your PC to see the changes.
How to Show or Hide Account Details in Sign-in Screen through Registry Editor?
To show or hide account details in sign-in screen through the registry editor, do the following:-
Step 1. Open the Registry Editor.
Step 2. When the Registry Editor window opens, navigate to the following path from the left sidebar:-
Computer\HKEY_LOCAL_MACHINE\SOFTWARE\Policies\Microsoft\Windows\System
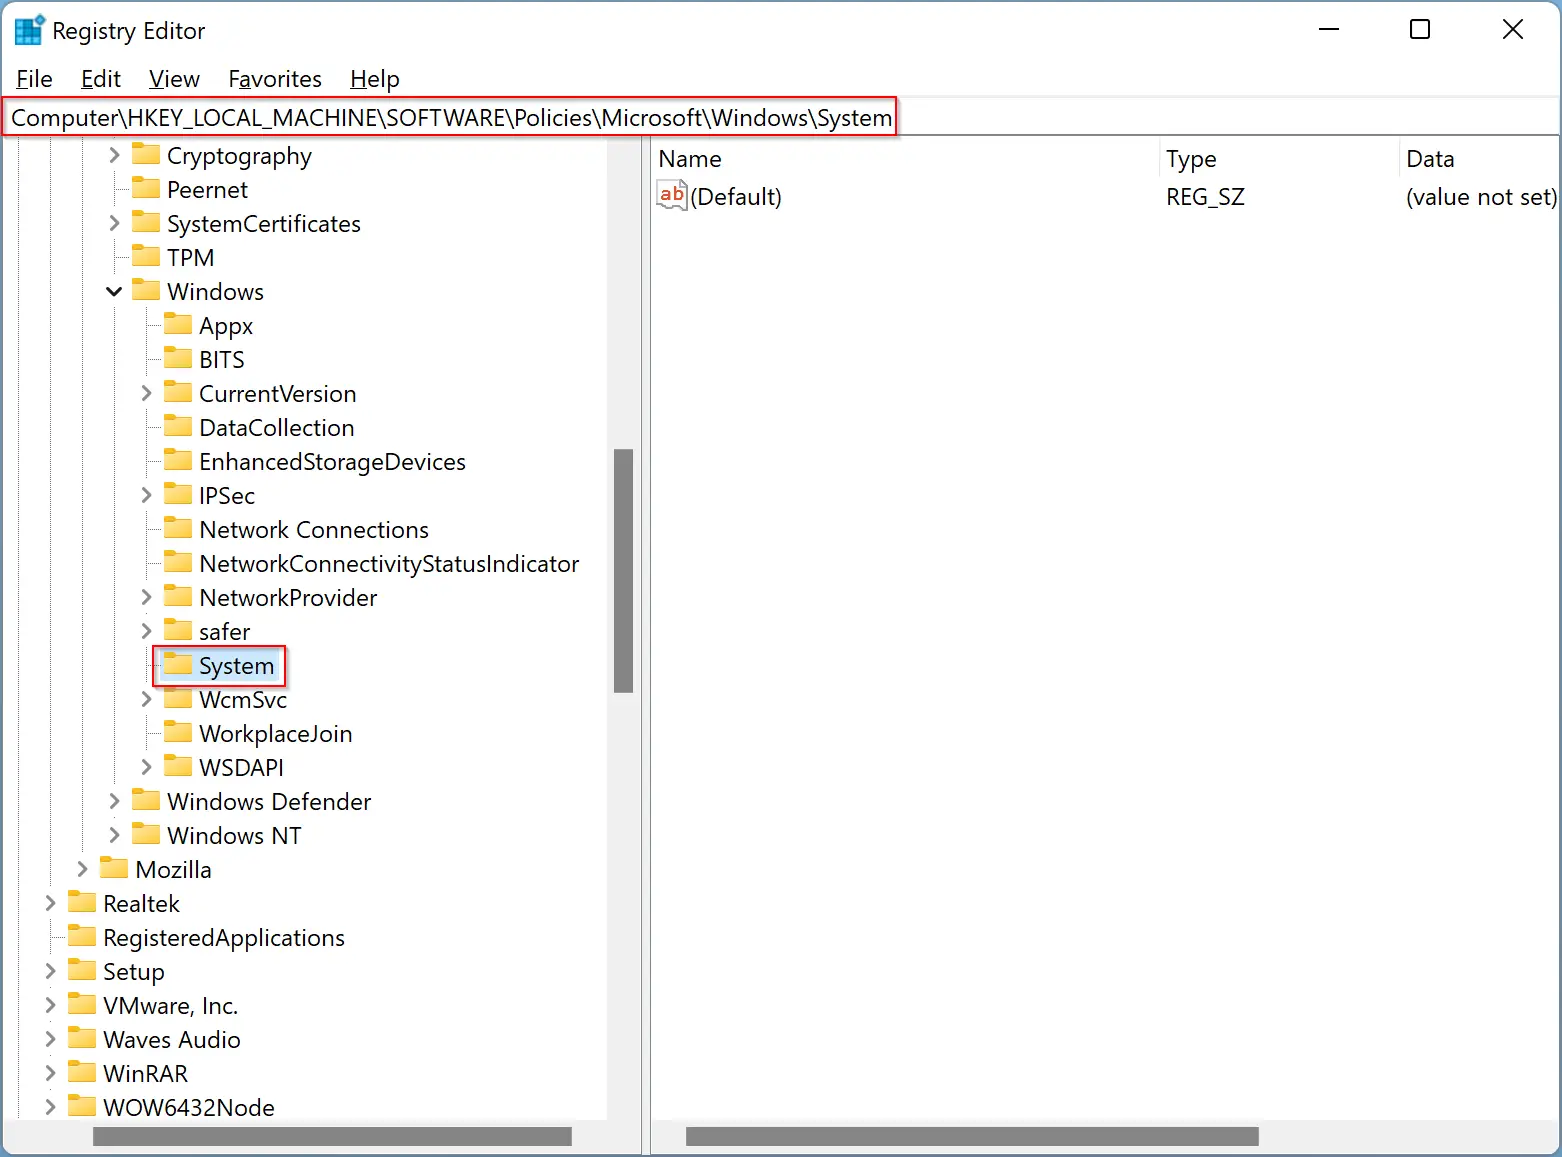
Step 3. Then right-click the “System” folder in the left sidebar and select New > DWORD (32-bit) Value. After that, name the new entry as BlockUserFromShowingAccountDetailsOnSignin.
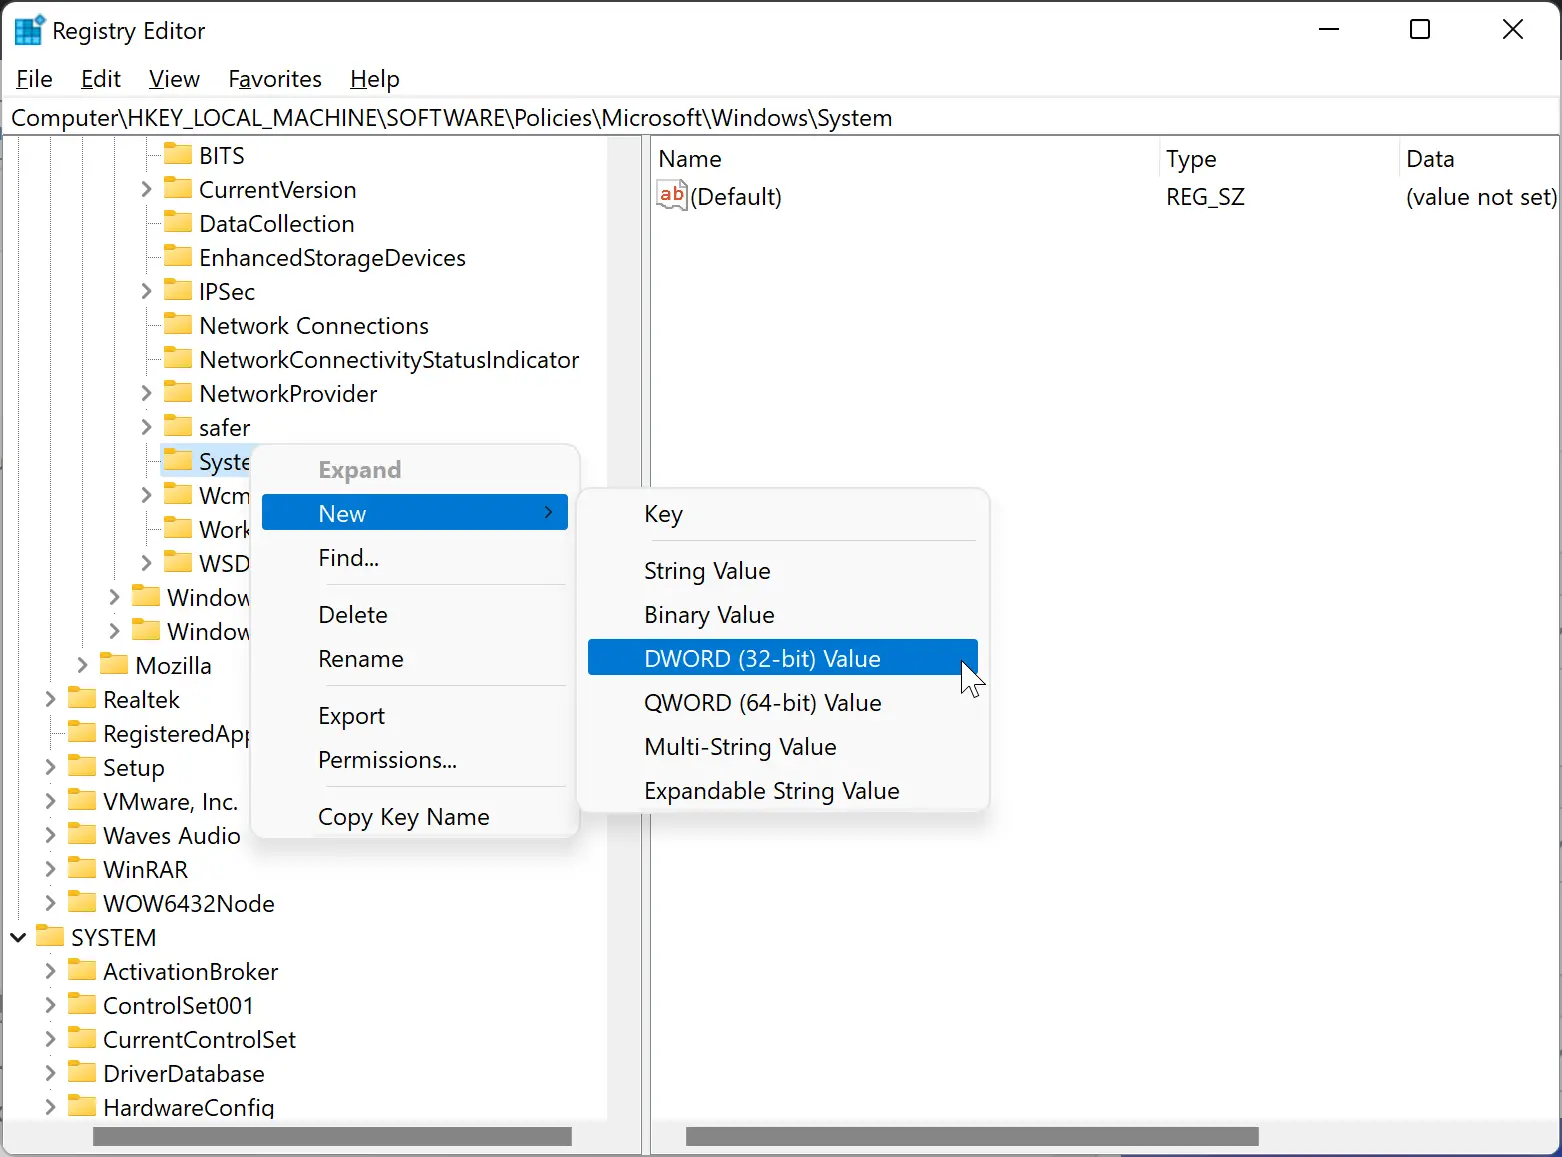
Step 4. When you’re done, double-click the BlockUserFromShowingAccountDetailsOnSignin to change its default value. Then, set the “Value data” to 0.
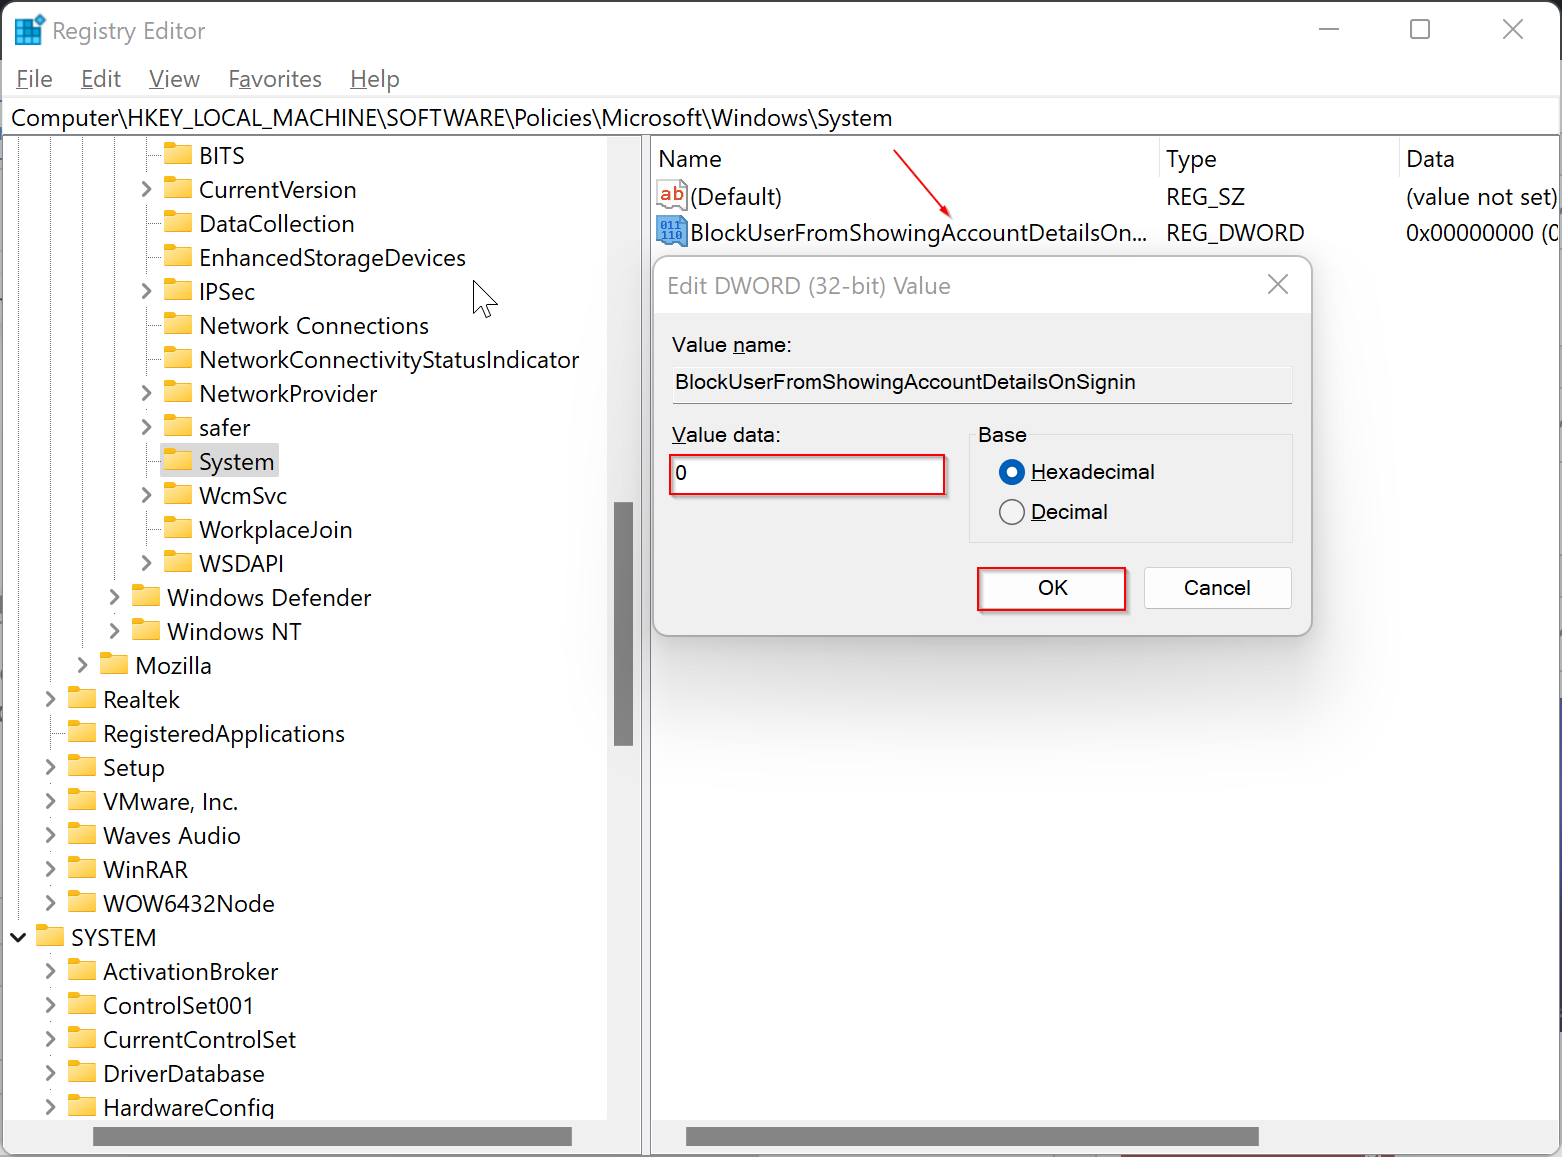
Step 5. Click OK.
Close the registry editor and then restart your computer to see the changes. If you want to revert the changes, navigate to the following registry key in the Registry Editor:-
Computer\HKEY_LOCAL_MACHINE\SOFTWARE\Policies\Microsoft\Windows\System
On the right side of the System folder, delete the “BlockUserFromShowingAccountDetailsOnSignin.” Then, restart your computer to restore the default settings.
Conclusion
In conclusion, if you’re someone who wants to view the email addresses on the sign-in screen on Windows 11, this article has provided different methods to do so. Whether it’s through the Settings app, Local Group Policy Editor, or the Registry Editor, you can easily show or hide the account details in the sign-in screen based on your preference. So, go ahead and choose the method that suits you best and customize your Windows 11 sign-in screen accordingly.