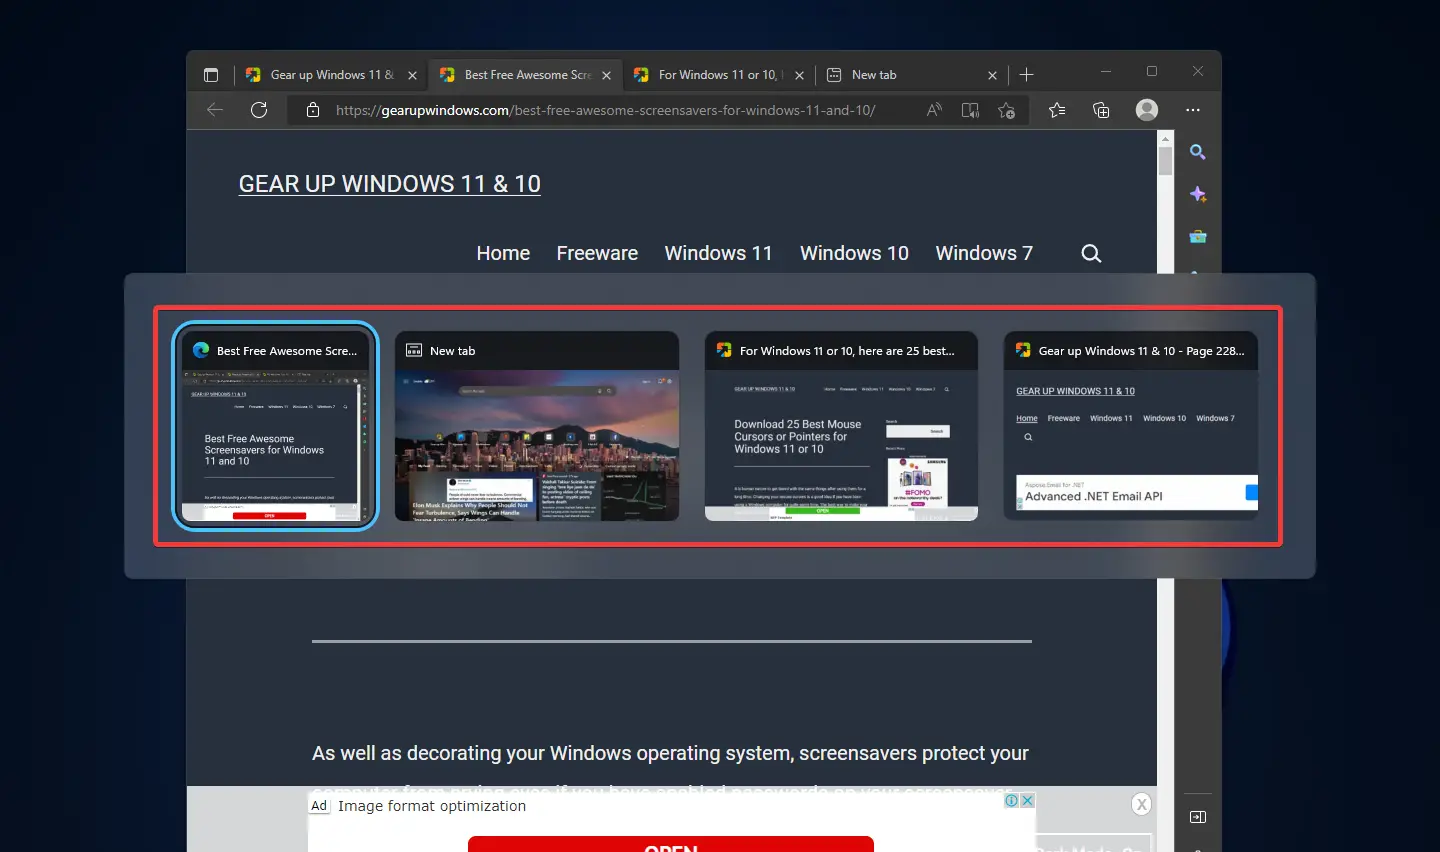
Windows 11 introduces a new Snap feature that greatly enhances multitasking capabilities. With the Snap windows feature, users can easily manage multiple open windows and tabs in Microsoft Edge on their computers. This feature allows users to resize and automatically arrange their current open windows and Edge tabs. When users hover their mouse cursor over the Maximize button in an active window, Windows 11 displays all available snap options and allows them to choose a snap option to align all of their running apps on a single screen. This feature is particularly useful for those who need to work on multiple tasks simultaneously and want to maximize their productivity.
In this gearupwindows article, you will learn to show or hide Edge tabs when snapping or pressing Alt+Tab on Windows 11.
How to Enable or Disable Edge Tabs when Snapping or Pressing Alt+Tab on Windows 11?
Follow these steps to show or hide Microsoft Edge tabs when Snapping or pressing Alt+Tab on Windows 11:-
Step 1. First, open Windows 11 Settings.
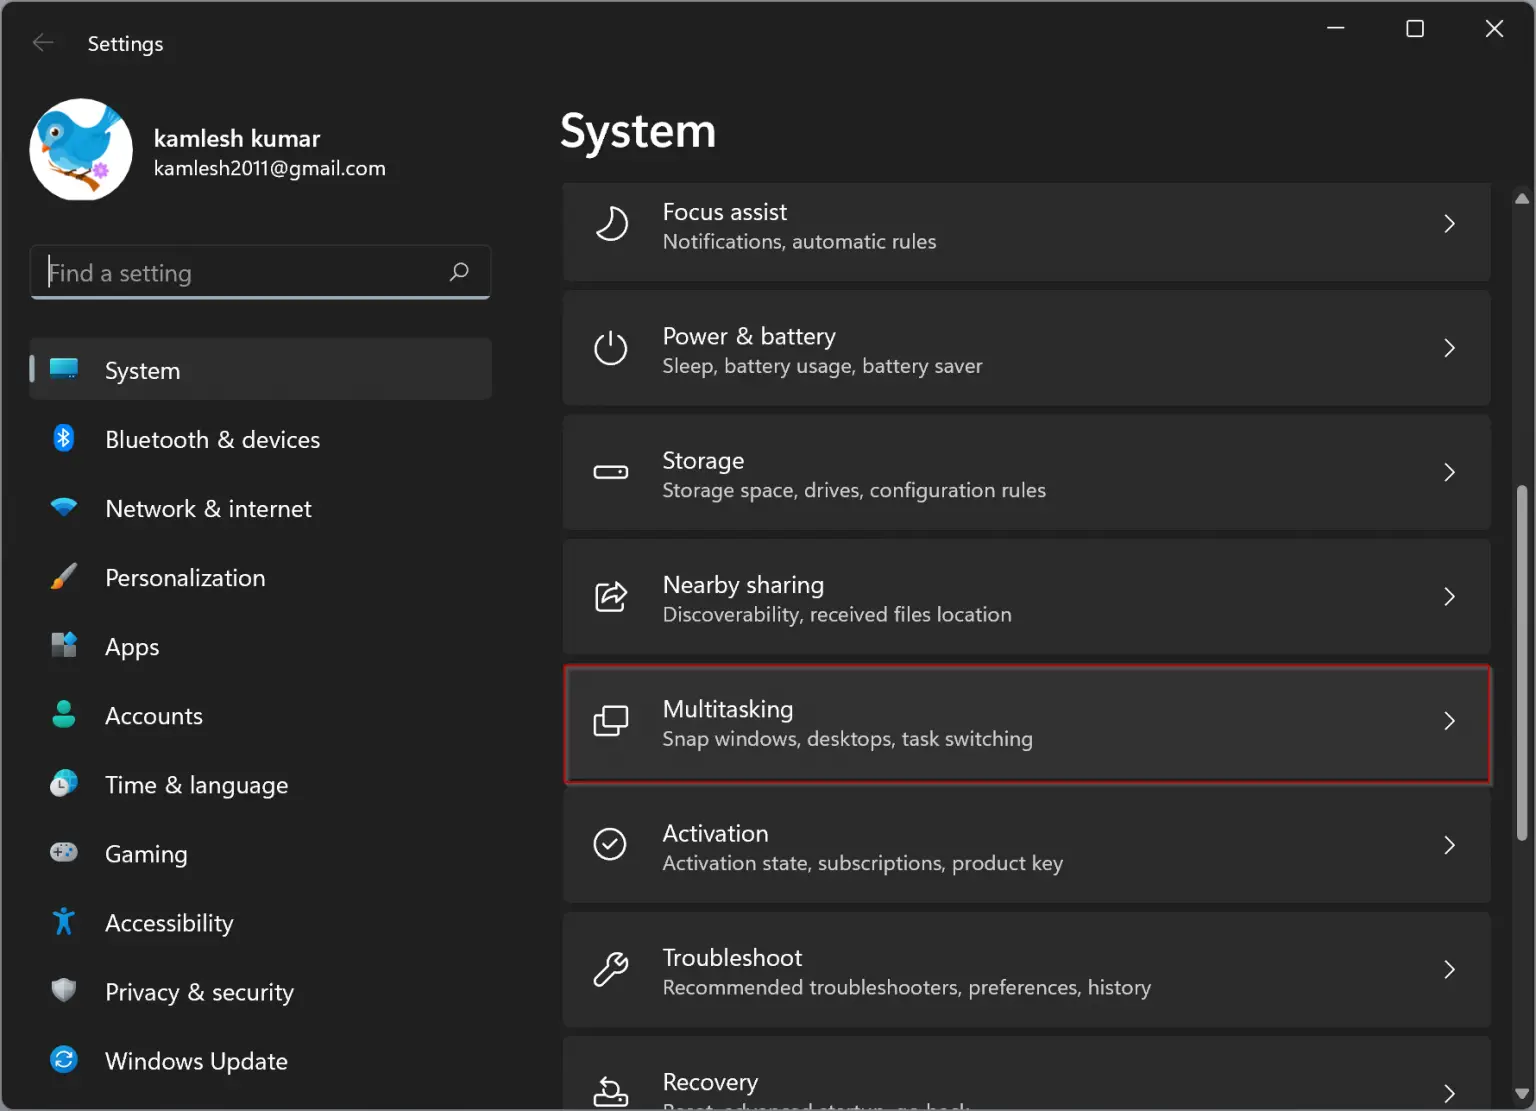
Step 2. Next, select System in the left pane.

Step 3. Then, click on the Multitasking tab on the right pane.
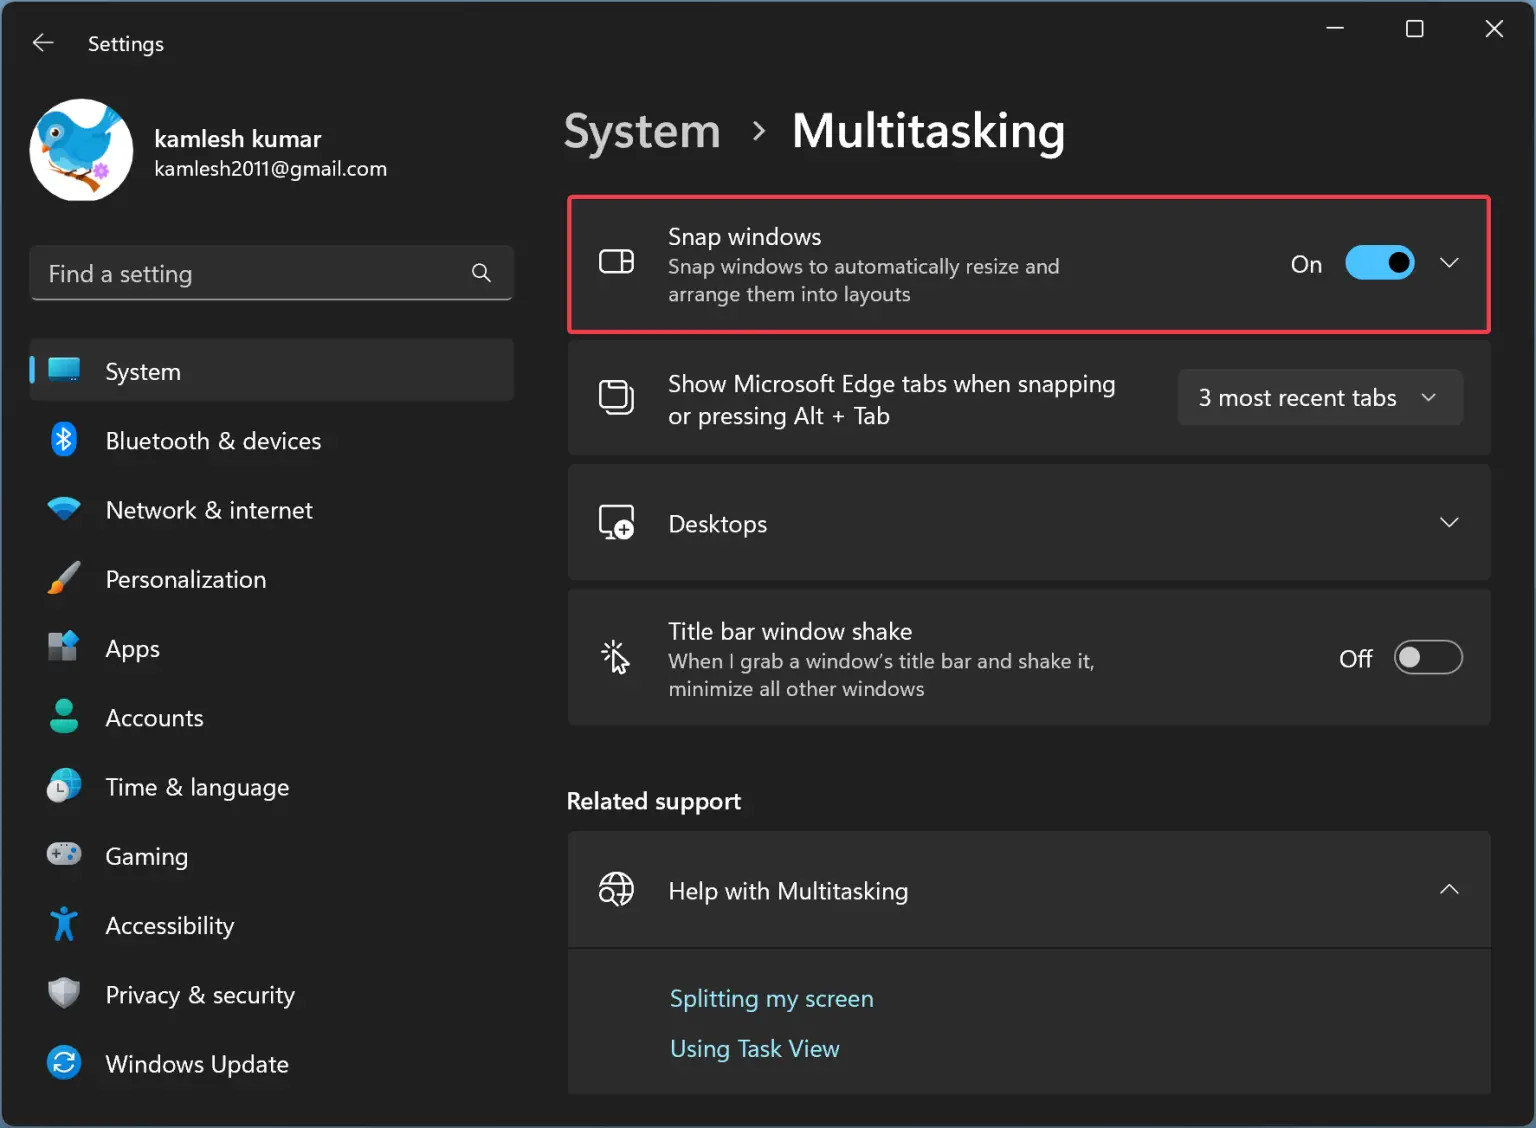
Step 4. After that, use the drop-down menu “Show Microsoft Edge tabs when snapping or pressing Alt + Tab” and choose one of the following options:-
- All tabs: This will show all tabs in one place, and then fill the remaining panes in the snap layout with tabs.
- 5 most recent tabs: This option displays the 5 most recent tabs in one place and then fills the remaining panes in the snap layout with other tabs.
- 3 most recent tabs: This option displays the 3 most recent tabs in one place and then fills the remaining panes in the snap layout with other tabs.
- Don’t show tabs: After selecting this option, Windows 11 will stop showing Edge tabs while using the Snap windows feature, or press Alt+Tab.

How to Disable Snap Assist in Windows 11?
Windows 11’s Snap Assist feature is designed to help users more easily manage their open windows and apps. This feature displays a list of available apps that can be snapped next to a previously snapped window, making it easy for users to arrange their windows in a way that suits their workflow. After placing an app in one of the panes on the snap layout, users can simply select the next pane and Snap Assist will display all the remaining apps that can be snapped to that pane. This feature is especially helpful for users who frequently multitask and need to switch between multiple apps quickly and efficiently.
If you want to enable or disable this feature, use these steps:-
Step 1. Very first, open Windows 11 Settings.
Step 2. Then, select System in the left pane.
Step 3. Next, click on the Multitasking tile on the right pane.
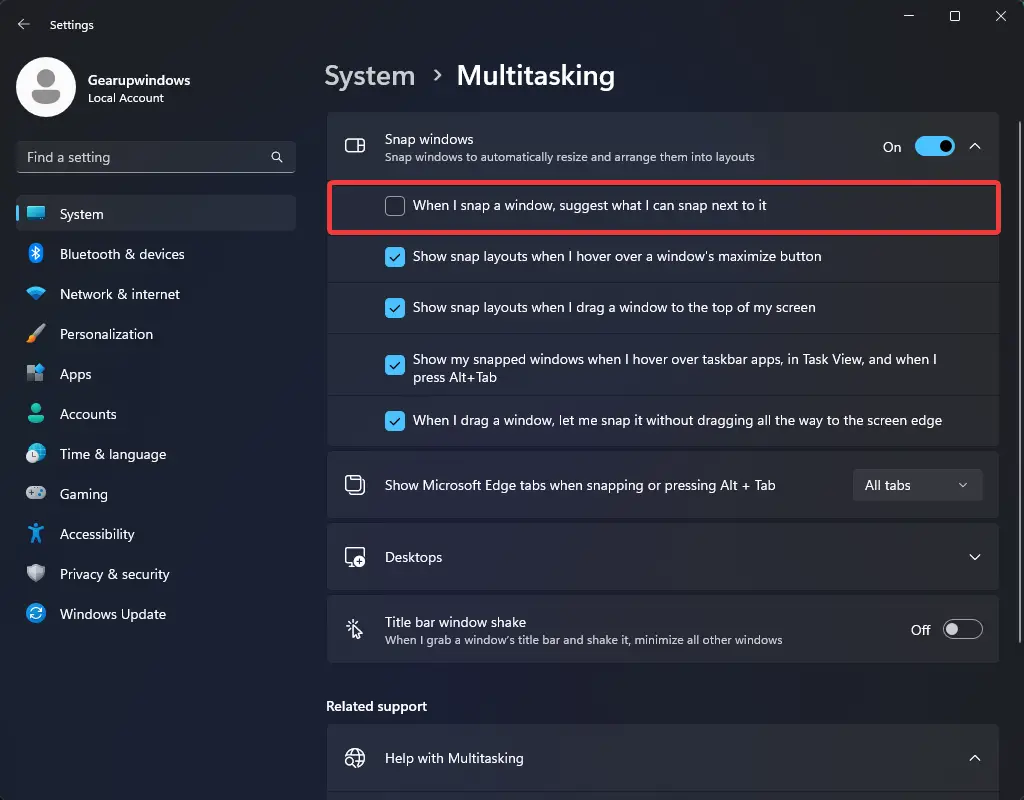
Step 4. After that, expand Snap windows by clicking on it.
Step 5. Here, uncheck or check the “When I snap a window, suggest what I can snap next to it” option to enable or disable the feature.
Conclusion
In conclusion, Windows 11 has introduced several new features to enhance multitasking capabilities and productivity for its users. The Snap windows feature, in particular, allows users to easily manage multiple open windows and tabs in Microsoft Edge on their computers. With the ability to resize and automatically arrange open windows and Edge tabs, users can work on multiple tasks simultaneously and maximize their productivity. Additionally, Windows 11’s Snap Assist feature helps users more easily manage their open windows and apps by suggesting apps that can be snapped next to a previously snapped window. By enabling or disabling these features, users can customize their multitasking experience on Windows 11 to suit their workflow needs.