As part of Windows 11/10 setup or when creating a local account via the Settings app, Windows asks you to choose and answer three security questions. These questions come in handy if you ever forget your Windows password and need to reset it. However, if you don’t plan to use security questions for password recovery in the future, you can skip this step. Learn more about Windows security and password recovery tips here.
In this gearupwindows article, we will guide you with steps to bypass three security questions when creating a local account in Windows 11 or 10.
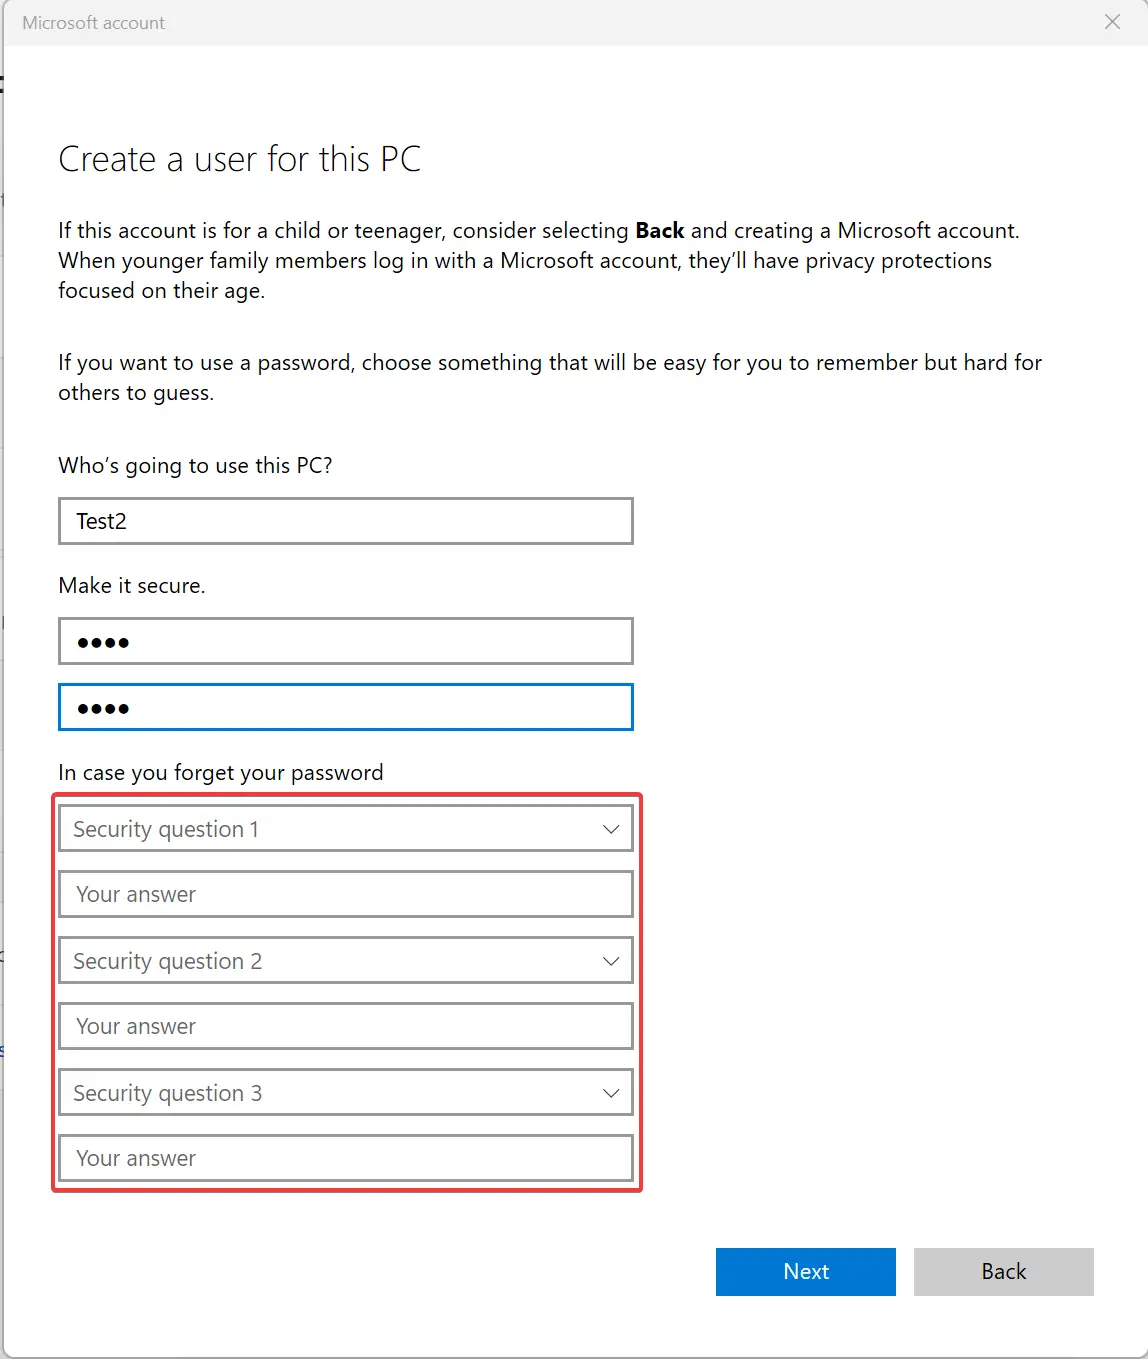
How to Skip Security Questions in Windows 11 or 10 by Leaving the Password Field Blank?
When creating a local account on your Windows machine, you can skip the password fields and click “Next” to have the three security questions automatically disappear. Once you’ve added the local user account, you can sign in without a password. Find more helpful tips and tricks for managing your Windows accounts here.
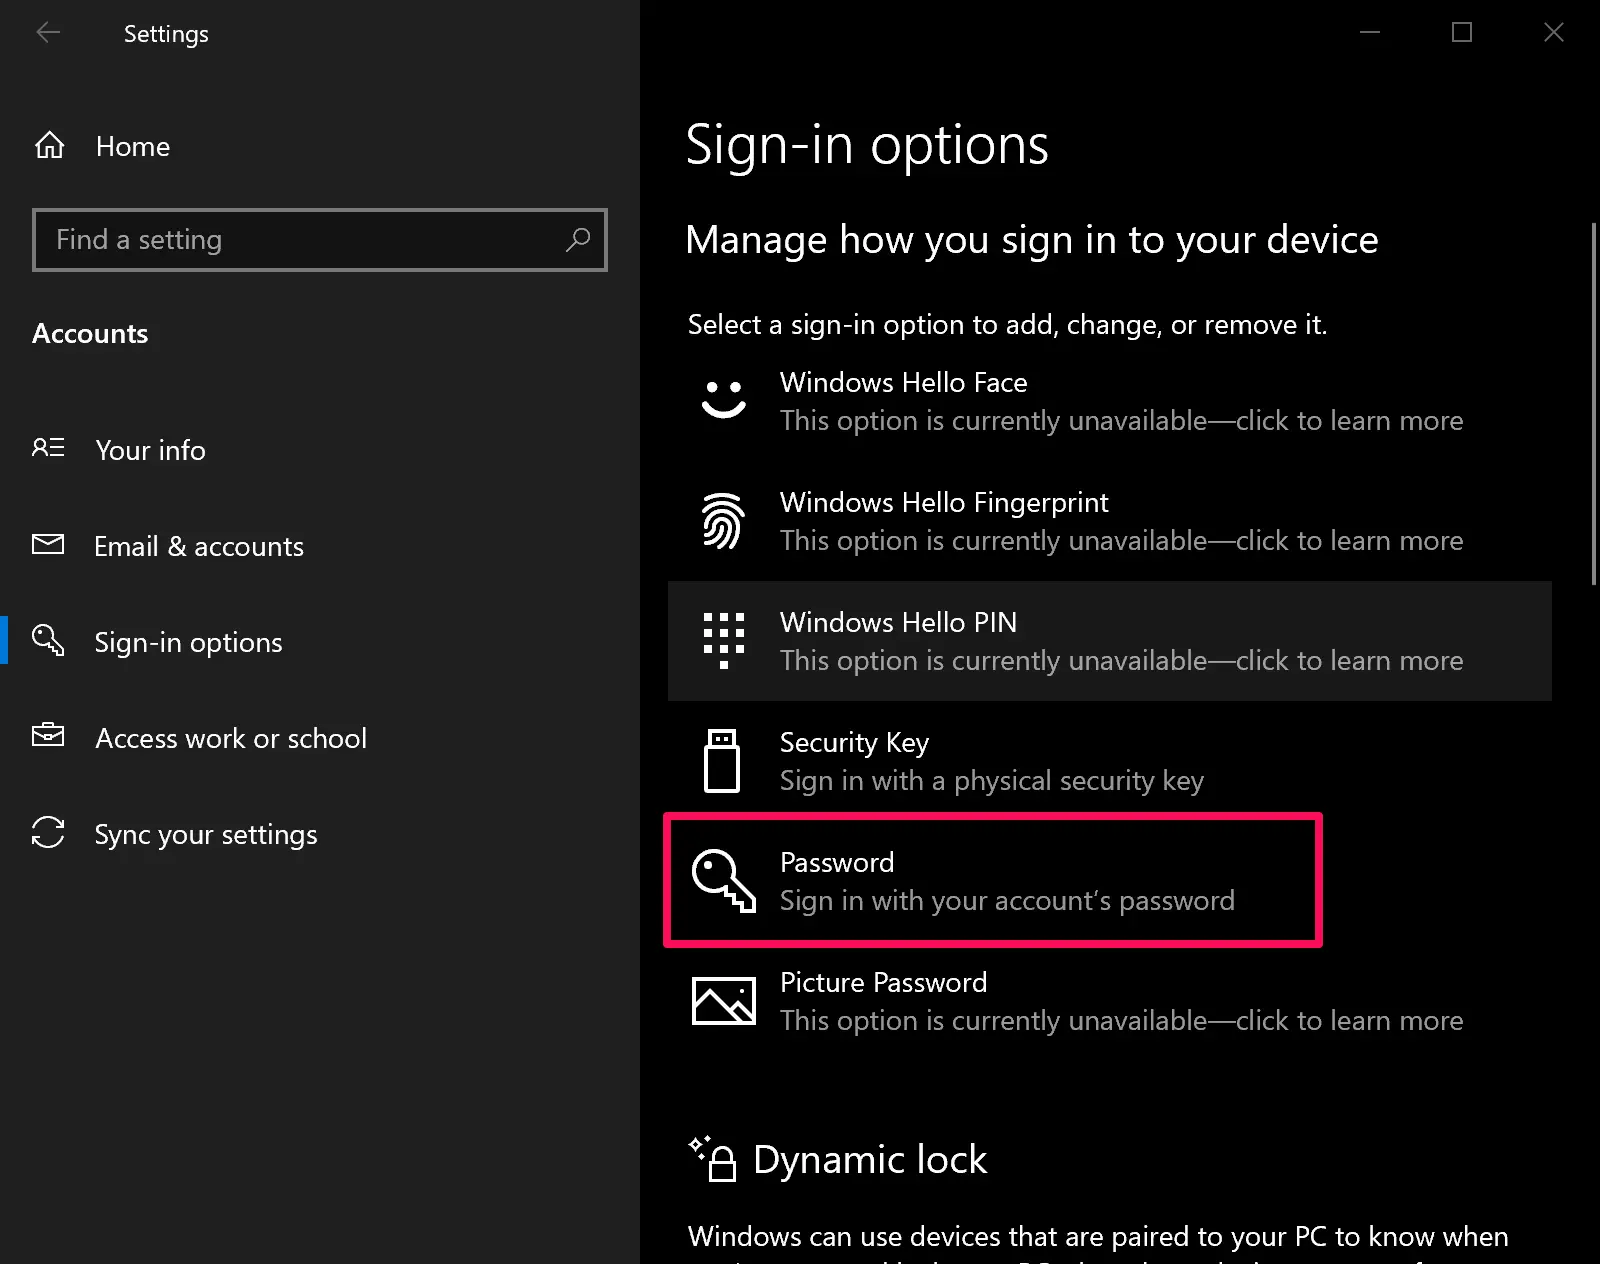
Then, navigate to Settings > Accounts > Sign-in options. Here, click on Password to expand it.
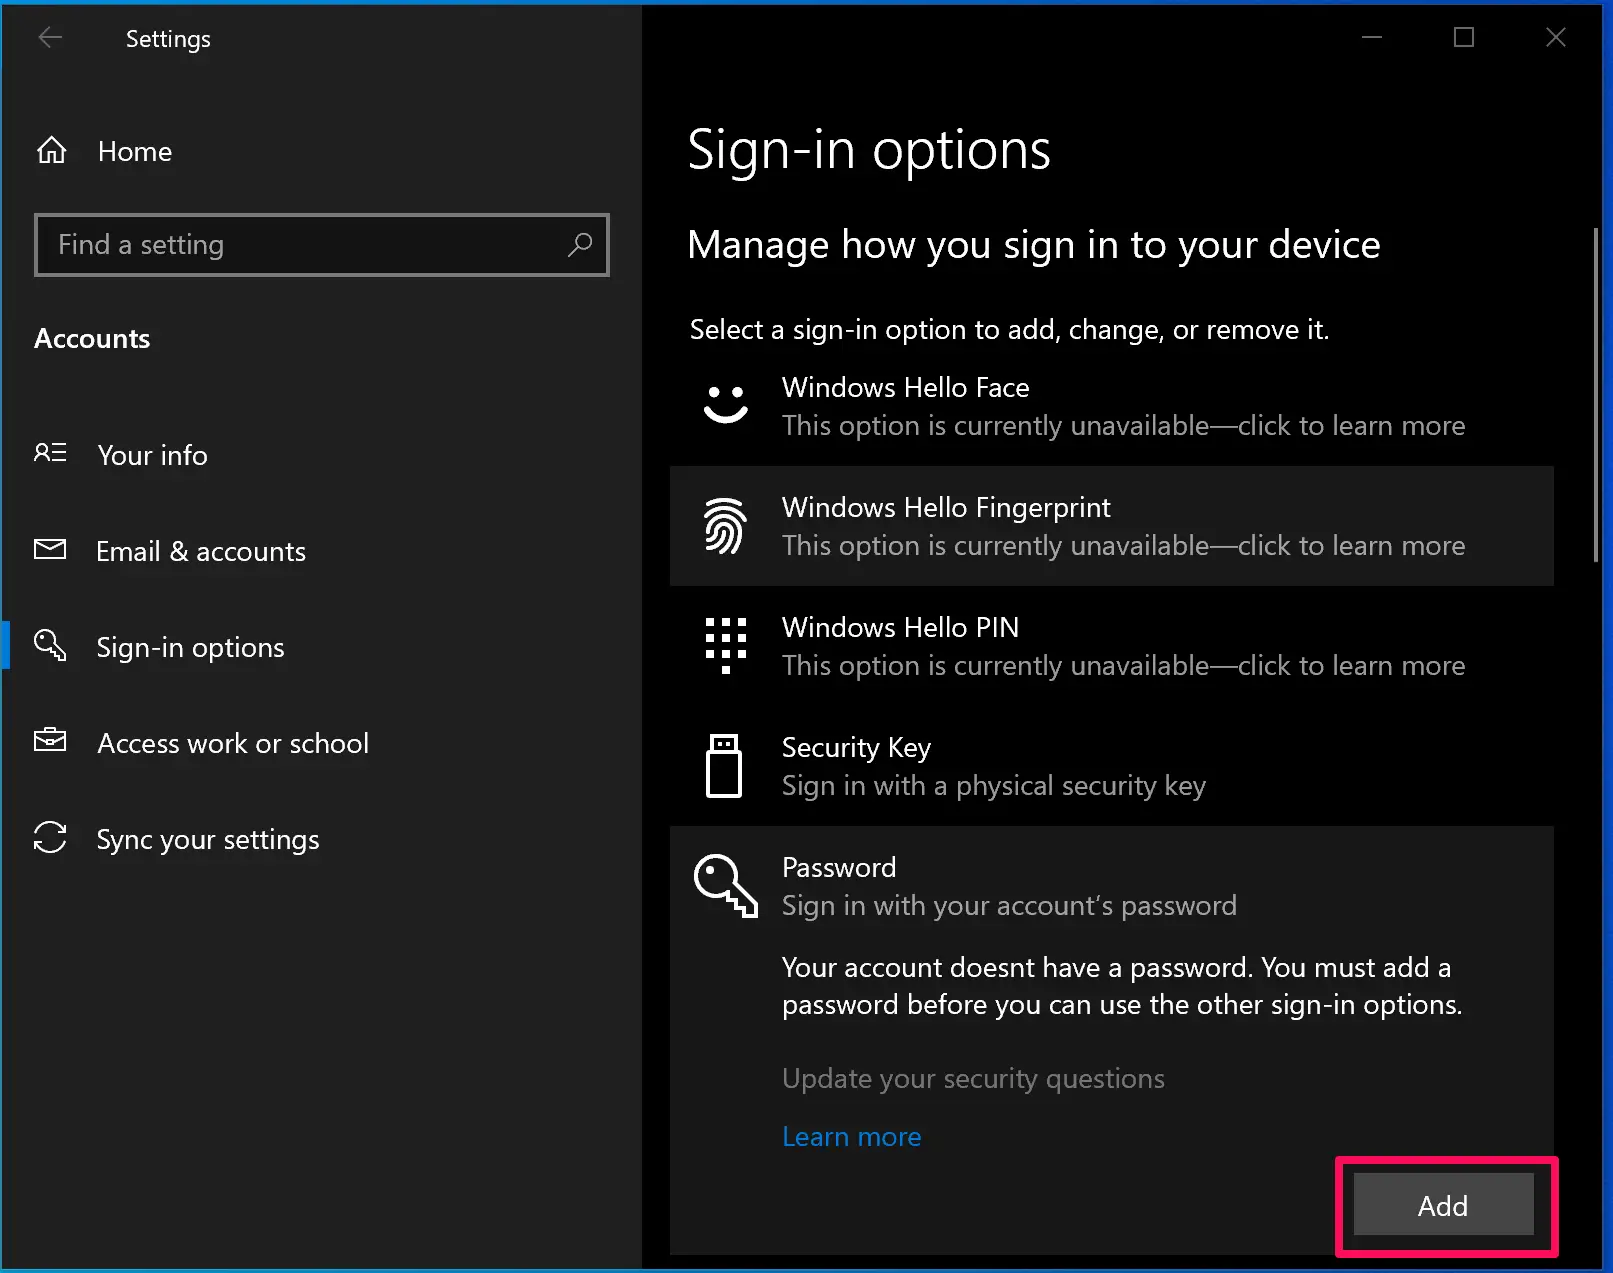
Then, click the Add button under Password.
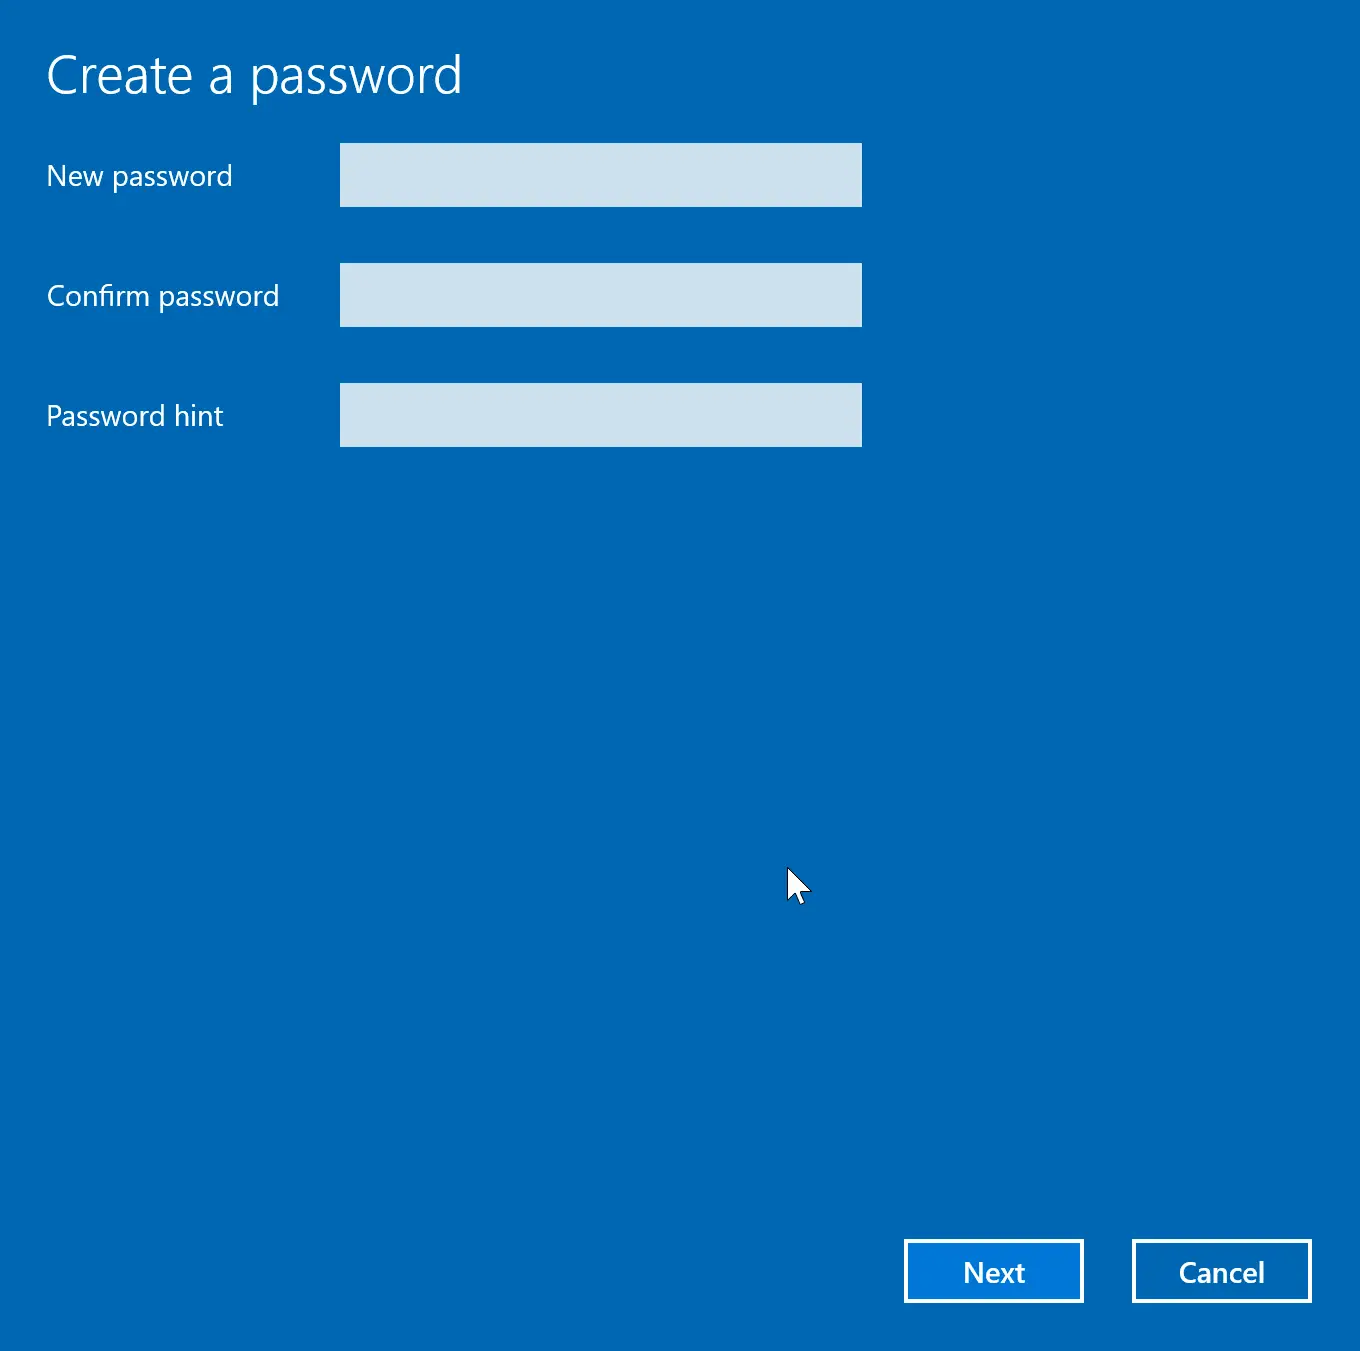
You can create a password in the pop-up window without entering the security questions and answering them.
How to Disable Security Questions during Account Setup in Windows 11 or 10 using Group Policy Editor?
To turn off security questions in Windows 11 or 10 using Group Policy Editor, do these steps:-
Step 1. Open Local Group Policy Editor.
Step 2. Then, navigate to the following path on the left side of Local Group Policy Editor:-
Computer Configuration > Administrative Templates > Windows Components > Credential User Interface
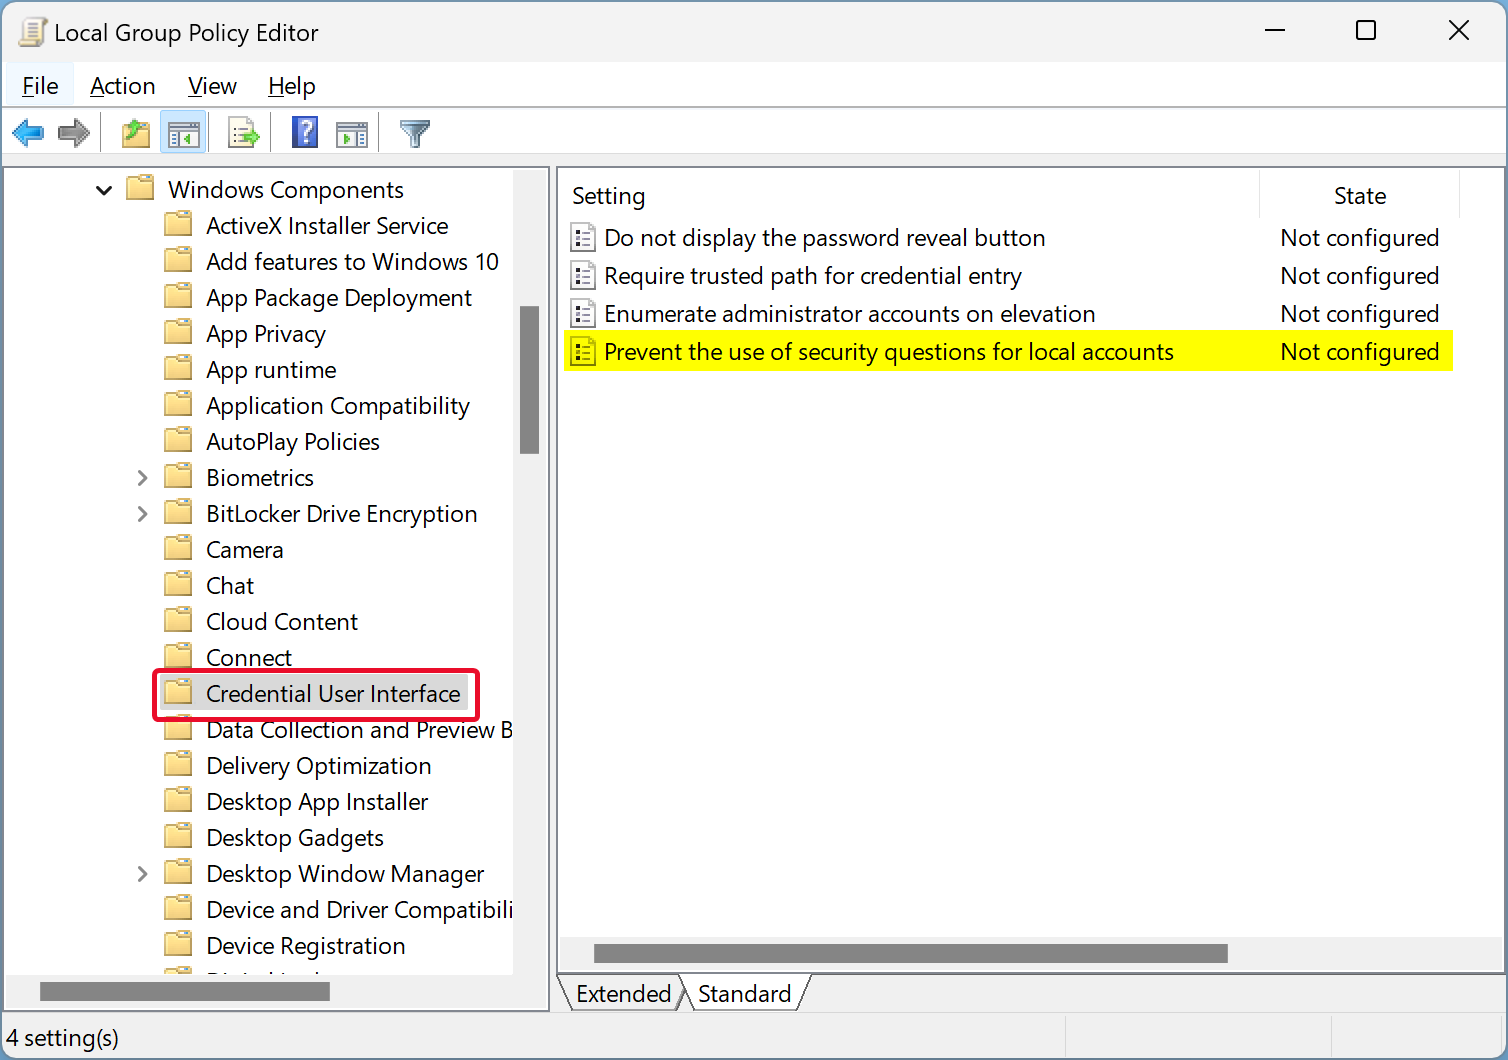
Step 3. On the right side of the “Credential User Interface” folder, double-click on the policy “Prevent the use of security questions for local accounts” to open it.
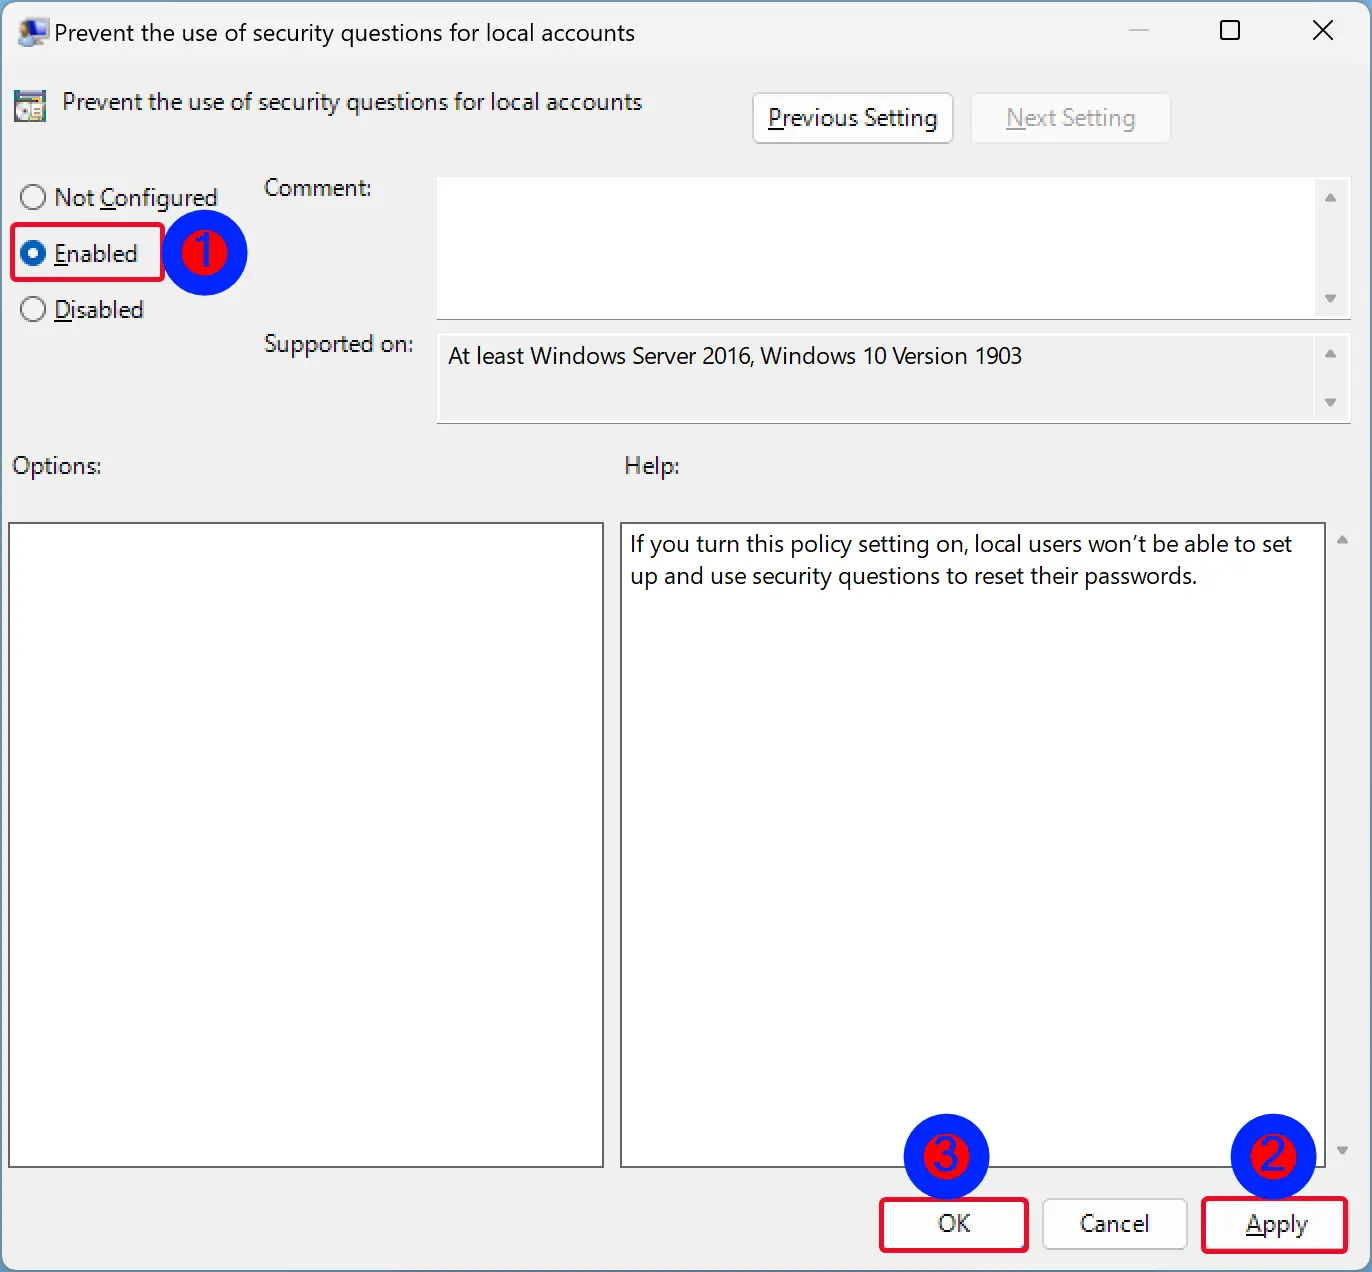
Step 4. Select the Enabled option.
Step 5. Click Apply.
Step 6. Click OK.
Step 7. Restart your computer to apply the changes.
Once you complete the above steps, the next time you try to add a new local account using the Settings app, it will no longer prompt you to select three security questions to answer.
How to Turn Off Local Account Security Questions Using Windows Registry?
To disable the local account security questions by tweaking the registry, use these steps:-
Step 1. First, open Registry Editor.
Step 2. In the Registry Editor, navigate to the following path in the left sidebar:-
HKEY_LOCAL_MACHINE\SOFTWARE\Policies\Microsoft\Windows
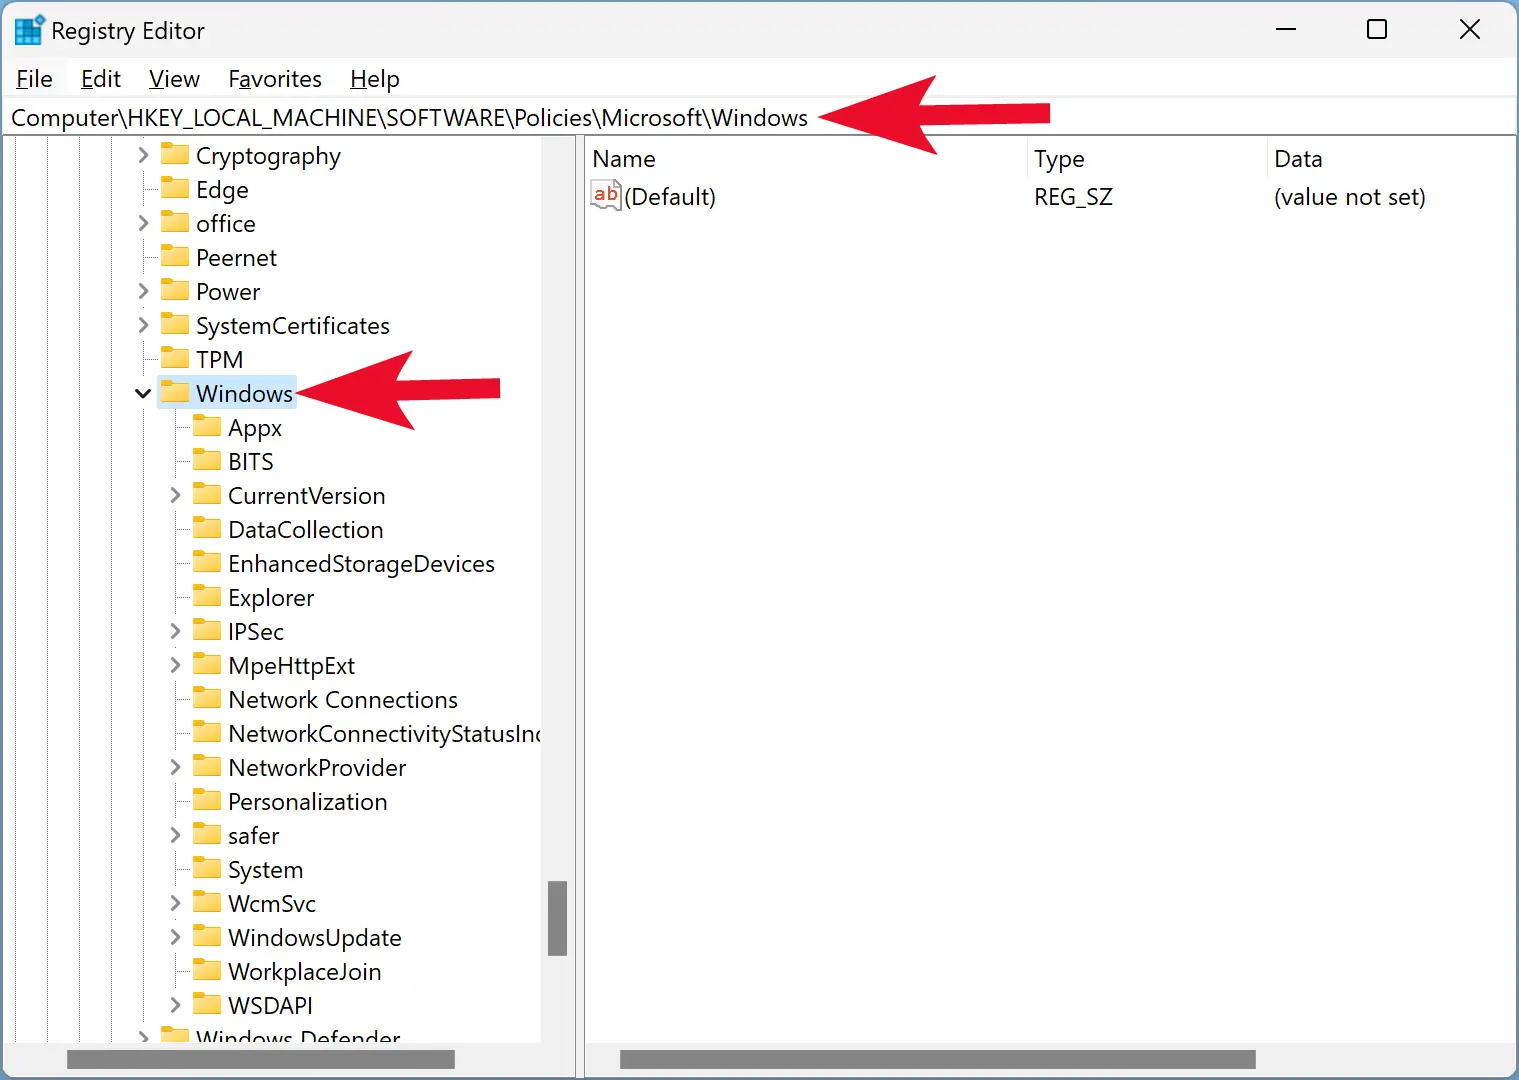
Step 3. Then, under the Windows key, look for the sub-key “System.” If it does not exist, you need to create one. To do that, right-click the Windows key and select New > Key.
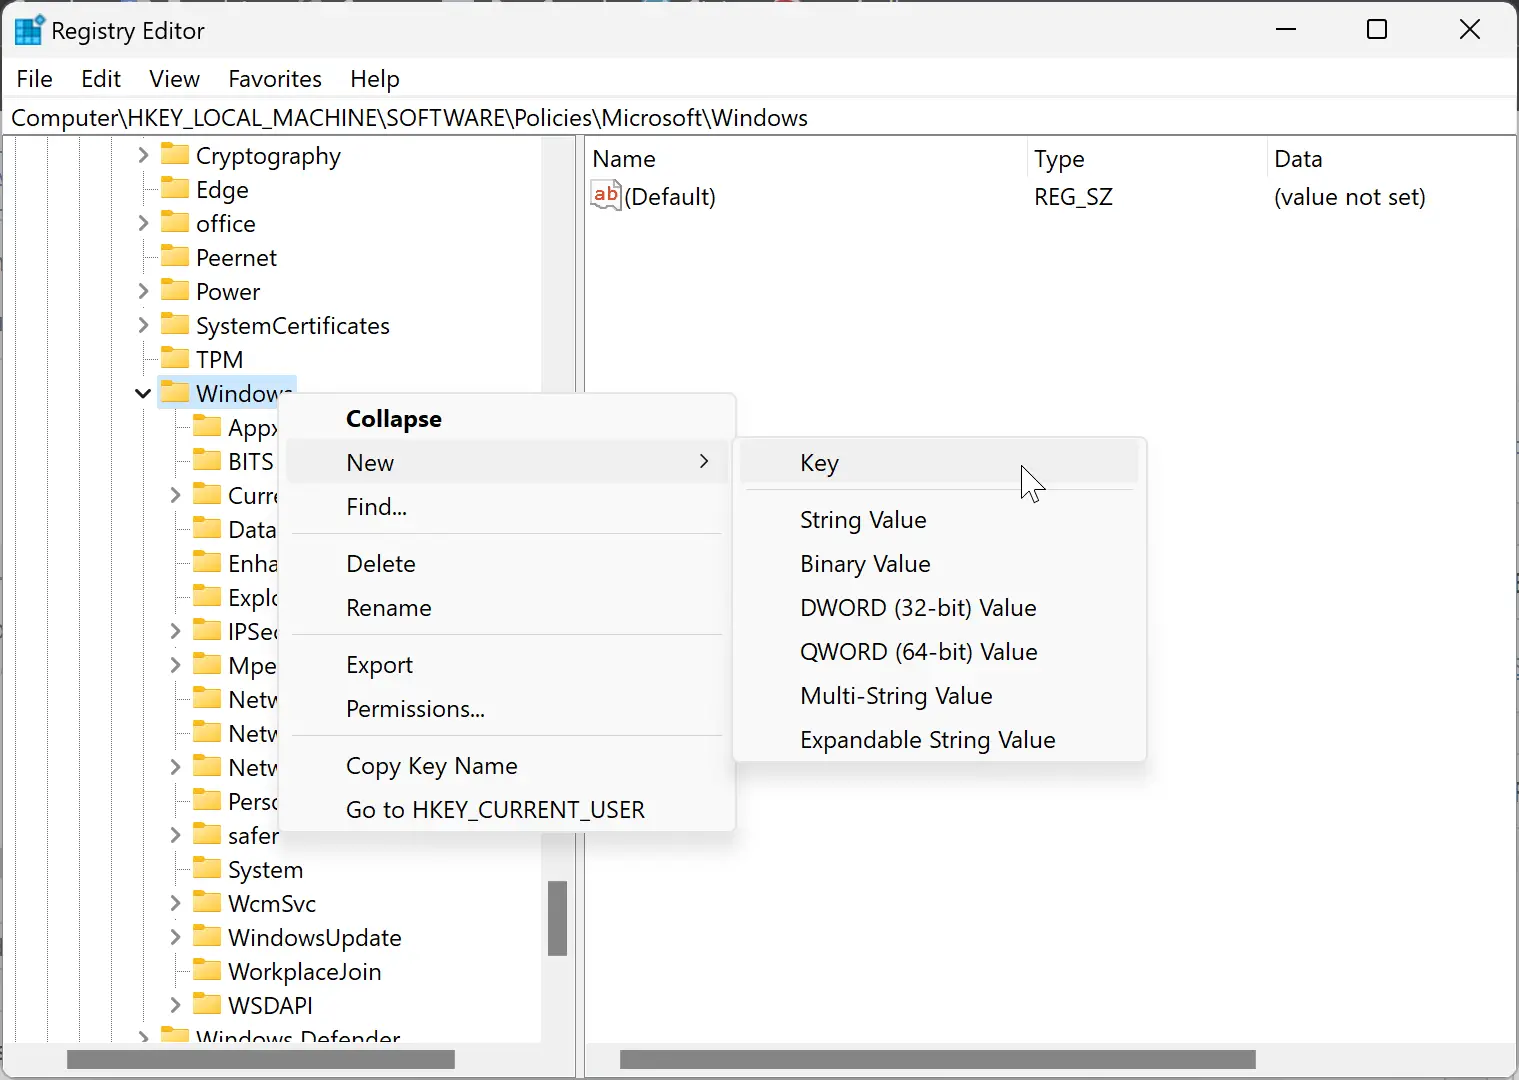
Step 4. Name the newly created key as System.
Step 5. Now, right-click on the newly-created System key, and select New > DWORD (32-bit) Value.
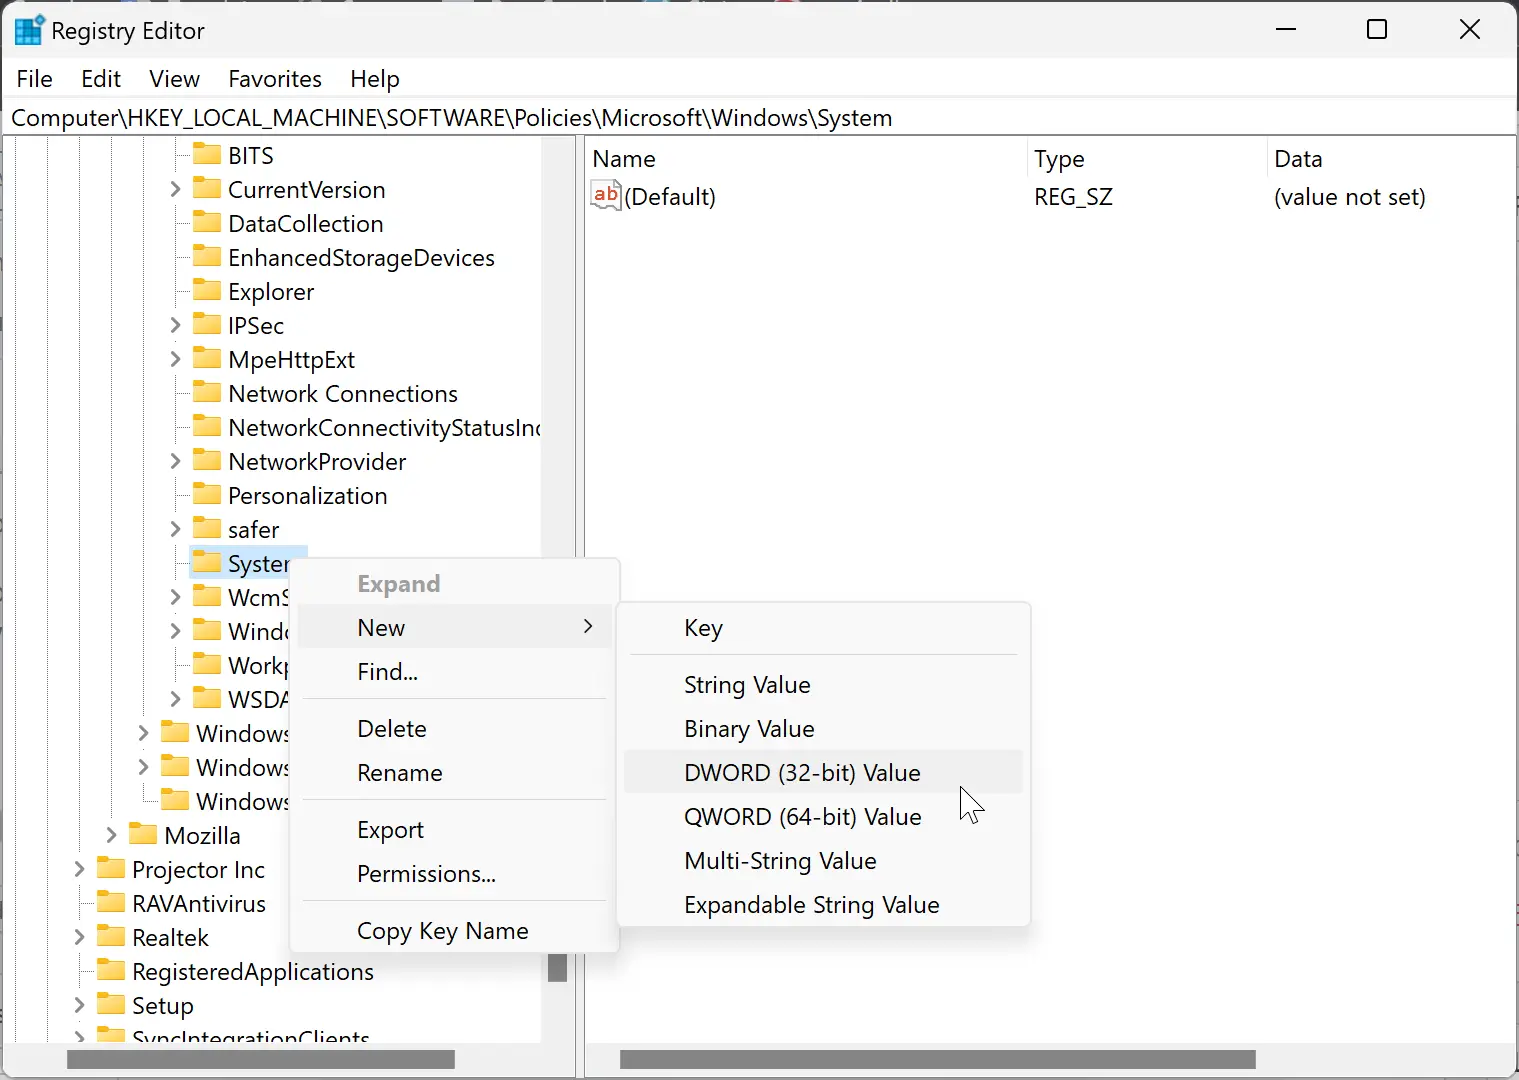
Step 6. Name the newly created REG_DWORD as NoLocalPasswordResetQuestions.
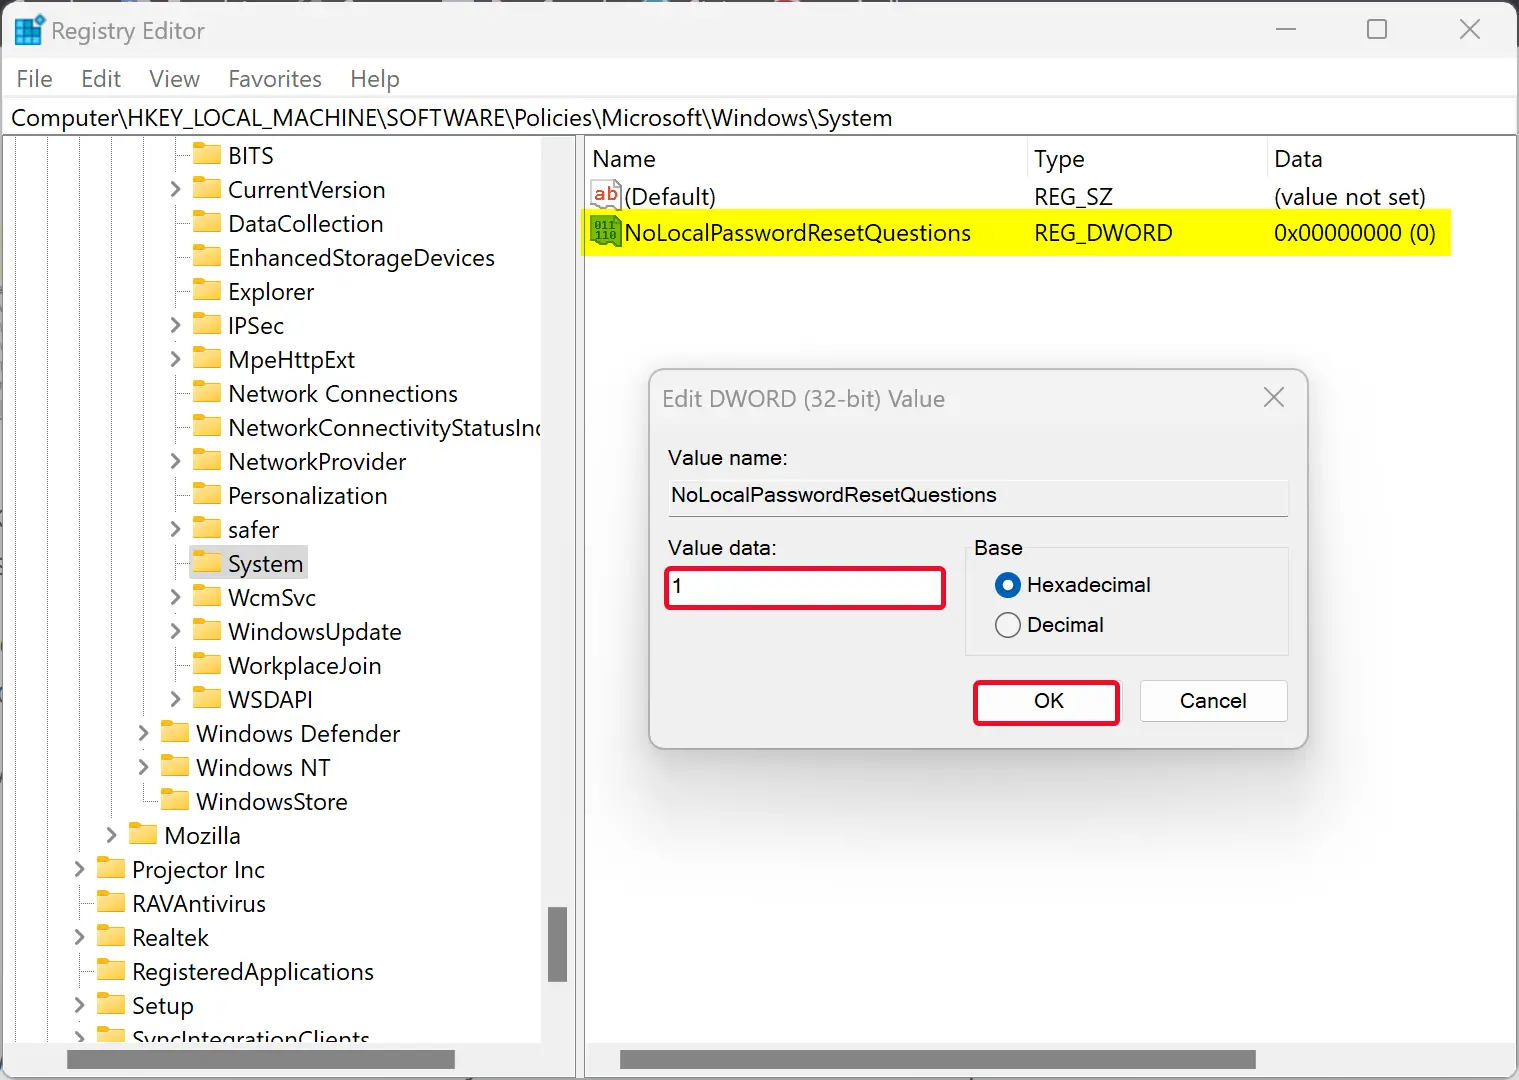
Step 7. Next, double-click on the NoLocalPasswordResetQuestions REG_DWORD and set its “Value data” to 1.
Step 8. Click OK.
Step 9. At least restart your computer to apply the changes.
Once you complete the above steps, Windows 11/10 will stop asking you to set up security questions when you create a new local account.
Conclusion
In conclusion, Windows 11/10 setup prompts you to choose and answer three security questions when creating a local account. These questions can come in handy when you forget your password and need to reset it. However, if you don’t plan to use security questions for password recovery, there are ways to skip this step. You can either leave the password field blank when creating a local account or disable security questions using Group Policy Editor or Windows Registry. By following the steps outlined in this gearupwindows article, you can easily turn off security questions during account setup in Windows 11/10.