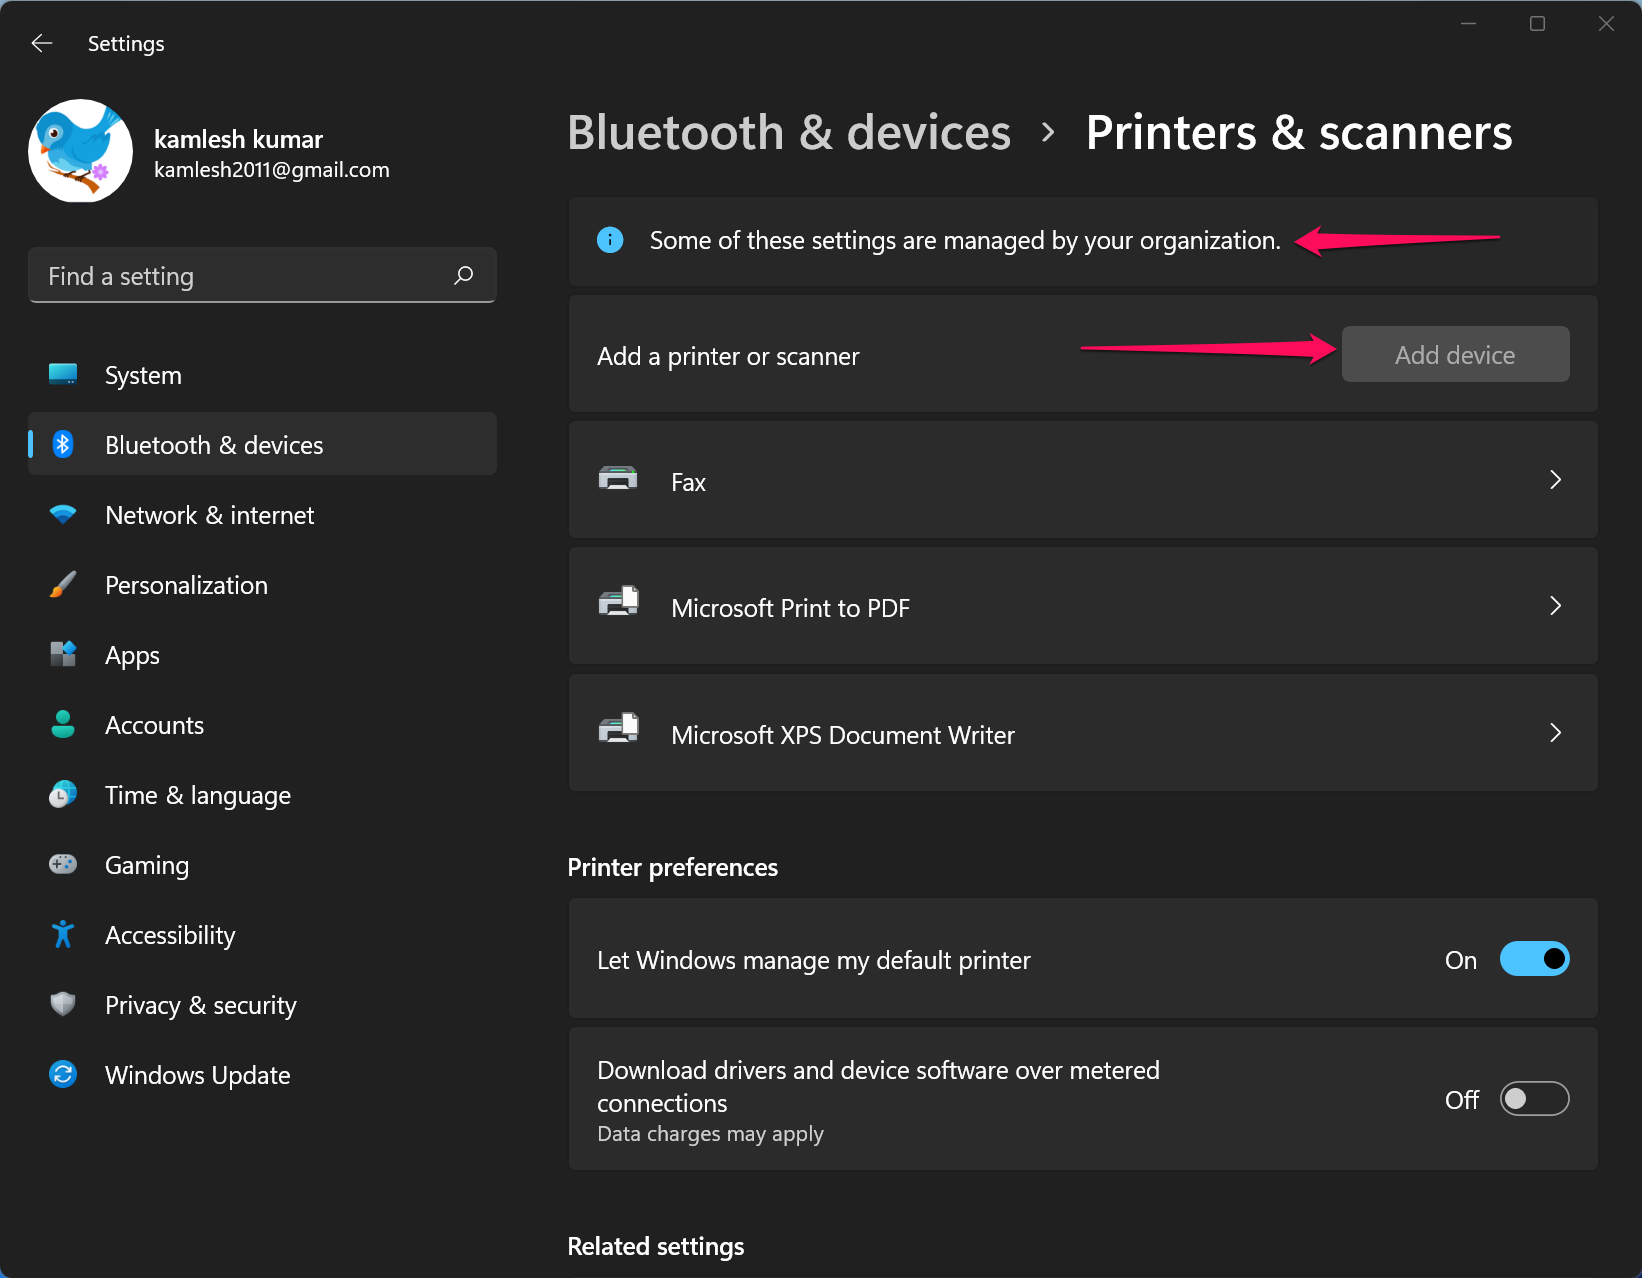
One can easily install a local and network printer on Windows 11 PC. For that, you need to navigate through Settings > Bluetooth & devices > Printers & scanners and select Add device button. But, if you want to prevent installing printers on your computer, what will you do? In this article, we will guide you on avoiding the addition of printers to Windows 11/10 computers.
When you configure the setting to disable adding the printers, the Add device option available in the Settings app for “Add a printer or scanner” will be greyed out. Above that, you will also see, “Some of these settings are managed by your organization.”
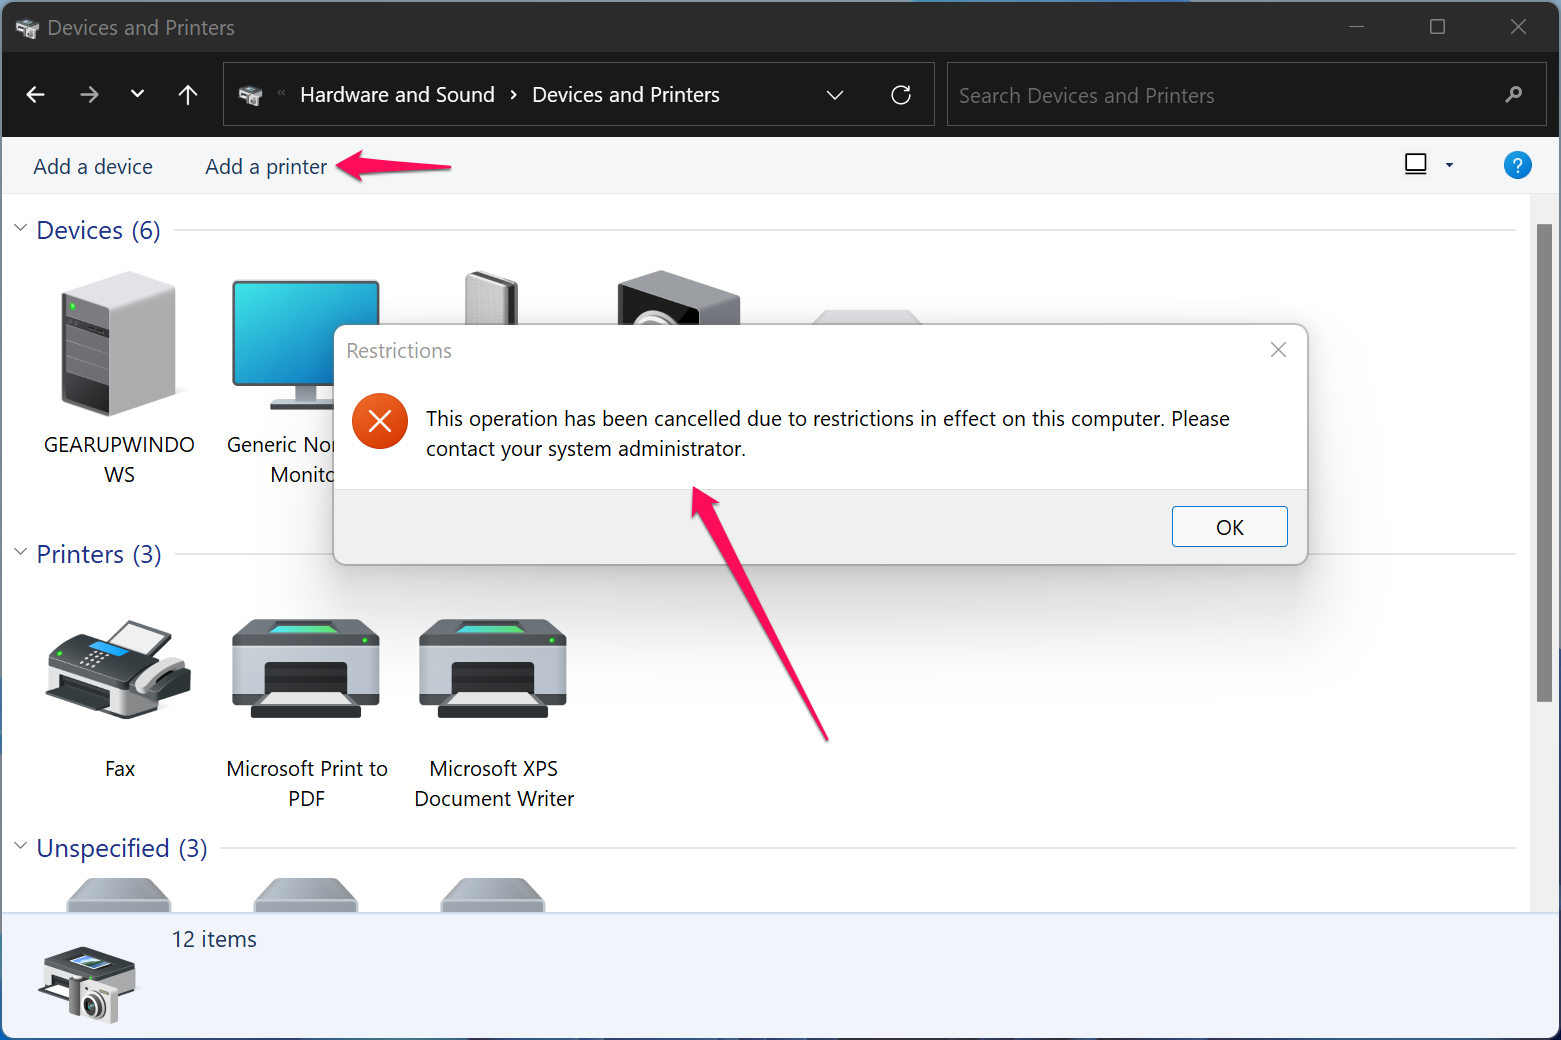
Apart from that, when you try to add a printer through the “Devices and Printers” section and you click on the Add a printer option, you will see a message, “This operation has been canceled due to restrictions in effect on this computer. Please contact your system administrator.”
How to Prevent Adding a Printer in Windows 11 or 10 using Group Policy Editor?
Please note that if you are using Windows 11/10 Home edition, you can not use this method because group policy is not part of that. Either enable gpedit.msc on your PC or use the registry method.
To stop adding a new printer in Windows 11 or 10, do the following:-
Step 1. First, open Local Group Policy Editor.
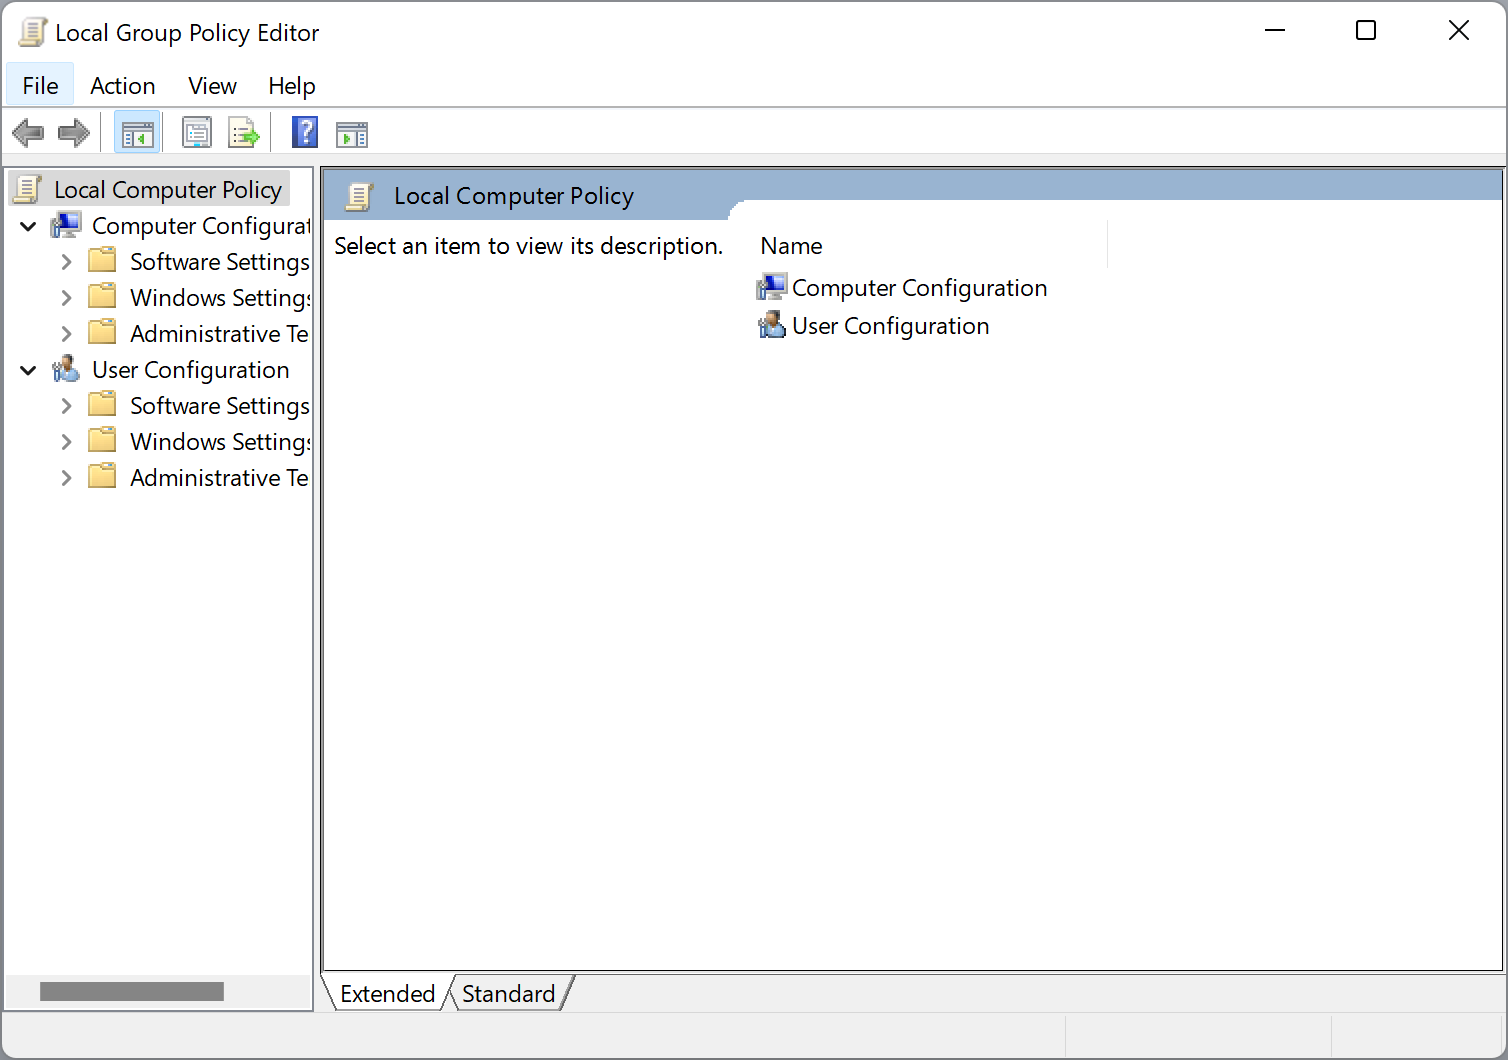
Step 2. When the Local Group Policy Editor window opens, navigate to the following path from the left sidebar:-
User Configuration > Administrative Templates > Control Panel > Printers
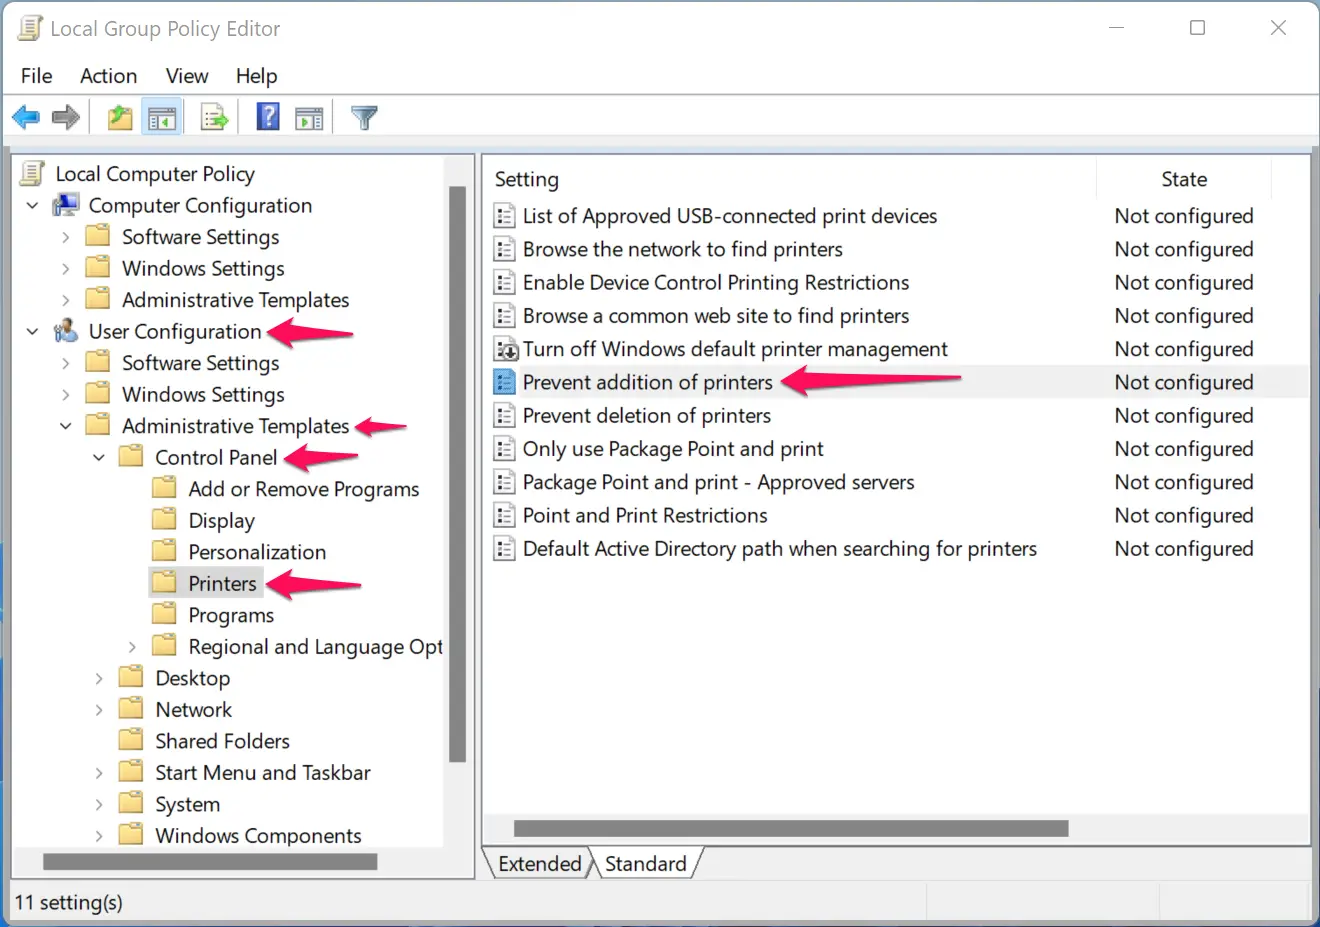
Step 3. After that, on the right sidebar, look for the policy name, “Prevent addition of printers,” and double-click on it to modify.
Step 4. Select Enabled.
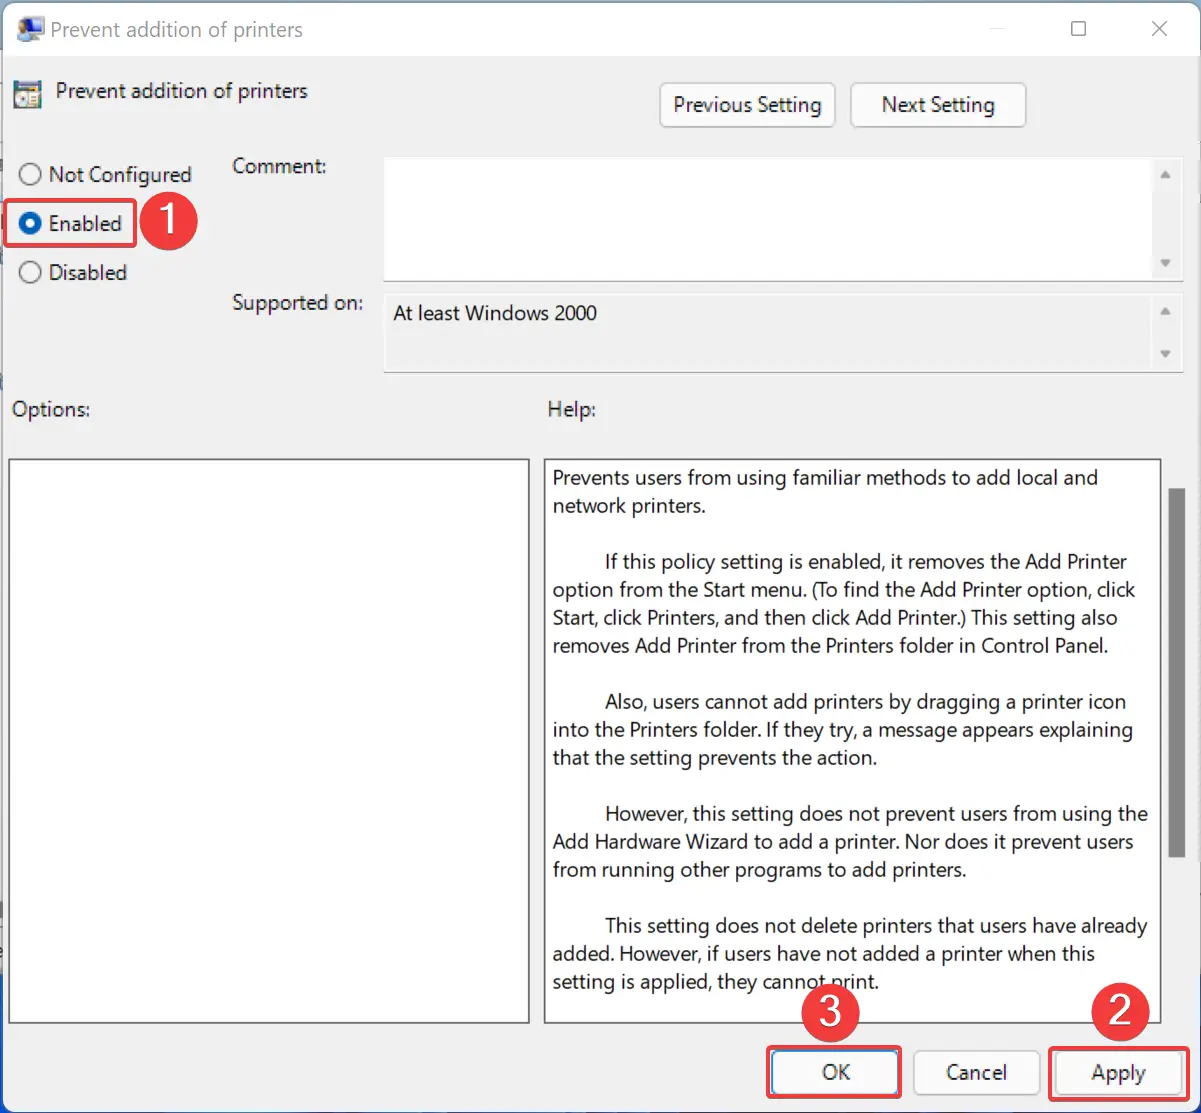
Step 5. Then, click Apply button.
Step 6. Finally, click the OK button to exit.
Once you complete the above steps, none of the users’ accounts under your Windows 11/10 PC will add a local or network printer using standard methods. However, this will not affect already installed printers. So you can keep using the already installed printers.
To undo the changes, repeat the above steps, and in step 4 above, you need to select the Not Configured option.
How to Disallow Adding a Printer in Windows 11 or 10 through Registry Editor?
To disallow adding a printer in Windows 11 using Registry Editor, do the following:-
Step 1. First, open Registry Editor.

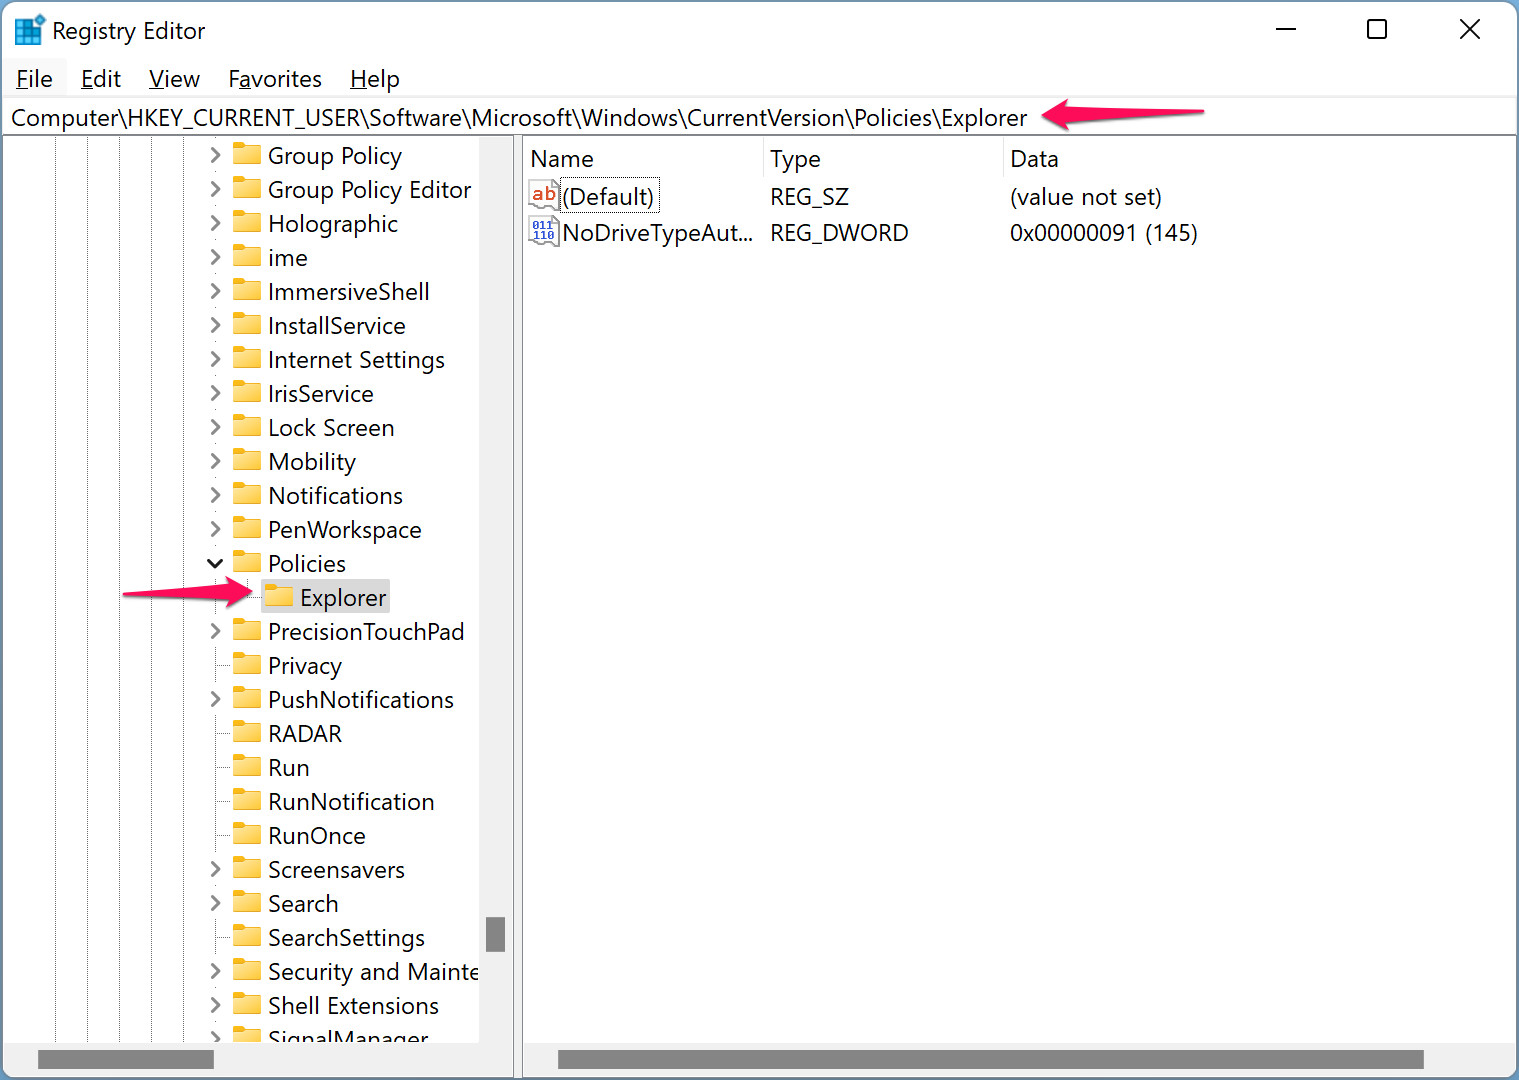
Step 2. When the Registry Editor window opens, browse to the following key from the left sidebar:-
Computer\HKEY_CURRENT_USER\Software\Microsoft\Windows\CurrentVersion\Policies\Explorer
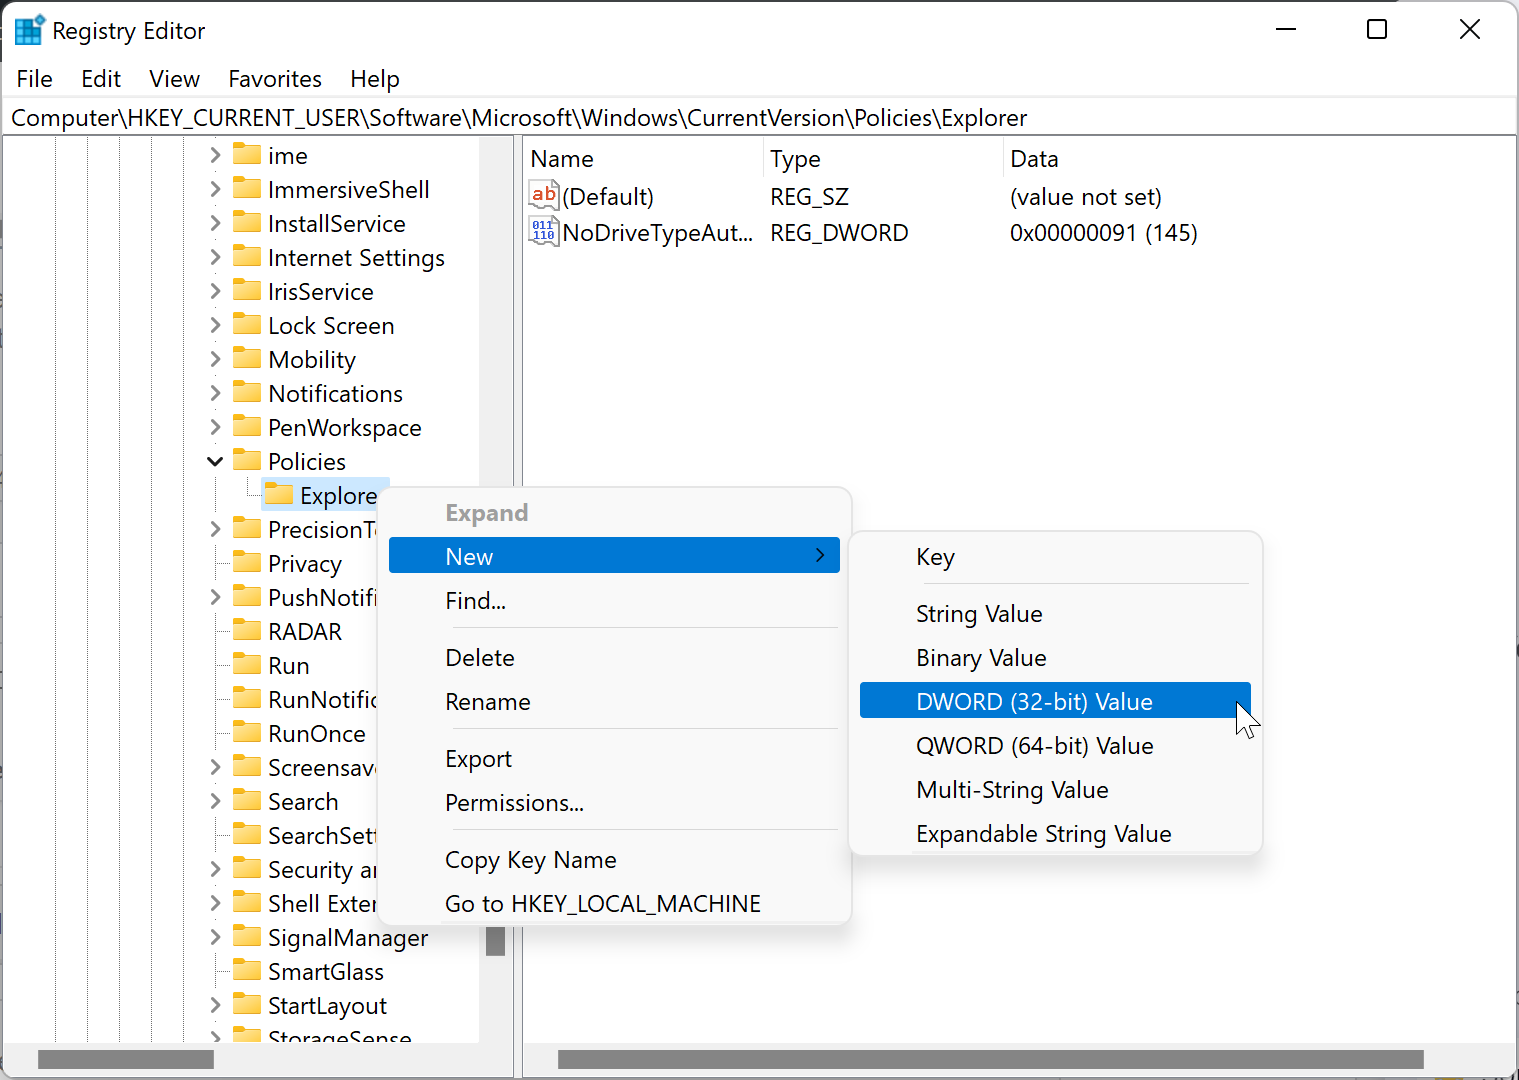
Step 3. After that, right-click on the Explorer folder and select New > DWORD (32-bit) Value. Name it as NoAddPrinter.
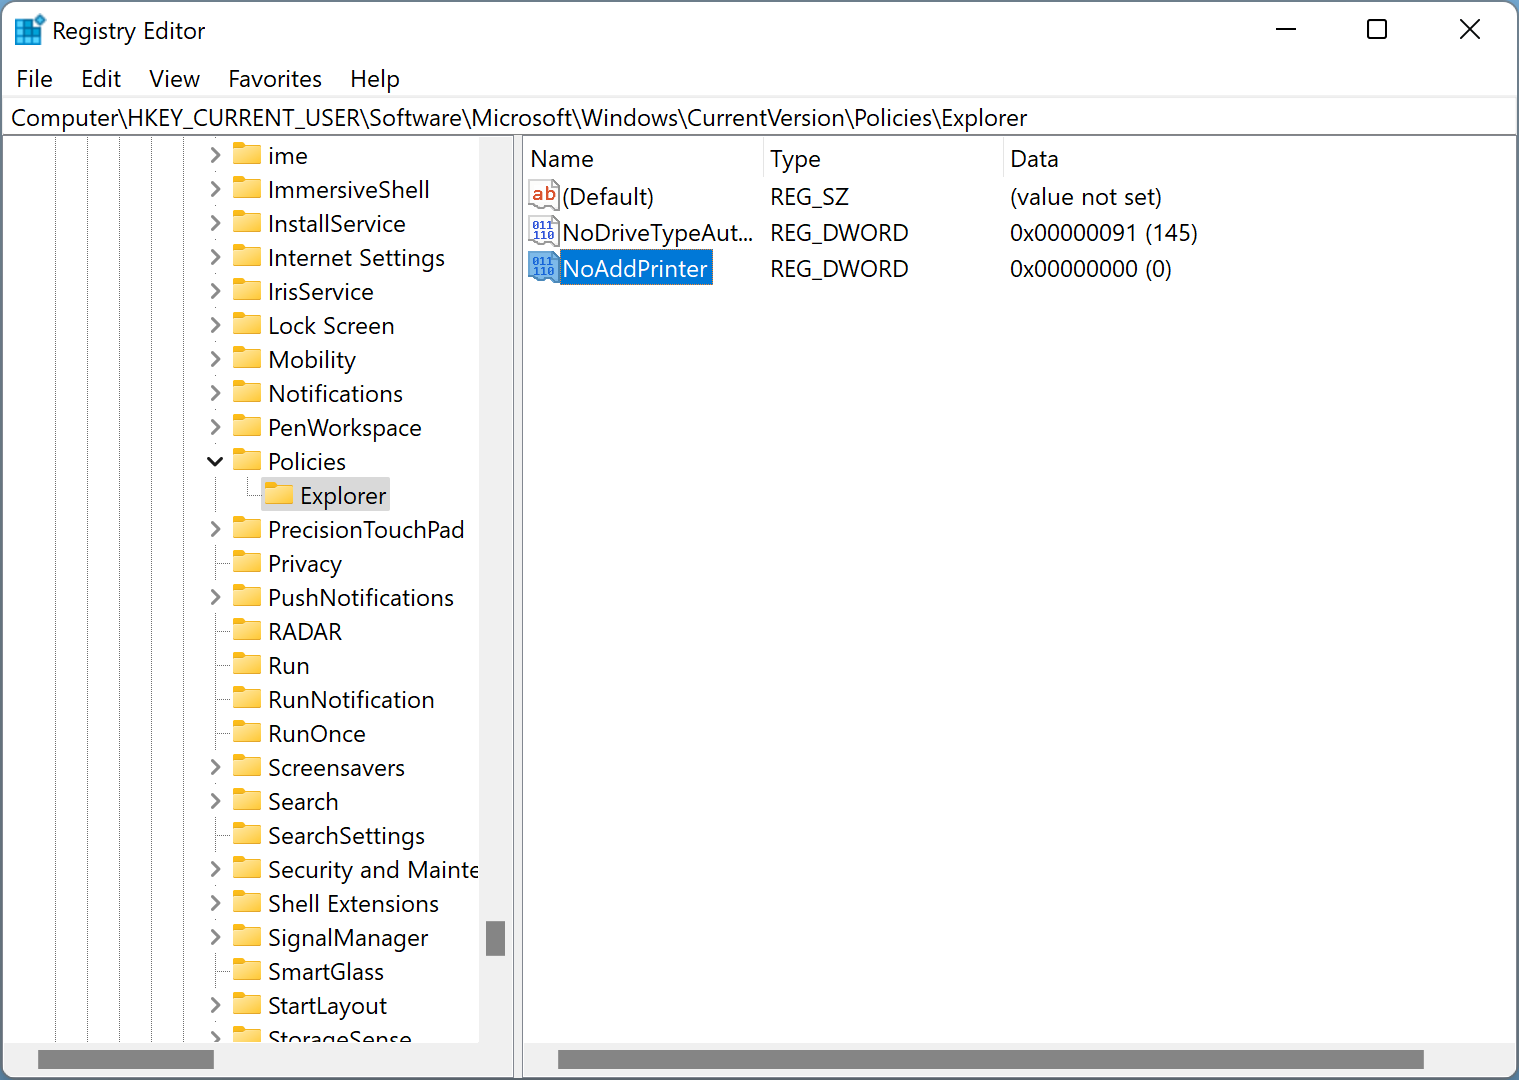
Step 4. Next, double-click on the NoAddPrinter to modify its value. And in the “Value data” field, change the default value from 0 to 1.
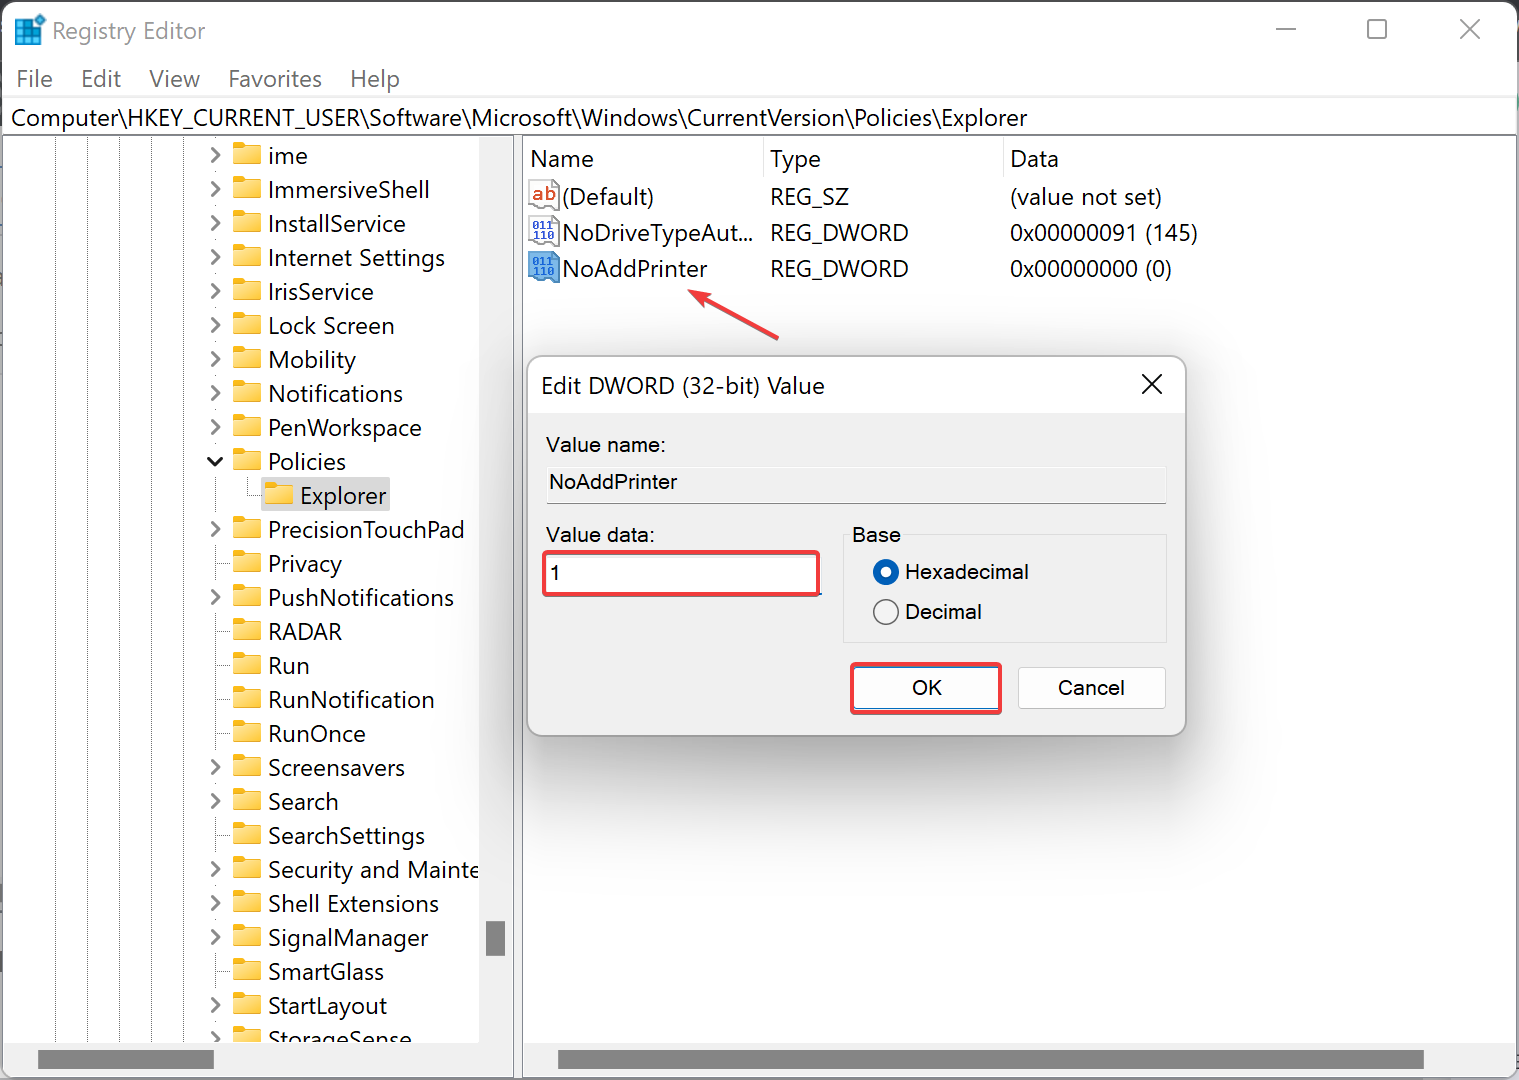
Step 5. Click OK to save the changes.
Step 6. Finally, restart your computer to apply the changes.
Conclusion
In conclusion, preventing the addition of printers on Windows 11 or 10 computers can be useful for organizations or individuals who want to restrict access to printers. You can achieve this by using either the Group Policy Editor or the Registry Editor. By following the steps outlined in this article, you can easily disable the option to add a printer or scanner, and users will not be able to add local or network printers using standard methods. However, already installed printers will not be affected by this setting. To undo the changes, simply repeat the steps and select the “Not Configured” option in the Group Policy Editor or change the “NoAddPrinter” value to 0 in the Registry Editor.