We advise against completely disabling automatic updates on Windows 10. Instead, it’s better to configure it to delay new updates. The latest updates may contain crucial security patches, performance improvements, stability enhancements, or new features that you wouldn’t want to miss out on.
In a recent Windows 10 update, Microsoft added the option to change the black-and-white mouse pointer/cursor to a more colorful scheme. Windows updates are designed to download and install automatically whenever your computer connects to the internet. However, if you’re frustrated with this automatic update feature, you can follow this guide to prevent Windows 10 from installing updates automatically and choose when to install them.
Why Should You Stop or Delay Automatic Updates on Windows 10?
It’s not recommended to completely stop automatic updates on Windows 10, as they often include critical security patches, performance improvements, and bug fixes. However, you can delay new updates to ensure that they don’t cause any immediate problems. Here are a few reasons why you may want to delay automatic updates:
- Compatibility issues: In some cases, new updates may not be compatible with certain software or hardware on your computer. Delaying updates gives software and hardware vendors time to develop patches or updates that work with the latest Windows updates.
- Bandwidth limitations: Automatic updates can consume a significant amount of bandwidth, which may be problematic if you have limited internet data or slow internet speed.
- Control over updates: Delaying updates gives you more control over when and how updates are installed on your computer, allowing you to avoid disruptions during critical work.
There are two ways to stop/delay automatic updates on Windows 10:-
- Disable automatic updates using Settings.
- Turn Off automatic updates via Group Policy.
How to Disable or Delay Automatic Updates in Windows 10 OS using Settings?
If you would like to disable or delay automatic updates in Windows 10 OS, follow these steps:-
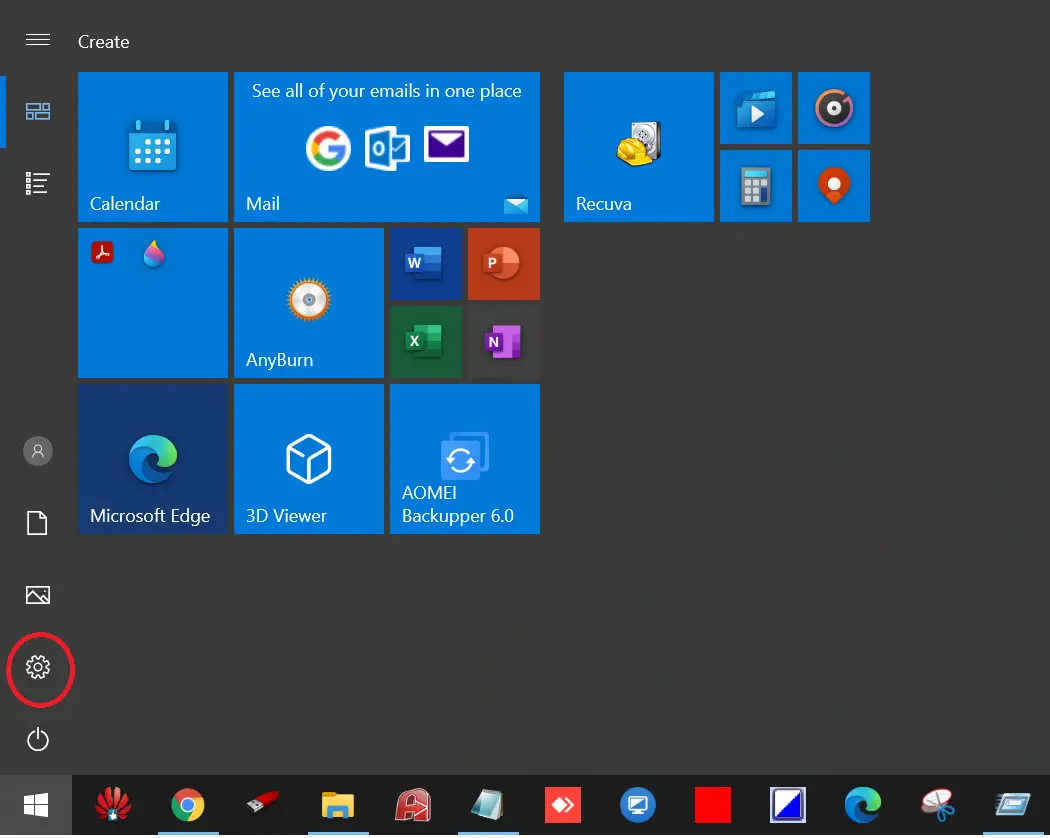
Step 1. Open the Settings app (To open the Settings app in Windows 10, click the Start button, and then click on the Settings gear icon).
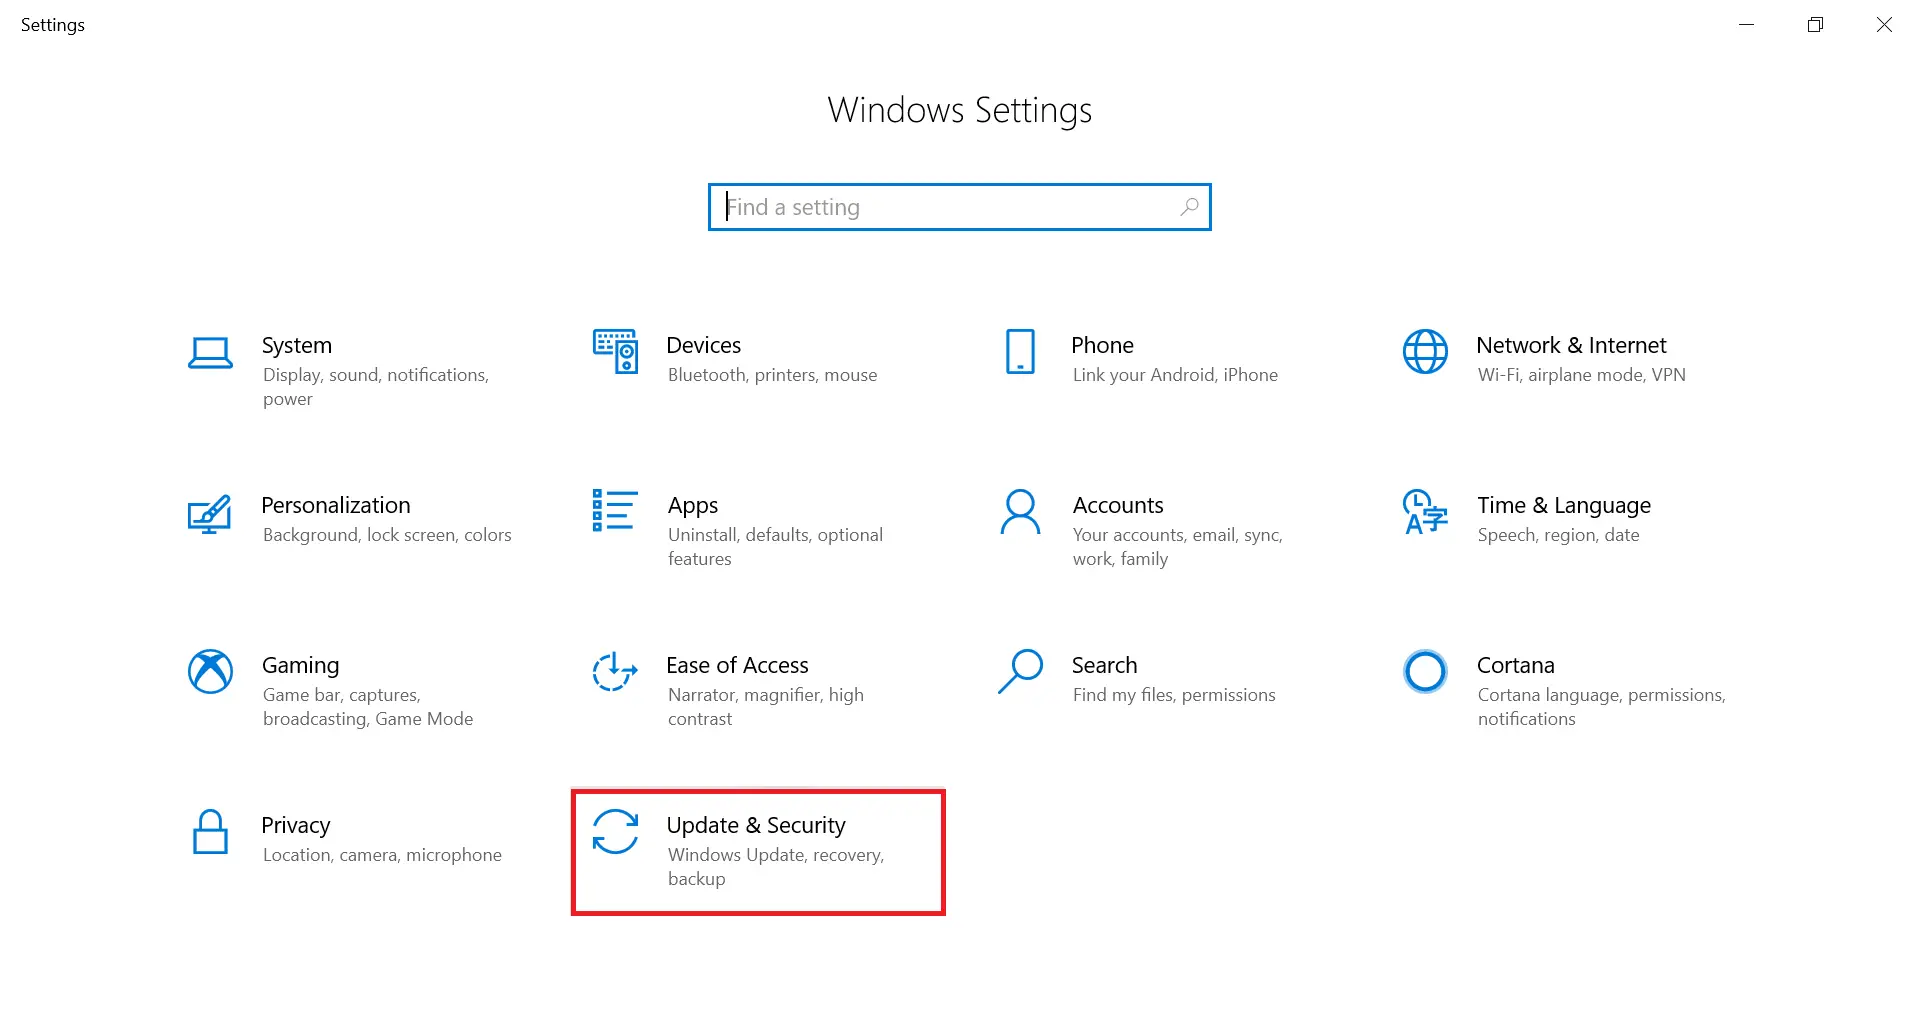
Step 2. Under Windows Settings, click on Update & Security.
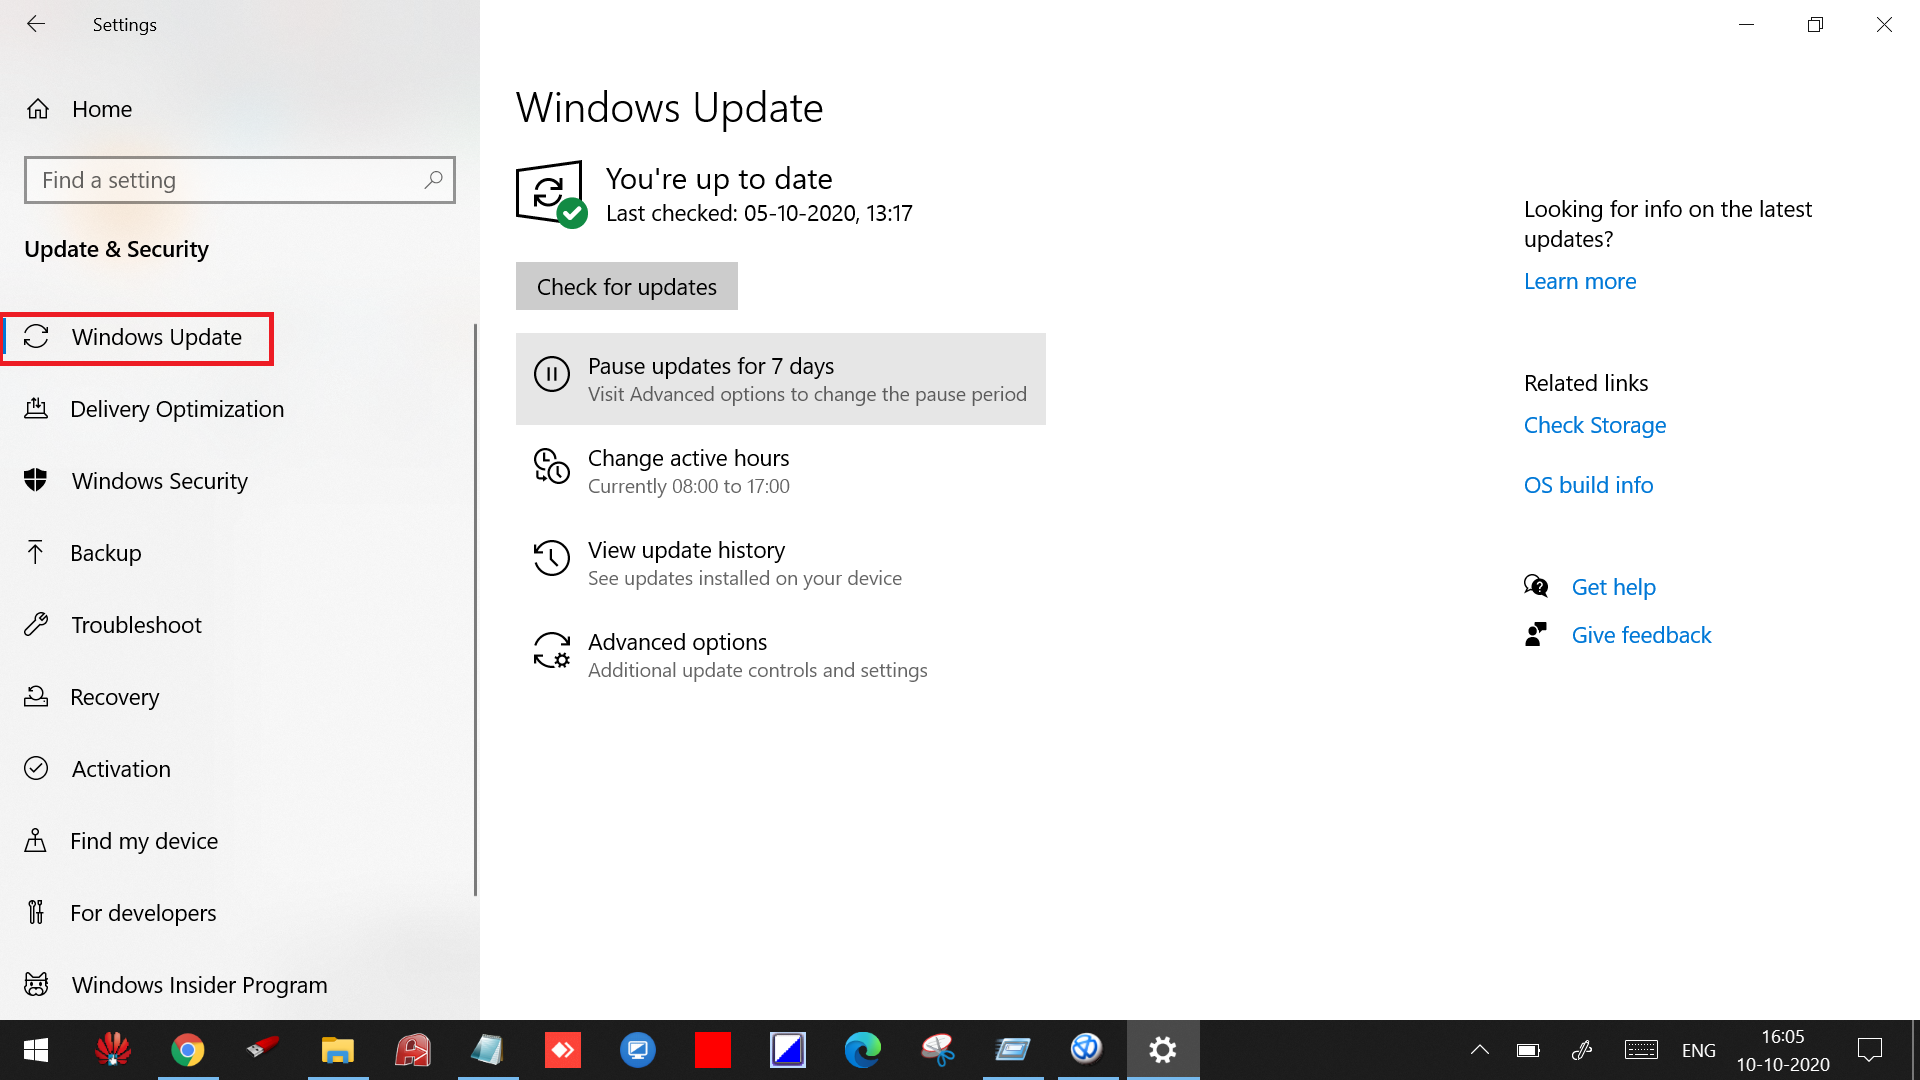
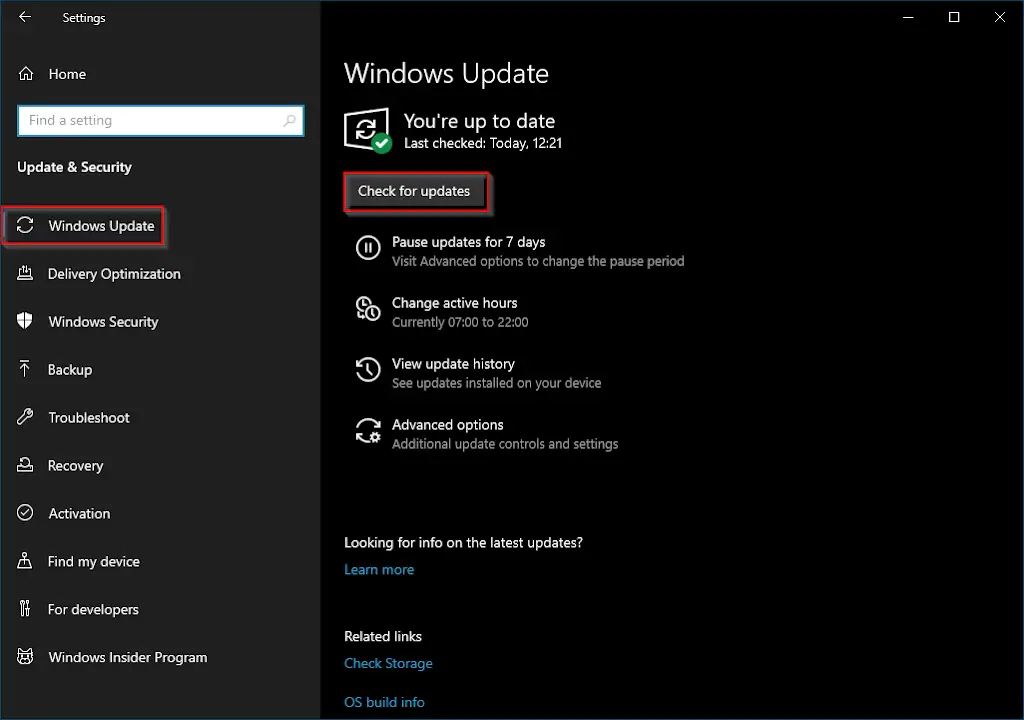
Step 3. Click on Windows Update.
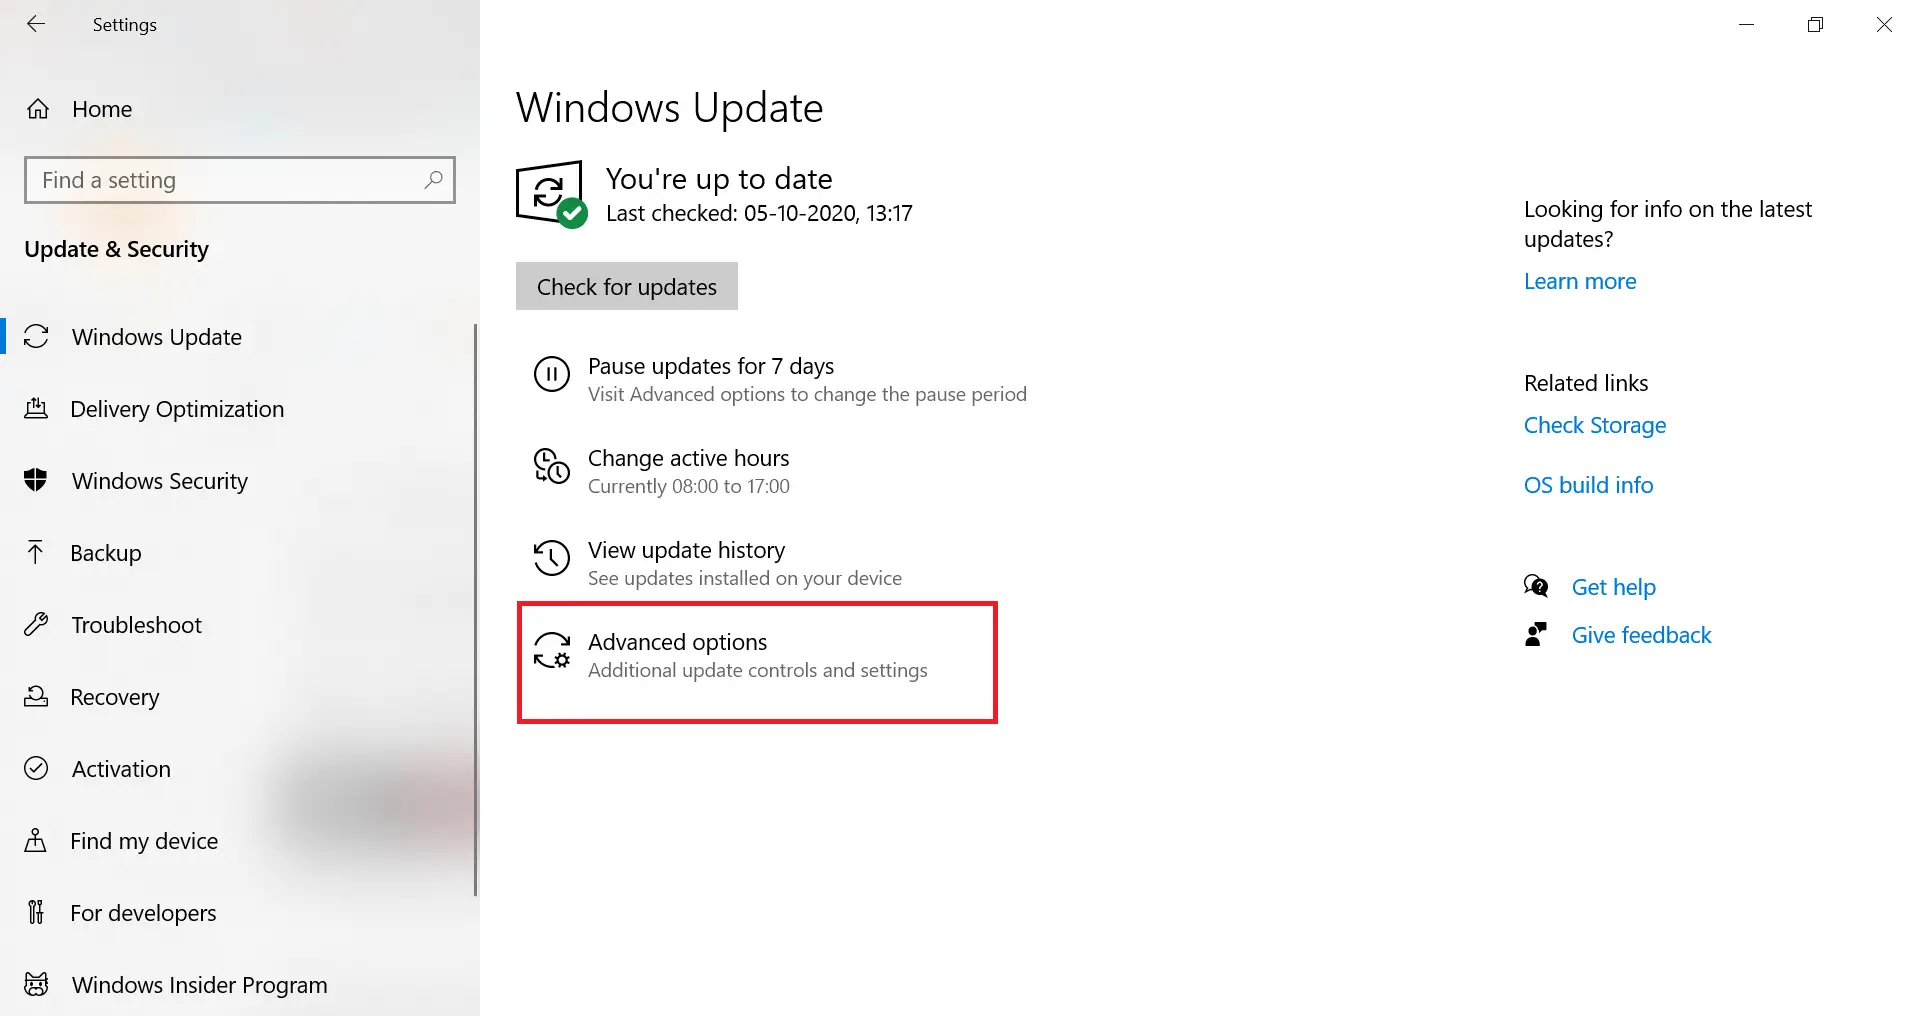
Step 4. Under Windows Update, click Advanced options.
Step 5. Under Advanced options, scroll down to get Pause updates.
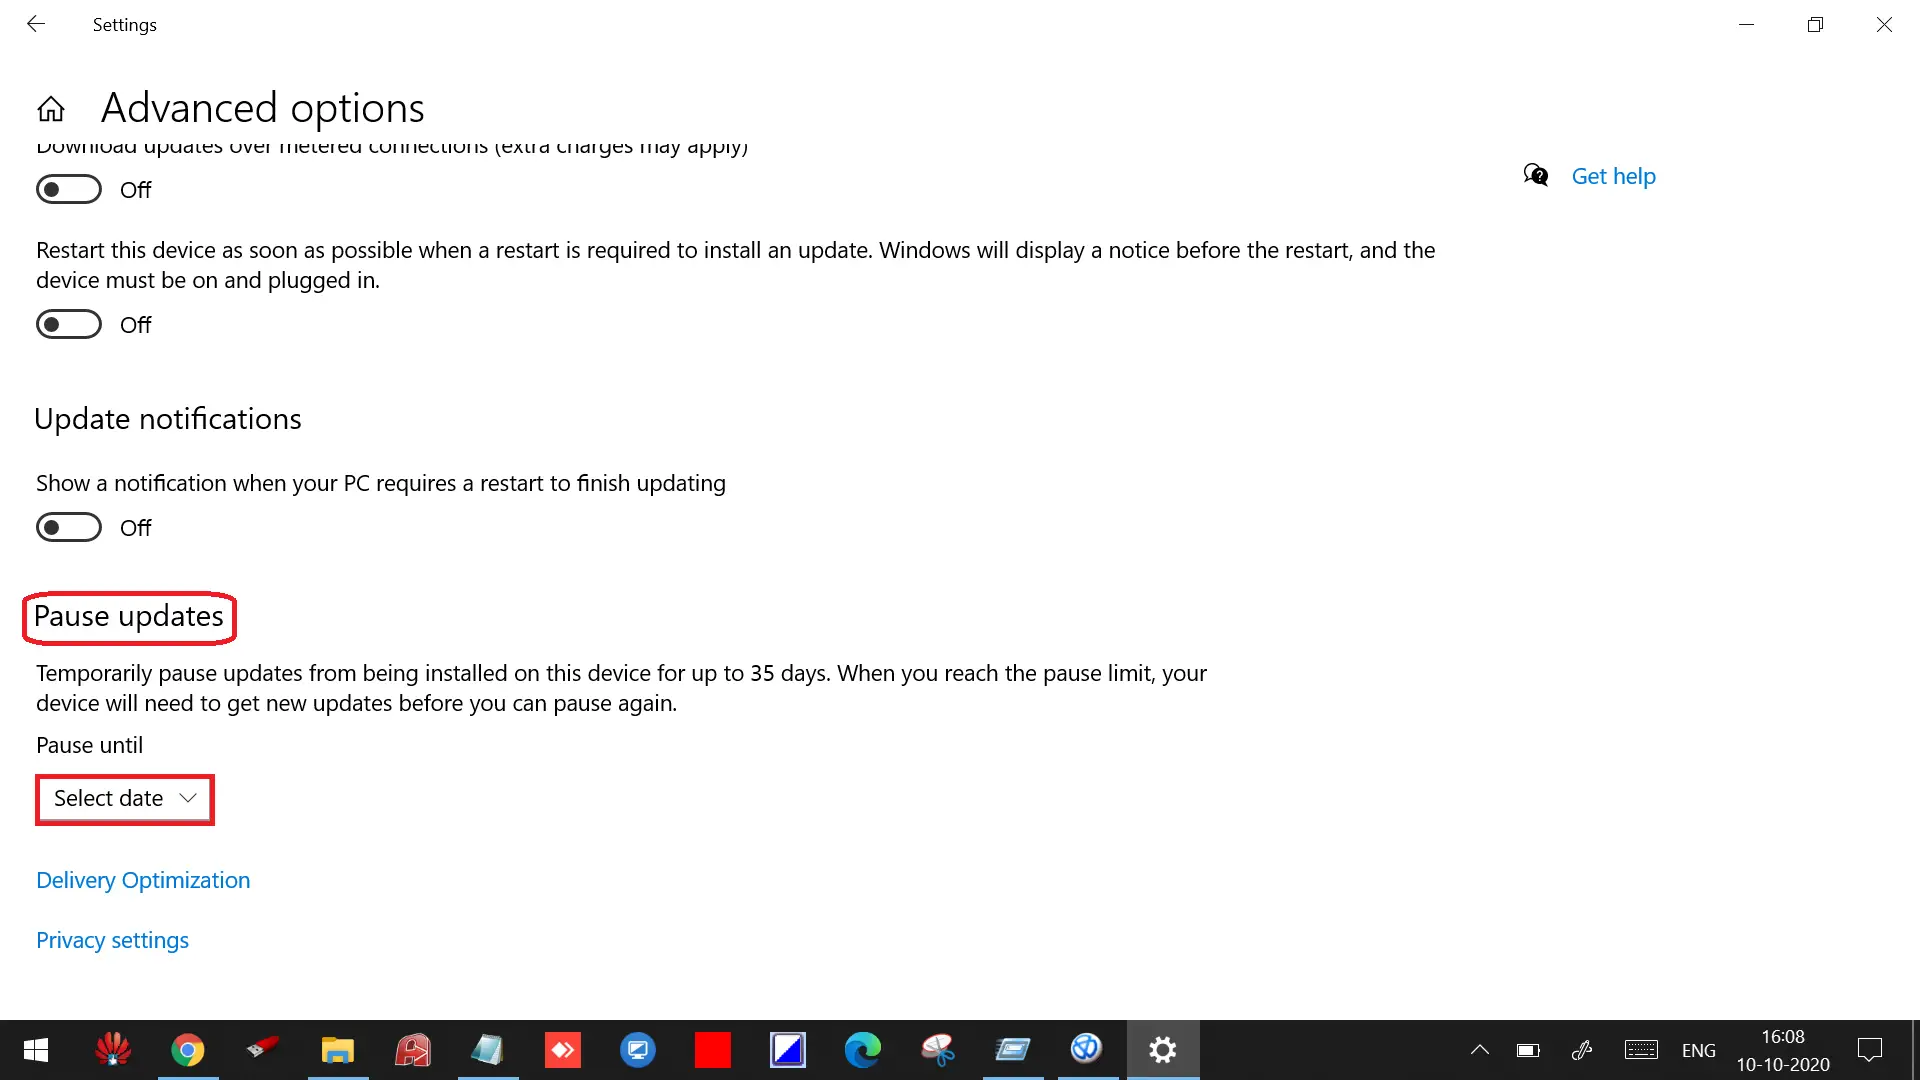
Step 6. Under the Pause updates, use the Pause until drop-down menu and select from available dates when to resume automatic updates on Windows 10.
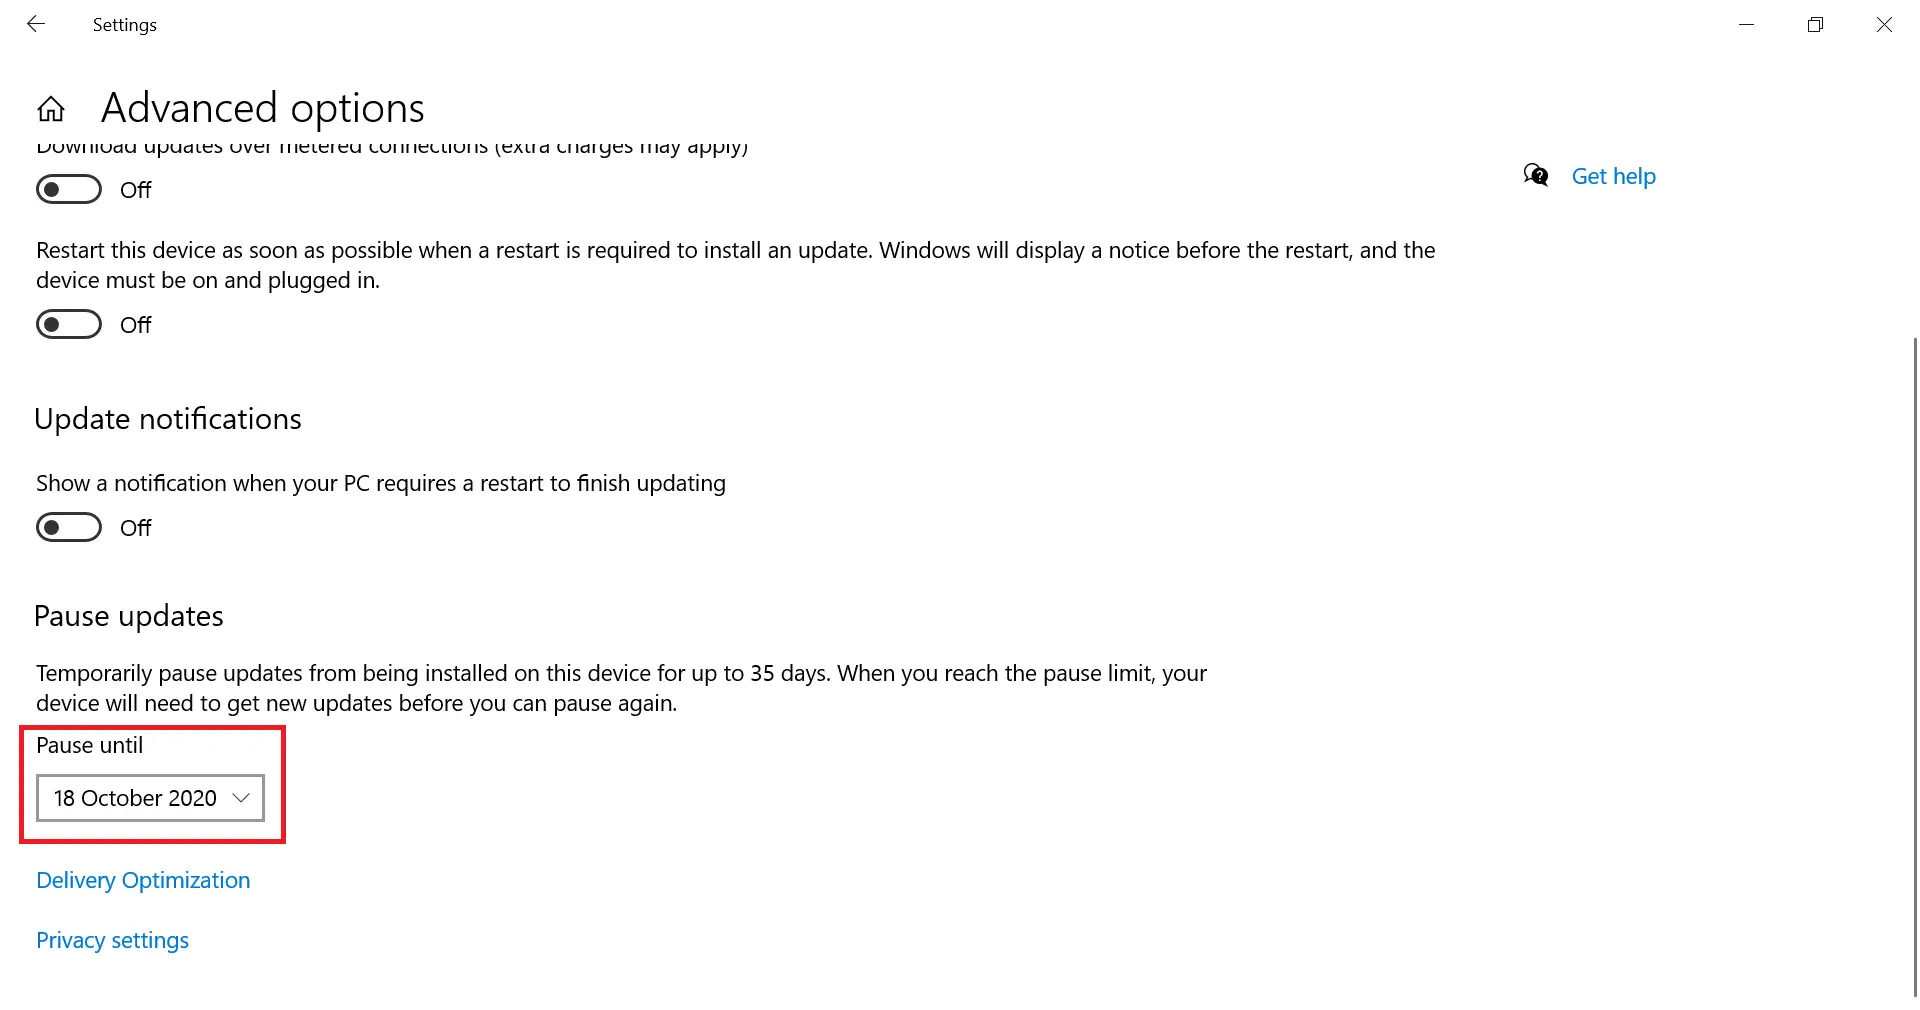
By following the steps mentioned above, you can disable automatic updates on your PC for a specific date. Once the time limit you’ve set has expired, automatic updates will resume. It’s worth noting that Windows 10 only allows you to pause updates for up to 35 days at a time. If you need to pause updates for longer periods, you’ll need to reconfigure the automatic update settings after the 35-day limit has been reached.
How to Turn Off Automatic Updates in Windows 10 Using Group Policy?
You can turn off automatic updates in Windows 10 using Group Policy by following these steps:-
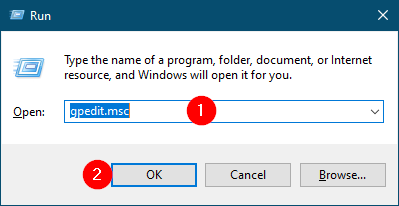
Step 1. Press the Windows logo + R keys to open the Run box.
Step 2. Type gpedit.msc and click the OK button.
Step 3. It will launch the Local Group Policy Editor window.
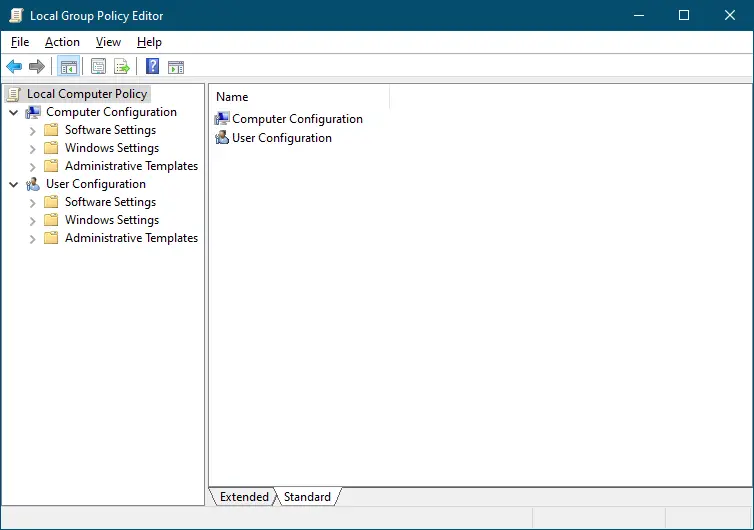
Step 4. Navigate or browse for the following path:-
Computer Configuration > Administrative Templates > Windows Components
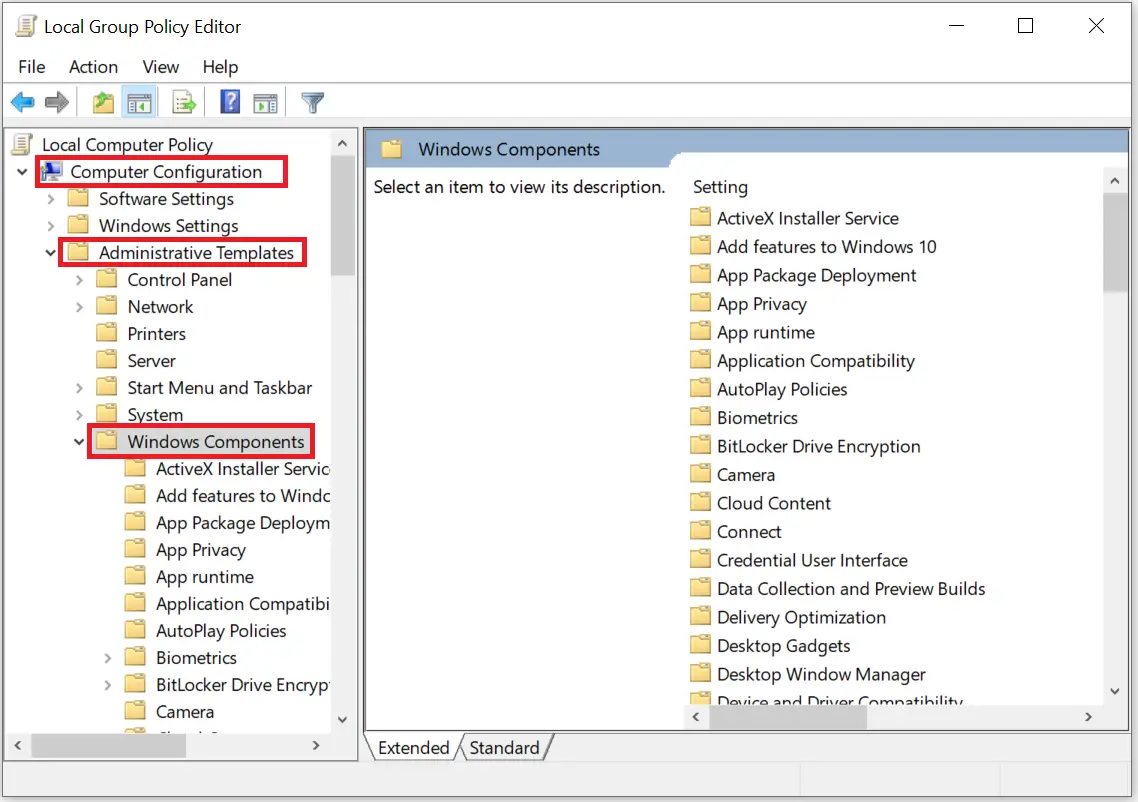
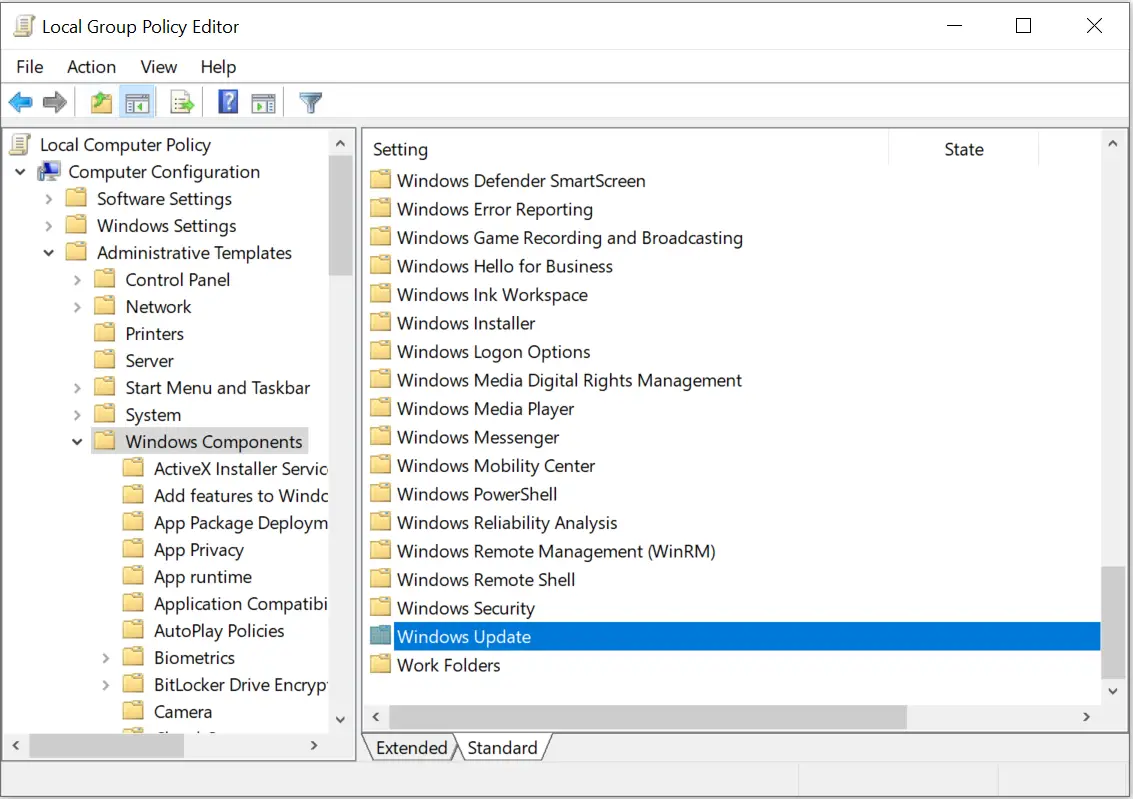
Step 5. From the right-side pane, double-click on Windows Update.
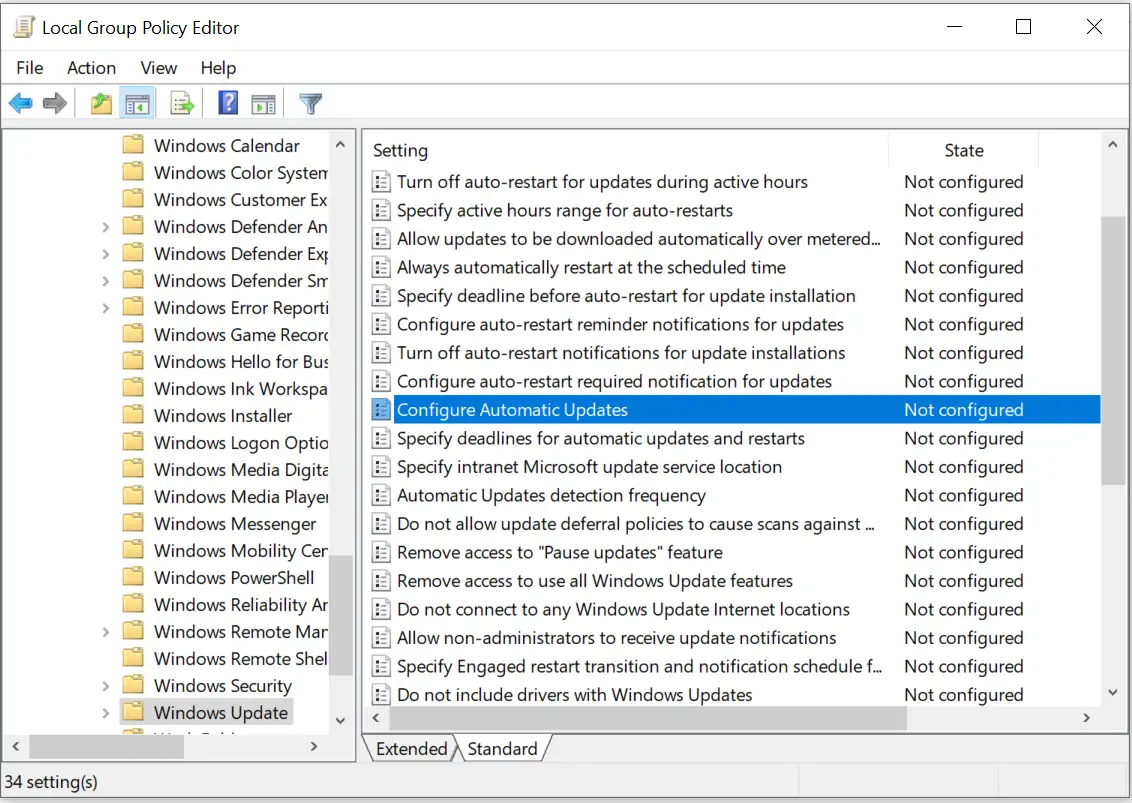
Step 6. Scroll down and double-click the Configure Automatic Updates policy on the right side.
Step 7. Select the Disabled option to turn off this policy.
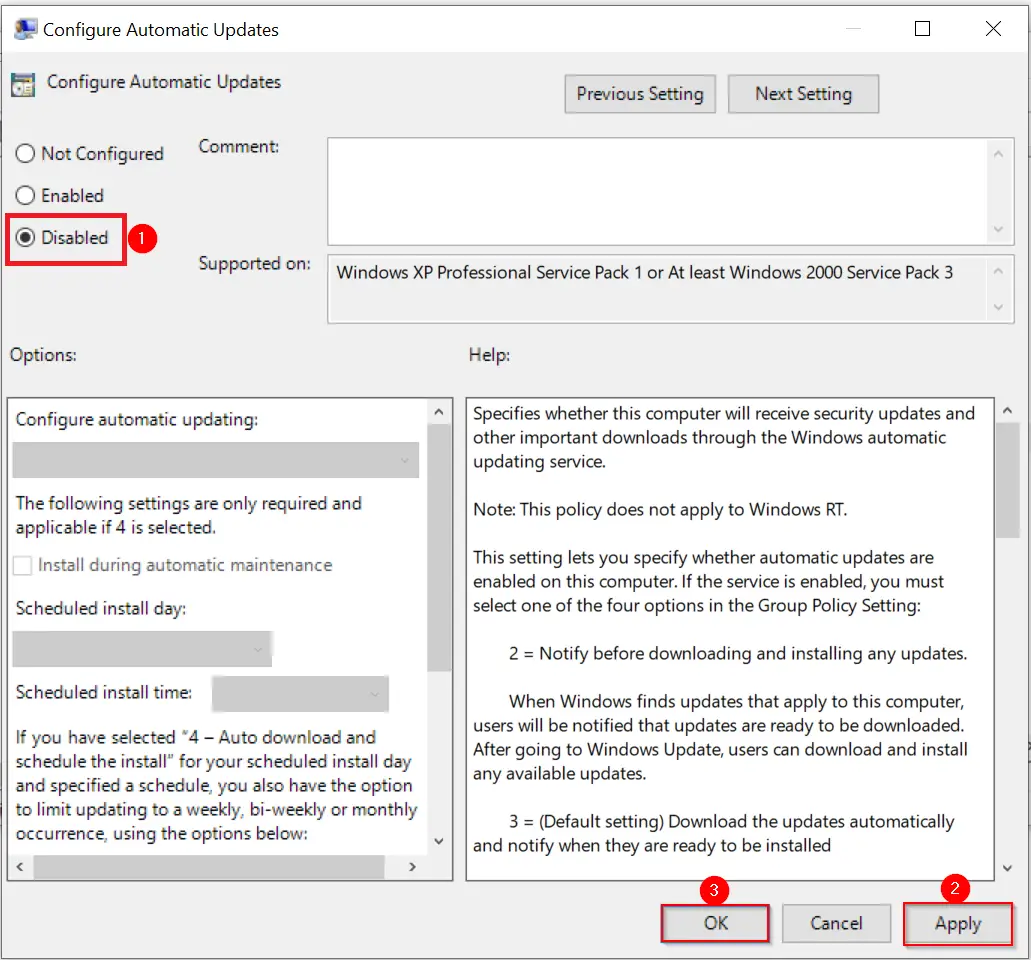
Step 8. Click Apply and then the OK button.
Once you complete the above steps, Windows 10 will stop downloading updates automatically on your computer. However, one can continue to install updates manually from Settings > Update & Security > Windows Update and click the Check for updates button.
If you want to continue with Automatic Updates in Windows 10, in Step 7, select Not Configured.
Note: Windows 10 Home Edition does not come with Group Policy Editor. However, you can enable the Group Policy Editor (gpedit.msc) in Windows 10 Home Edition by running a batch file.
Conclusion
In conclusion, while it may be frustrating to have automatic updates on Windows 10, completely disabling them is not recommended. Updates often contain crucial security patches, performance improvements, stability enhancements, or new features that can be beneficial for your computer. Delaying updates rather than disabling them altogether is better, especially if you have compatibility issues or limited bandwidth. You can easily disable or delay automatic updates on Windows 10 through the Settings app or Group Policy. By following the steps mentioned in this guide, you can choose when and how updates are installed on your computer, giving you more control and avoiding disruptions during critical work.
GPE is way to go, this is the right solution, TNX
You are welcome.