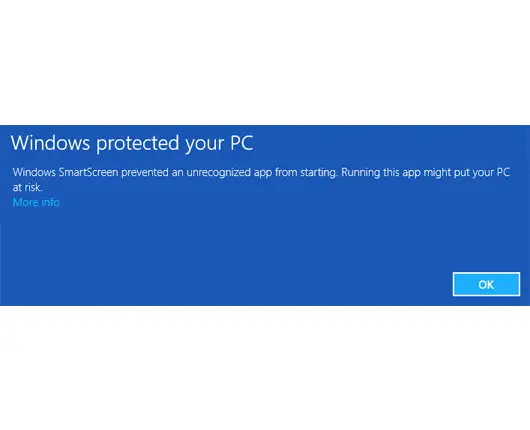
How do I stop Windows from blocking all files I download? With the default configuration of the Windows 10 operating system, it adds special metadata to all files you download from the Internet to an NTFS drive, which it considers as attachments. Now, when you try to open or execute the downloaded file, your PC prevents you from opening it directly. It shows you a Windows SmartScreen warning. If you want to get rid of this irritating behavior of Windows, you are reading the right post.
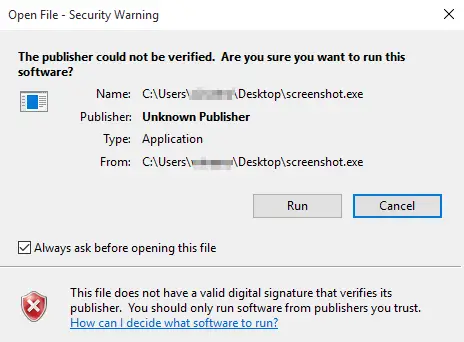
Once you disable Smart Screen, another warning message may appear:-
There are at least two ways through which you can completely stop Windows 10 from blocking downloaded files. These are the following:-
- Using Local Group Policy Editor
- Via Registry Editor
How to Stop Windows 10 from Blocking Downloaded Files using Local Group Policy Editor?
Gentle Reminder: Local Group Policy Editor is not a part of Windows 10 Home Edition; if you would like to enable it, refer to our complete guide on enabling Group Policy Editor (gpedit.msc) on Windows 10.
Step 1. Open Local Group Policy Editor.
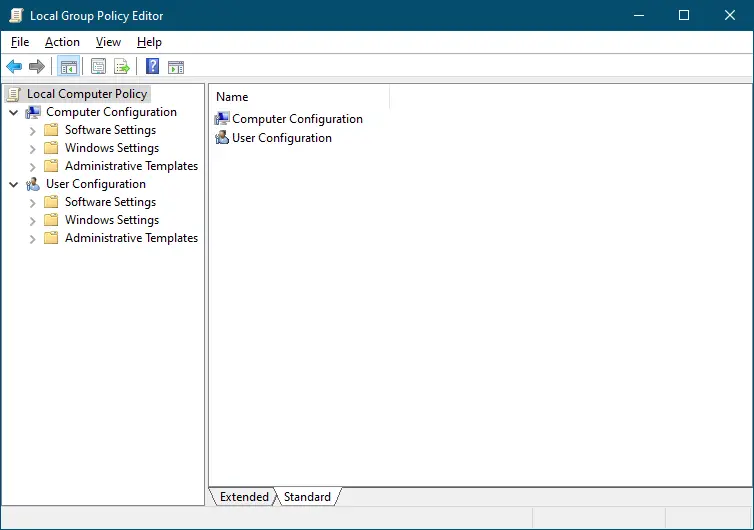
Step 2. In the Local Group Policy Editor window that opens, on the left side, navigate or steer for the following path:-
User Configuration > Administrative Templates > Windows Components > Attachment Manager
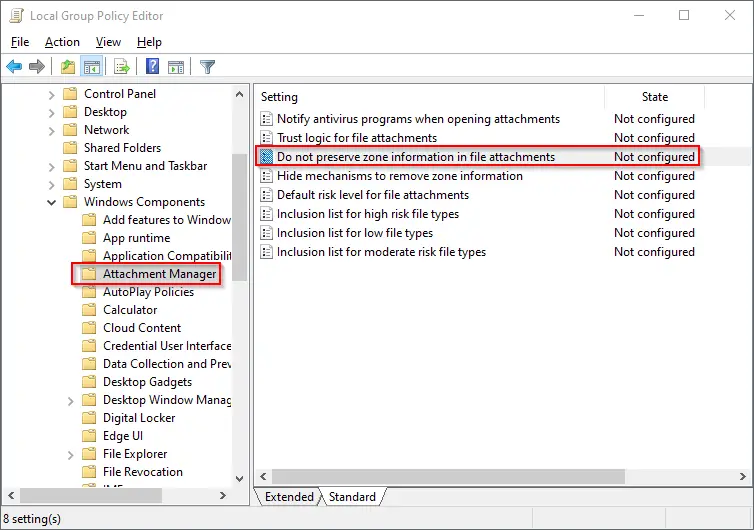
Step 3. On the right side, look for a policy with the name “Do not preserve zone information in file attachments.” Perform a double-click on the policy to open its properties.
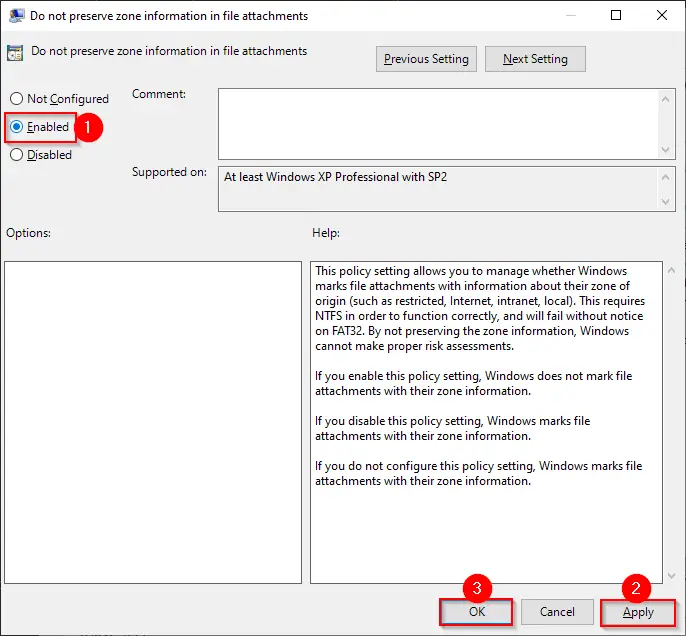
Step 4. Select the Enabled option.
Step 5. Click the Apply button.
Step 6. Click the OK button.
After executing the above steps, Windows 10 should not block the opening of downloaded files.
If you change your mind and want to revert the settings, select the Not Configured option in the above step 3.
How to Stop Windows 10 from Blocking Downloaded Files via Registry Editor?
To prevent blocking Windows 10 from opening downloaded files, complete the following given procedures:-
Step 1. Open Registry Editor.

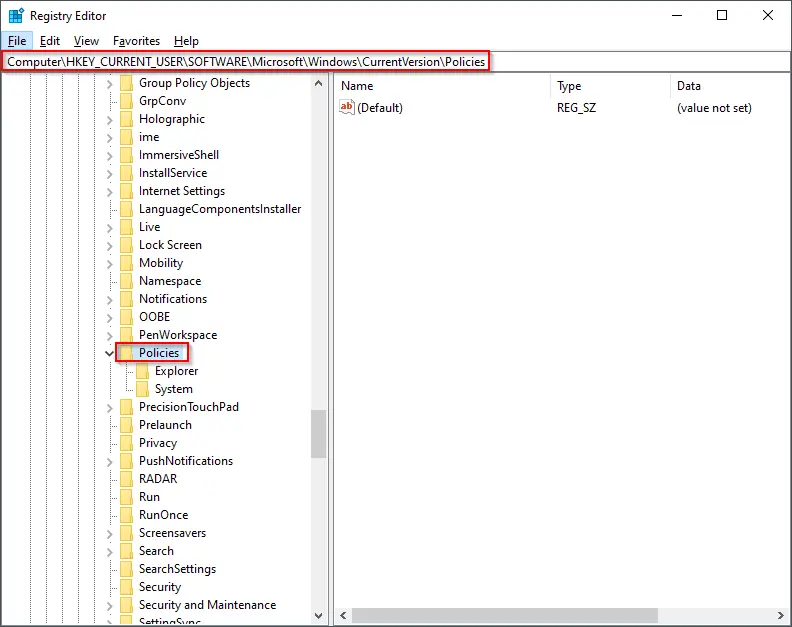
Step 2.In the Registry Editor window that opens navigate to the following key from the left side pane:-
HKEY_CURRENT_USER\Software\Microsoft\Windows\CurrentVersion\Policies
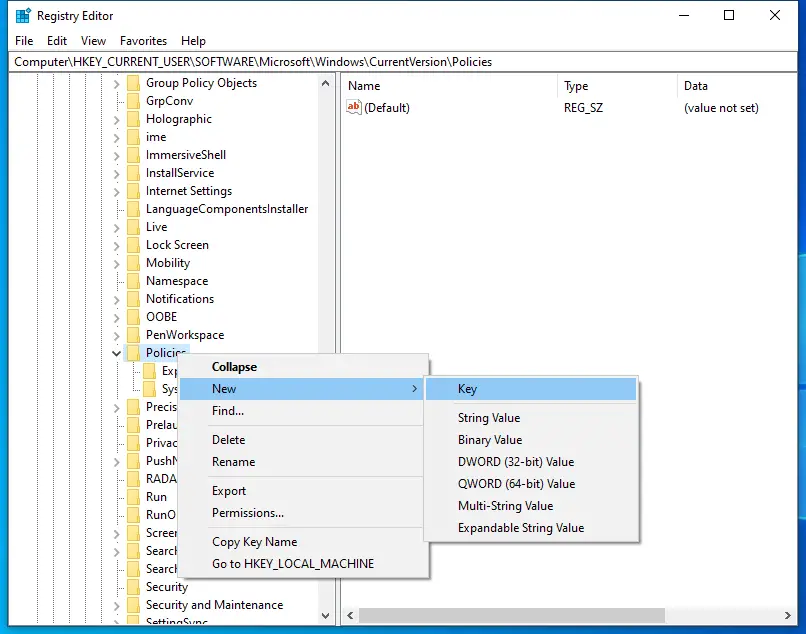
Step 3. If you see an Attachments folder under Policies, skip this step; otherwise, you need to create a new key.
Right-click on the Policies folder, select New, and then Key. Rename the newly created key as Attachments.

Step 4. Now, right-click on the Attachments key in the left pane. Then select New and then DWORD (32-bit) Value. Rename the newly created DWORD as ScanWithAntiVirus.
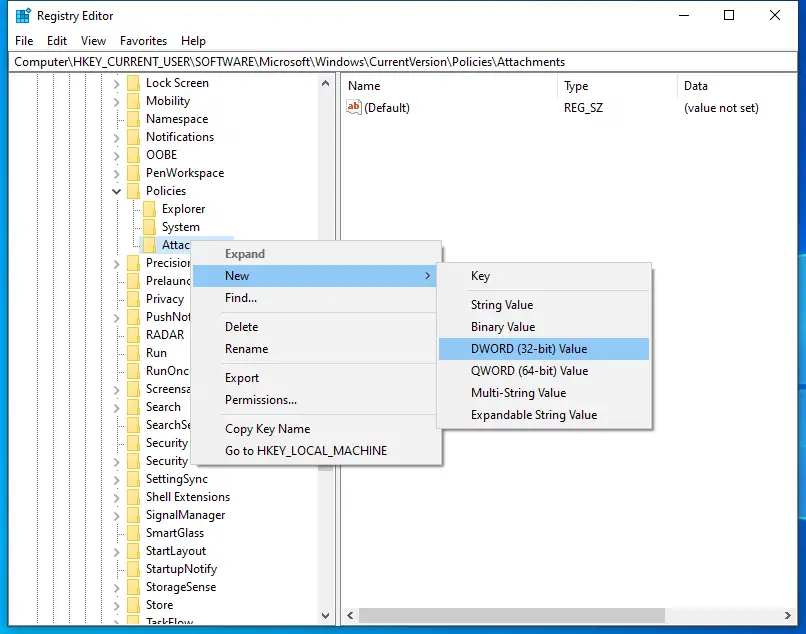
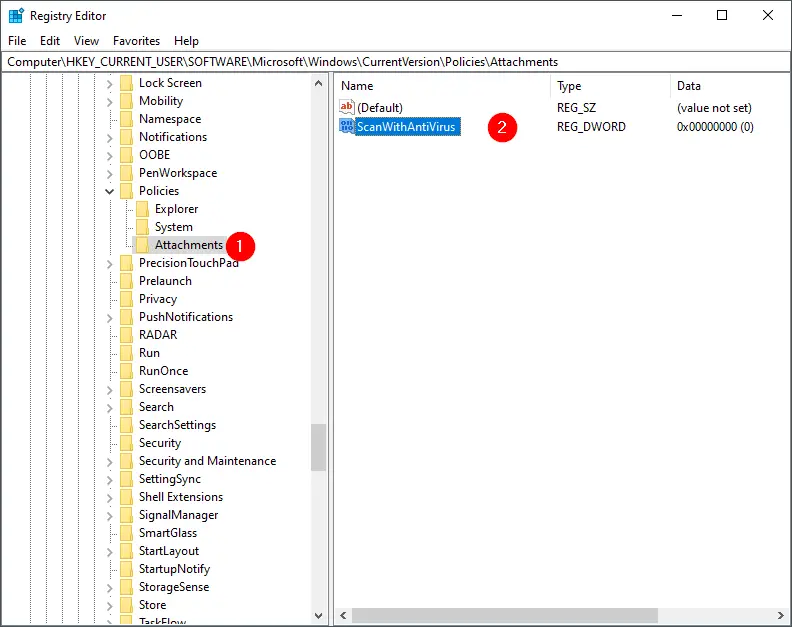
Step 5. In the right-side pane of the Attachments, double click on the ScanWithAntiVirus to change its default value. Change its Value data from 0 to 1.

Step 6. Click OK.
Step 7. Close the Registry Editor.
Step 8. Restart your Windows 10 PC.
After executing the above steps, Windows 10 will not stop showing warnings when you open the downloaded file.
If you change your mind and want to enable the Attachment Manager policy through Windows Registry, navigate to the following key:-
HKEY_CURRENT_USER\Software\Microsoft\Windows\CurrentVersion\Policies\Attachments
Step 2: On the right side of the Attachments folder, double-click on the ScanWithAntivirus DWORD (32-bit) value and change its value data to 0.
That’s it.