By default, Microsoft PowerPoint adds a black slide at the end of the original presentation regardless of the background color. It helps you to know that your presentation is over. However, if it bothers you and you want to remove such a black slide at the end of a PowerPoint presentation, Microsoft has provided an option to disable it. You can enable or disable the “End with black slide” option in PowerPoint using PowerPoint Options, Local Group Policy Editor, or Registry Editor.
In this gearupwindows article, we will guide you on turning on and off the “End with black slide” option in PowerPoint in Windows 11 and 10.
How to Enable or Disable the “End with black slide” Option in PowerPoint Options?
To turn on or off the “End with black slide” option using PowerPoint Options, use these steps:-
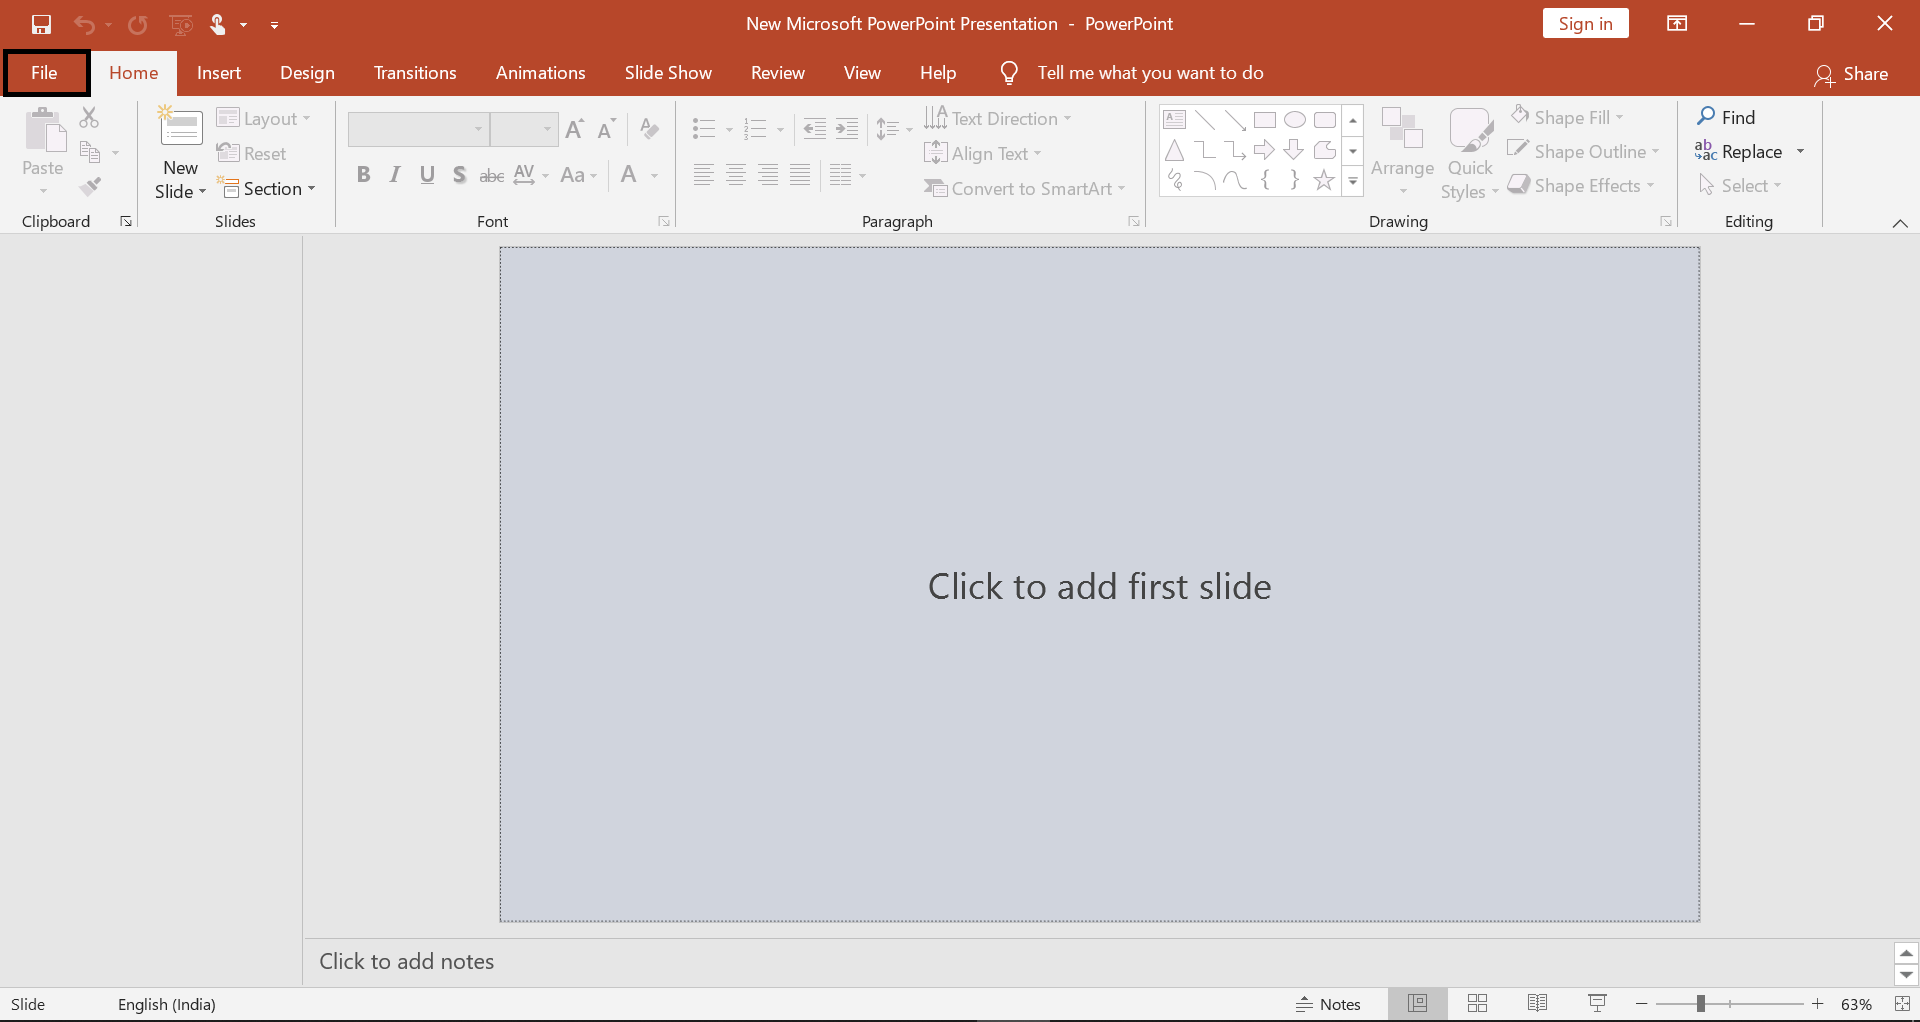
Step 1. Open Microsoft PowerPoint presentation.
Step 2. Click on the File menu.
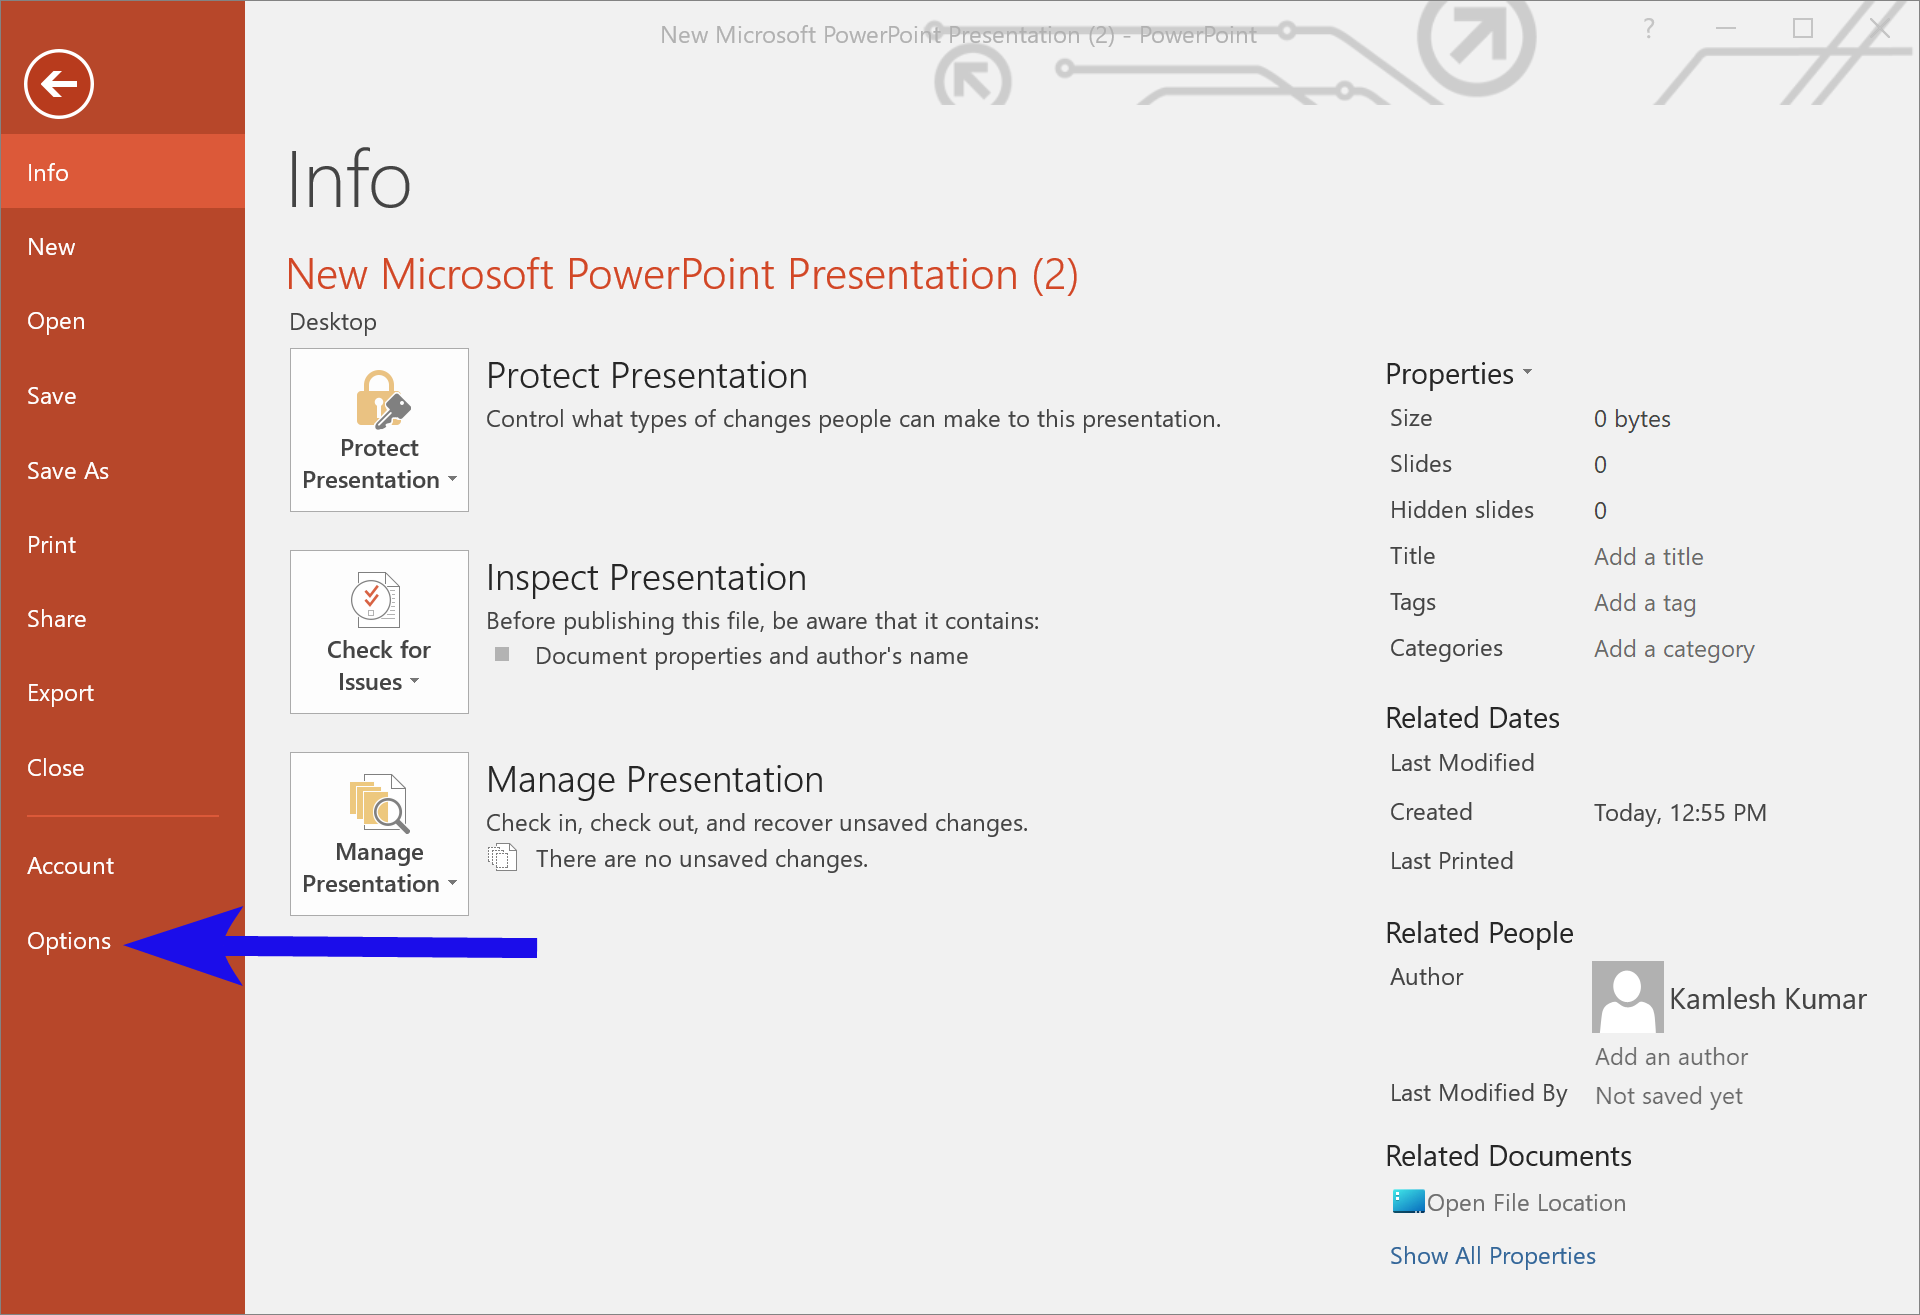
Step 3. Select Options in the left sidebar.
Step 4. Switch to the Advanced tab.
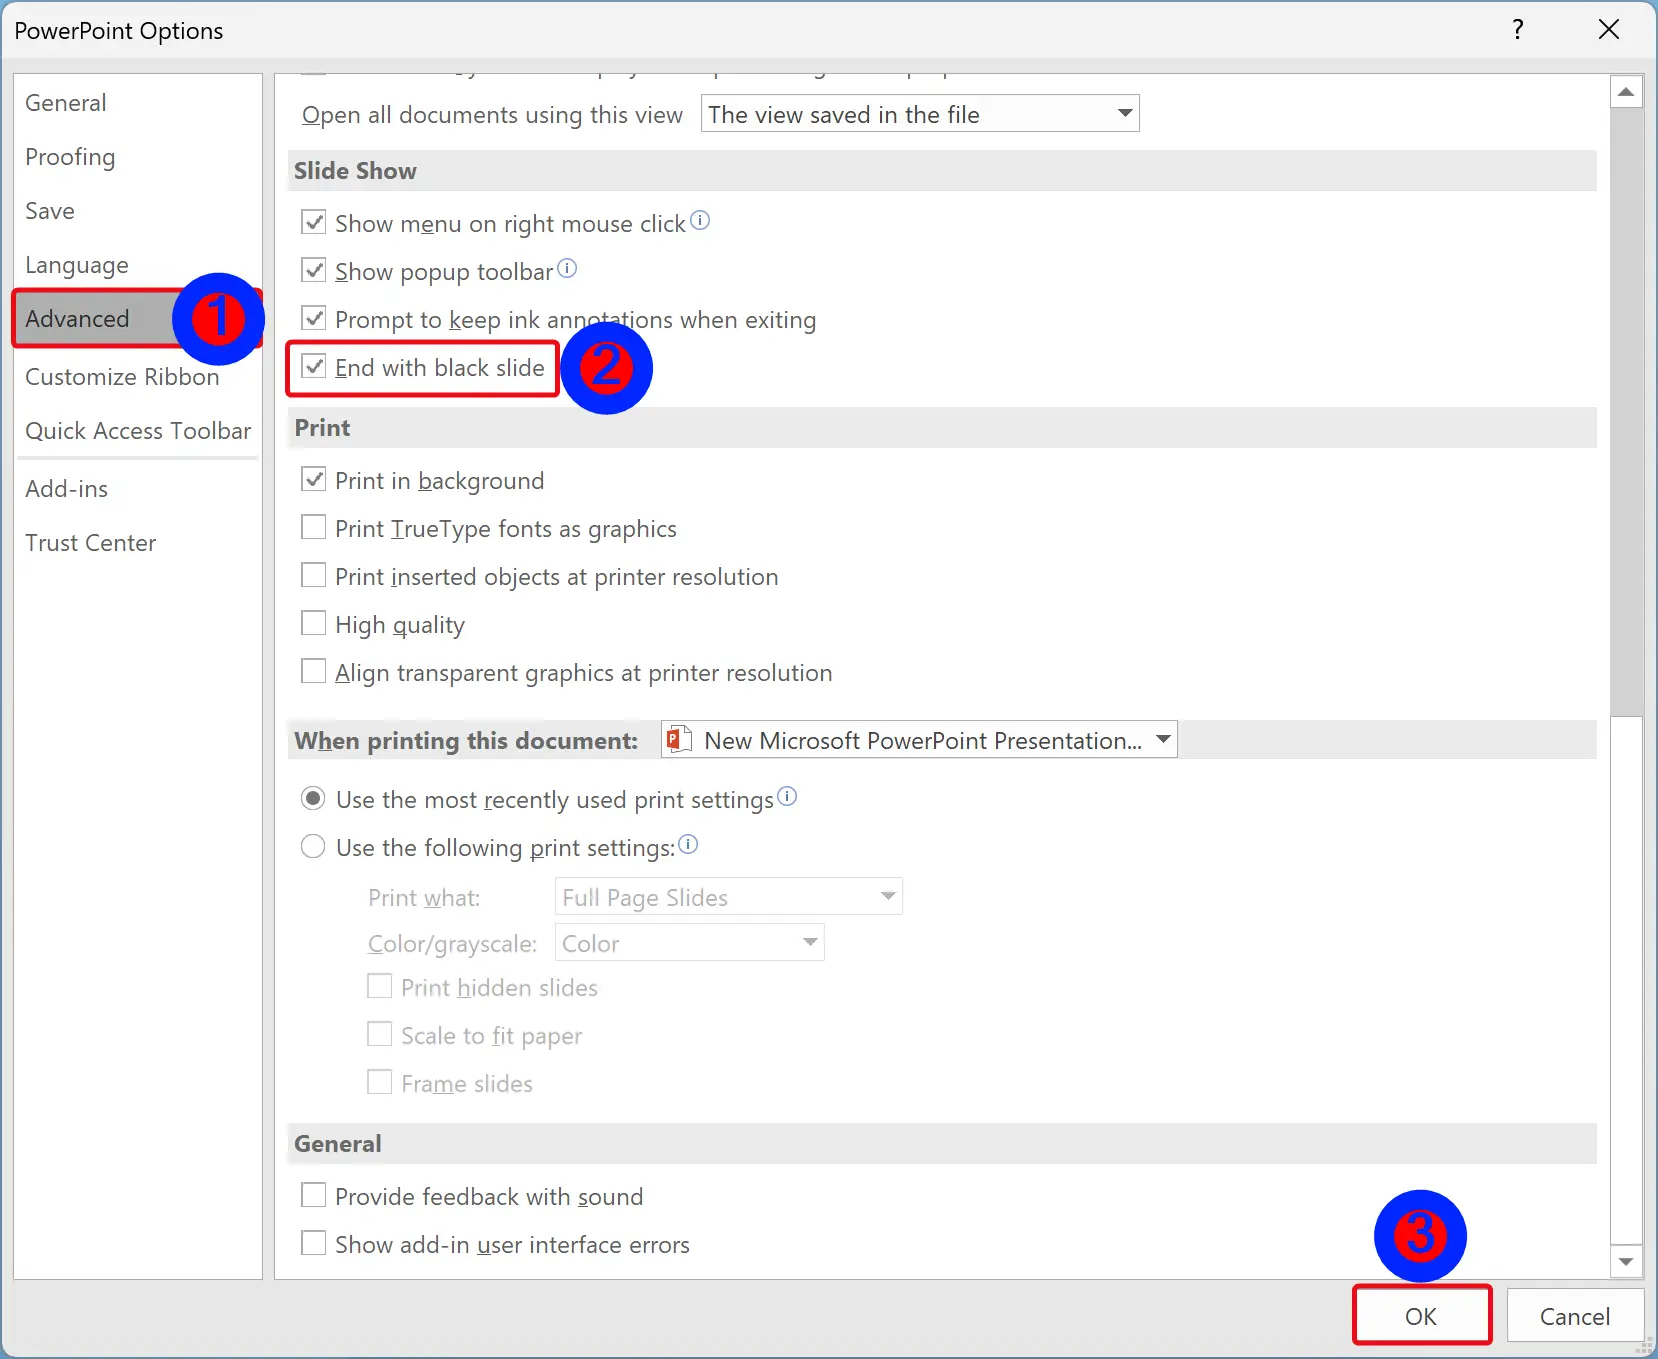
Step 5. Under the “Slide show” section, check (to enable) or uncheck (to disable) End with black slide option.
Step 6. Click OK.
How to Allow or Disallow PowerPoint Presentation Ending with a Black Slide using Local Group Policy Editor?
To show or hide a PowerPoint presentation ending with a black slide through Local Group Policy Editor, do these steps:-
Step 1. Open Local Group Policy Editor.
Step 2. Then, browse or navigate to the following path in the left sidebar of the Local Group Policy Editor window:-
User Configuration > Administrative Templates > Microsoft PowerPoint 2016 > PowerPoint Options > Advanced
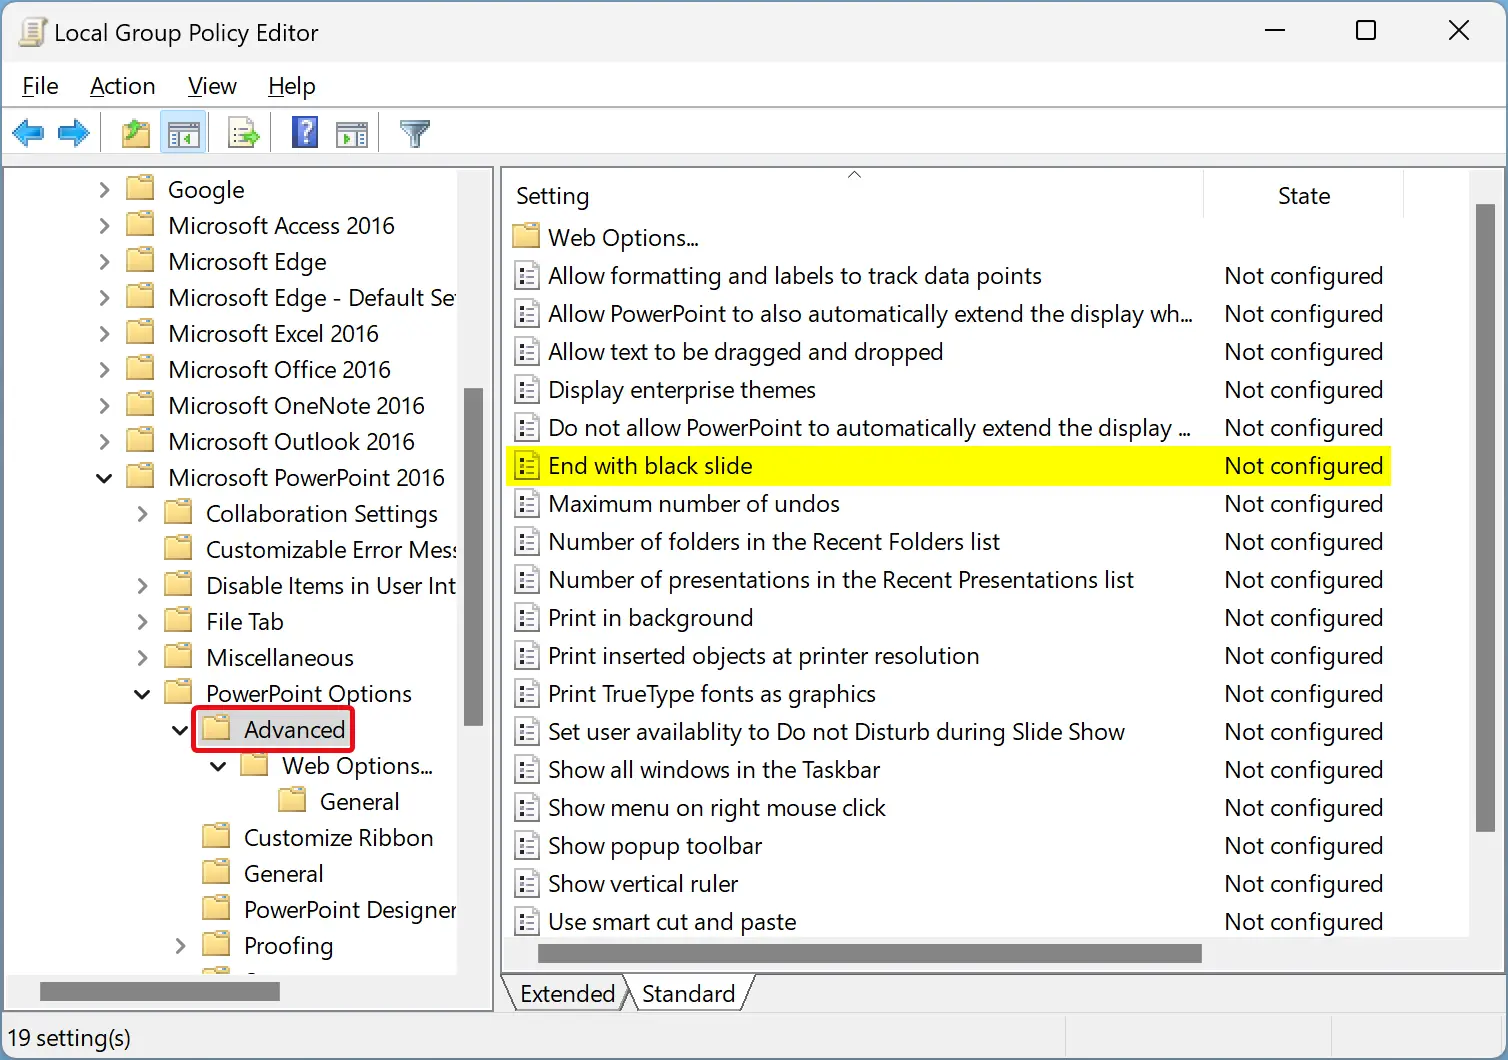
Step 3. On the right side of the “Advanced” folder, double-click on the policy name End with black slide.
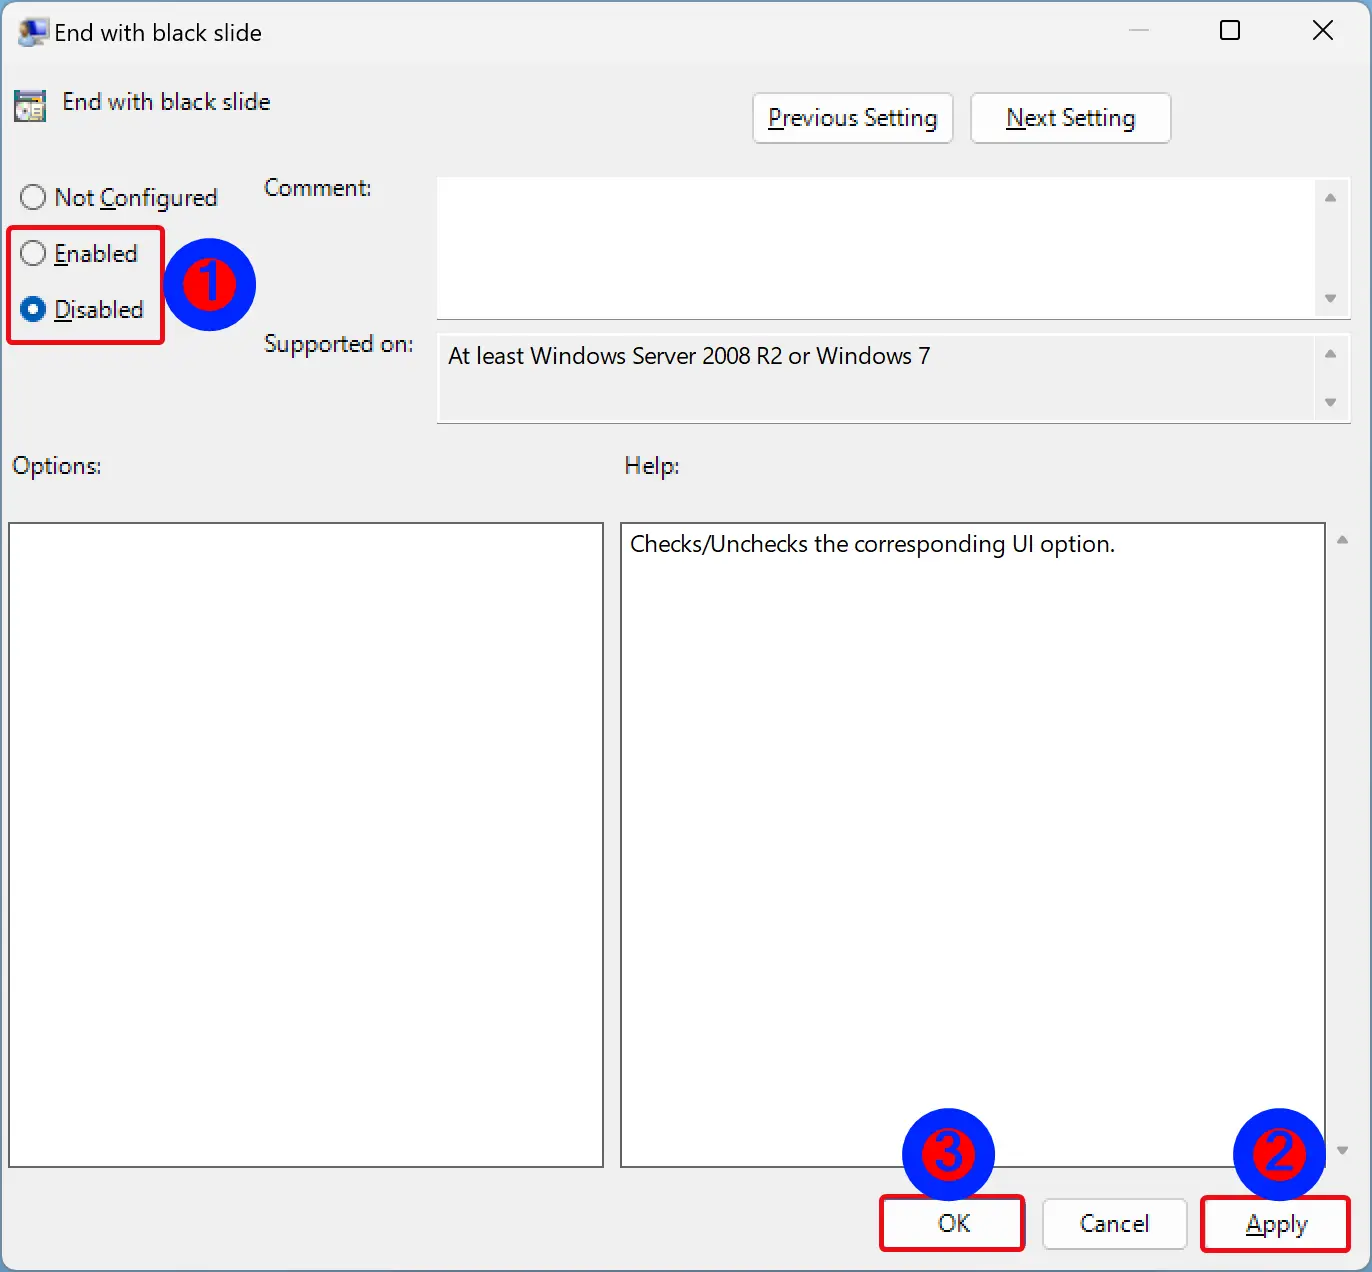
Step 4. Select Enabled (to allow black slide) or Disabled (to disallow black slide).
Step 5. Click Apply.
Step 6. Click OK.
Step 7. Finally, restart your computer to apply the changes.
How to Show or Hide PowerPoint Presentation Ending with a Black Slide Using Registry Editor?
To allow or block PowerPoint presentations ending with a black slide through Registry Editor, do these steps:-
Step 1. Open Registry Editor on your Windows 11 or 10 PC.
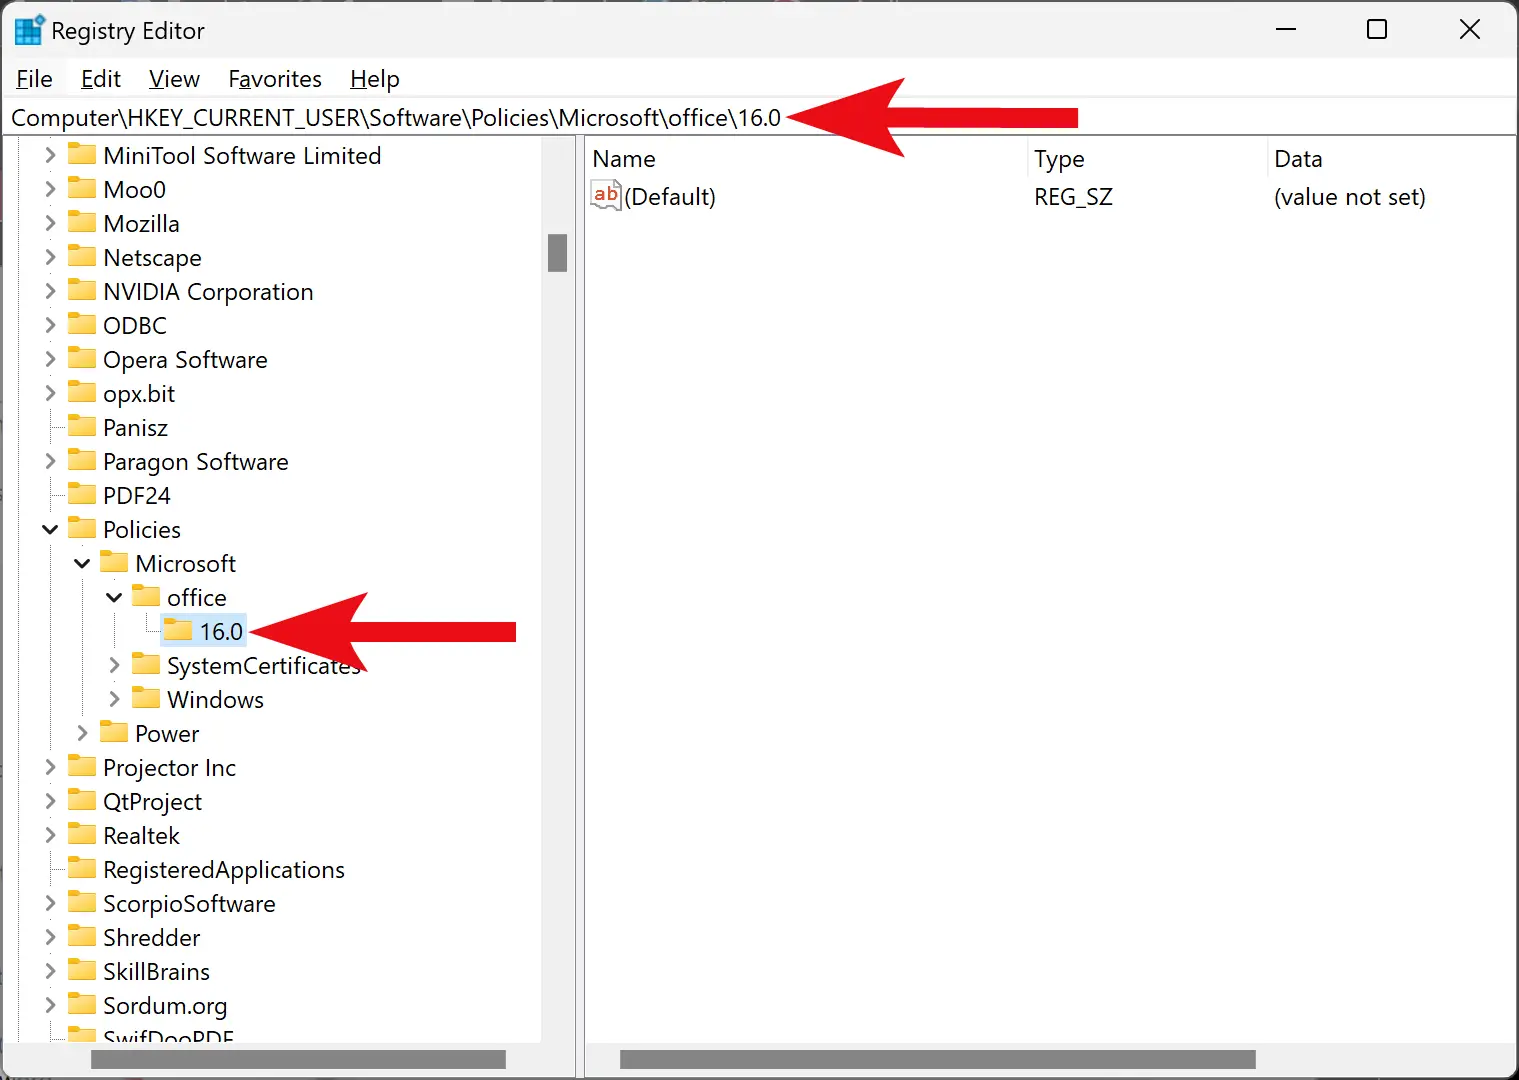
Step 2. Then, browse or navigate to the following key in the left sidebar of the Registry Editor:-
HKEY_CURRENT_USER\Software\Policies\Microsoft\office\16.0
Step 3. Next, right-click on the 16.0 folder and pick New > Key.
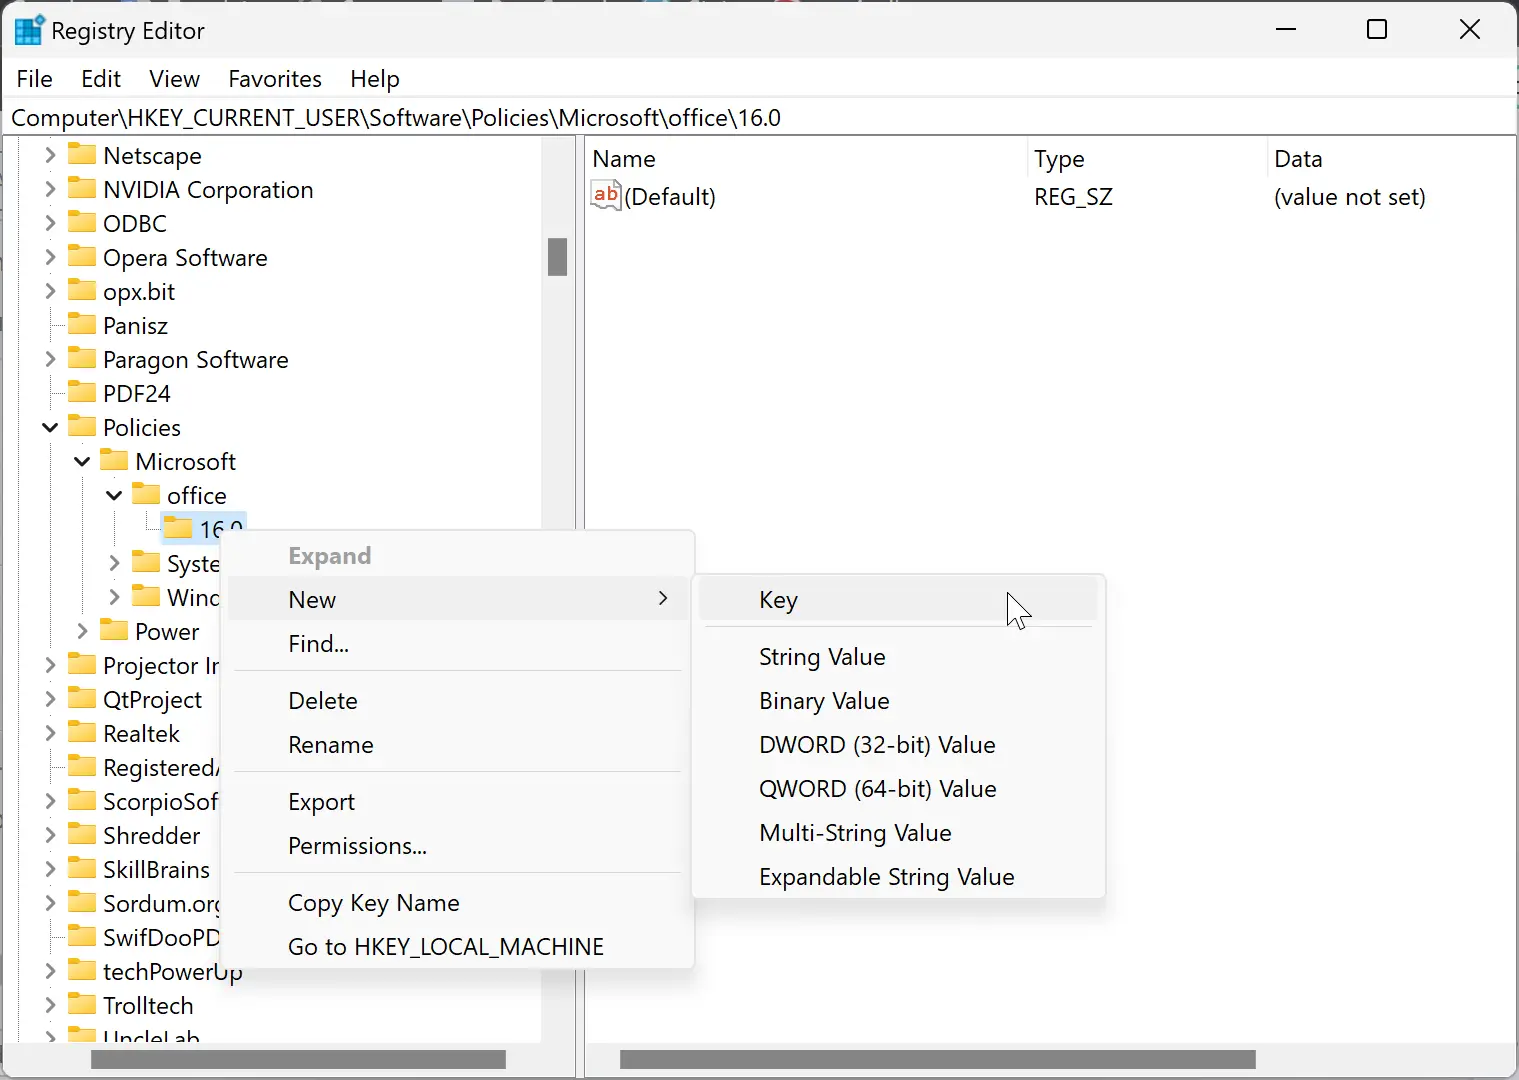
Step 4. Name the newly created key powerpoint.
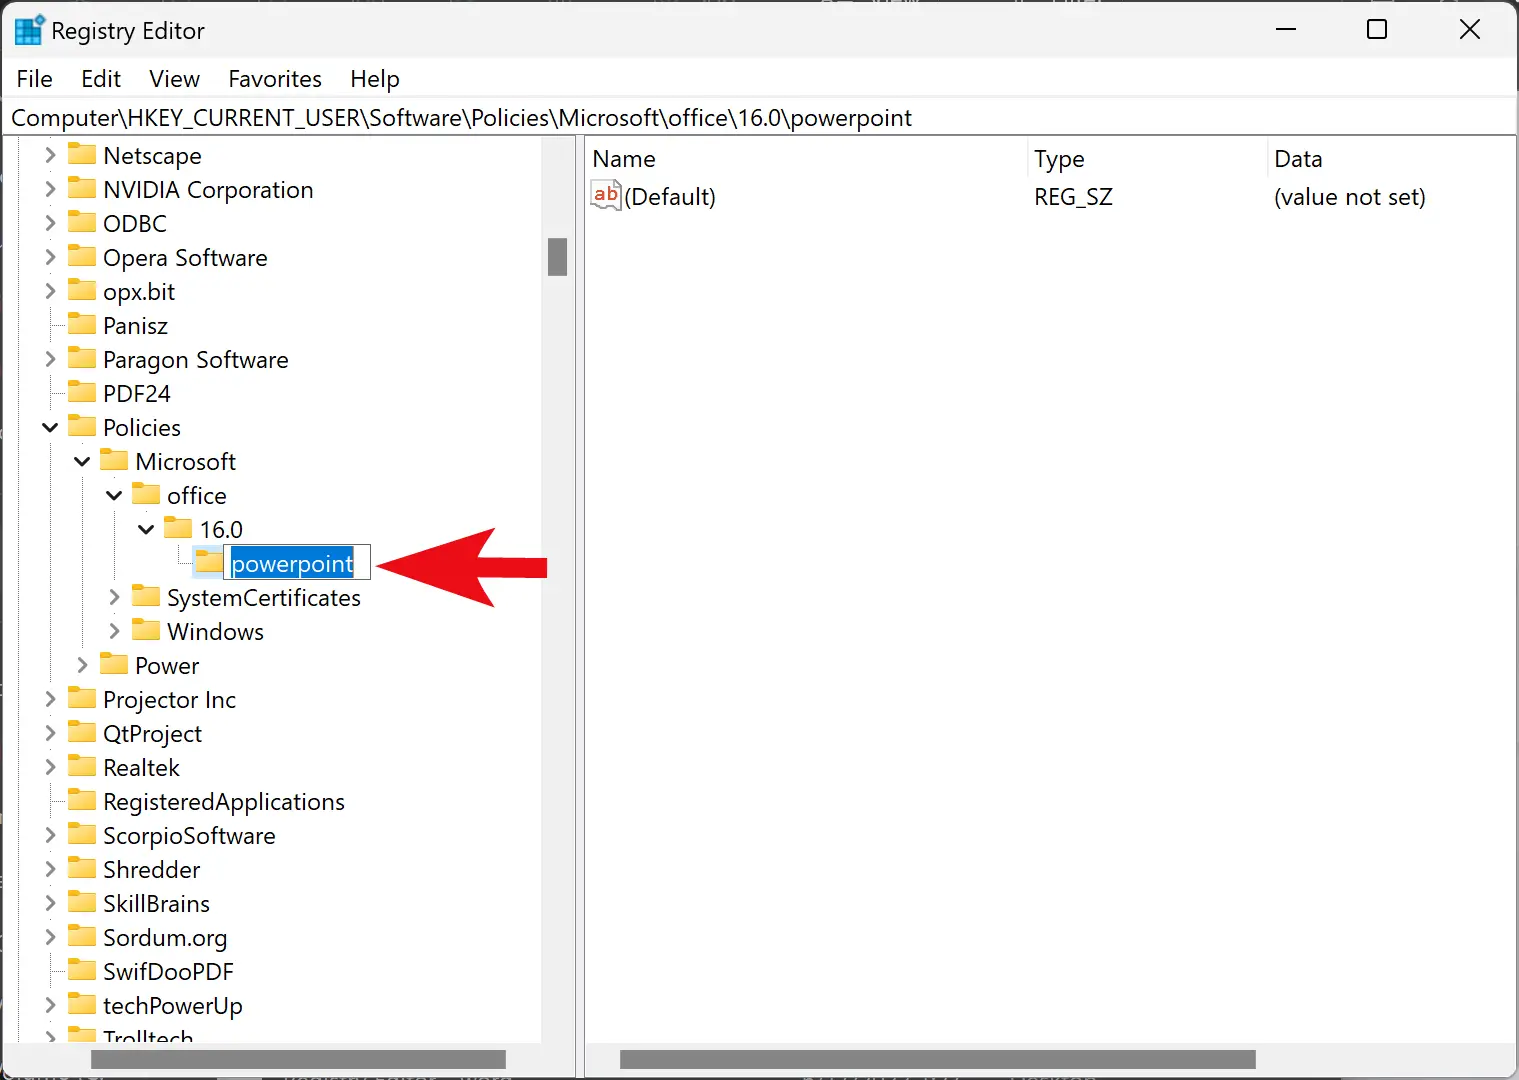
Step 5. Now, right-click on the powerpoint folder and choose New > Key.
Step 6. Name the newly created key as options.
Step 7. After that, right-click on the options folder and select New > DWORD (32-bit) Value.

Step 8. Name the newly created REG_DWORD as ssendonblankslide.
![]()
Step 9. Now, double-click on the ssendonblankslide REG_DWORD and set its “Value data” to the following:-
- 0: Block displaying blank slide at the end of the PowerPoint presentation.
- 1: Allow displaying blank slide at the end of the PowerPoint presentation.
Step 10. At last, reboot your PC to apply the changes.
Conclusion
In conclusion, the “End with black slide” option in PowerPoint can be enabled or disabled using PowerPoint Options, Local Group Policy Editor, or Registry Editor. The default setting in Microsoft PowerPoint is to add a black slide at the end of the presentation to indicate that the presentation is over. However, if you find it bothersome, you can easily turn off this option by following the steps mentioned above. Whether you prefer to use PowerPoint Options, Local Group Policy Editor, or Registry Editor, you can easily customize your PowerPoint presentation by showing or hiding the black slide. These steps can be applied to Windows 11 and 10 to configure the PowerPoint settings according to your preferences.