How do I disable Startup Sound in Windows 11? Are you one of those Windows users that don’t like startup sounds on Windows 11? In Windows 11, the startup sound remains turned on by default. Once Windows 11 is installed on your PC, if it has a sound card, you will hear sound on the machine’s startup. Although Windows 11 ships with a new startup sound, all users may not be satisfied and want to disable it on their computers.
Diving into the earlier version of Windows, Windows 7, and earlier versions operating system plays a chime when you turn on your PC. This startup sound was also available on Windows 8 and Windows 10, by Microsoft had turned it off by default. When you turn on your PC, it will not play a sound on your computer.
If you are annoyed with Windows 11 startup sound, Microsoft has provided an option to disable or turn off this startup sound.
This gearupwindows article will guide you through disabling or turning off the startup sound on Windows 11. There are at least two ways through which you can turn off the startup sound. We will review both one by one.
How to Turn On or Turn Off Startup Sound using the Settings app in Windows 11?
The Settings app is a centralized place to enable or disable several features on Windows 11 computers. Using it, we can enable or disable startup sounds.
Step 1. Open the Settings app by pressing Windows + I keys from the keyboard.
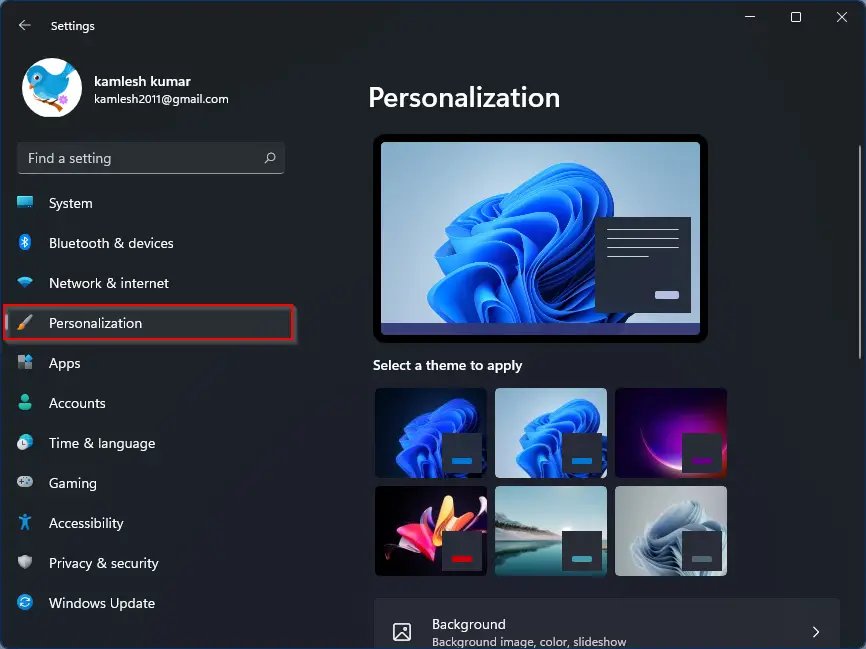
Step 2. Click on the Personalization category from the left sidebar in the settings window.
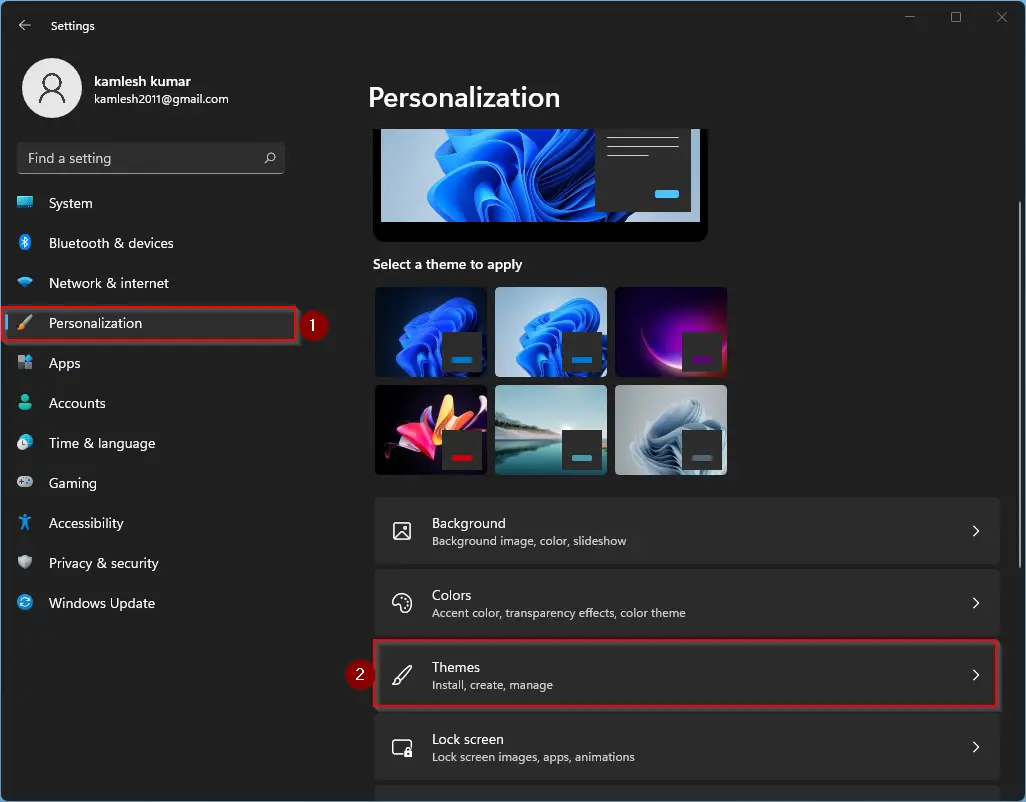
Step 3. On the right side of Personalization, click on the Themes tab.
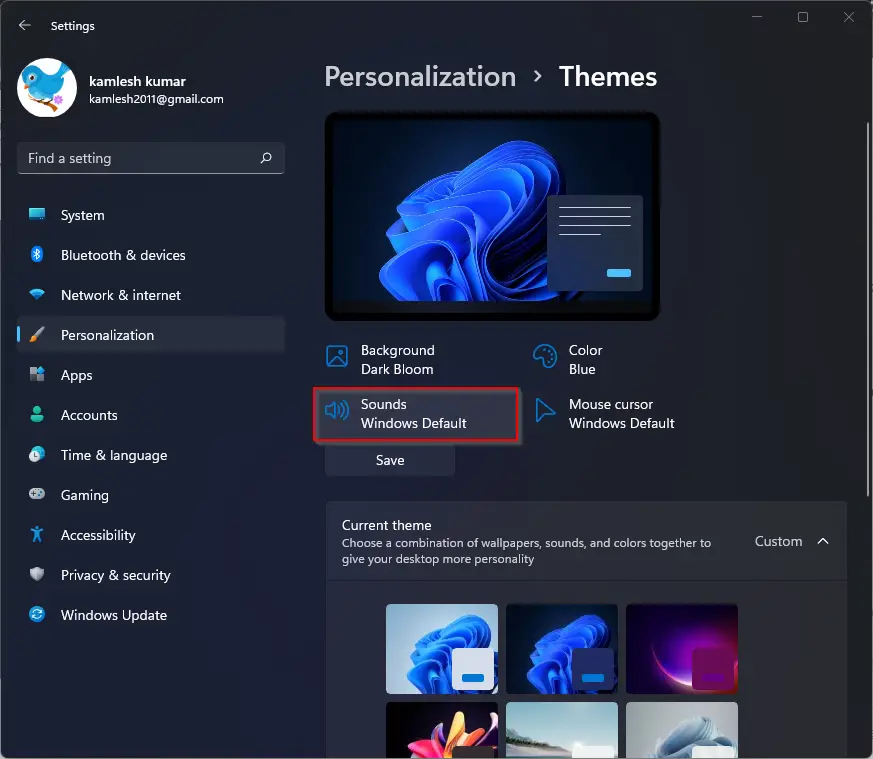
Step 4. Click on the Sounds option on the right-side pane.
Step 5. After doing the above steps, the Sound window will open. Navigate to the Sounds tab and uncheck the checkbox labeled Play Windows Start sound.

Step 6. Click Apply.
Step 7. Click OK.
After completing the above steps, the startup sound is disabled on your computer. If you need to enable it again, repeat the above steps, and in step 5, check the checkbox Play Windows Start sound. Click Apply and then the OK button.
How to Enable or Disable Startup Sound via Group Policy in Windows 11?
Group Policy Editor is another way to enable or disable the Startup sound on Windows 11; however, it is not part of the Windows 11 Home edition.
Step 1. Launch the Local Group Policy Editor.
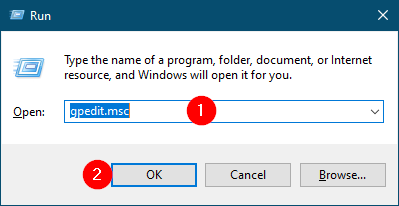
To do that, press the Windows + R keys simultaneously to open the Run box. In the Run box, type gpedit.msc and hit Enter from the keyboard or click the OK button.
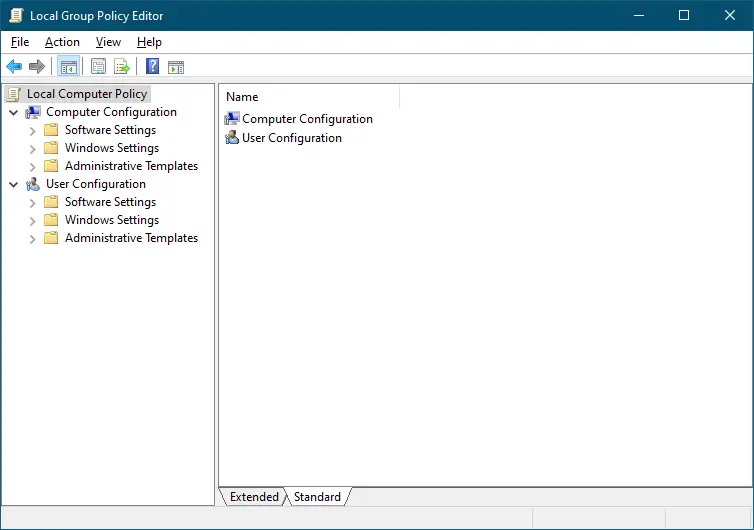
Step 2. In the Local Group Policy Editor window, navigate to the following path from the left sidebar:-
Computer Configuration > Administrative Templates > System > Logon
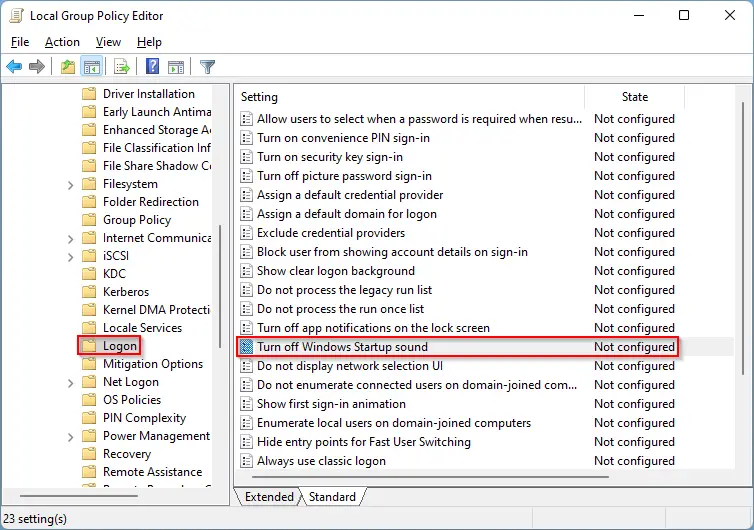
Step 3. On the right side of the Logon folder, look for the policy name Turn off Windows Startup sound and then double-click on it to open its settings.
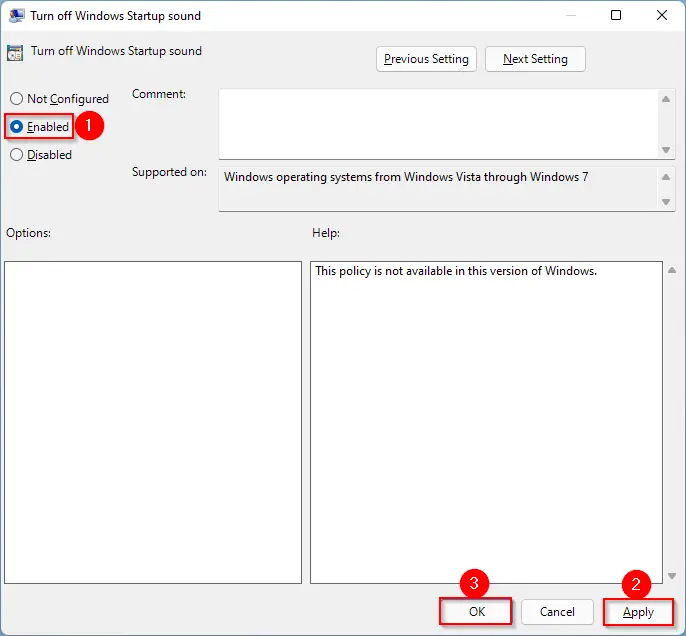
Step 4. Select the Enabled option.
Step 5. Click Apply.
Step 6. Click OK.
Step 7. Restart your computer.
Once you complete the above steps, you should not hear the startup sound anymore on your Windows 11 PC. If you wish to enable it again on your computer, repeat the above steps, and in step 4, select the Not Configured option.
Good luck.
Conclusion
In conclusion, if you are one of those Windows 11 users who find the startup sound annoying, there are at least two ways to disable it. The first method involves using the Settings app, which is a centralized place to enable or disable several features on Windows 11 computers. The second method uses the Local Group Policy Editor, but it is not available on the Windows 11 Home edition. Whichever method you choose, both are relatively easy to follow, and you should be able to disable the startup sound in no time. It is worth noting that if you ever change your mind and want to enable the startup sound again, you can always follow the same steps and select the appropriate option.
Also Read: