Unfortunately, changing your Windows 11 basic settings is not so easy, such as brightness and volume. You need to navigate through the Settings app deeply, and it will take a lot of time. So, Microsoft has included a tool Windows Mobility Center that allows users to reach and alter those ordinary settings with a single click.
The issue is that a few people know about Windows Mobility Center. The other problem is that this feature is only available on laptops by default, which means you need to enable Mobile Center on desktops in order to use it.
In this gearupwindows article, we will guide you on enabling and using Windows Mobility Center on Windows 11.
What is the Windows Mobility Center?
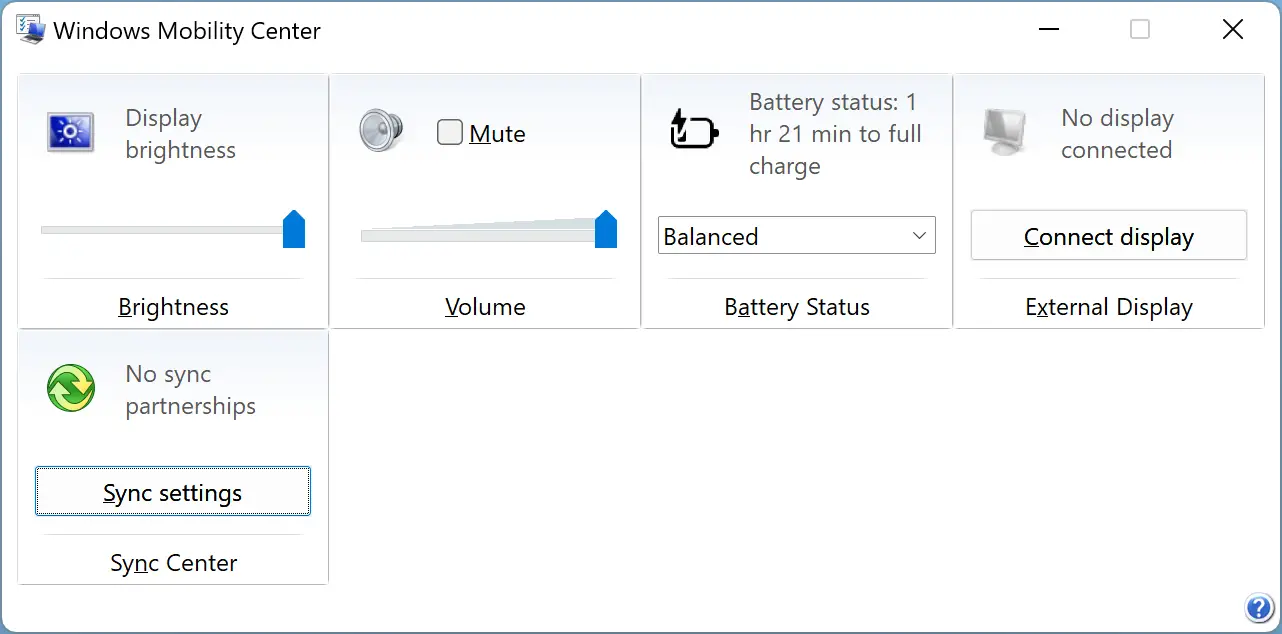
The Windows Mobility Center feature was first introduced in Windows Vista by Microsoft. It is a built-in Windows component that centralizes information and settings most relevant to portable and mobile devices. This tool hosts information and settings, including audio, display brightness, battery life, power schemes, brightness, etc.
However, Windows Mobility Center is only available on notebooks by default, and you need to enable it on desktops to use it. You can overcome this limitation by tweaking the Windows Registry.
How to Enable Windows Mobility Center on Windows 11 Desktop?
To turn on Windows Mobility Center on the Windows 11 desktop, use these steps:-
Step 1. First, open Registry Editor.
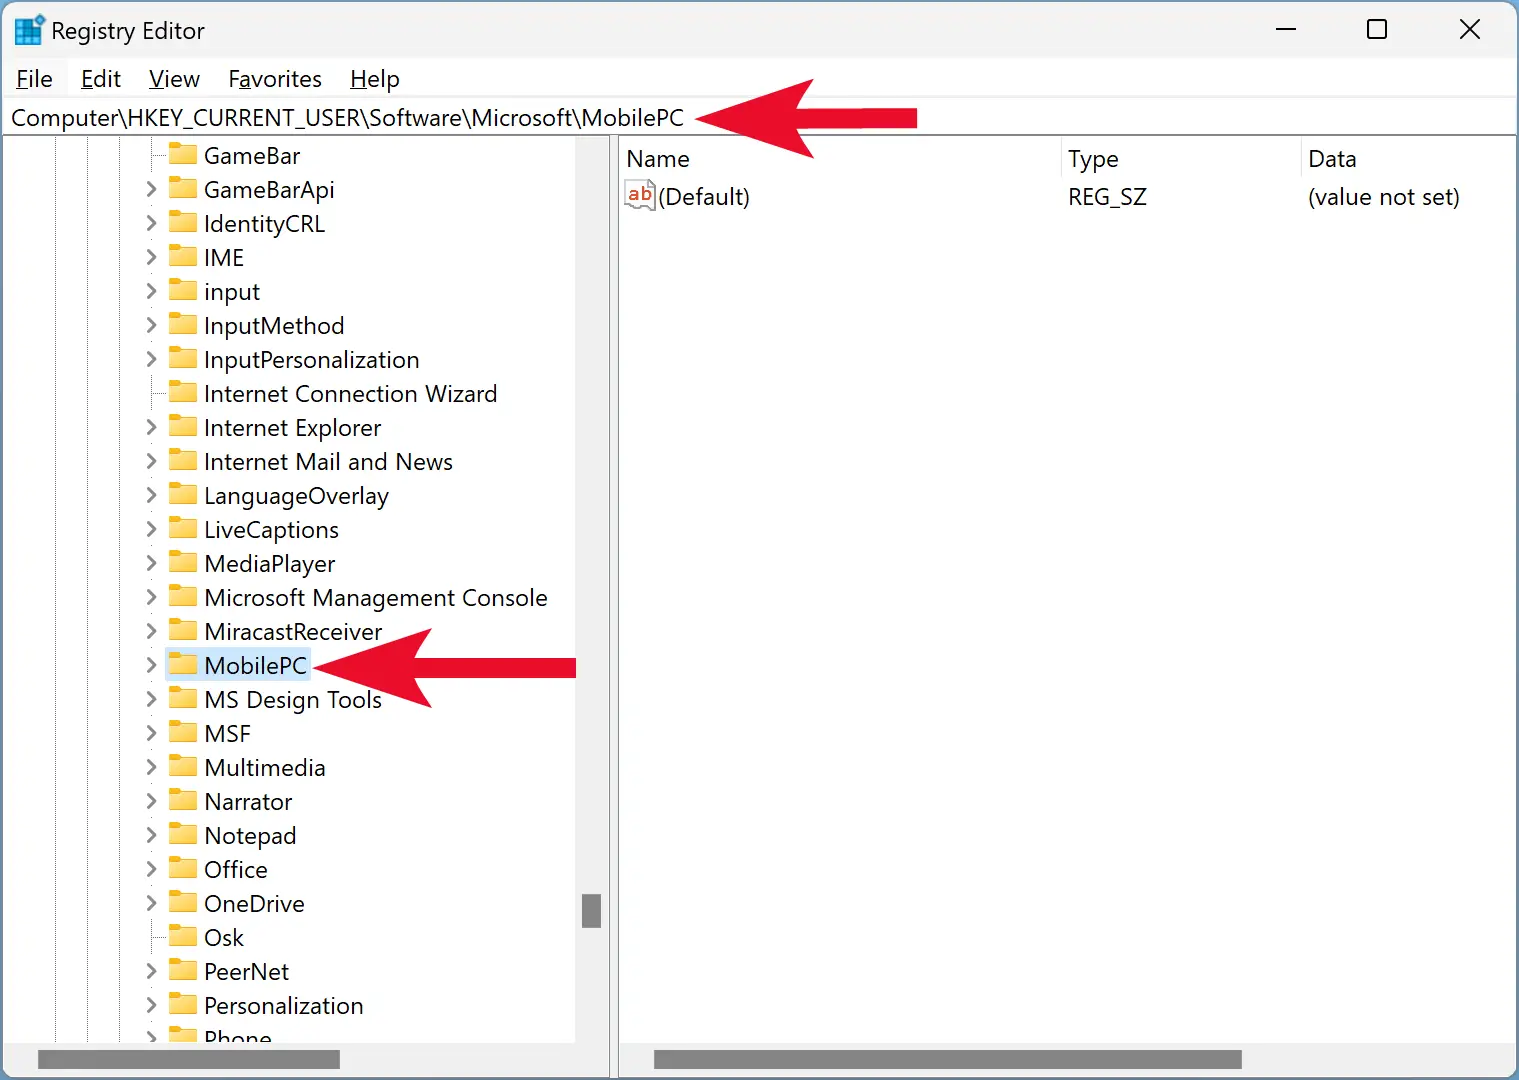
Step 2. Next, browse to the following key in the left sidebar of the Registry Editor window:-
HKEY_CURRENT_USER\Software\Microsoft\MobilePC
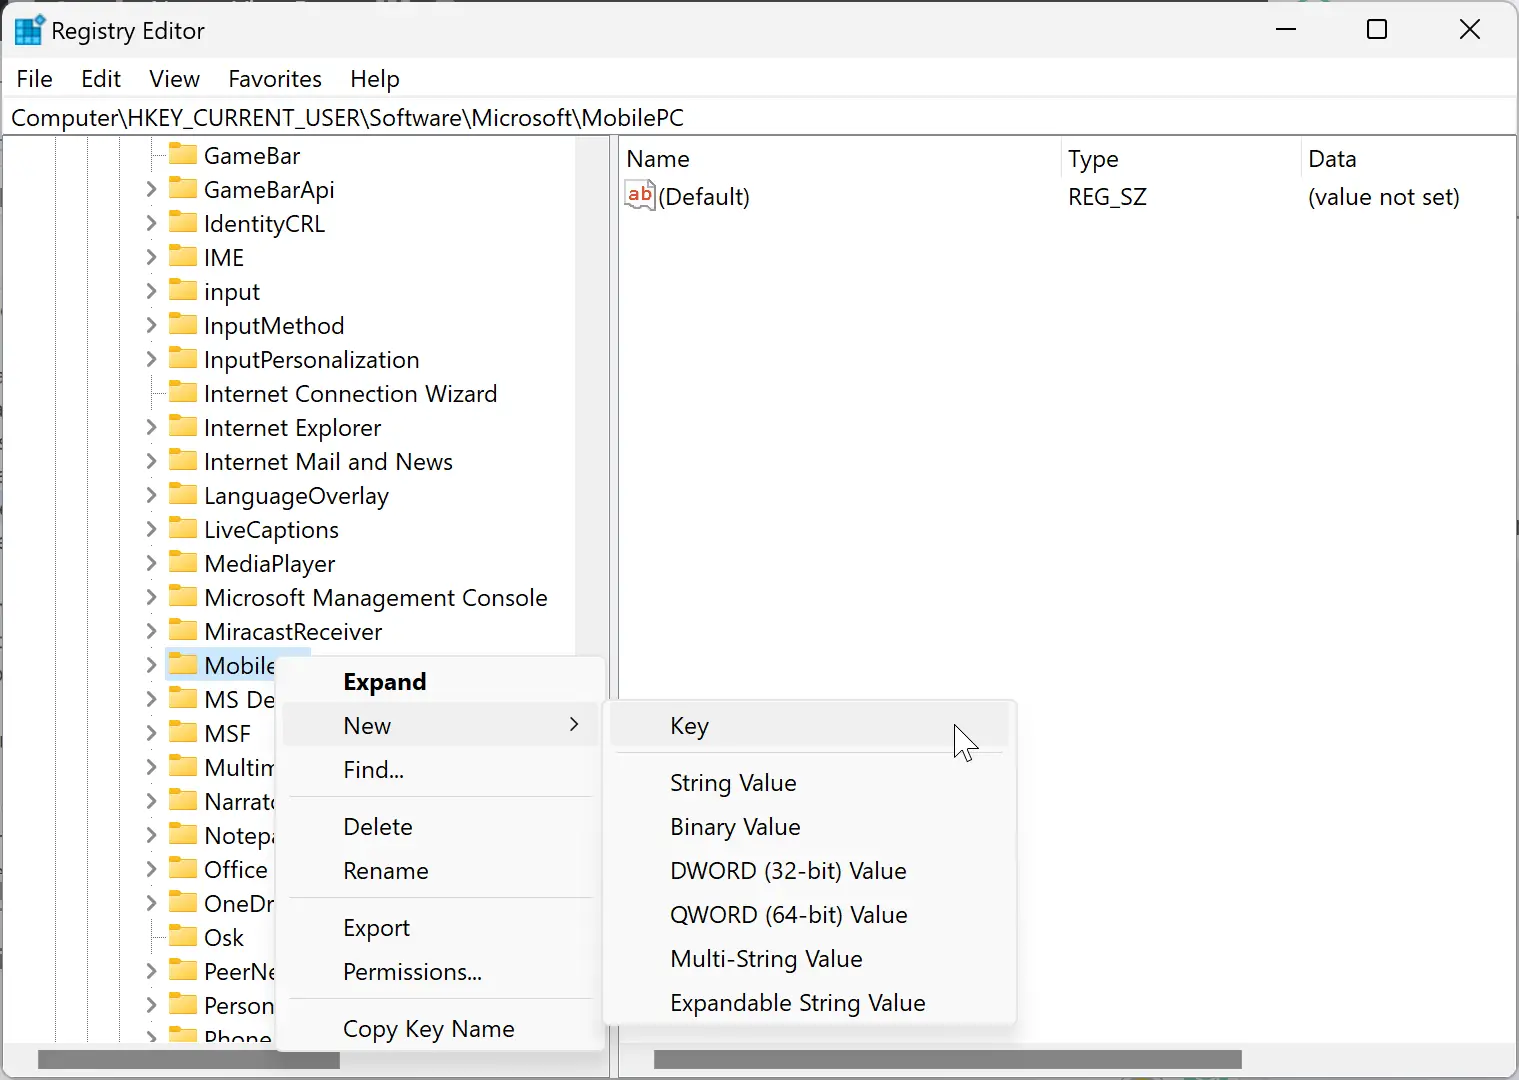
Step 3. Now, right-click on the MobilePC folder and select New > Key.
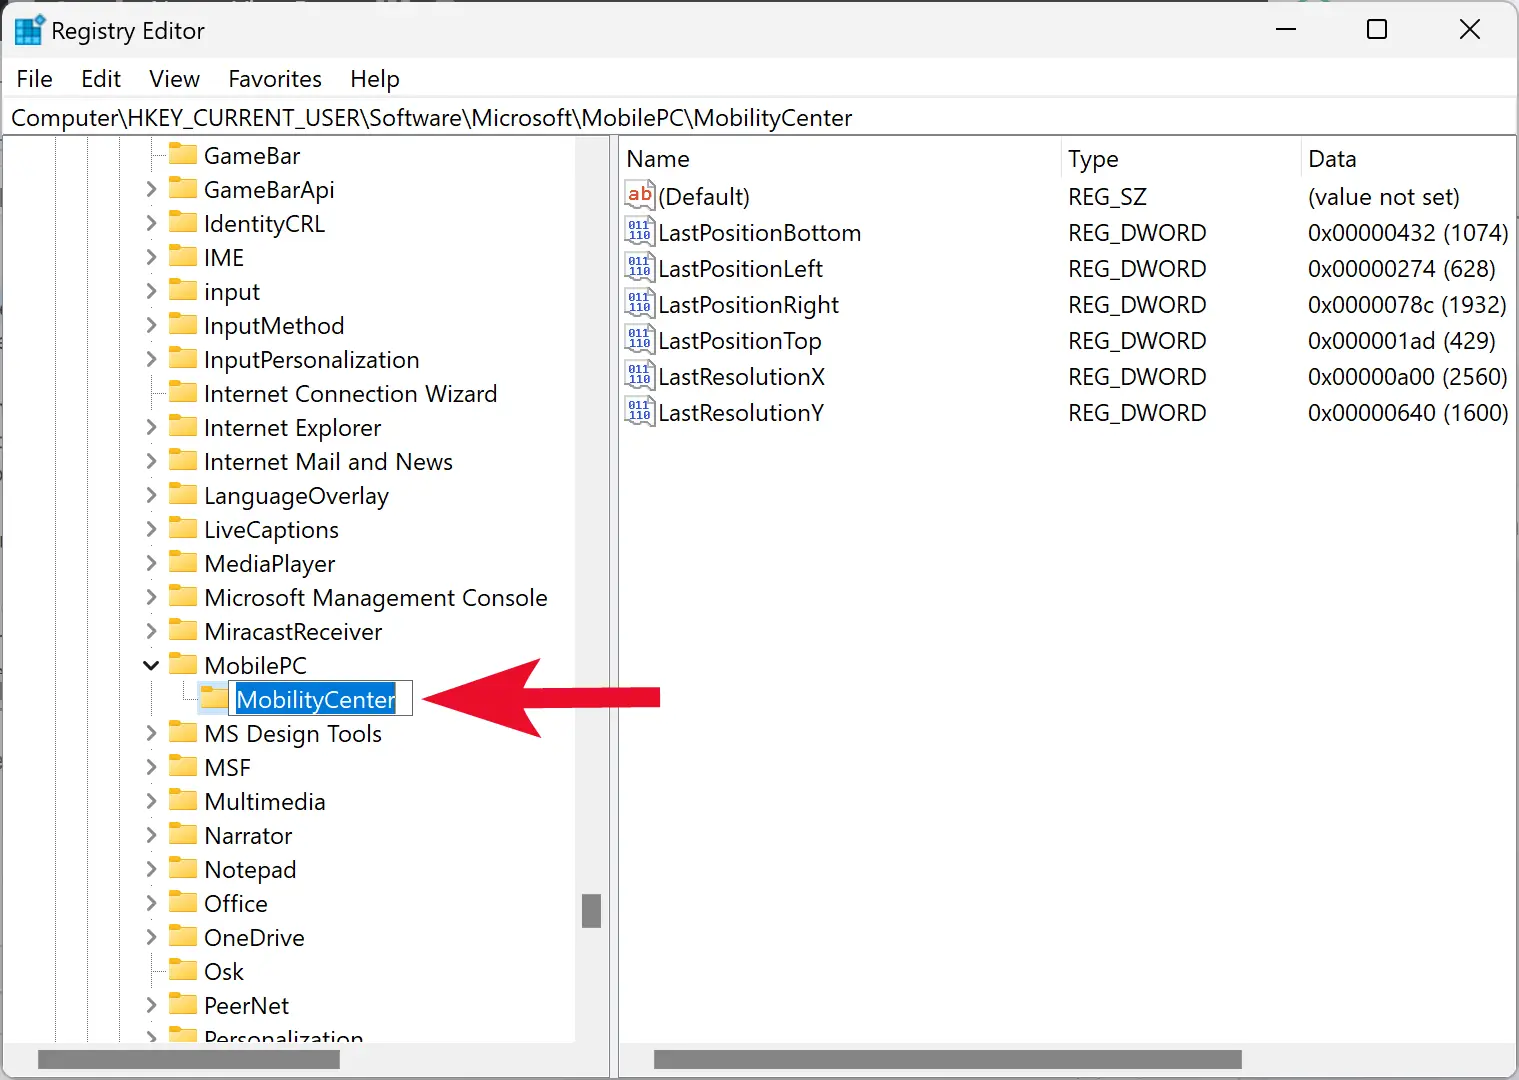
Step 4. Name the newly created key as MobilityCenter.
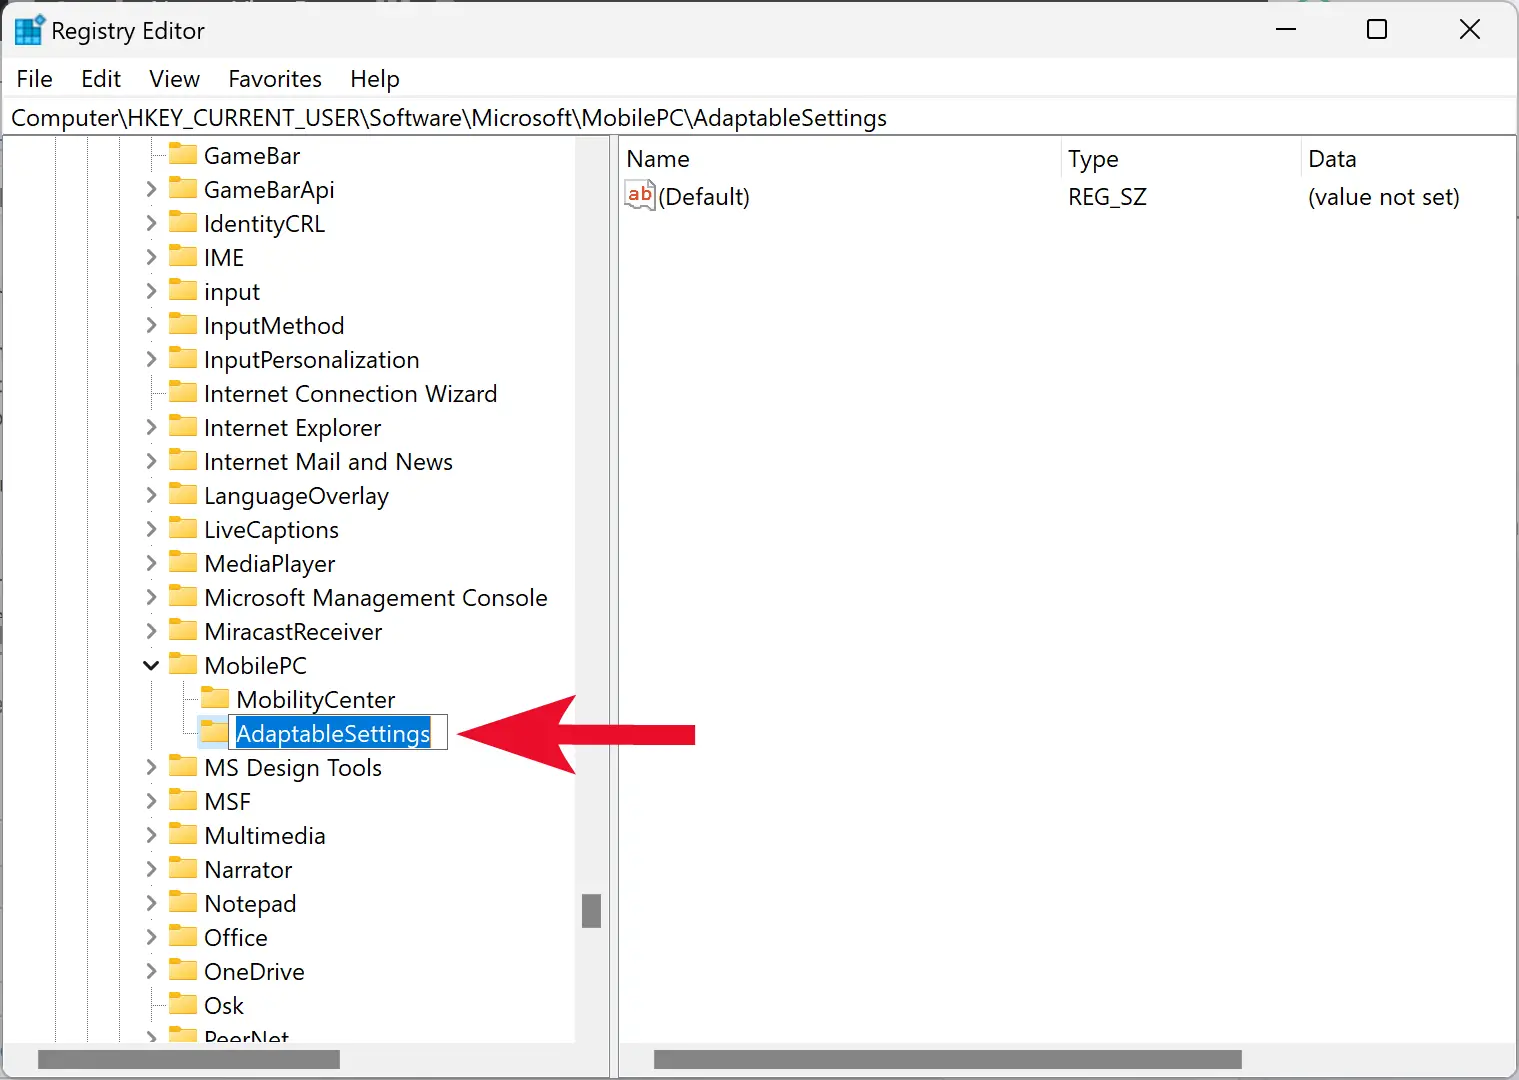
Step 5. Again, right-click on the MobilePC folder in the left sidebar and select New > Key.
Step 6. Name the newly created key as AdaptableSettings.
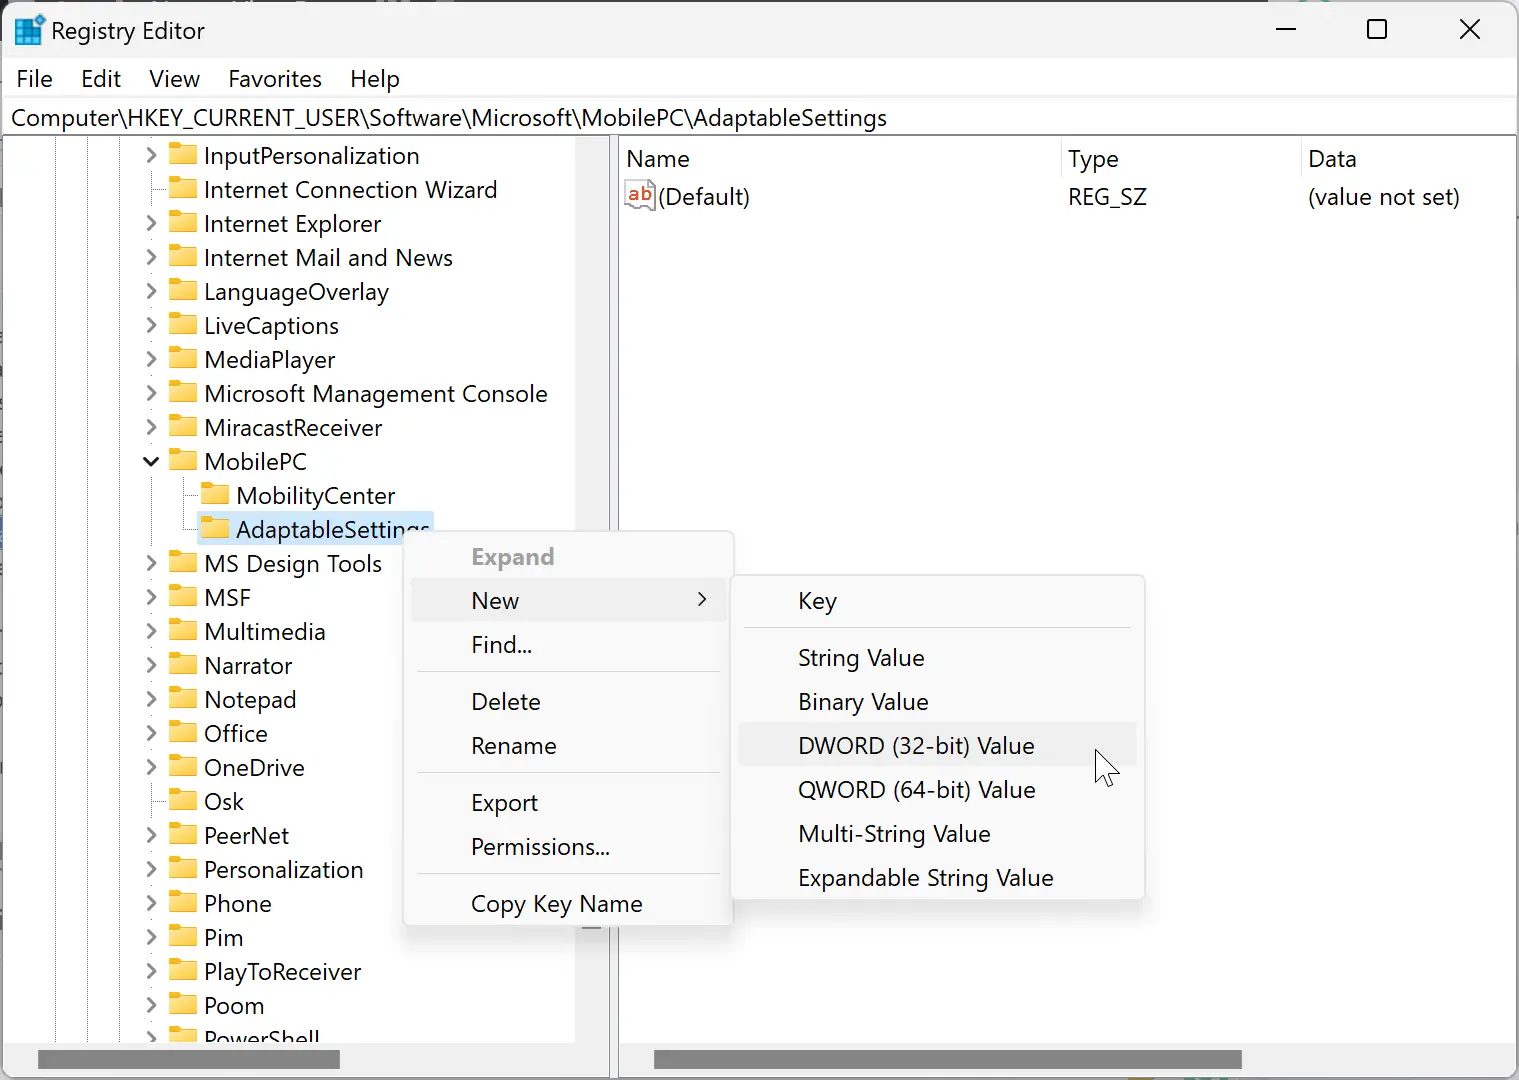
Step 7. Now, right-click on the AdaptableSettings key on the left side pane and select New > DWORD (32-bit) Value.
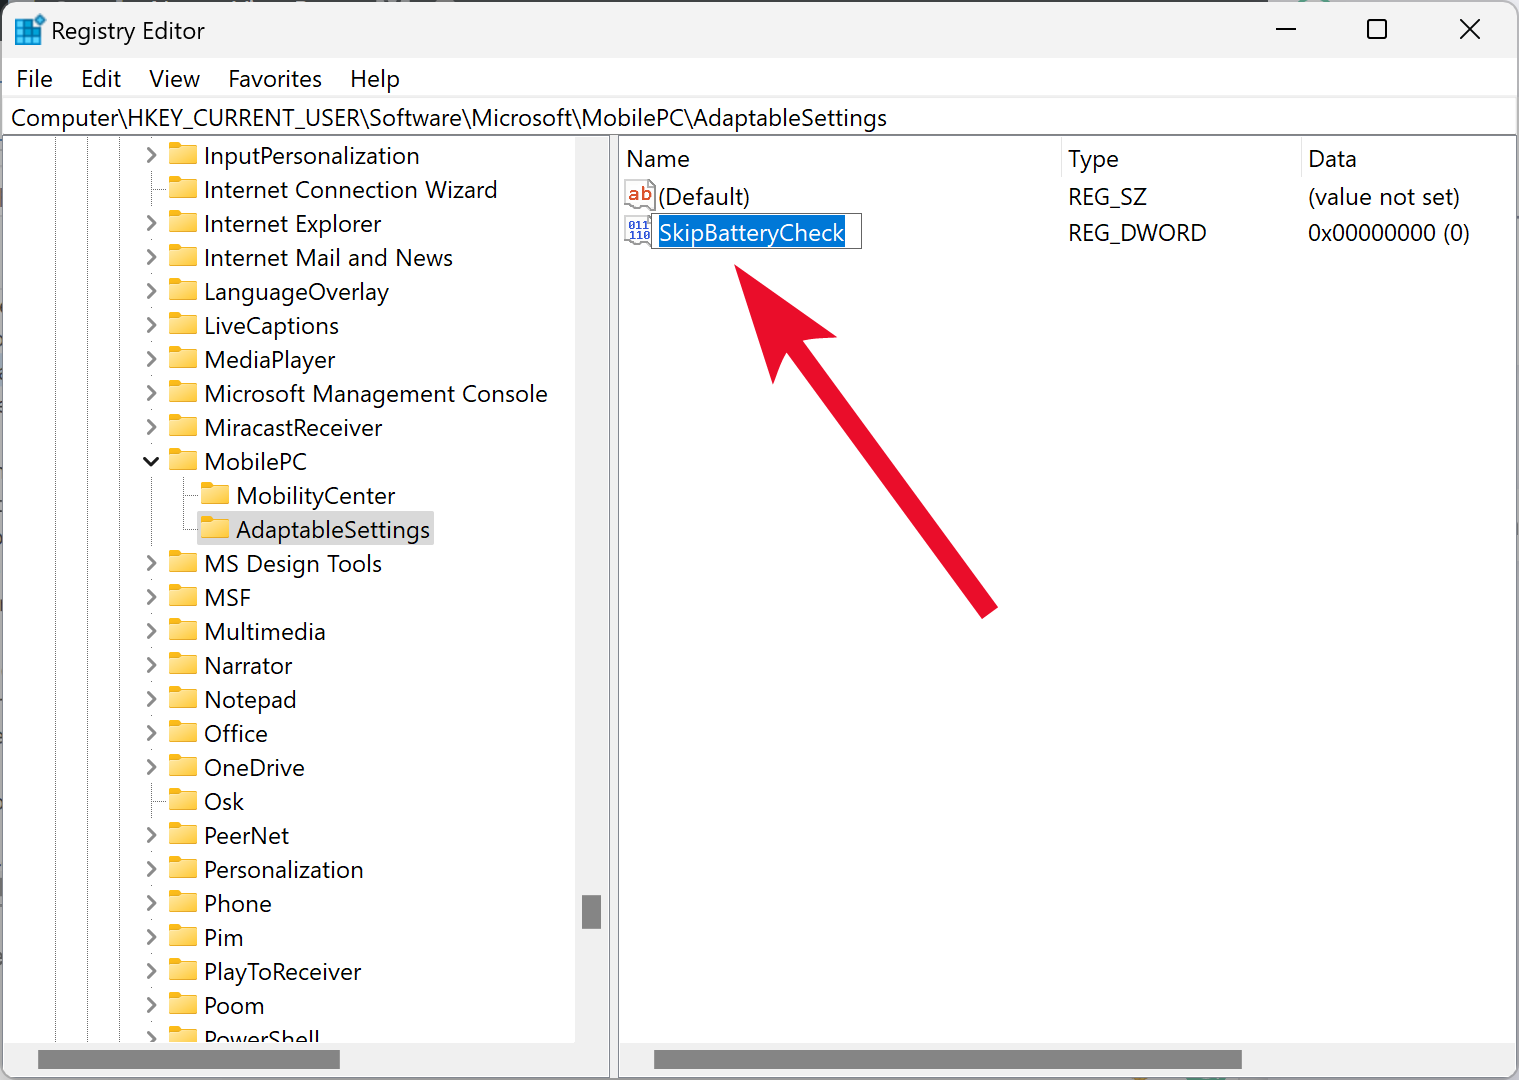
Step 8. Name the newly created REG_DWORD as SkipBatteryCheck.
Step 9. Now, double-click on SkipBatteryCheck and set its “Value data” to 1.
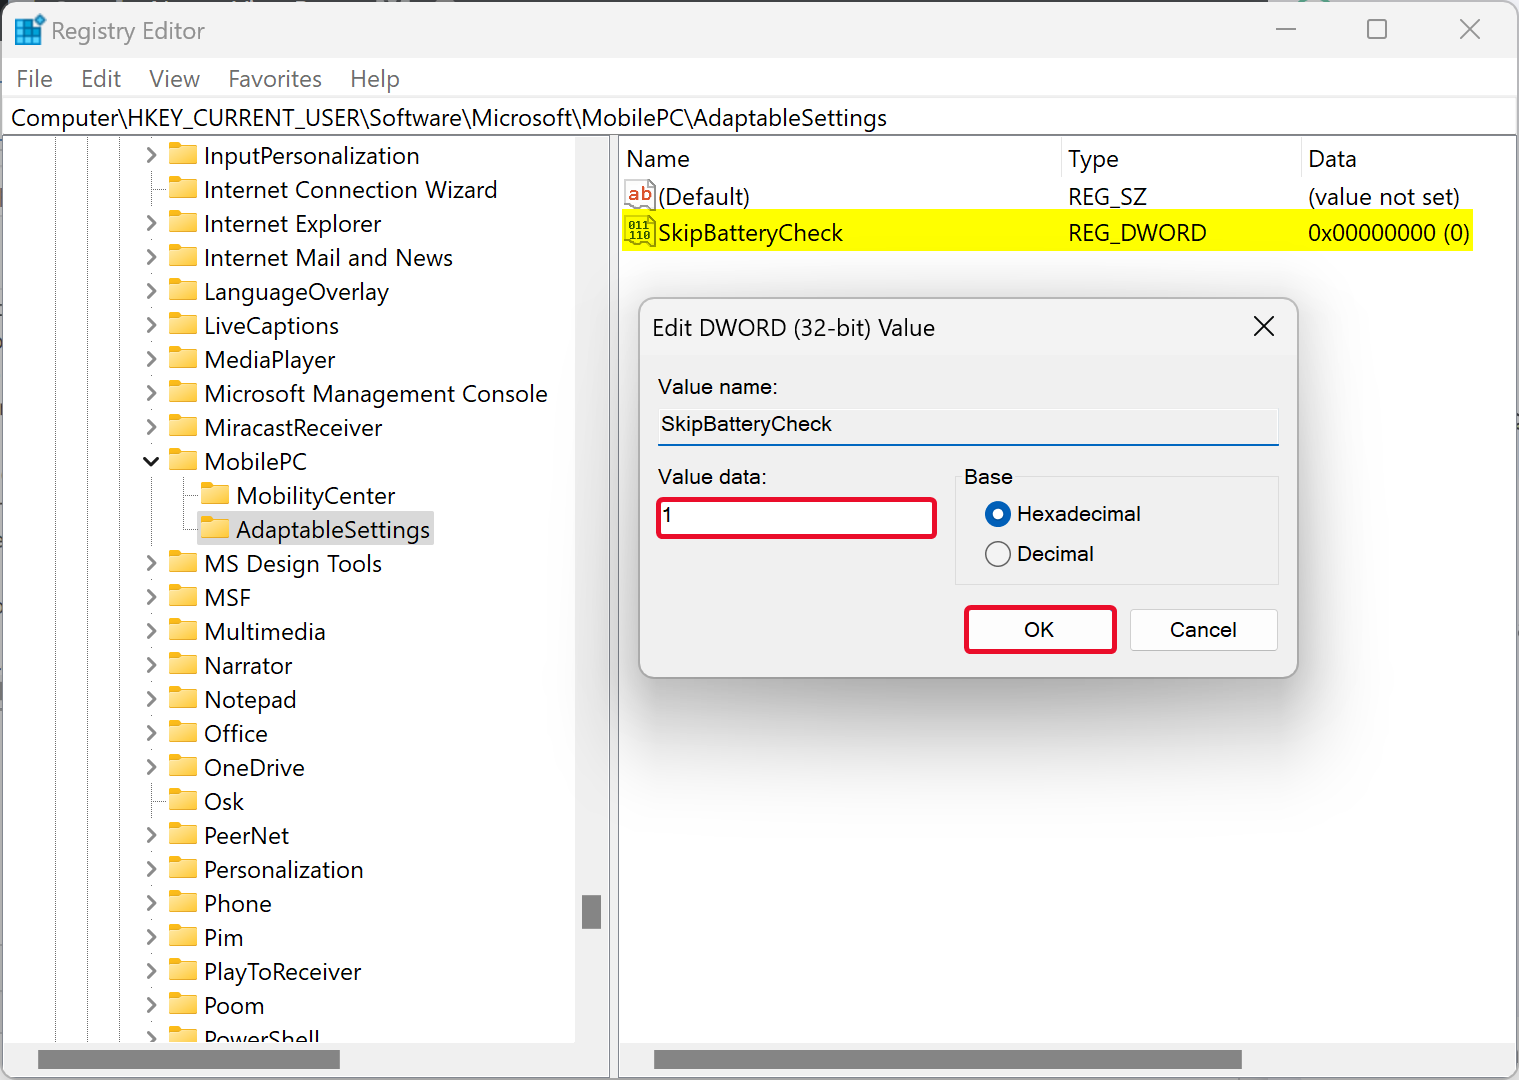
Step 10. Click OK.
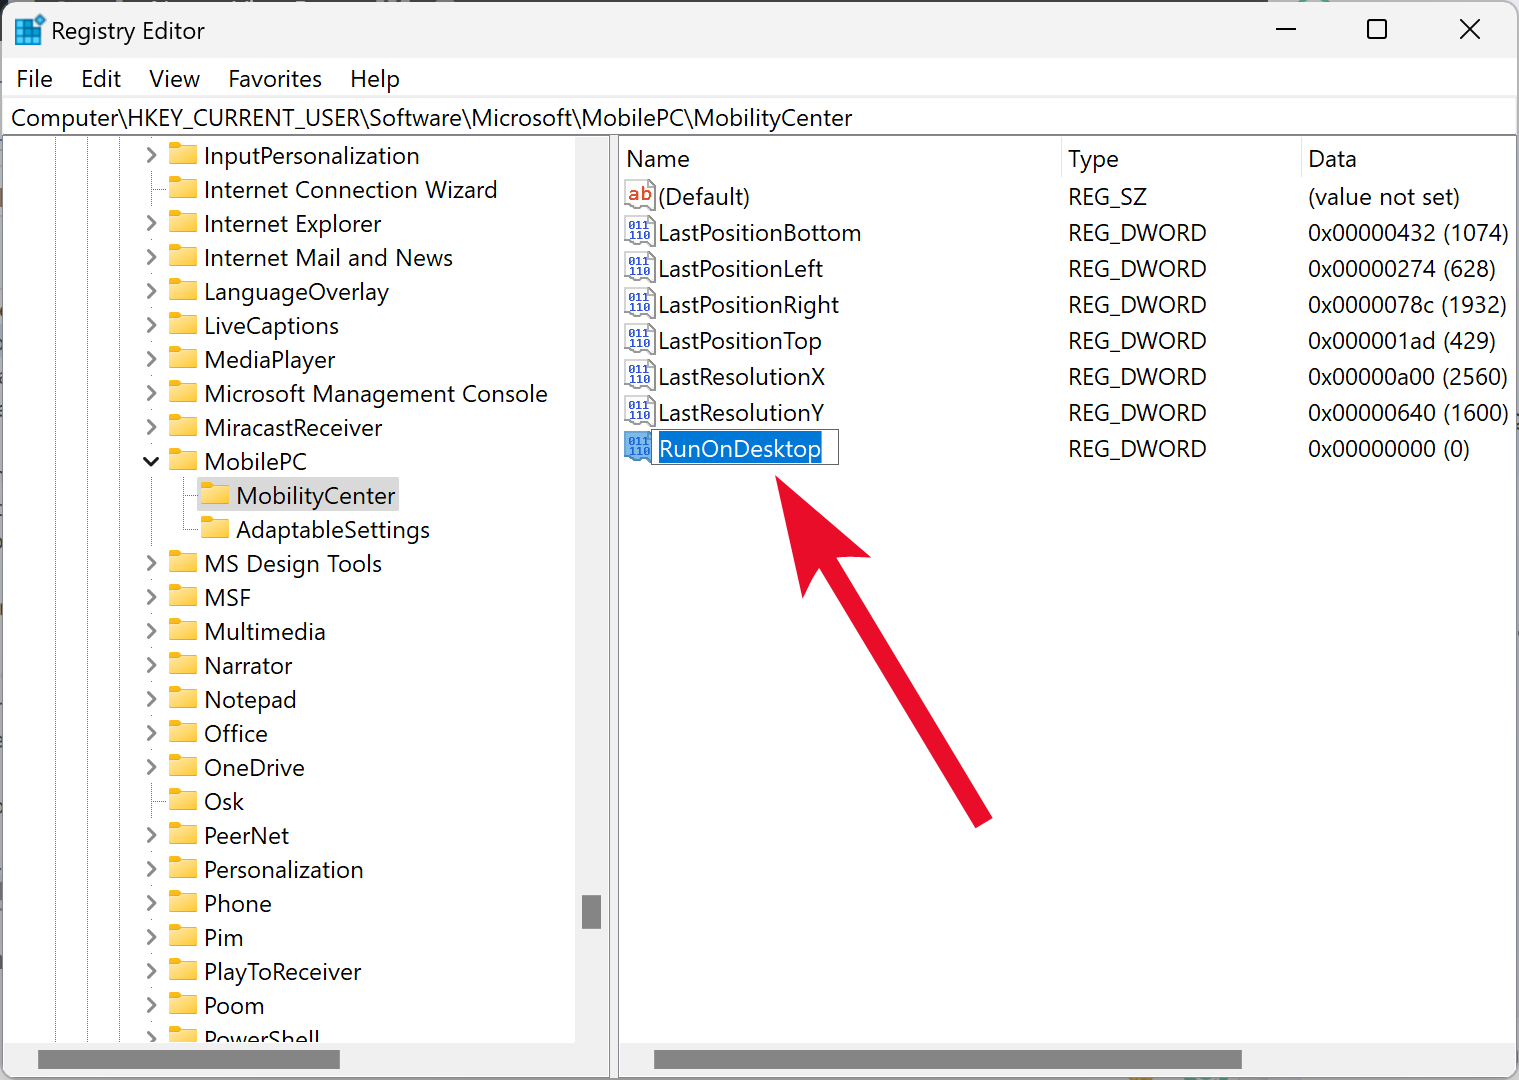
Step 11. Move your cursor to the left side and right-click on the MobilityCenter key. Select New > DWORD (32-bit) Value.

Step 12. Name the newly created REG_DWORD as RunOnDesktop.
Step 13. Double-click on the RunOnDesktop REG_DWORD and set its “Value data” to 1.
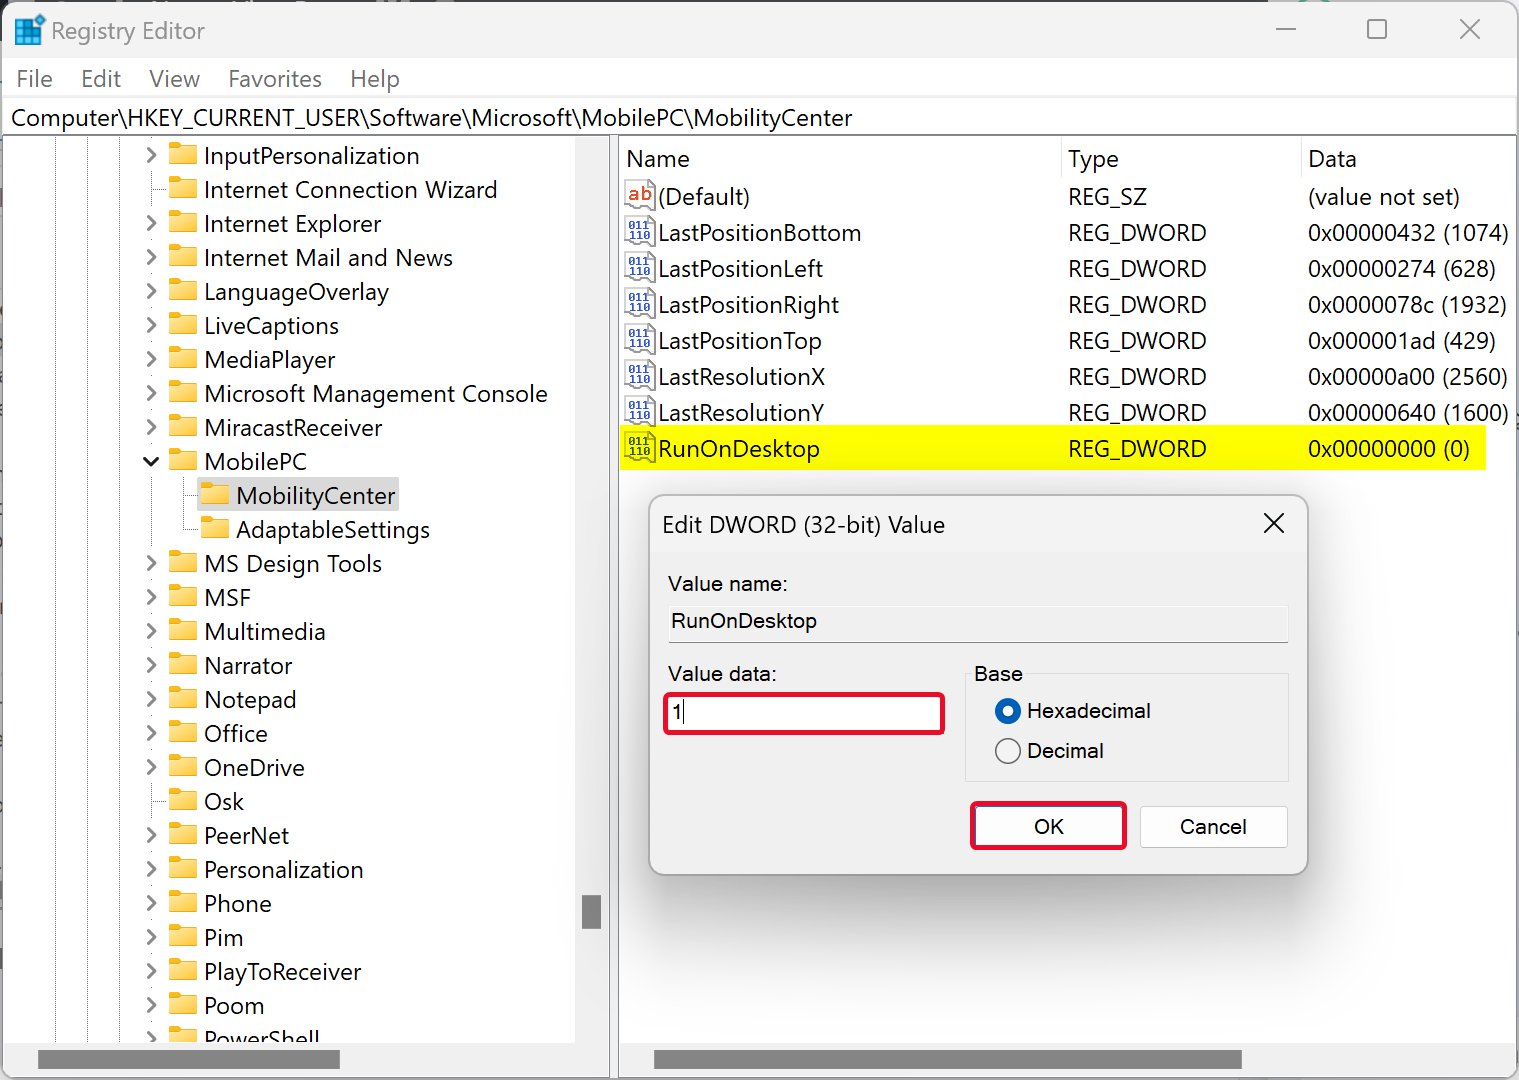
Step 14. Click OK.
Once you complete the above steps, Windows Mobility Center will be enabled on your Windows 11 machine.
How to Create a Desktop Shortcut of Windows Mobility Center on Windows 11?
If you frequently access the desktop to open different programs on your computer, you should make a shortcut to Windows Mobility Center.
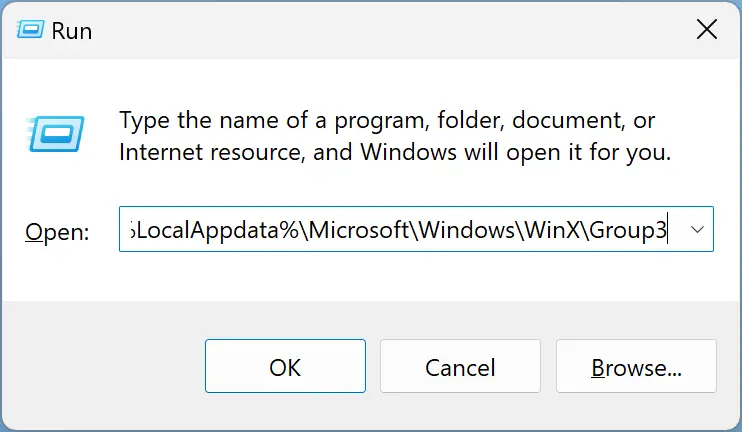
To do that, open the Run dialog box by pressing Windows + R keyboard shortcut. In the Run box, type the following and hit Enter key on the keyboard:-
%LocalAppdata%\Microsoft\Windows\WinX\Group3
When you complete the above steps, the Group3 folder will open on your computer. Locate the Windows Mobility Center shortcut and drag that to the desktop.

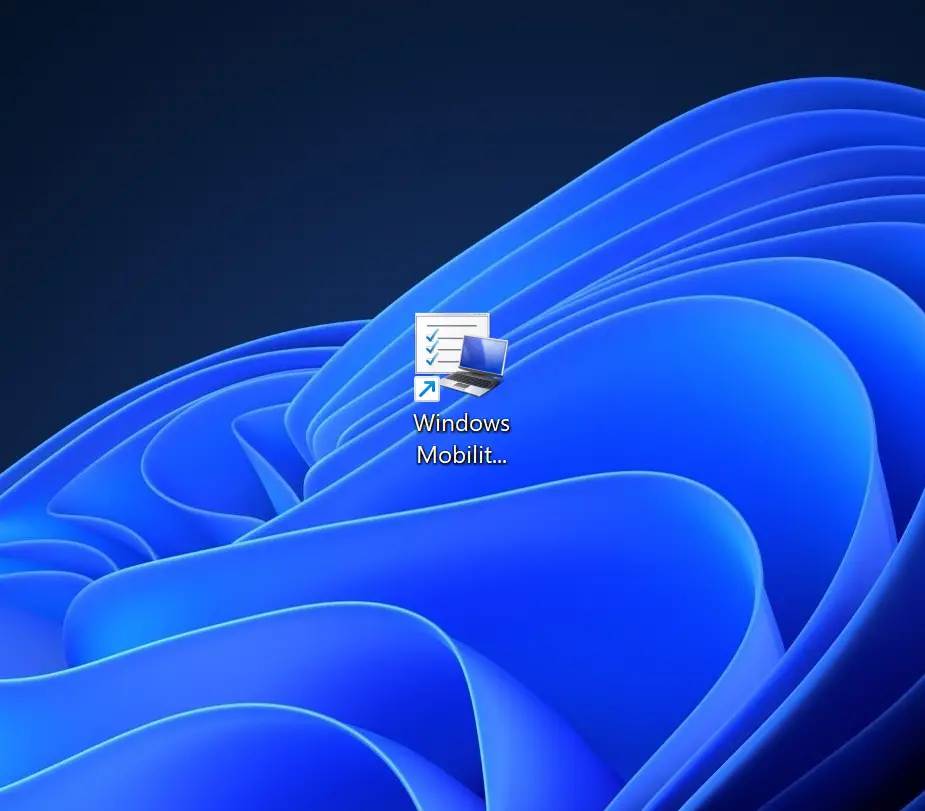
Once done, you will find a new shortcut of Windows Mobility Center on the desktop. Next time you want to open the Windows Mobility Center, just double-click on its shortcut icon to the desktop.
How to Open Windows Mobility Center on Windows 11 using Search/Start Menu?
This is the other most straightforward way to access Windows Mobility Center on Windows 11.
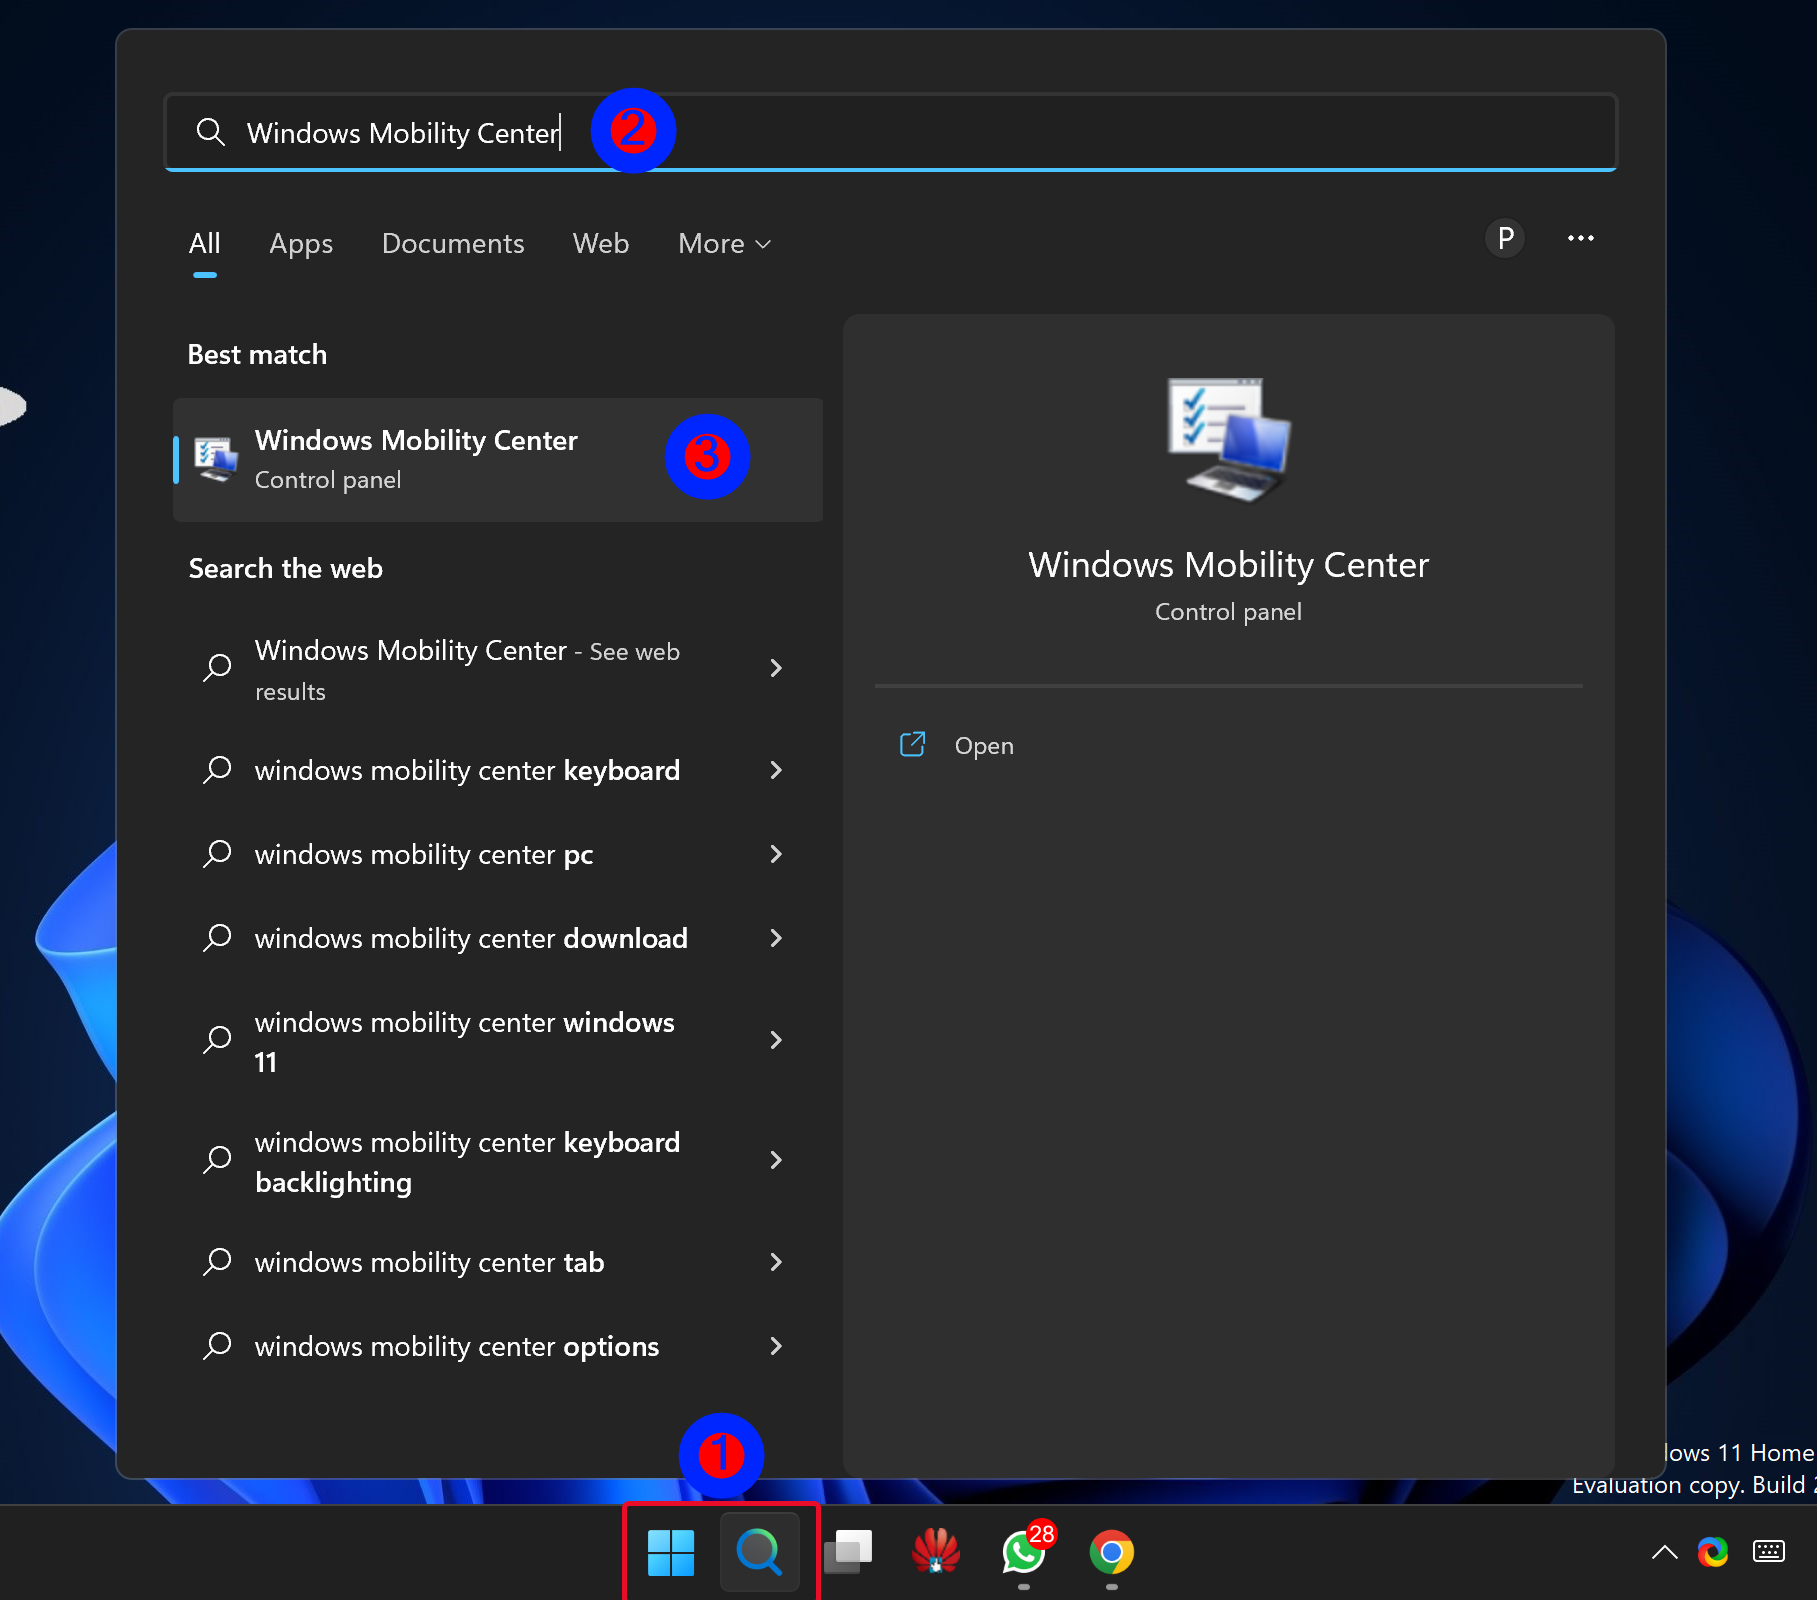
To open Windows Mobility Center through Search/Start menu, click on the Search or Start button on the taskbar and type Windows Mobility Center. In the search results, click on the same name to open it.
How to Open Windows Mobility Center using the Power User Menu?
To open Windows Mobility Center through Power User Menu, do the following:-
Right-click on the Start button and select the Mobility Centre in the power user menu.
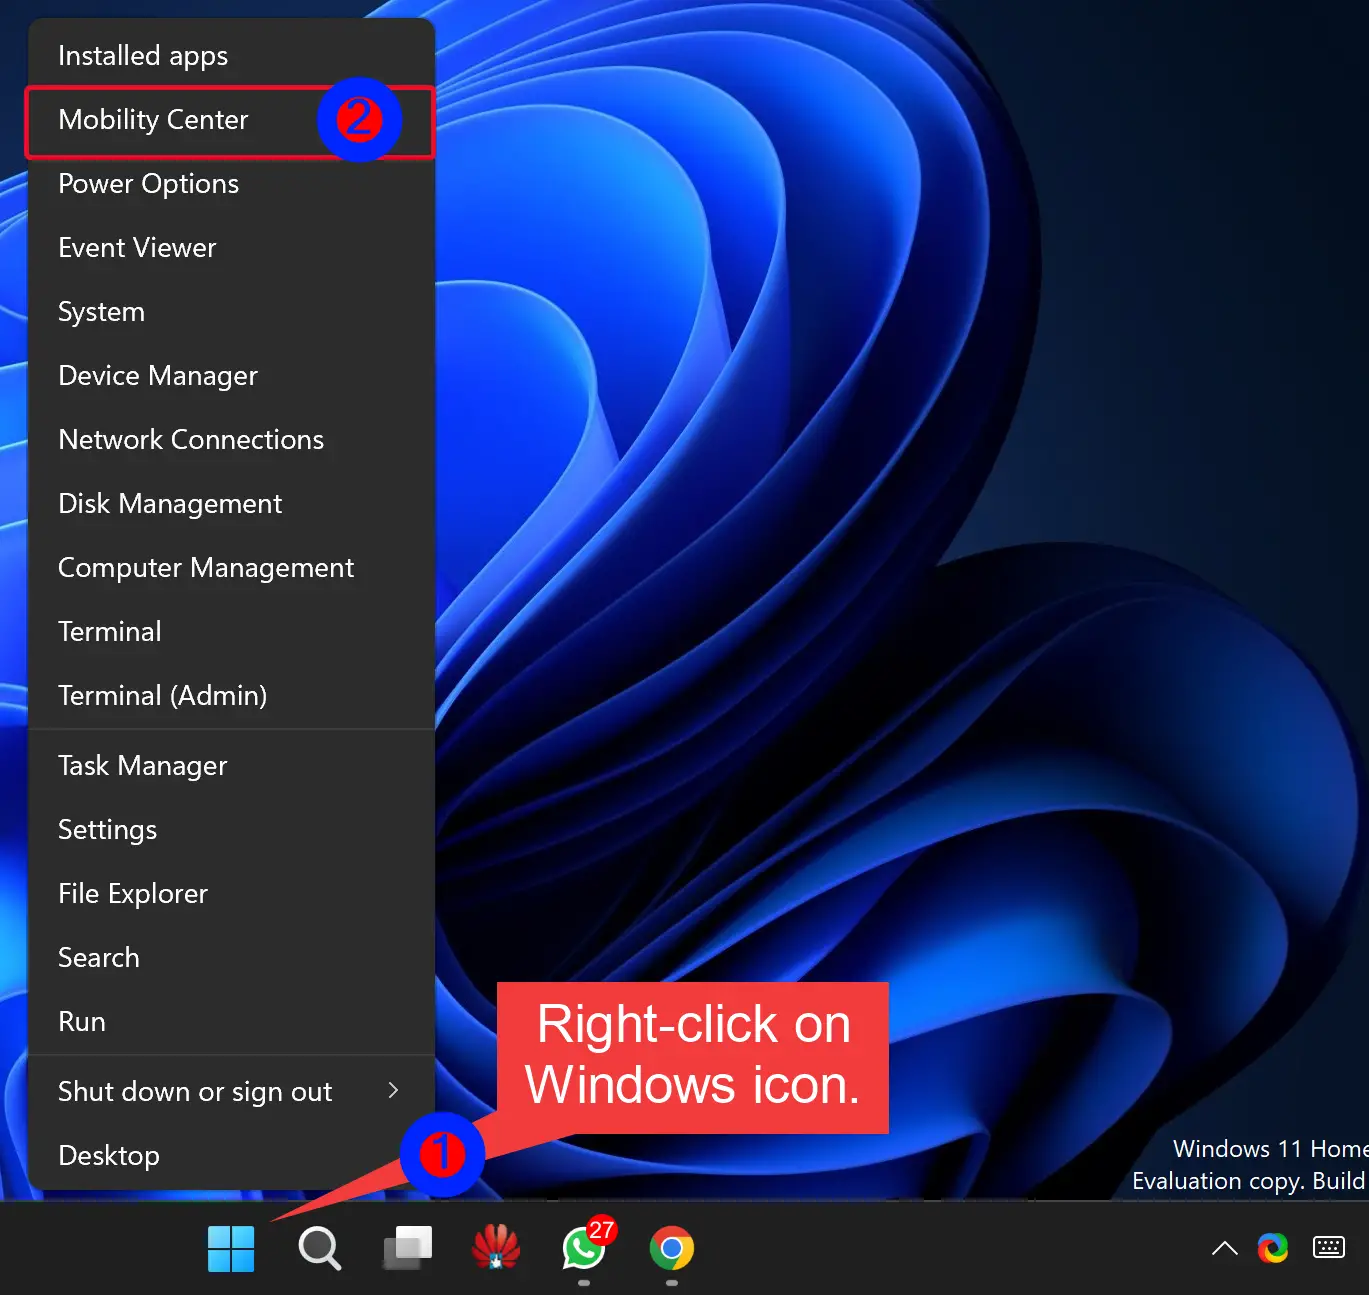
Alternatively, press Windows + X to open the power user menu and select the Mobility Centre in the menu.
How to Access Windows Mobility Center on Windows 10 using the Run Command box?
To open the Windows Mobility Center on Windows 11 using the Run dialog box, use these steps:-
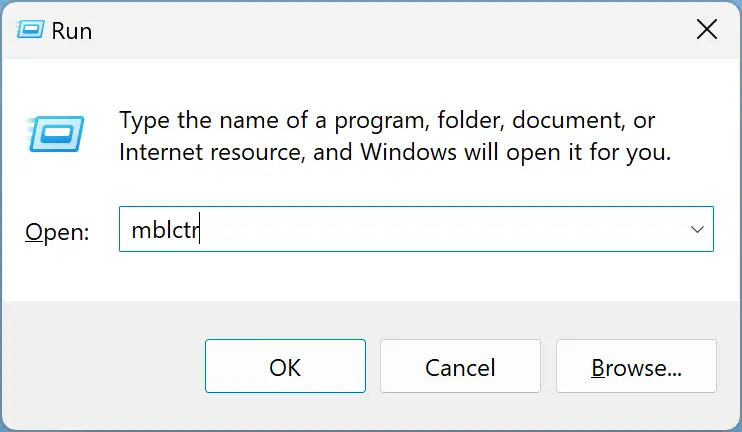
Step 1. First, open the Run dialog box by pressing Windows + R keys on the keyboard.
Step 2. In the Run box, type the following and hit Enter on the keyboard to open Mobility Center:-
mblctr
Conclusion
In conclusion, Windows Mobility Center is a built-in Windows component that centralizes information and settings most relevant to portable and mobile devices. Although it is only available on notebooks by default, users can enable it on desktops by tweaking the Windows Registry. Once enabled, Windows Mobility Center allows users to access and alter ordinary settings with a single click, making it a convenient tool to have. Users can access Windows Mobility Center on Windows 11 through different methods, including creating a desktop shortcut, using the search/start menu, power user menu, and the Run dialog box. Overall, Windows Mobility Center is a useful tool for Windows 11 users who want to access and adjust their basic settings with ease.