Those Windows users who can’t see clearly or have vision impairments can turn on the Text Cursor Indicator feature. The Text cursor indicator is a unique item of Windows 11 that size and color can be changed according to your needs.
What is Text Cursor Indicator?
When you type something in a notepad or any document, have you noticed a small blinking text cursor indicating where you are in the document? It also remains visible on File Explorer when you rename a file or folder. The cursor is that blinking line at the end of what you are typing. That blinking cursor is called a text cursor indicator. Its default size is not helpful for poor vision people. When you use wide screens and higher resolution displays, you will not be able to find your cursor while typing. The good thing is that, if you wish, Windows 11 lets you increase its size and also color according to your choice.
This gearupwindows post will guide you on enabling, disabling, and changing the text size and color of the “Text Cursor Indicator” on Windows 11.
How to Enable or Disable Text Cursor Indicator in Windows 11?
To turn on or turn off Text Cursor Indicator in Windows 11, do the following:-
Step 1. Open the Settings app by pressing Windows + I keys from the keyboard.
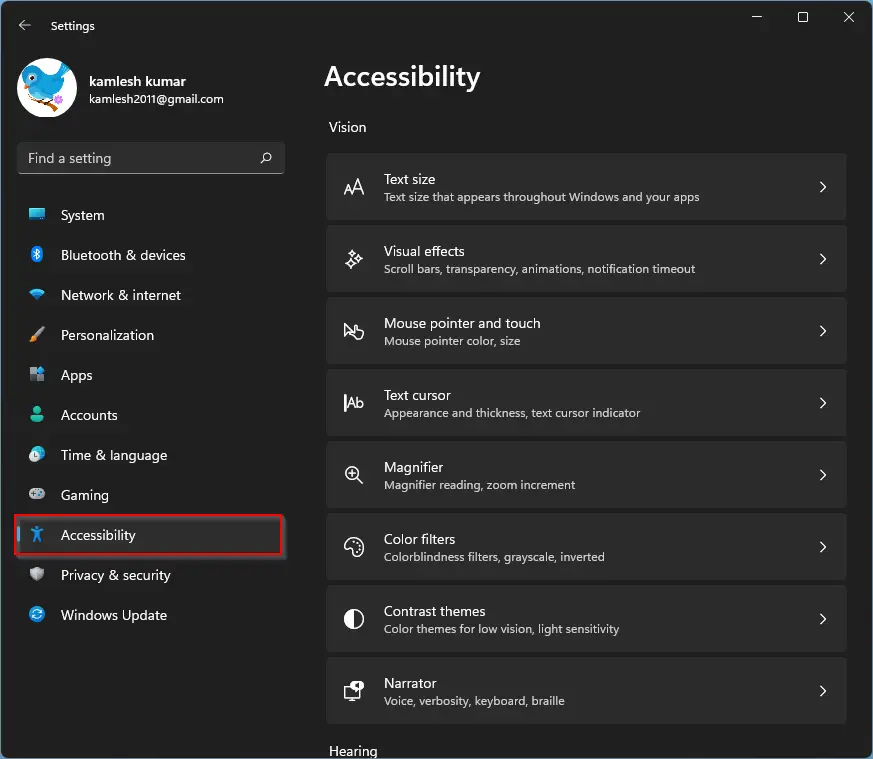
Step 2. When Windows Settings opens, select the Accessibility category from the left sidebar.
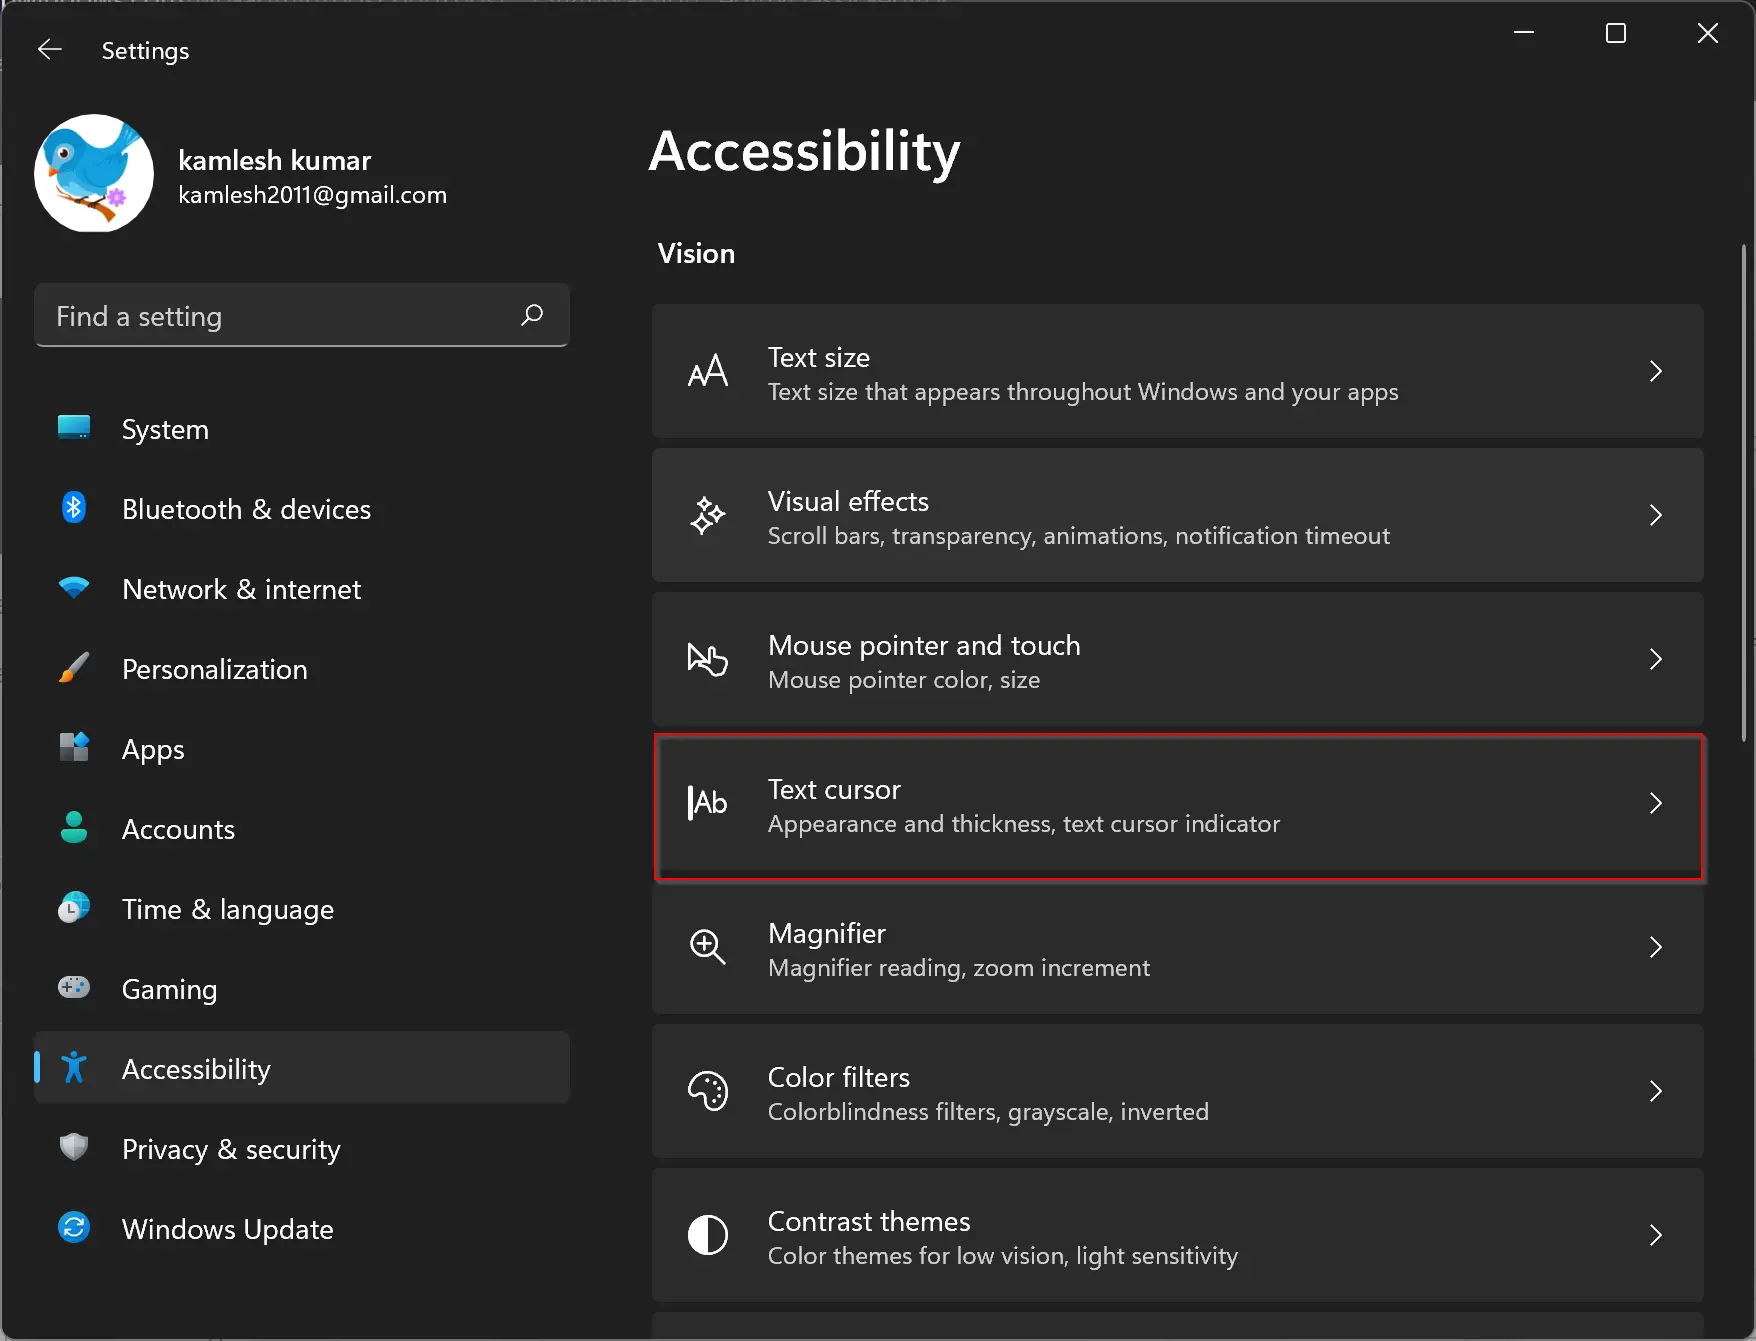
Step 3. On the right side, click the Text cursor tab.
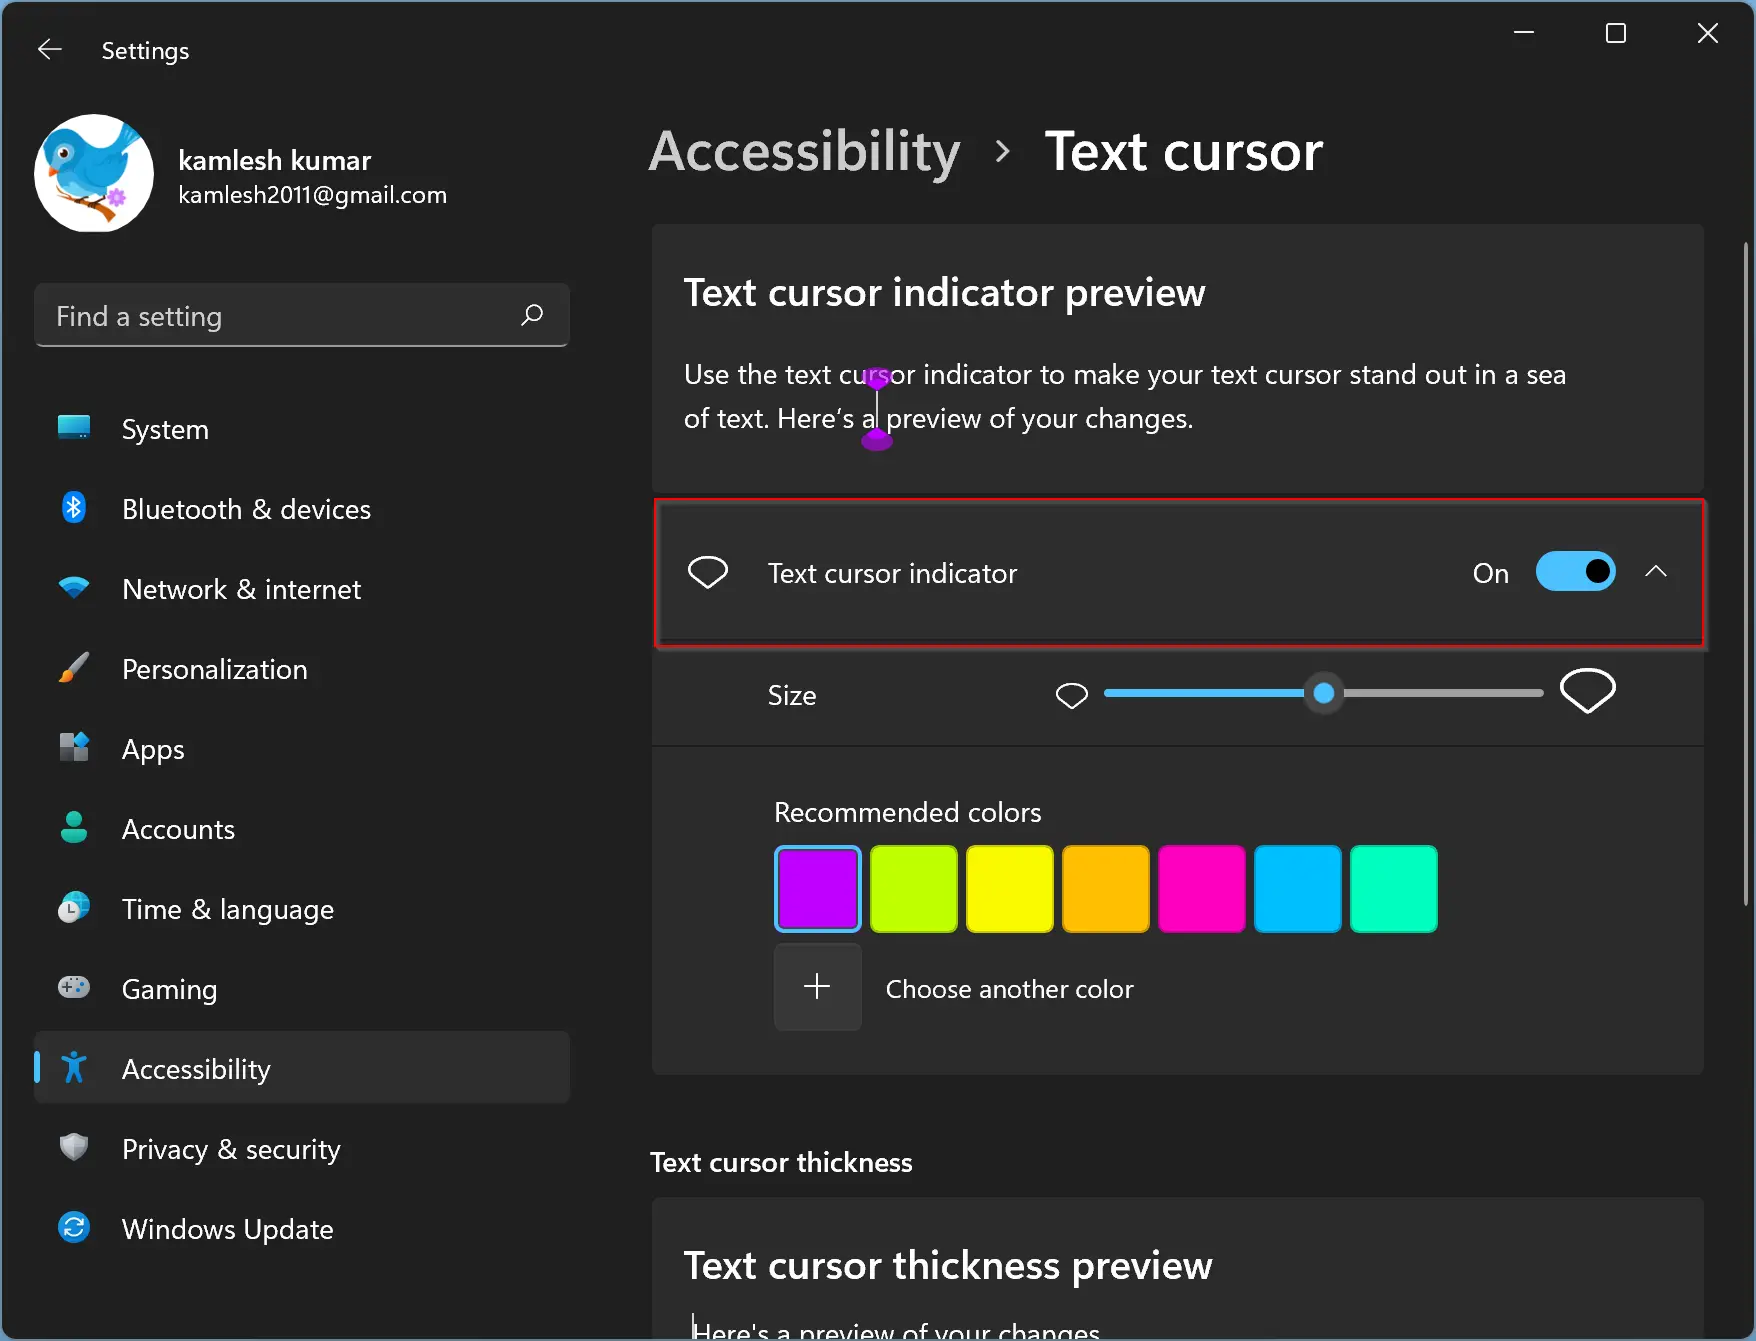
Step 4. Turn the On/Off toggle switch beside the Text cursor indicator to enable or disable it.
How to Increase or Decrease the Text Cursor Indicator Size in Windows 11?
It is possible to increase or decrease the text cursor indicator size in Windows 11. But, one should note that it is impossible to reduce its size to less than the default size. Further, Windows 11 allows you to increase the text cursor indicator size up to 5 times. That means, suppose you measure the default size to 1, then you can increase its size up to 5. That is good enough for most people. However, it is impossible to decrease its size from 1 to something else.
To increase or decrease the text cursor indicator size, do the following:-
Step 1. Open the Settings app by pressing Windows + I keys from the keyboard.
Step 2. When Windows Settings opens, select the Accessibility category from the left sidebar.
Step 3. On the right side, click the Text cursor tab.
Step 4. Now use the slider below “Text cursor indicator” to increase or decrease the size of this indicator.
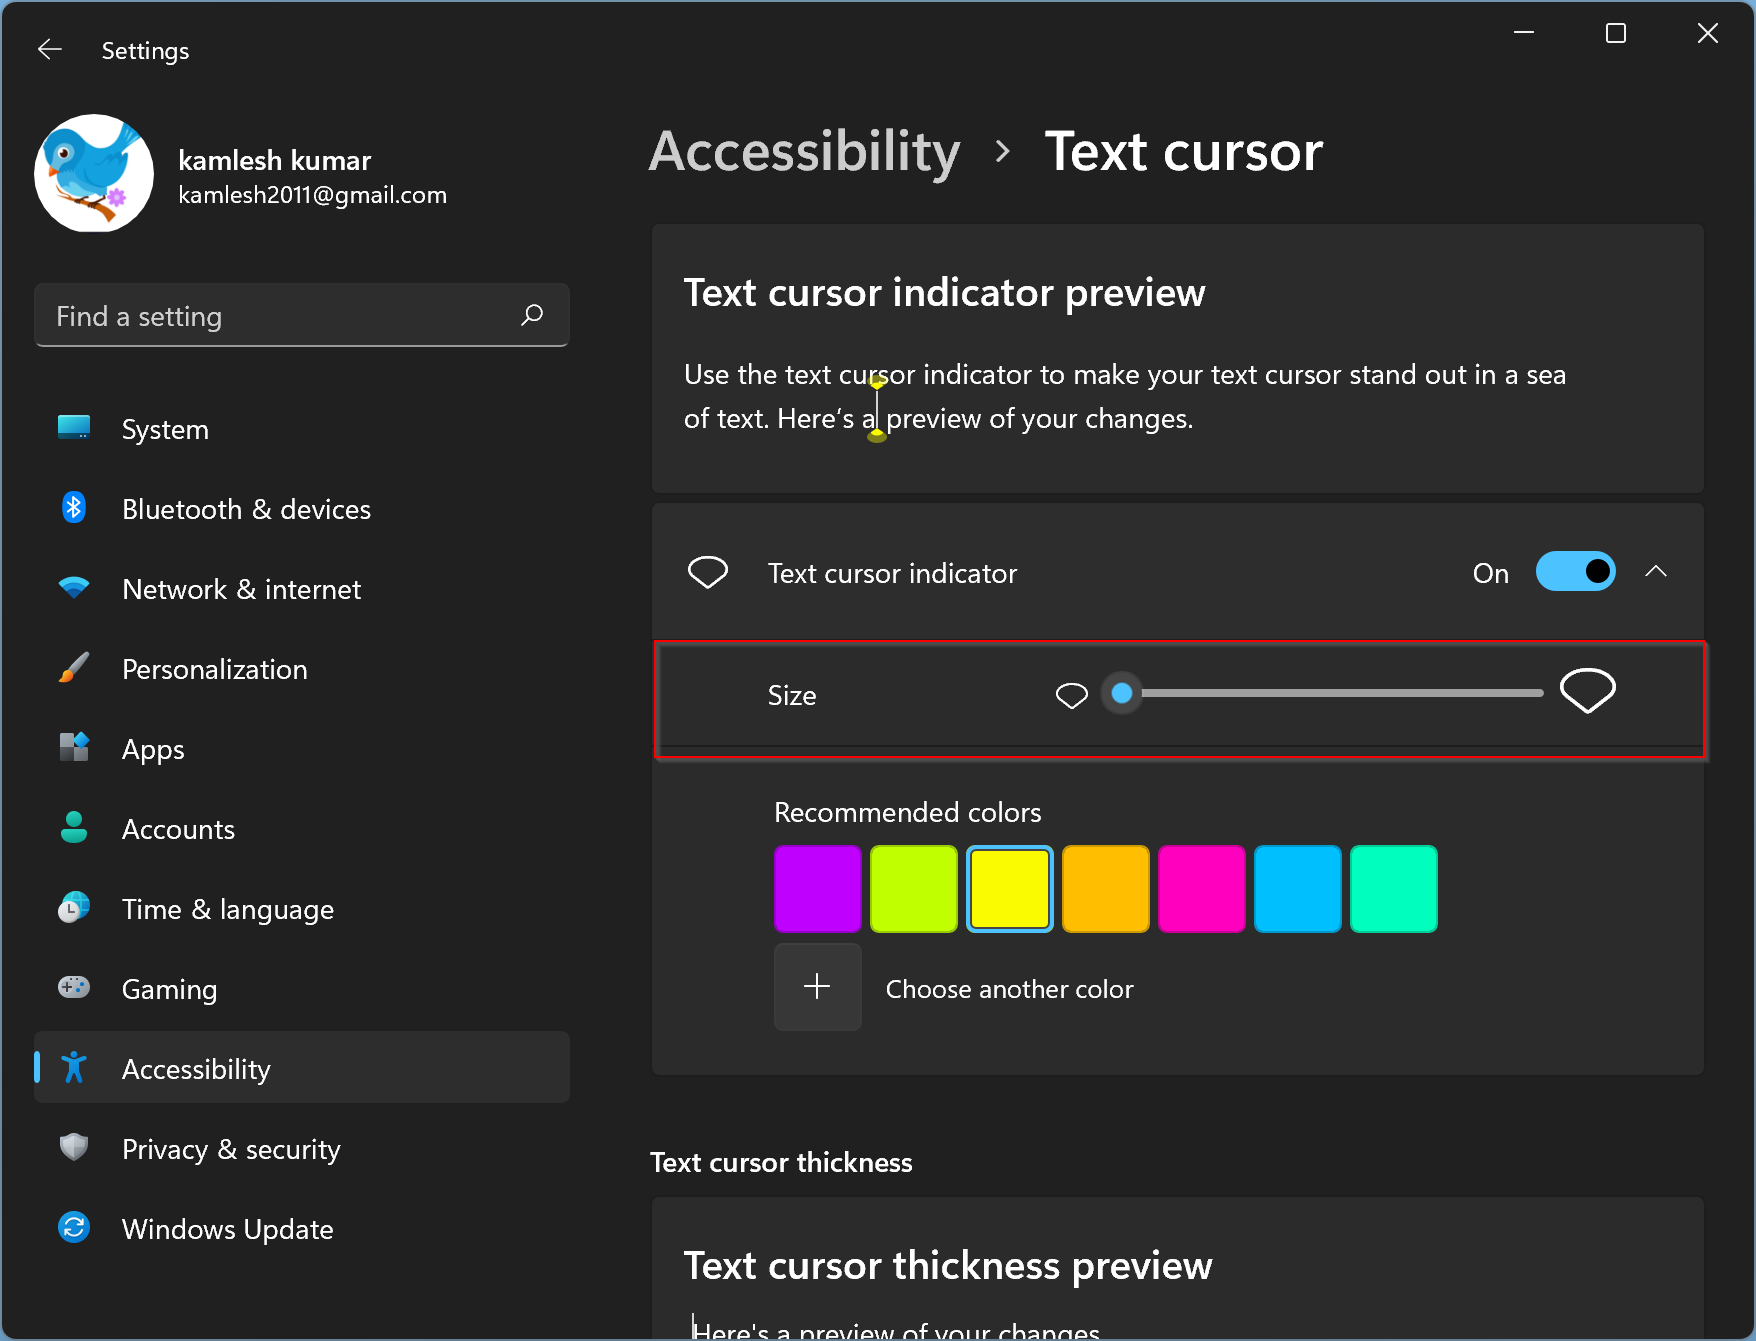
Above the “Text cursor indicator,” you can preview the size. When satisfied, you can close the settings app.
How to Change the Text Cursor Indicator Color in Windows 11?
To change the default “text cursor indicator” color in Windows 11, do the following:-
Step 1. Open the Settings app by pressing Windows + I keys from the keyboard.
Step 2. When Windows Settings opens, select the Accessibility category from the left sidebar.
Step 3. On the right side, click the Text cursor tab.
Step 4. Choose a color from the “Recommend colors” that you want to use for the “Text cursor indicator.”
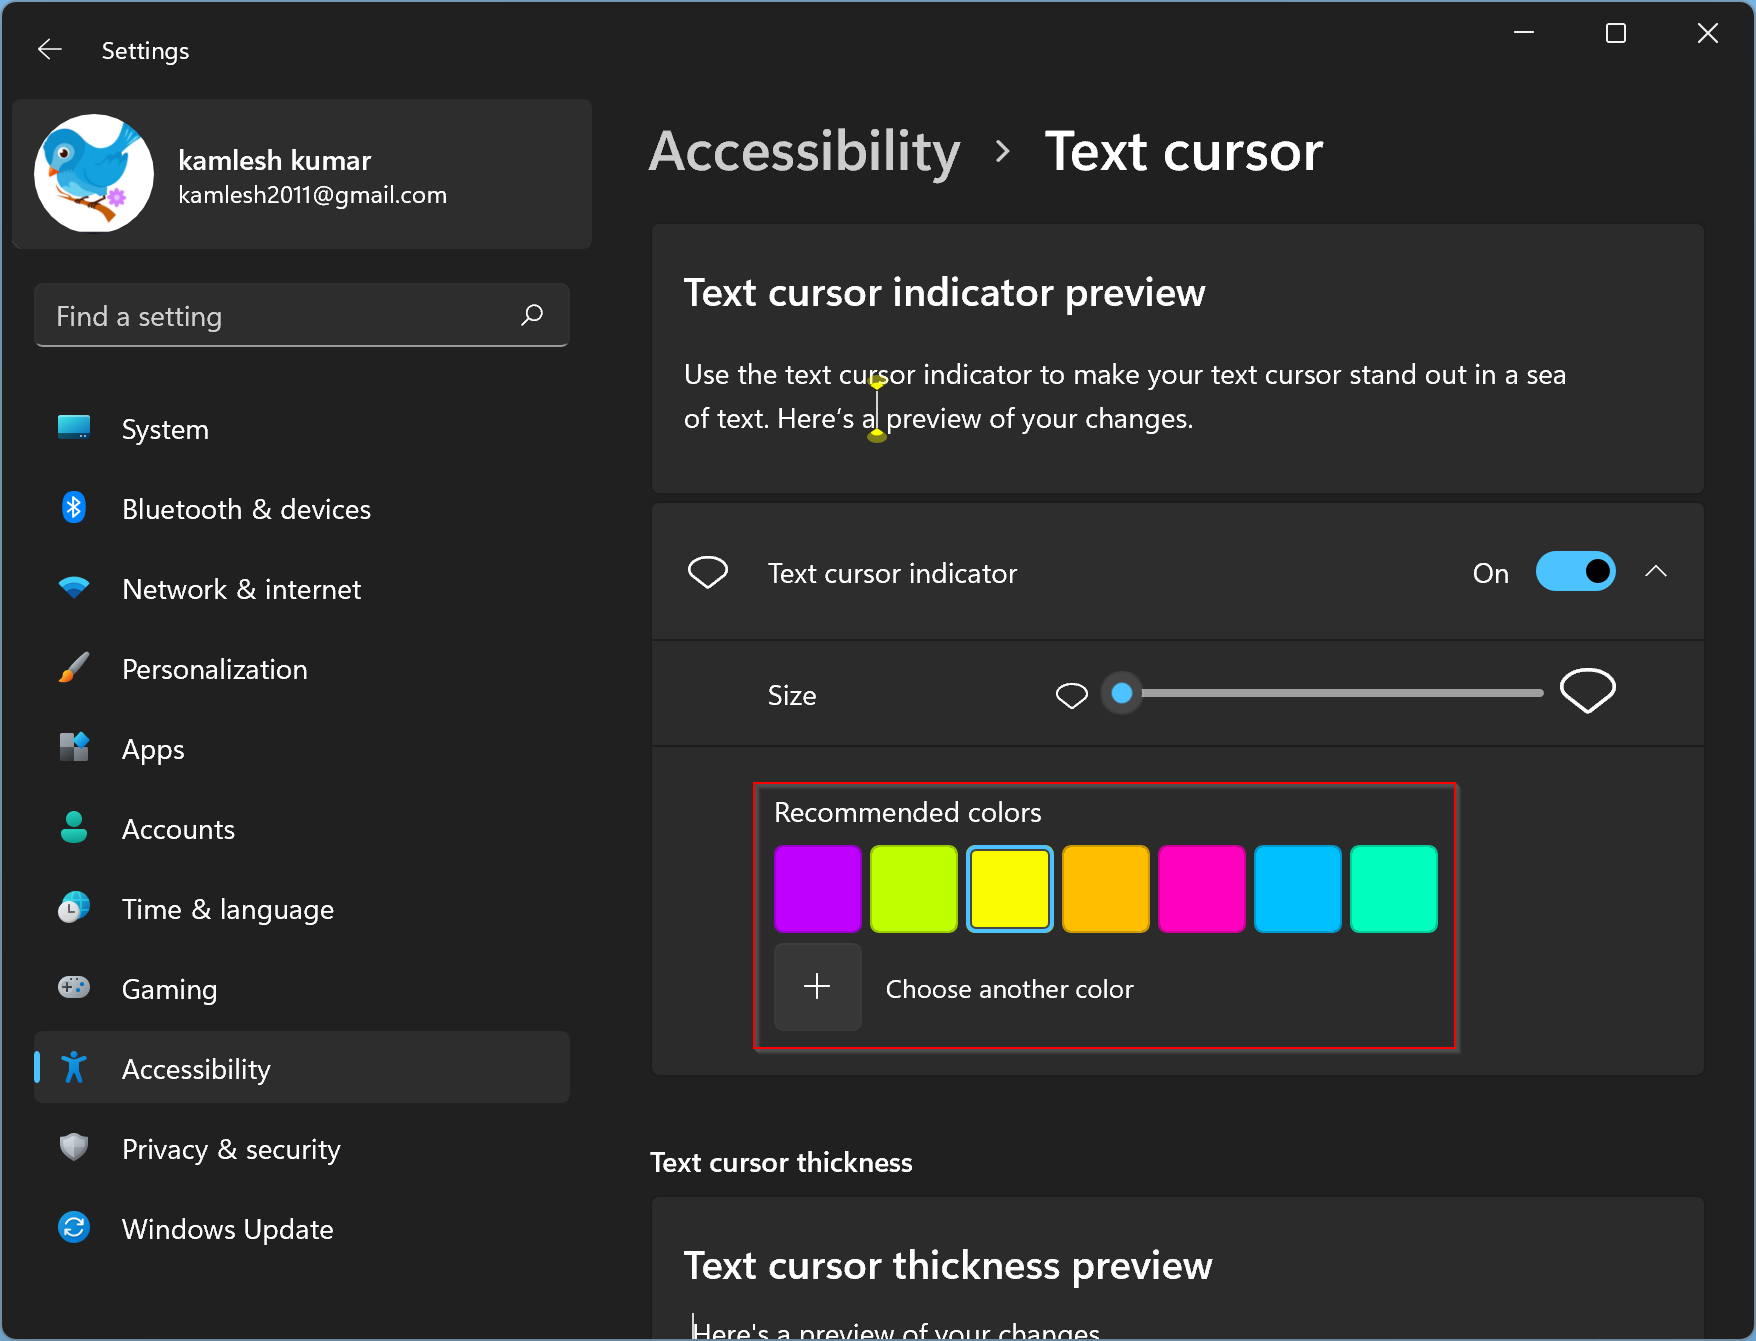
If you don’t prefer to use any recommended color, click the plus (+) icon beside the “Choose another color” option. A color palette will open. Move the cursor on the color palette and select the desired color.

Click the Done button to apply that color for “Text Cursor Indicator” when you’re done with it.
Good luck!
Conclusion
In conclusion, the Text Cursor Indicator is a useful feature for those who have difficulty seeing the default cursor in Windows 11. This blinking line indicates where you are in a document, and its size and color can be adjusted according to your preferences. By following the steps provided in this guide, you can easily enable, disable, increase, or decrease the size and change the color of the Text Cursor Indicator in Windows 11. By utilizing this feature, users with vision impairments or those who prefer a larger, more visible cursor can have a more comfortable and efficient typing experience on their computers.