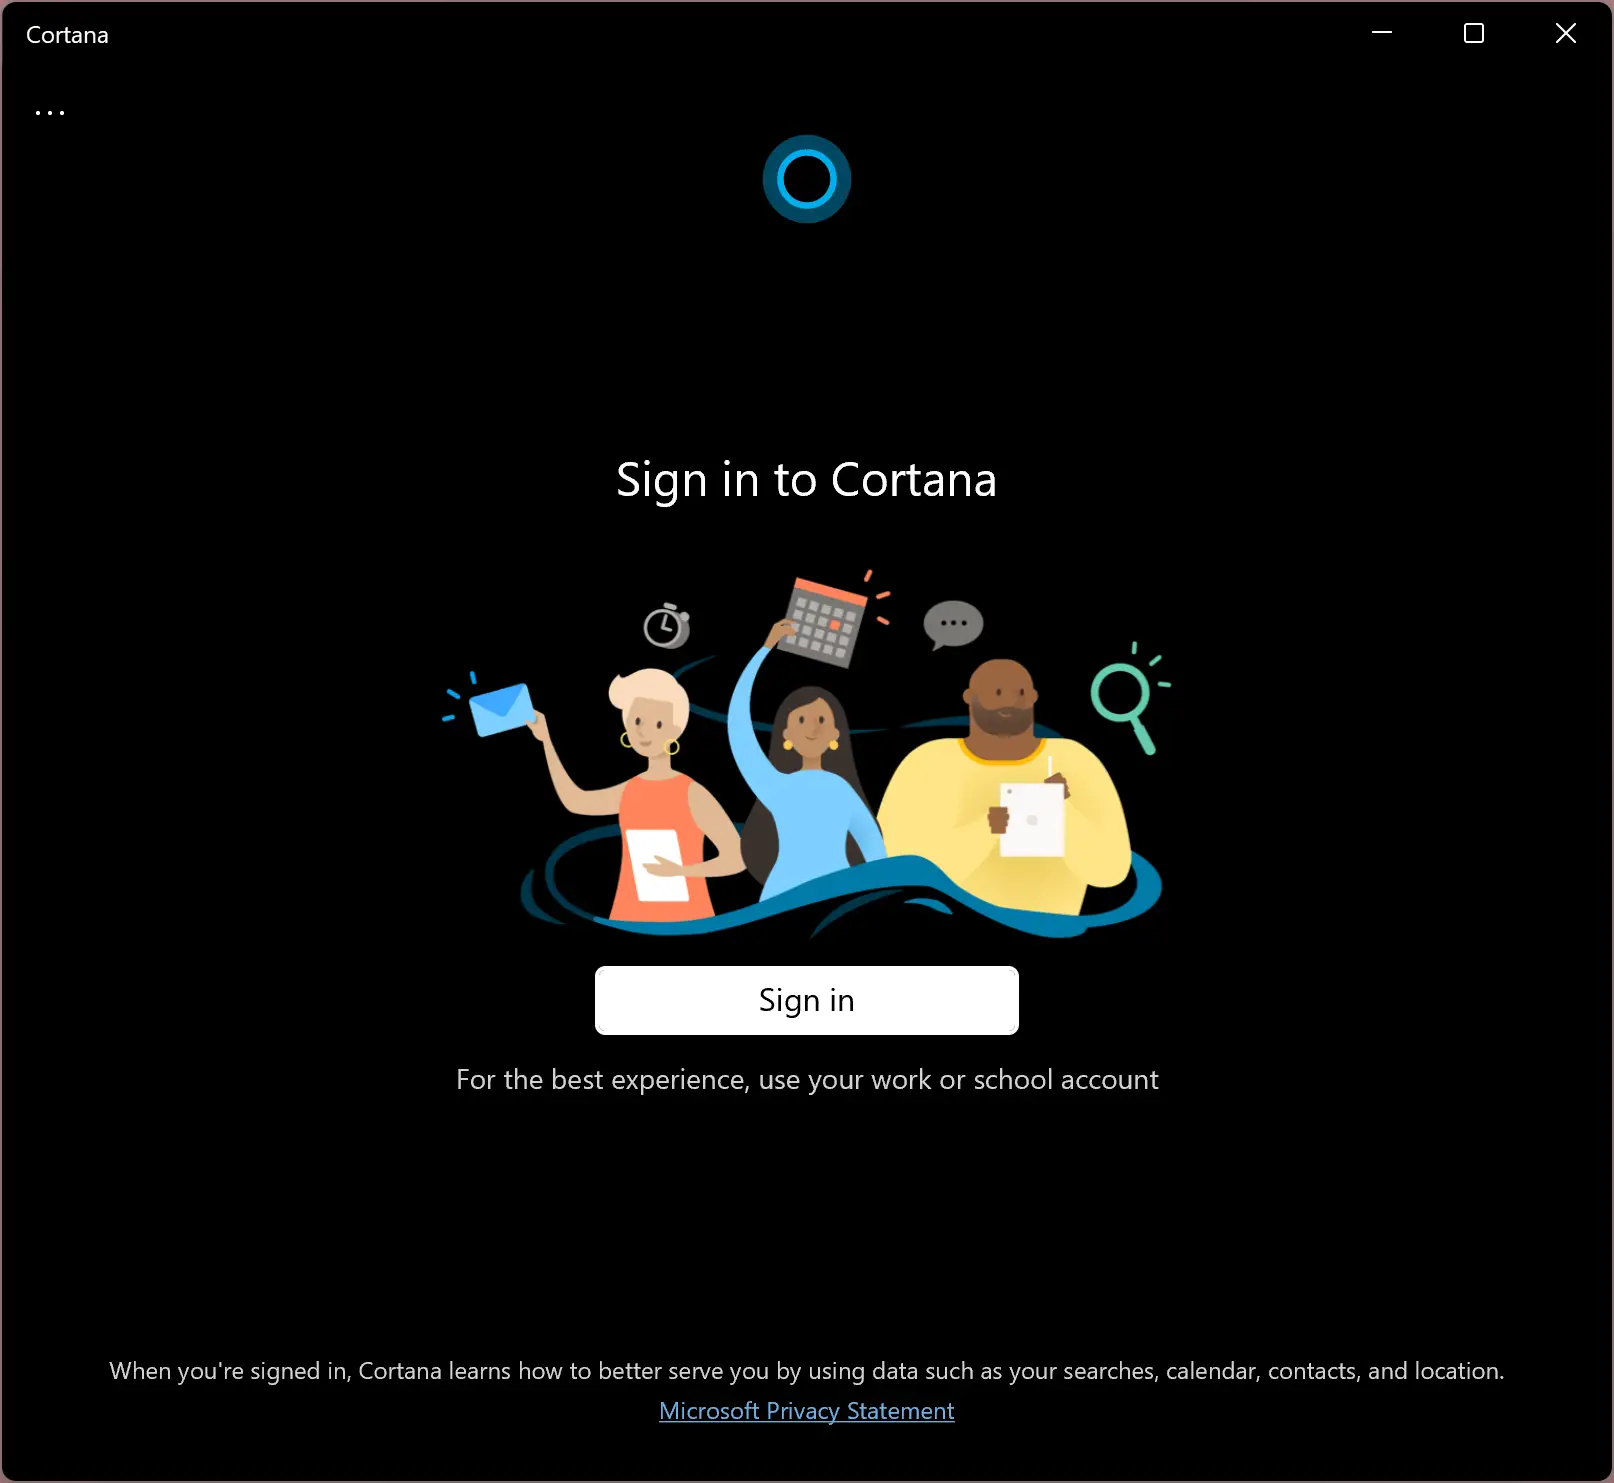
A few users love to use Cortana. That’s why it is no longer part of the first boot experience in Windows 11. Also, by default, it is not pinned to the Windows 11 taskbar. For your information only, Cortana still exists in Windows 11, but it’s not enabled by default. For those who want to use Cortana, click on the Start button and search it. Click Cortana in the search result to launch it. When opened, you need to sign in with a Microsoft account to use it.
Like other apps, Microsoft does not allow you to uninstall it using the Settings app if you do not like it. To uninstall and remove Cortana from your computer, you need to take the help of the built-in PowerShell or Terminal app.
Also Read: How to Enable or Disable Cortana in Windows 11?
Cortana, the digital personal assistant, was introduced to the Windows desktop operating system with Windows 10. Unfortunately, the digital personal assistant from Microsoft has very few takers, at least in Windows 10 and Windows 11.
In this gearupwindows article, we will guide you on uninstalling and removing Cortana app from Windows 11. You can either uninstall Cortana for a single user account or all users’ accounts at once.
How to Uninstall Cortana in Windows 11?
If you need, you can uninstall Cortana for the current user account or all users’ accounts at once. You need to execute the different commands for that.
To uninstall Cortana from your currently logged-in user account, do the following:-
Step 1. First, open Windows PowerShell or Terminal app with administrative privilege.
Step 2. After that, copy and paste the following on the prompt:-
Get-AppxPackage *Microsoft.549981C3F5F10* | Remove-AppxPackage
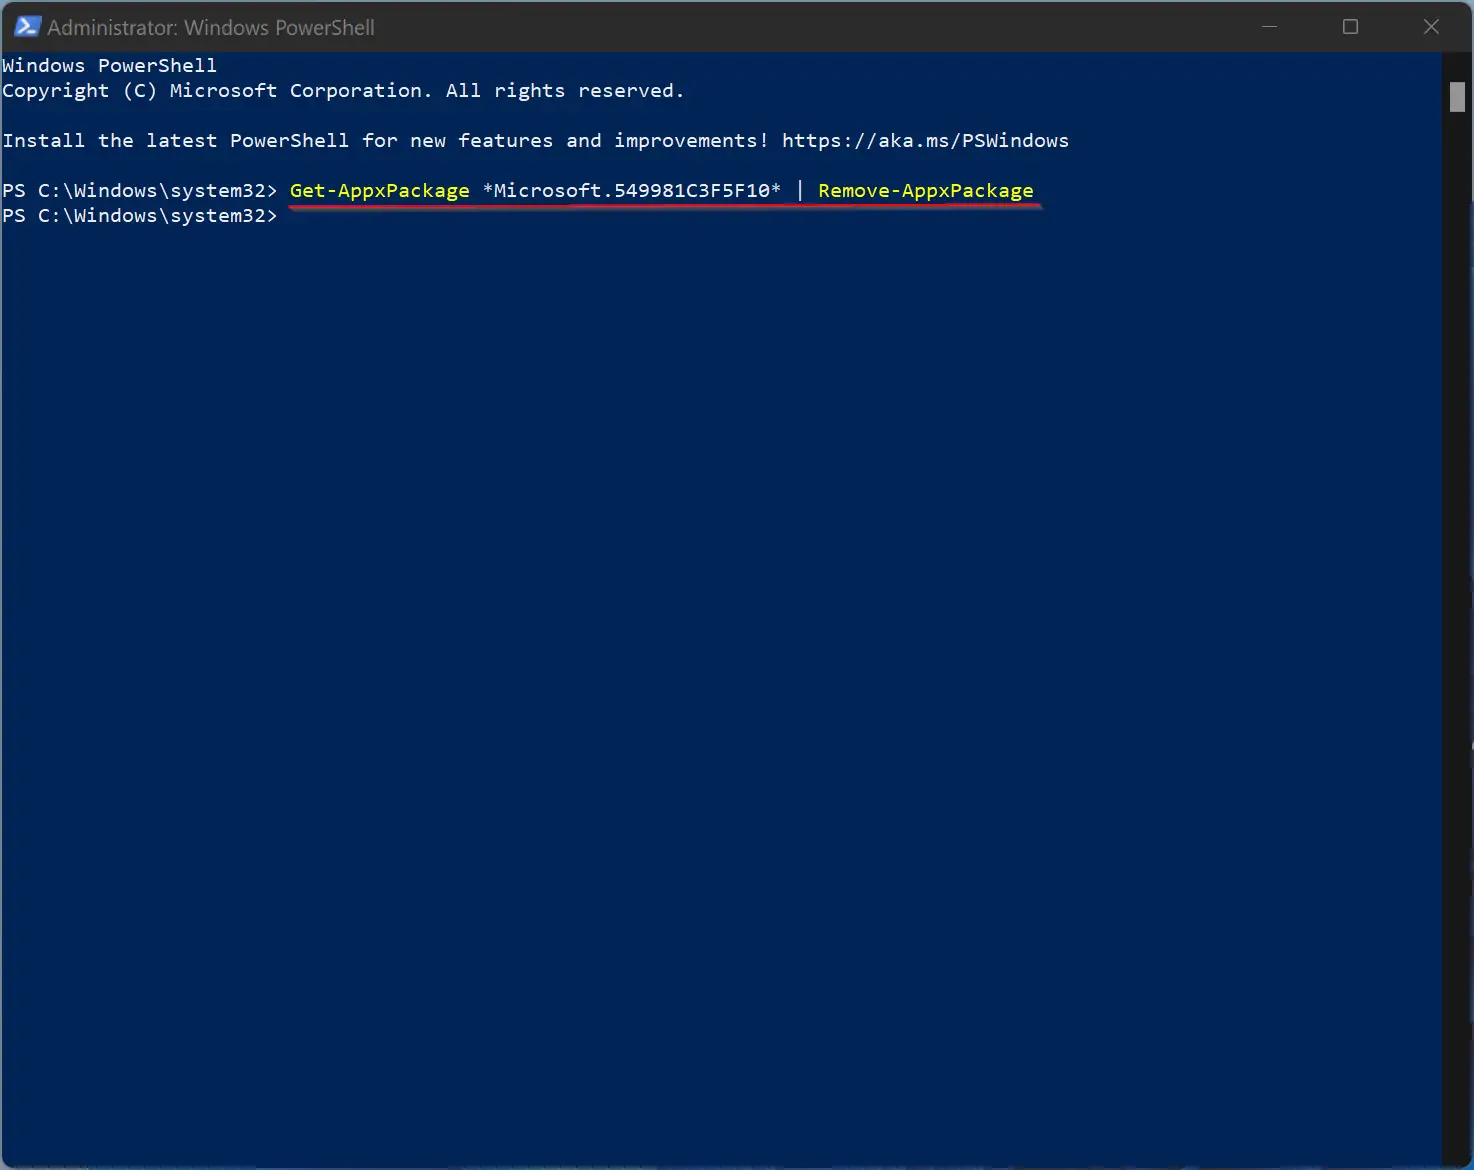
Step 3. Finally, press Enter from the keyboard to execute the command when you’re done.
Once you execute the above command, Cortana should no more exist in your user account.
If you want to uninstall and remove it from your PC altogether, execute the following command in PowerShell:-
Get-appxpackage -allusers *Microsoft.549981C3F5F10* | Remove-AppxPackage
When you execute the above command, Cortana will be removed from your computer.
How to Reinstall Cortana in Windows 11?
In the future, if you want to use Cortana again, you can install it from the Microsoft Store. For that, use the following steps:-
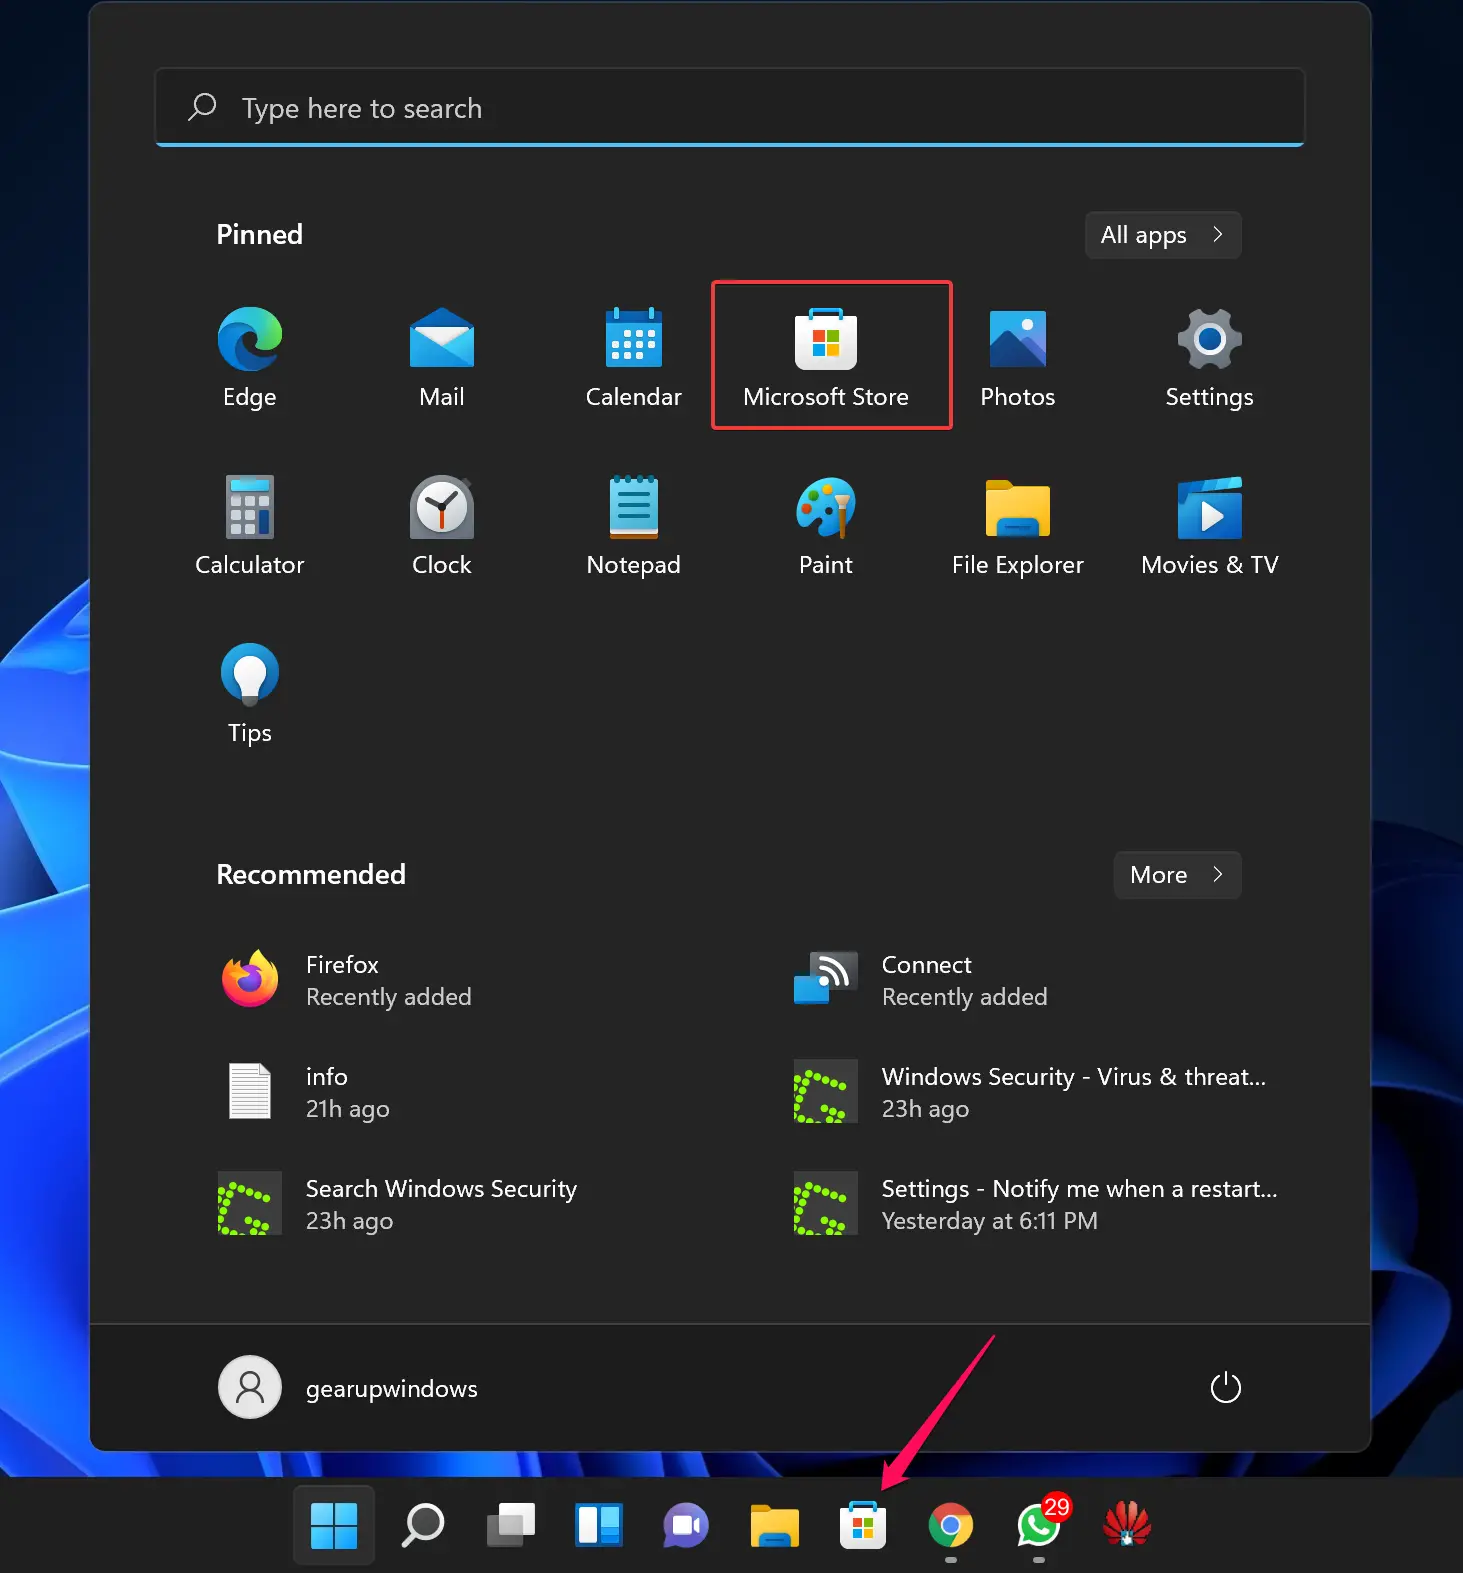
Step 1. First, open the Microsoft Store app.
To do that, click on its taskbar icon or click the Start button and then open Microsoft Store.
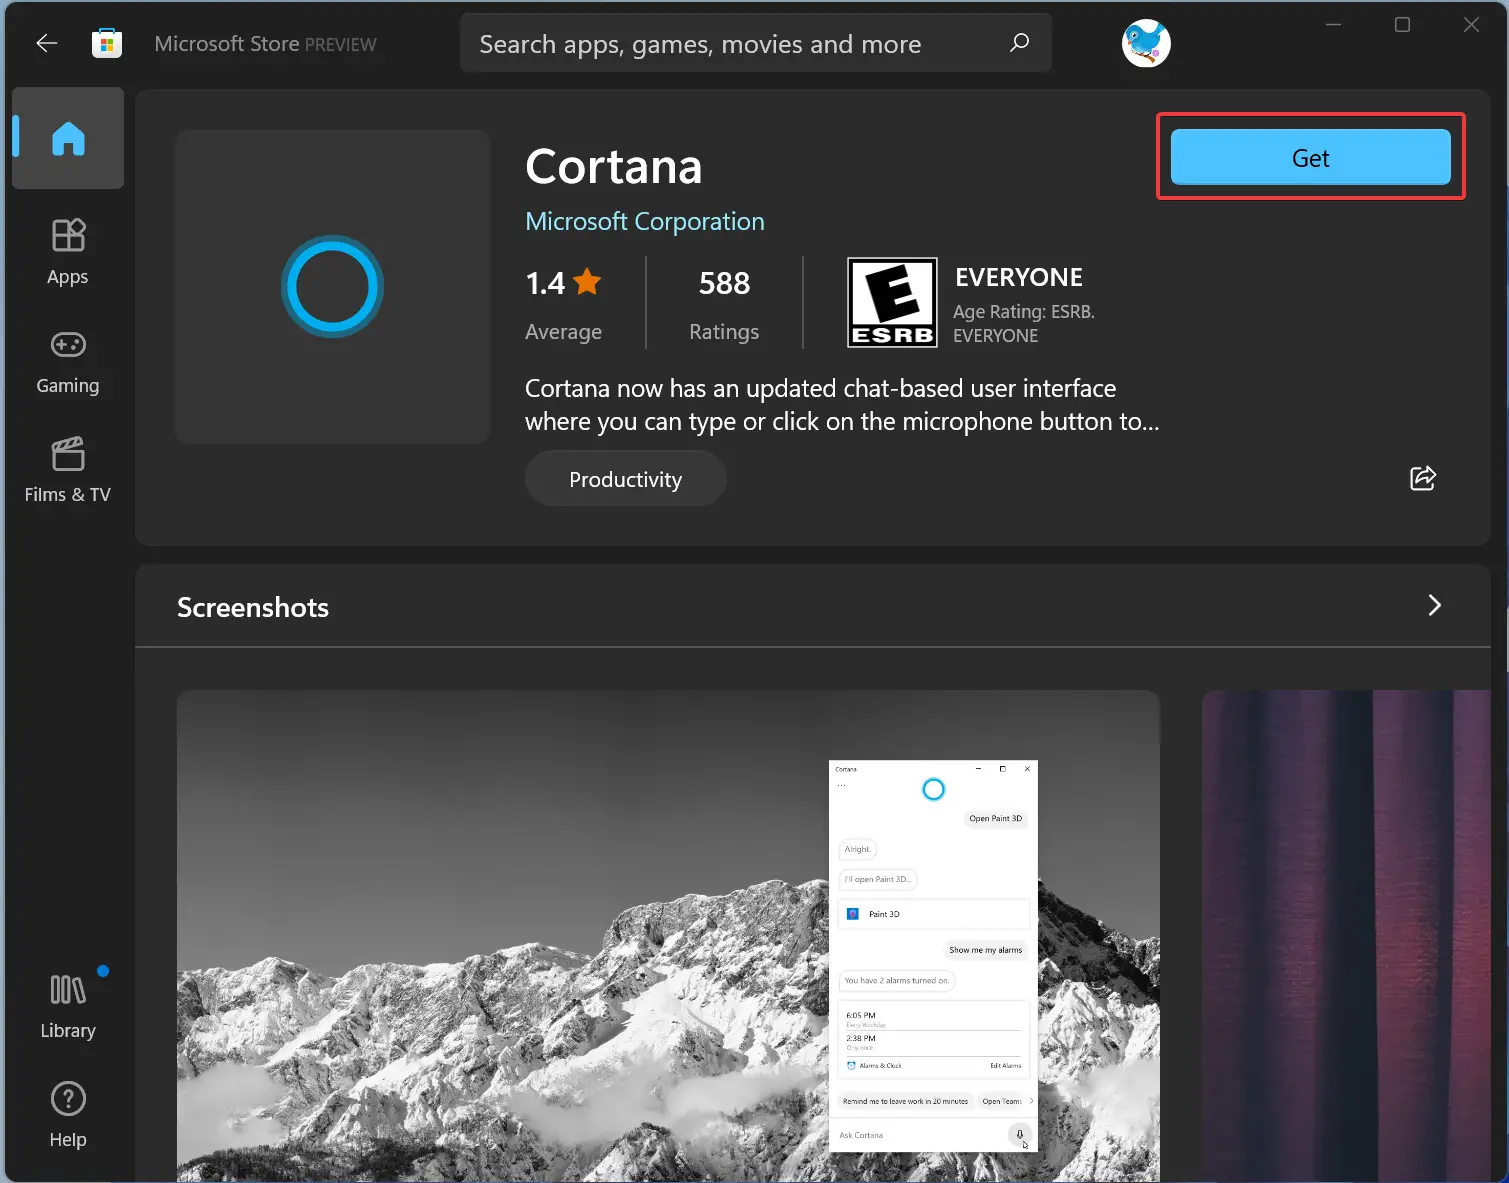
Step 2. In the Store app, search Cortana.
Step 3. Finally, click the Get/Install button to download and install the Cortana app.
How to Stop Cortana from Automatically Starting with Windows 11?
If Cortana automatically starts when you start Windows 11 machine and isn’t very pleasant, you can configure it to not load automatically with Windows 11. To do that, use the following steps:-
Step 1. First, open the Settings app.
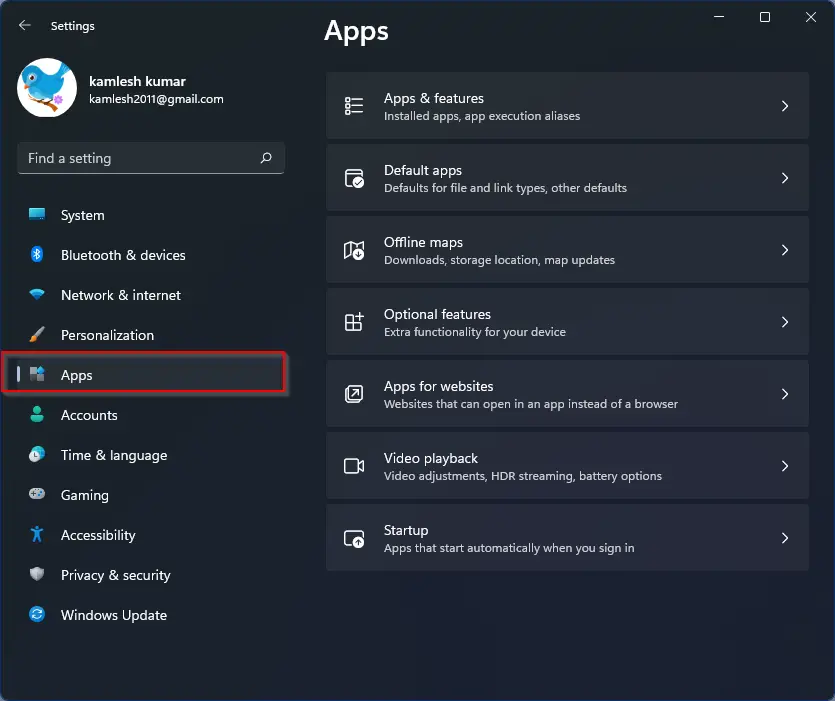
Step 2. Then select Apps from the left sidebar.
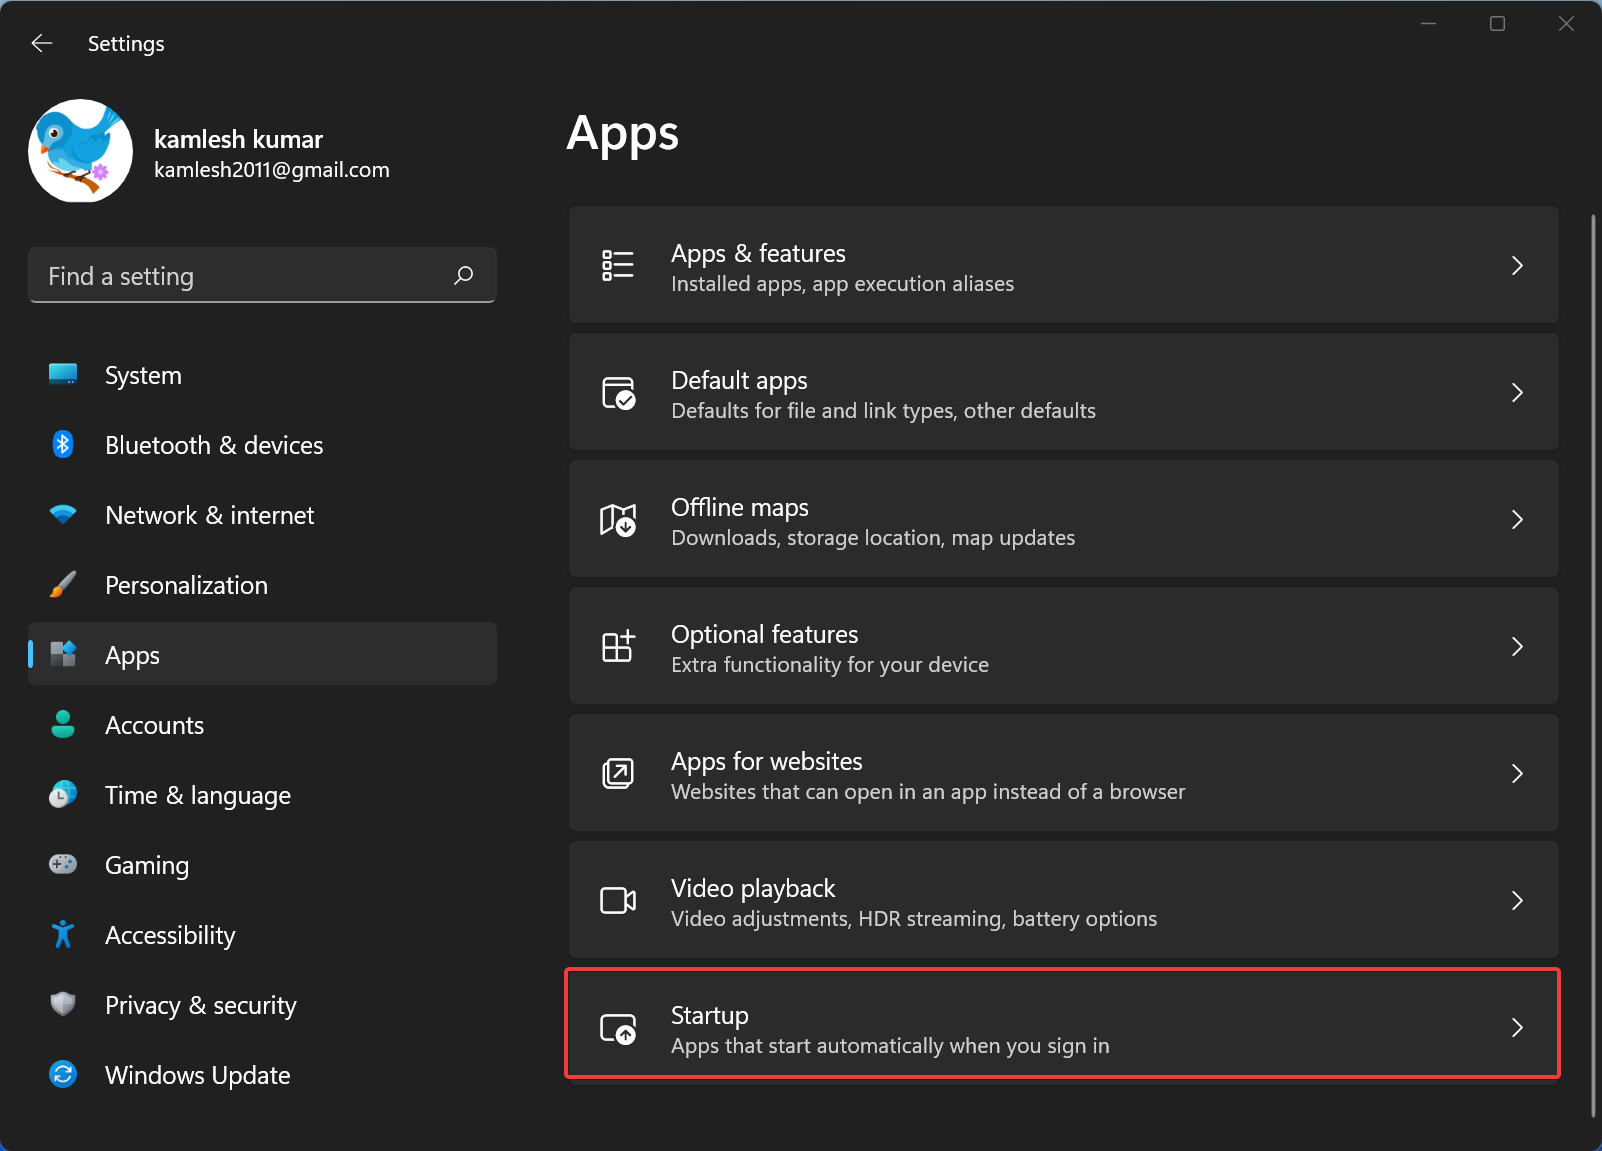
Step 3. After that, click the Startup header on the right sidebar of Apps.
Step 4. In the Startup apps list, find the Cortana app. Finally, turn off the toggle switch beside Cortana.
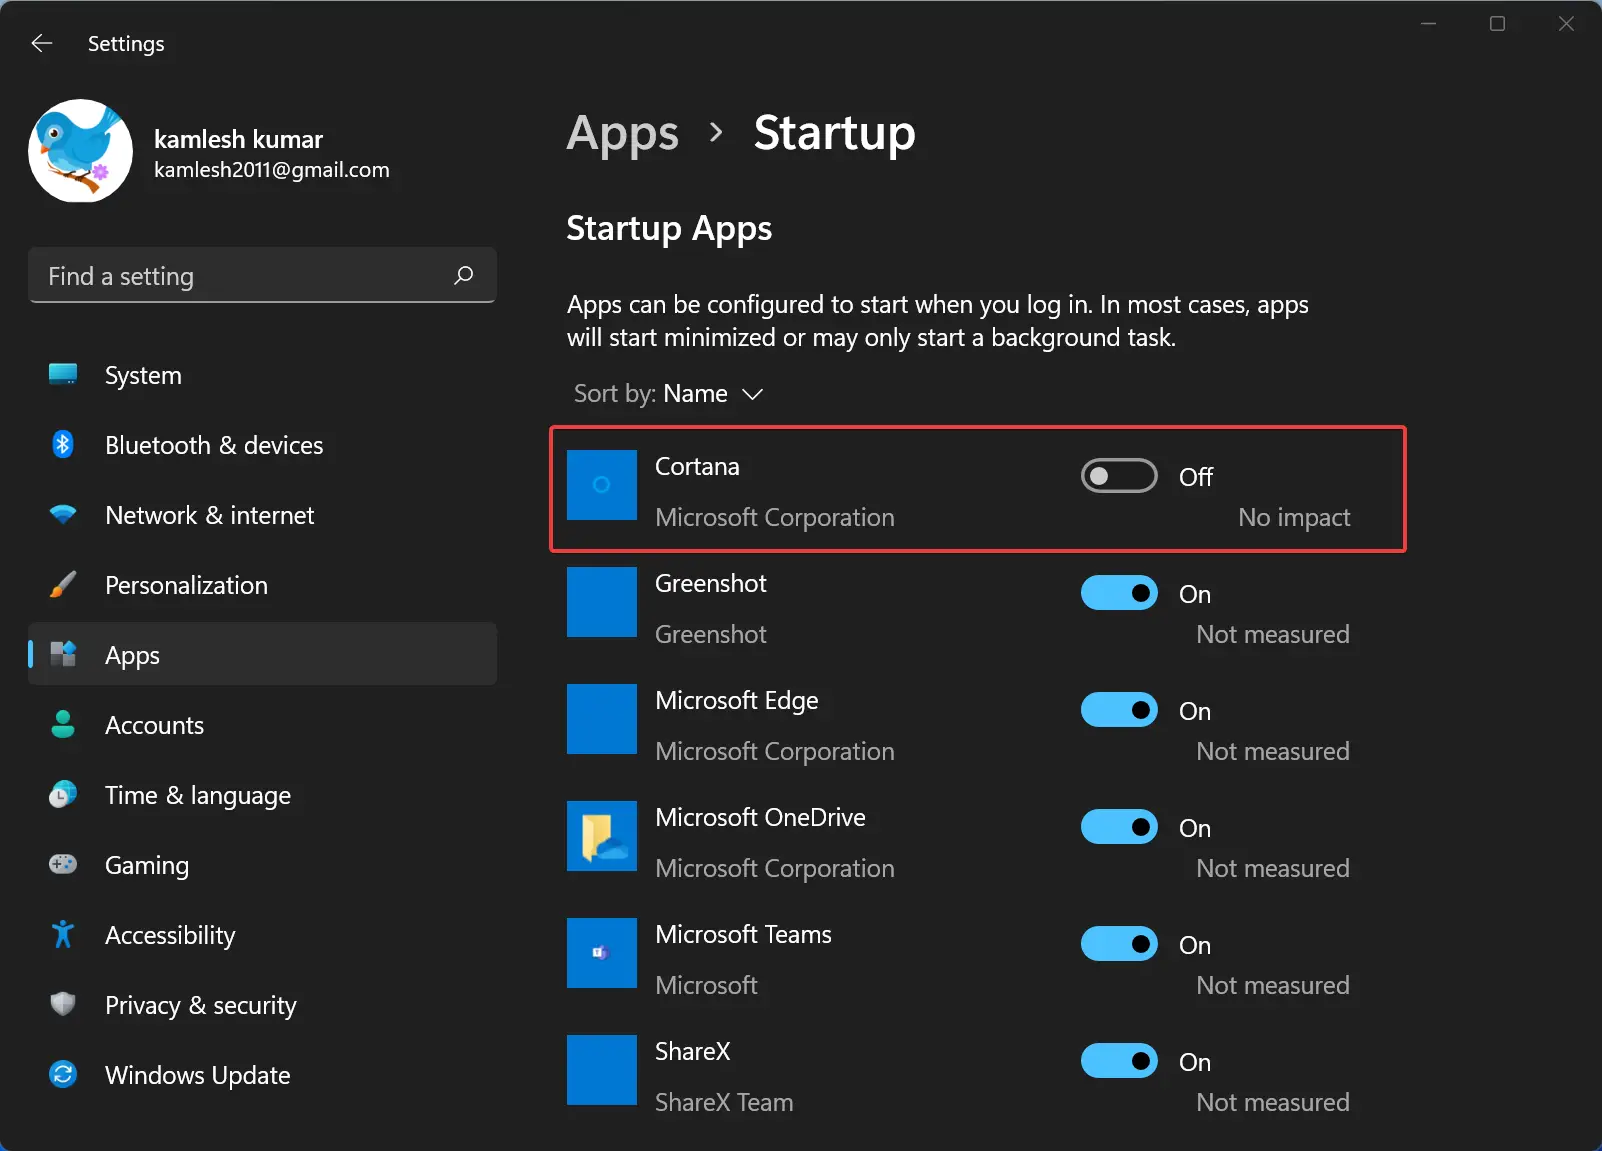
That’s it. When you start your Windows 11 computer, Cortana will not start automatically. However, if you need, you can open it manually.
Conclusion
To conclude, Cortana, the digital personal assistant from Microsoft, has limited popularity among users of Windows 10 and Windows 11. As a result, Microsoft has removed it from the first boot experience and the default pinned taskbar apps in Windows 11. However, it is still present and can be launched by searching for it in the Start menu. If users no longer want to use Cortana, they can use the built-in PowerShell or Terminal app to uninstall it for a single user account or all user accounts. To reinstall it in the future, users can download and install the Cortana app from the Microsoft Store. Finally, if Cortana is starting automatically with Windows 11 and users want to stop it, they can turn off the toggle switch for Cortana in the Startup apps list in the Settings app.