On Windows, the Screen Saver feature is available in the Settings app. That means you can enable or disable the Screen Saver function through the Settings app. If you have trouble opening the Settings app or not working on your Windows 10 PC, you might hunt for another method to access the Screen Saver.
This gearupwindows article will show the seven different ways to access the Screen Saver feature on Windows 10. These are the following:-
- Open Screen Saver Settings by Right-clicking the Desktop
- Launch Screen Saver Settings from Run Dialog
- Access Screen Saver Settings using Command Prompt
- Get Screen Saver Settings via Windows 10 Search
- Open Screen Saver Settings from Control Panel
- Launch Screen Saver Settings from the Settings app
- Access Screen Saver Settings using Shortcut
How to Open Screen Saver Settings by Right-clicking the Desktop?
Opening Screen Saver by right-clicking on the Desktop is quite an easy process. Do the following steps to access the Screen Saver settings on Windows 10:-
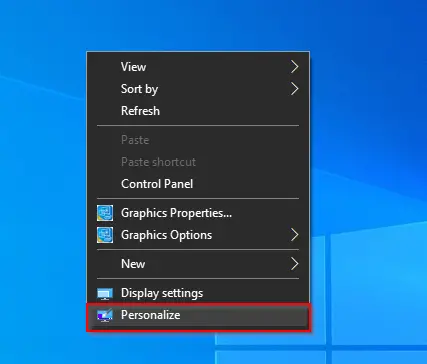
Step 1. Perform a right-click on the free space on the desktop and select Personalize from the available options.
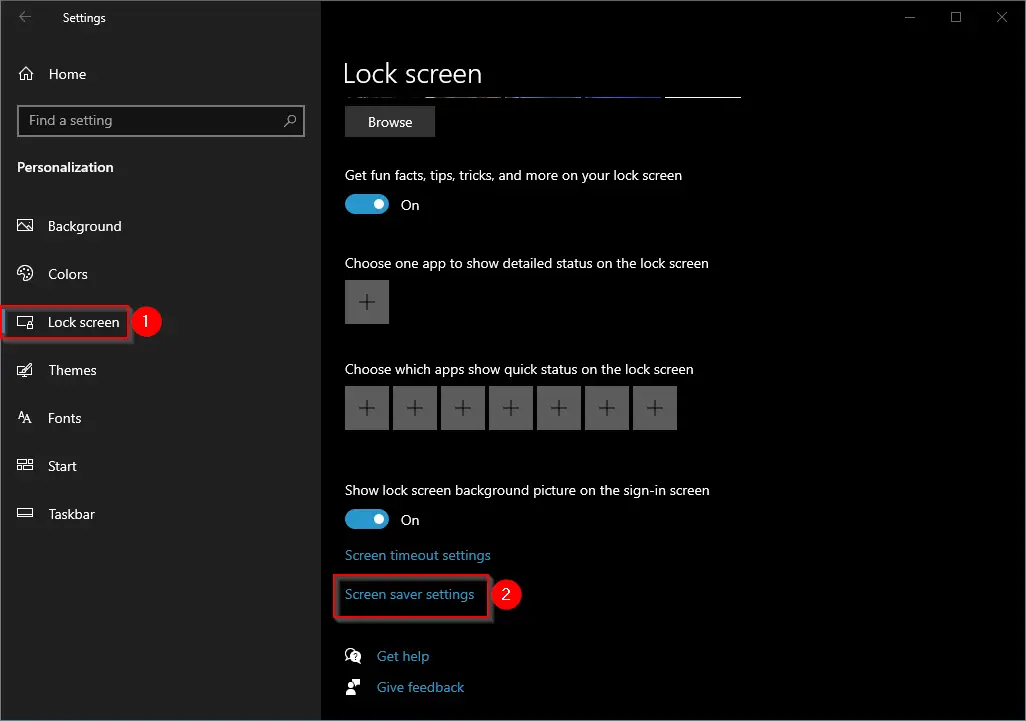
Step 2. In Personalization, click on the Lock screen. On the right side pane, click on the Screen saver settings link to open it.
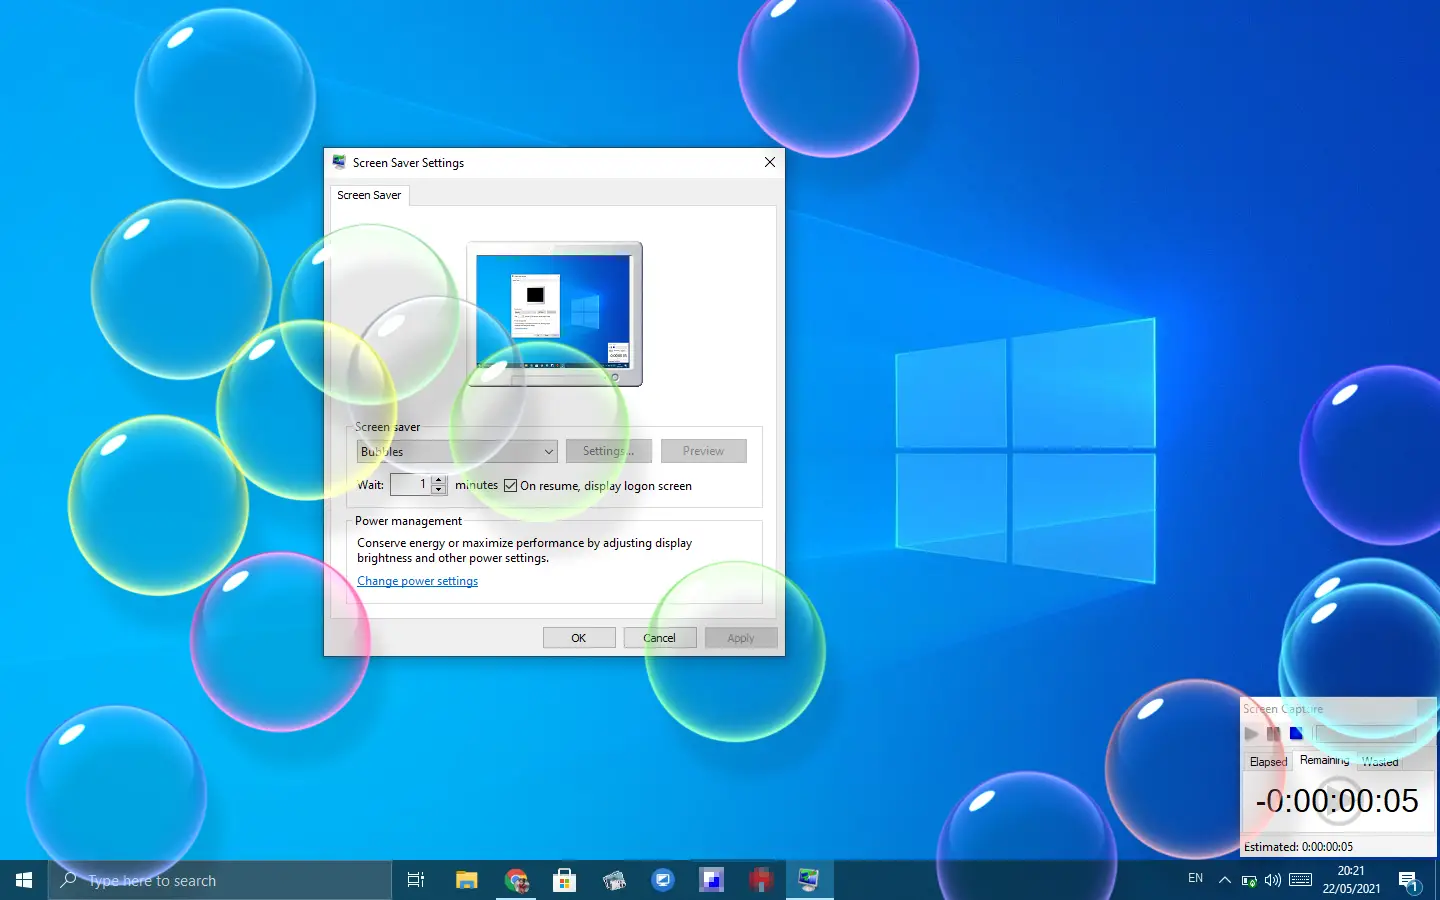
Once you perform the above steps, the Screen Saver Settings dialog opens.
How to Launch Screen Saver Settings from Run Dialog?
Follow these steps to open Screen Saver Settings from Run dialog:-
Step 1. To get Screen Saver Settings from the Run dialog box, press the Windows logo + R keys to open the Run box.
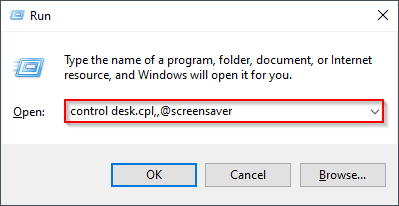
Step 2. In the Run box, type the following and hit Enter from the keyboard to open the Screen Saver settings:-
control desk.cpl,,@screensaver
or,
control desk.cpl,screensaver,@screensaver
Once you complete the above steps, the Screen Saver Settings dialog opens.
How to Access Screen Saver Settings using Command Prompt?
Follow these steps to launch Screen Saver Settings using Command Prompt:-
Step 1. Click on the Start button and type Command Prompt.
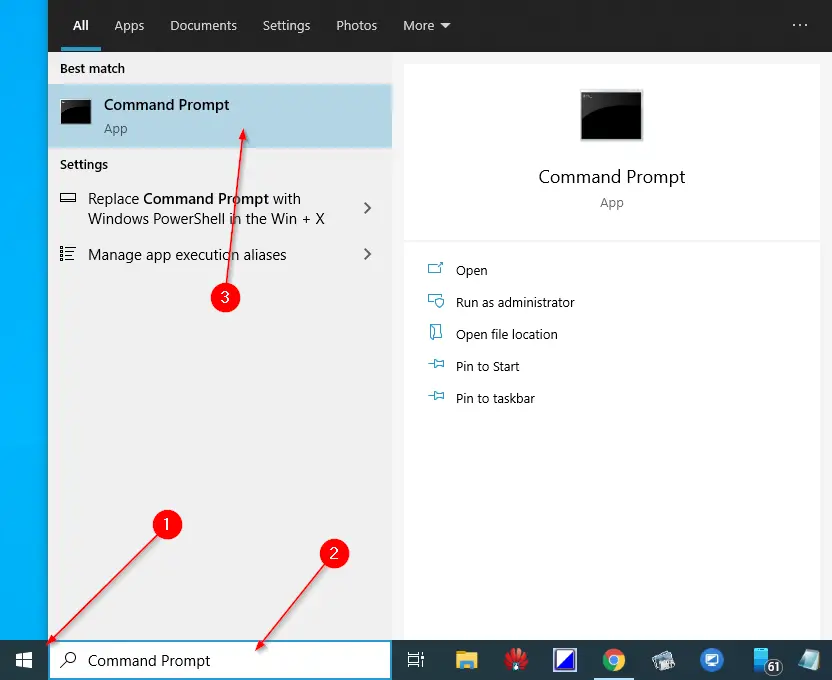
Step 2. In the available search results, click on the top entry “Command Prompt” to open it.
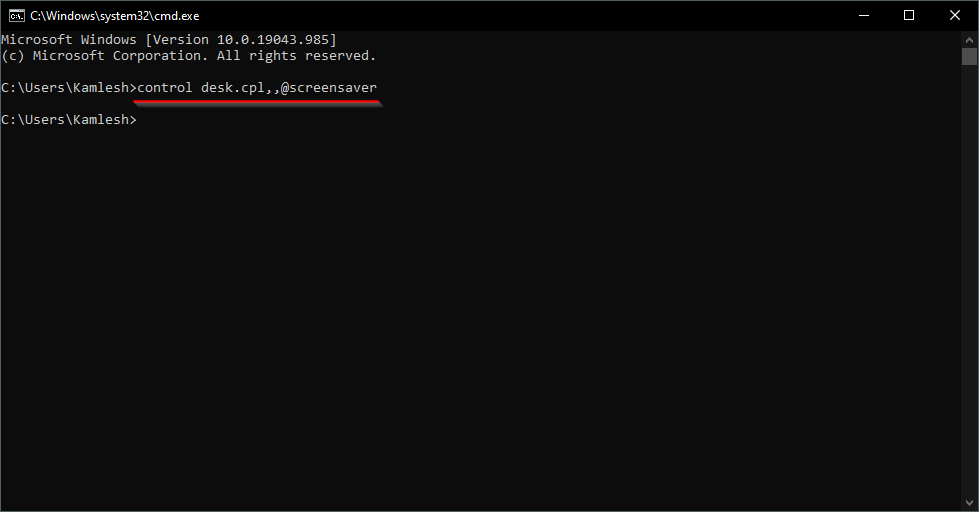
Step 3. In the Command Prompt window that appears, type the following and hit Enter from the keyboard:-
control desk.cpl,,@screensaver
or,
control desk.cpl,screensaver,@screensaver
Once you execute the above steps, the Screen Saver Settings dialog opens.
How to Get Screen Saver Settings via Windows 10 Search?
To get the Screen Saver Settings dialog, perform the following steps:-
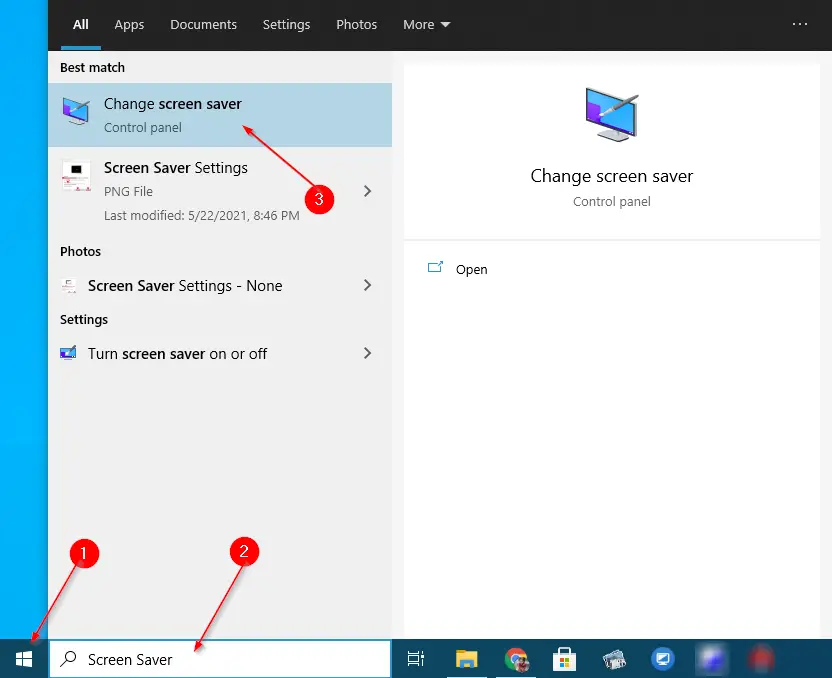
Step 1. Click on the Start button or Taskbar search and type Screen Saver.
Step 2. From the top results, click on the Change screen saver.
Once you accomplish the above steps, the Screen Saver Settings dialog opens.
How to Open Screen Saver Settings from Control Panel?
Control Panel is another way to access the Screen Saver Settings dialog box on Windows 10. Execute the following steps to open the Screen Saver Settings:-
Step 1. Click on the Start button and type Control Panel.
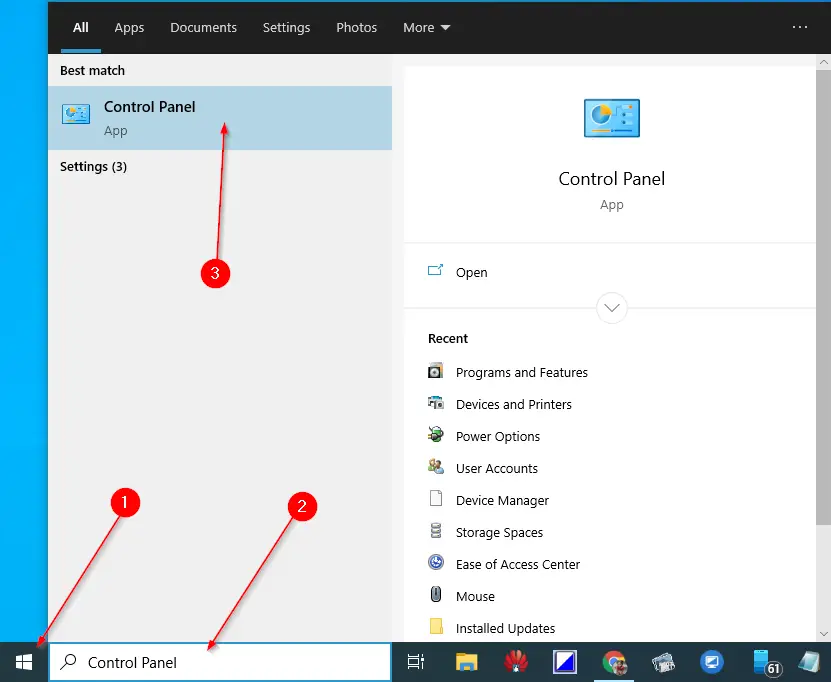
Step 2. From the available top results, click on the “Control Panel” to launch it.
Step 3. In the Search box in the upper right corner, type Screen Saver and press Enter from the keyboard.
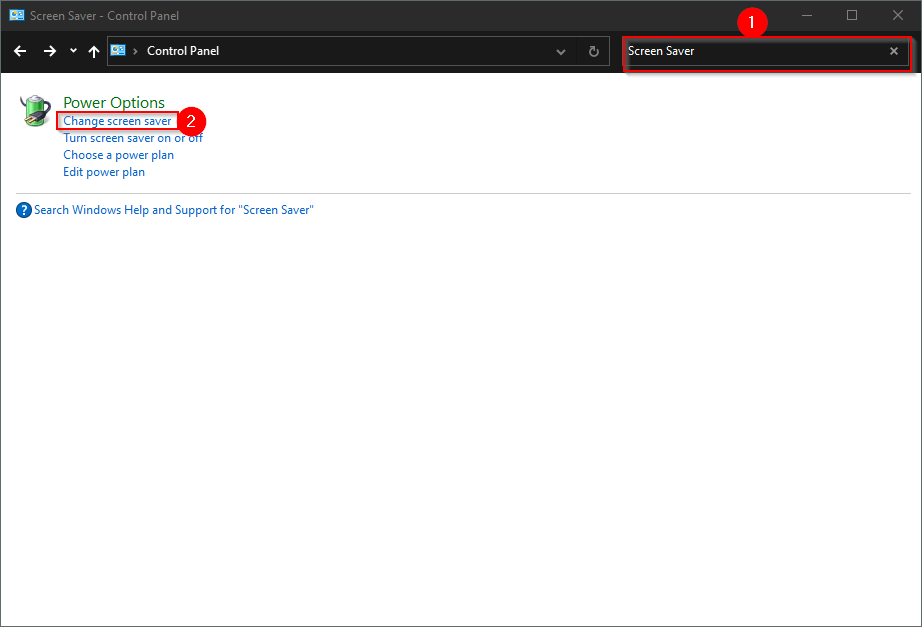
Step 4. By clicking on the “Change screen saver” link, you can access the Screen Saver Settings dialog box.
Once you finish the above steps, the Screen Saver Settings dialog opens.
This post is written to keep in mind Windows 10, but you can execute the above-mentioned procedures on Windows 7 and Windows 8/8.1 to access the Screen Saver option.
How to Launch Screen Saver Settings from the Settings app?
To access the Screen Saver settings using the Settings app, perform the following steps:-
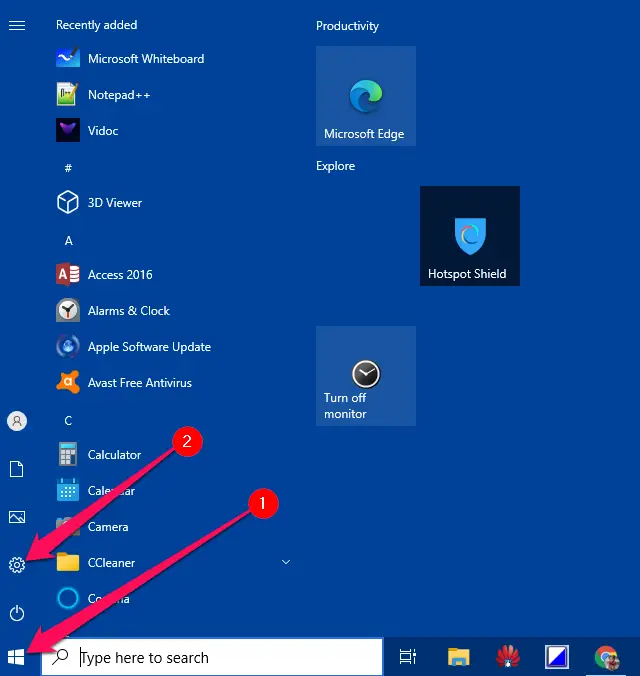
Step 1. Click on the Start button and select the Settings icon.
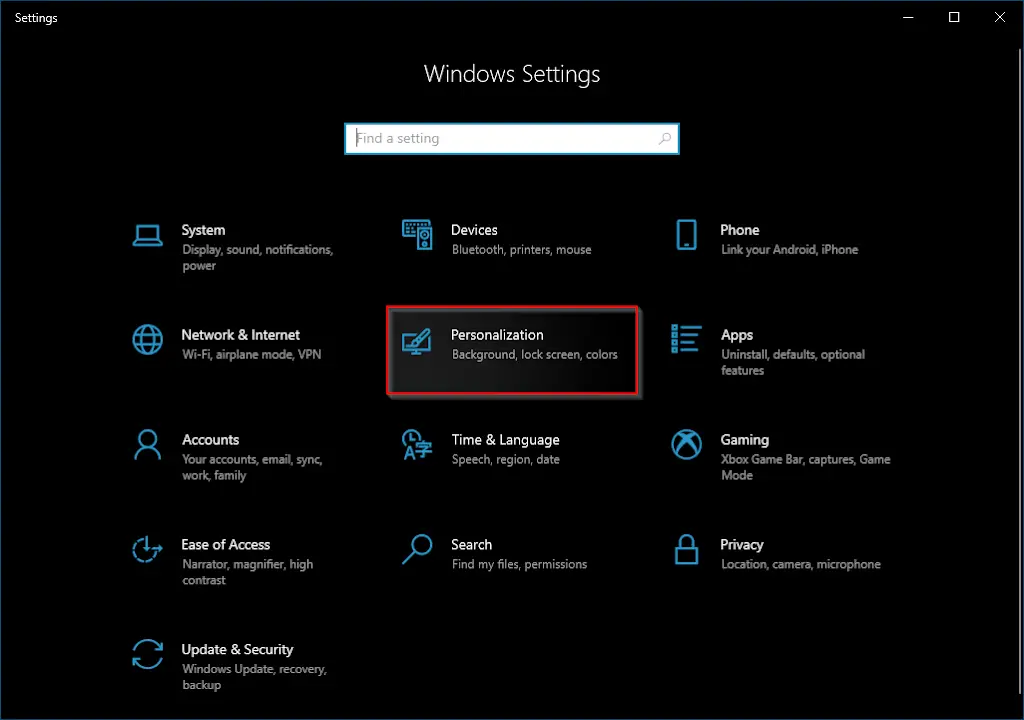
Step 2. In the Windows Settings, click the Personalization category.
Step 3. Under Personalization, click the Lock screen option.
Step 4. On the right side pane of the Lock screen, click the link “Screen saver settings.”
Once you perform the above steps, the Screen Saver Settings dialog will open.
How to Access Screen Saver Settings using Shortcut?
For those who often need to open Screen Saver Settings, using this method, you can create a shortcut of Screen Saver Settings right on your desktop or the Start menu.
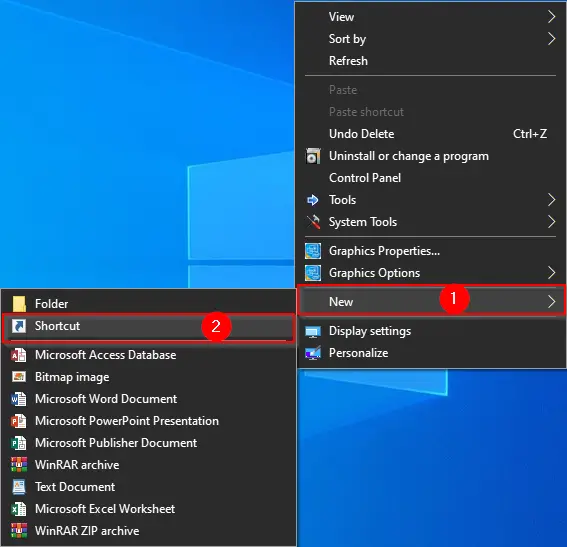
Step 1. Right-click on the free space on the Desktop and select the New and then Shortcut option.
Step 2. In the Create Shortcut wizard that opens, type the following text in the textbox labeled Type the location of the item:-
control desk.cpl,,@screensaver
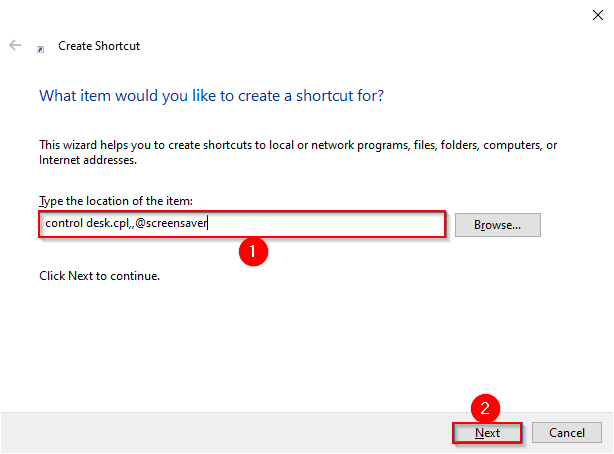
Step 3. Click Next.
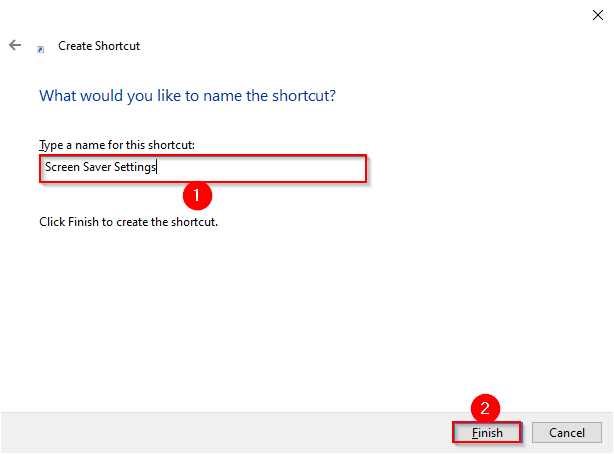
Step 4. In the textbox, “Type a name for this shortcut,” enter Screen Saver Settings and then click the Finish button.
Step 5. Once you perform the above steps, you will see a shortcut to the Screen Saver Settings dialog on the desktop.
![]()
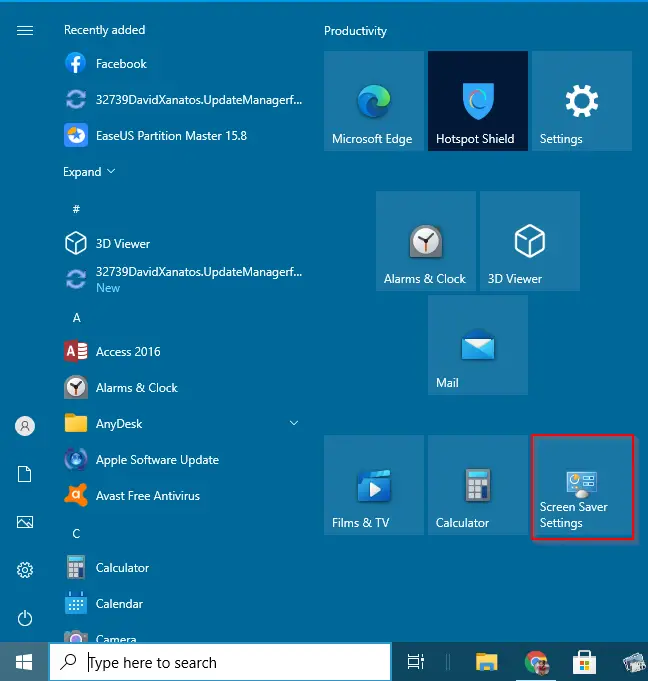
Double-clicking on this newly created desktop shortcut icon, you can launch the Screen Saver Settings dialog box. If you wish, drag it to Windows Taskbar to quickly access it. You can also pin this shortcut to the Start menu by right-clicking on its icon and selecting the “Pin to Start” option.
![]()
Now, you can access the Screen Saver Settings from the Start menu tiles by clicking on its icon,
Conclusion
In conclusion, the Screen Saver feature is an important aspect of the Windows operating system that allows users to protect their computer screens from being damaged due to static images. This article has outlined seven different ways to access the Screen Saver settings on Windows 10, including using the Settings app, Control Panel, Command Prompt, and creating a shortcut on the desktop. These methods can also be used on previous versions of Windows, such as Windows 7 and 8/8.1. By following these steps, users can easily enable or disable the Screen Saver function and adjust the settings to their liking.