Windows 10 comes with a bunch of features, and out of those, one is Quick Action. Quick Action is a set of buttons that allows you to quickly access common functions, such as turning Bluetooth on or off, switching to tablet mode, adjusting screen brightness, enabling or disabling Battery Saver, and so on.
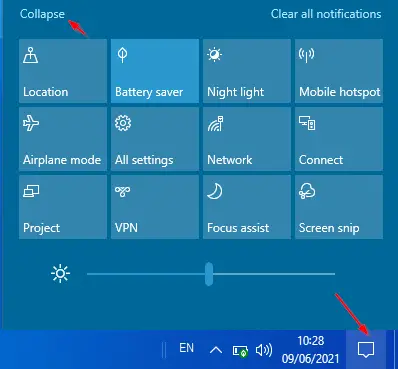
Clicking on the chat bubble icon in the notification area or by pressing the Windows logo + A keys simultaneously, you can open the Action Center panel. Here, you will see a list of quick action buttons at the bottom.
Microsoft makes it easy to add, remove, or rearrange Quick Action buttons in the Notifications & Actions Center on Windows 10. By default, the Action Center displays four Quick Actions, with an option to Expand or Collapse the Action Center to show more than four buttons.
In this gearupwindows article, we will learn the following:-
- Entering into Editing Mode
- Removing Quick Action Buttons
- Adding Quick Action Buttons
- Rearranging Quick Action Buttons
How to Enter into Quick Action Editing Mode?
In order to customize Quick Actions, you need to open it in editing mode. To enter into editing mode, do the following:-
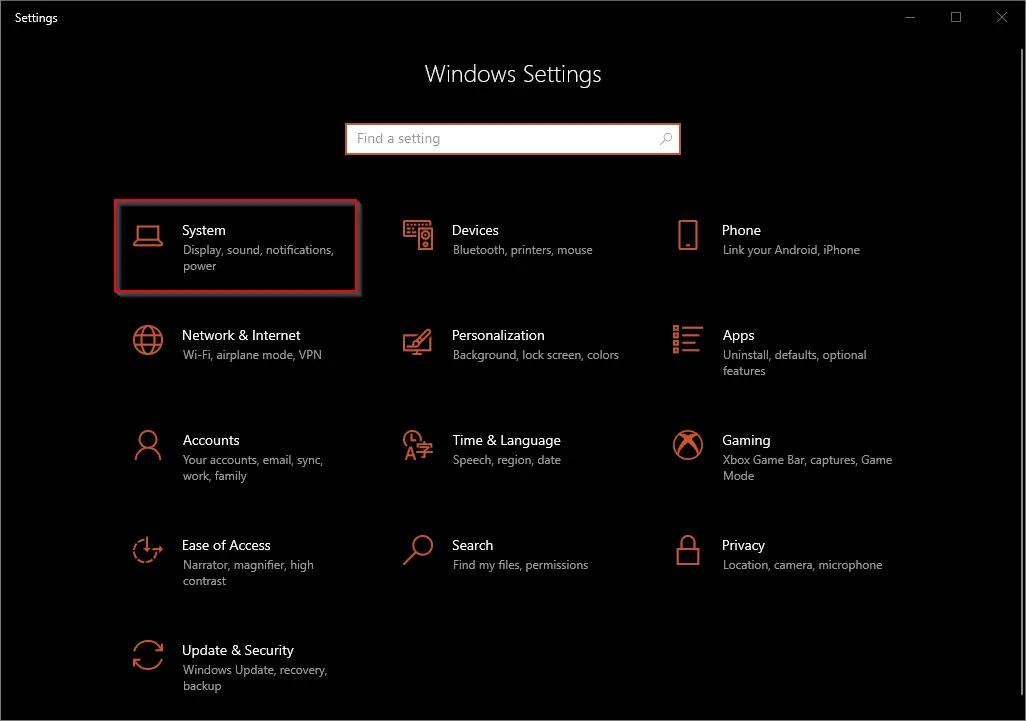
Step 1. Press the Windows + I keys simultaneously to open the Settings app.
Step 2. Here, choose the System category.
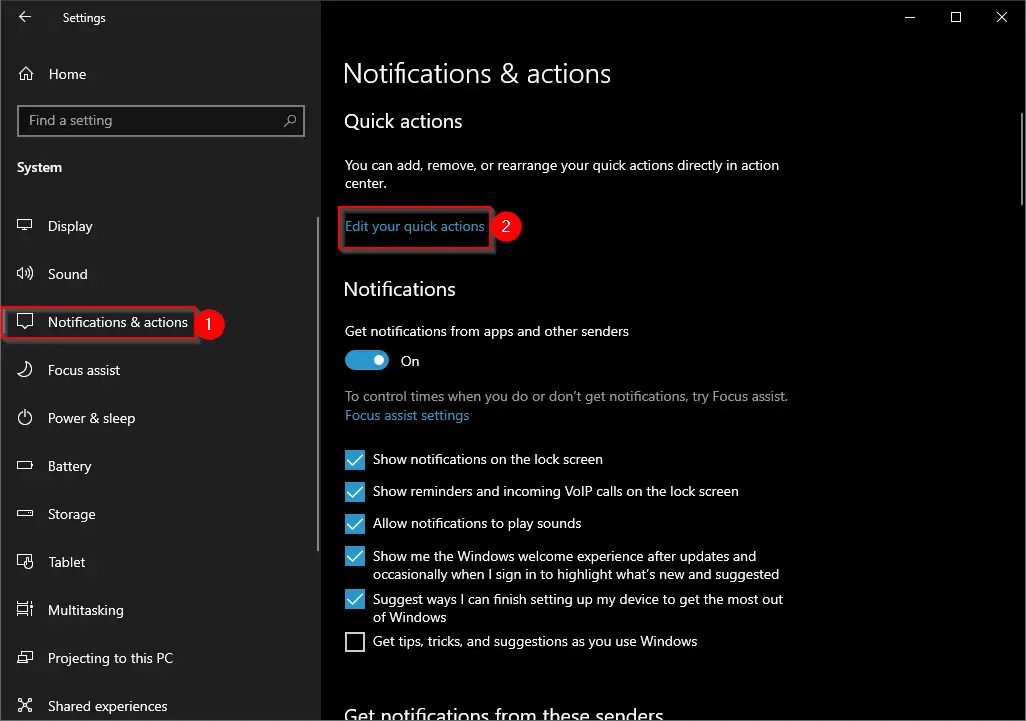
Step 3. Navigate to Notifications & actions from the left side pane.
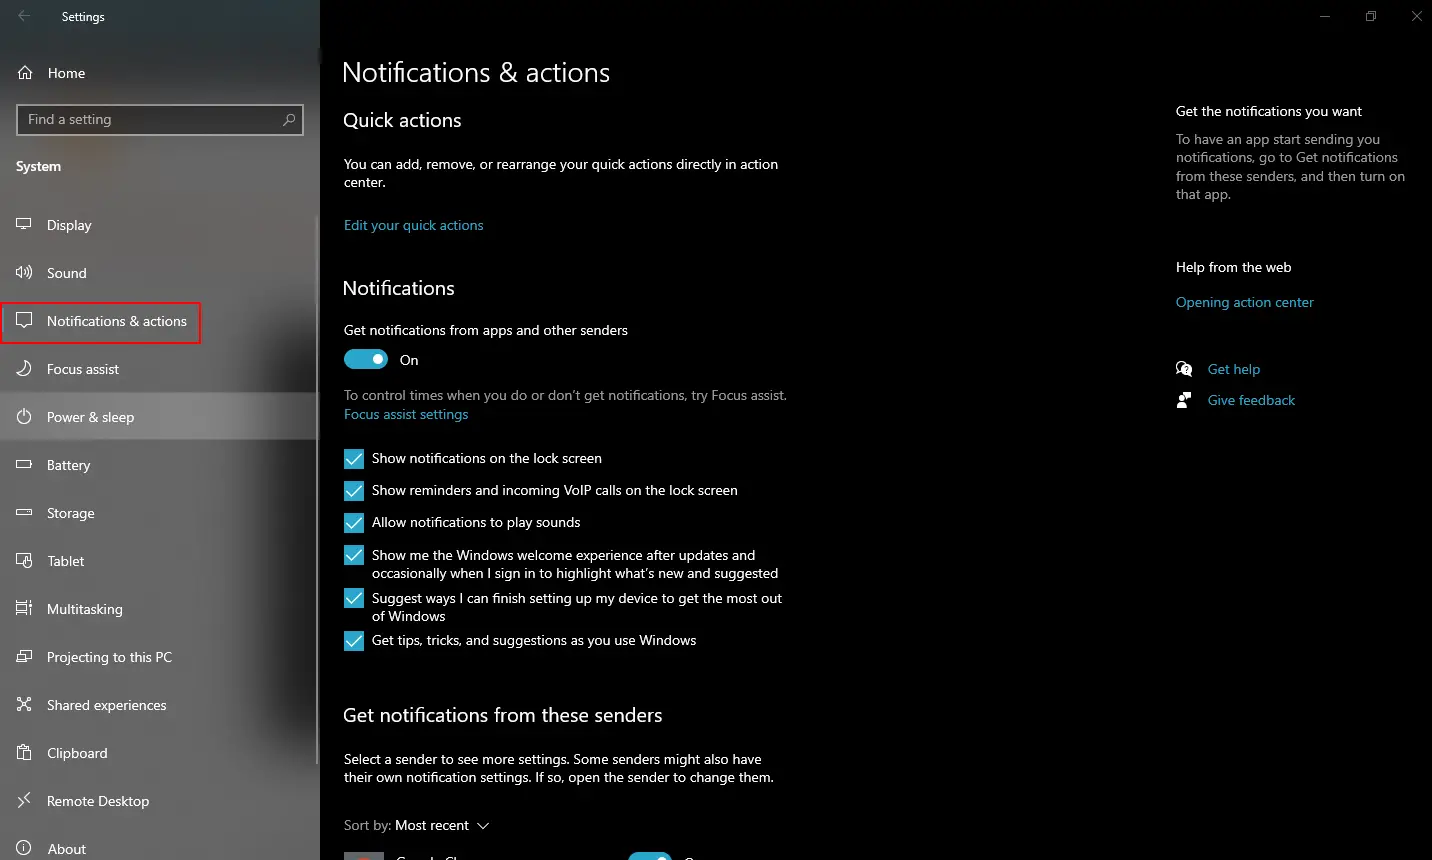
Step 4. On the right pane, click the Edit your quick actions link. The Quick Actions in the Action Center panel will appear in editable mode.
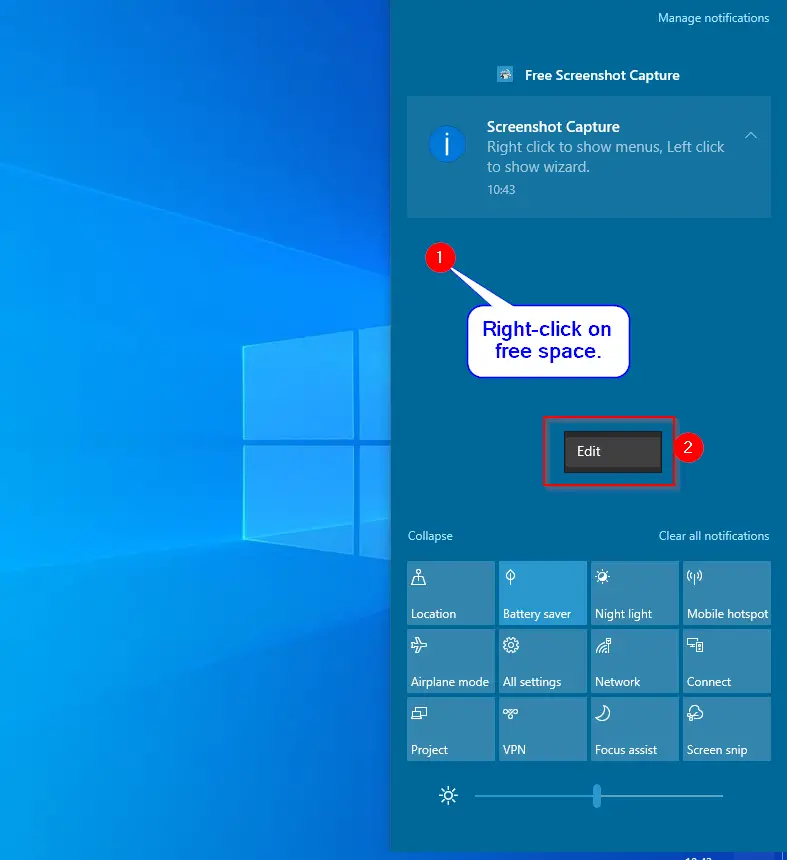
Note: You can also enter into editing mode by right-clicking on empty space in the Action Center panel and selecting the Edit option.
How to Remove Quick Action Buttons?
Step 1. Once you have entered editing mode, simply click the unpin icon that displays in the upper-right corner of any Quick Action button, and you can remove it from the Action Center.
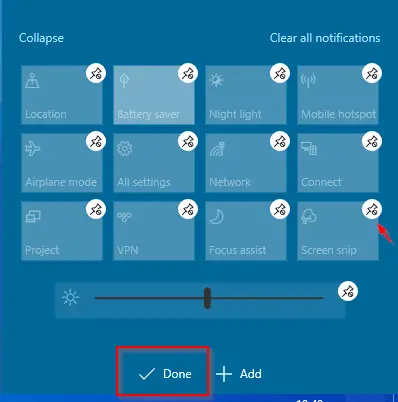
Step 2. Finally, click on the Done button to preserve the changes.
How to Add Quick Action Buttons?
If you would like to add a new button on Quick Action, complete the following steps on your Windows 10 PC:-
Step 1. Enter editing mode.
Step 2. Click the Add button at the bottom. It will display all hidden quick actions. Please select your desired quick action from the drop-down menu you would like to add.
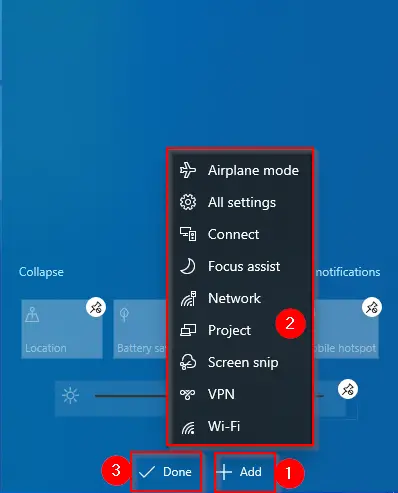
Step 3. Finally, click on the Done button to apply the changes to the Action Center panel immediately.
How to Rearrange and Customize Quick Action Buttons?
Perform the following steps to rearrange and customize Quick Action buttons on Windows 10:-
Step 1. Enter editing mode.
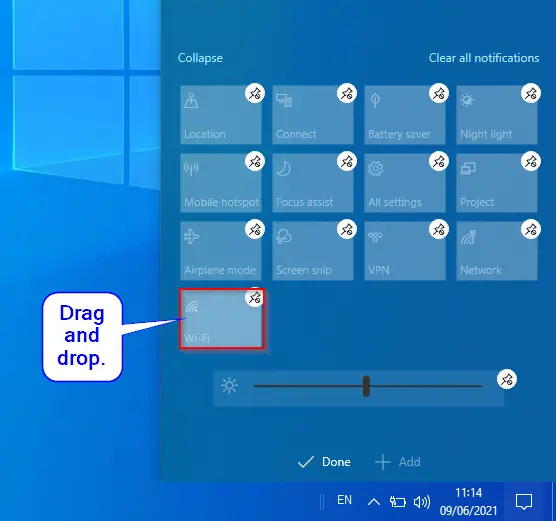
Step 2. To rearrange the Quick Actions, press and hold a Quick Action item from the mouse, then drag it and drop it to your desired position.
Conclusion
In conclusion, Quick Action is a helpful feature on Windows 10 that enables users to access frequently used functions with ease. The process of customizing Quick Action buttons is simple and can be done by following the steps outlined in this article. By entering editing mode, users can remove, add, and rearrange buttons according to their preferences. With the ability to customize Quick Action buttons, users can improve their productivity and make their Windows 10 experience more personalized.