In our blog, GearUpWindows, we have covered several tools that enable the creation of bootable USB flash drives. Among the big players in this field are AnyBurn, WinUSB Maker, ISO2Disc, and WinToHDD. Another notable utility is Rufus, which is known for its fast performance in creating bootable USB drives and Windows To Go USB drives. In fact, it is considered one of the fastest tools available on the internet for this purpose.
Rufus is a software that enables users to create bootable USB drives with ease, making it an excellent alternative to the traditional and time-consuming method of using Command Prompt. Rufus is not only free but also has a small file size of less than 1 MB, which makes it highly efficient. Compared to other tools available on the internet, Rufus is the fastest, capable of copying files twice as fast as the Windows USB/DVD Download Tool. Rufus supports creating a bootable USB disk for various Windows operating systems, including Windows XP (SP2 or later), Server 2003 R2, Vista, Win 7, Win 8/8.1, and Windows 10. It also supports the creation of bootable USB flash drives for several Linux distributions, such as Knoppix, Kubuntu, OpenSUSE, Arch Linux, Hiren’s Boot CD, Parted Magic, NT Password Registry Editor, CentOS, Fedora, and many others.
How to Create a Bootable USB Drive Using Rufus?
Follow these steps to make a bootable USB drive using Rufus:-
Step 1. To create a bootable USB flash drive, connect the USB flash drive (at least 8GB in size).
Step 2. Download the latest version of Rufus utility from its official website.
Step 3. Run the downloaded file in any version of Windows.
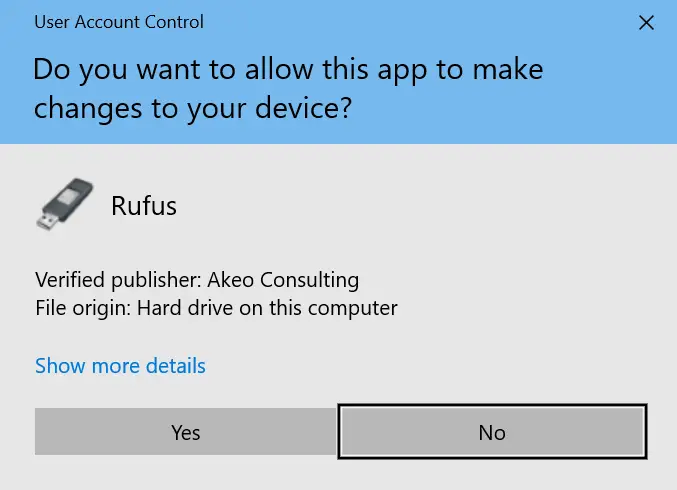
Step 4. If UAC (User Account Control) prompts, click the Yes button to launch it.
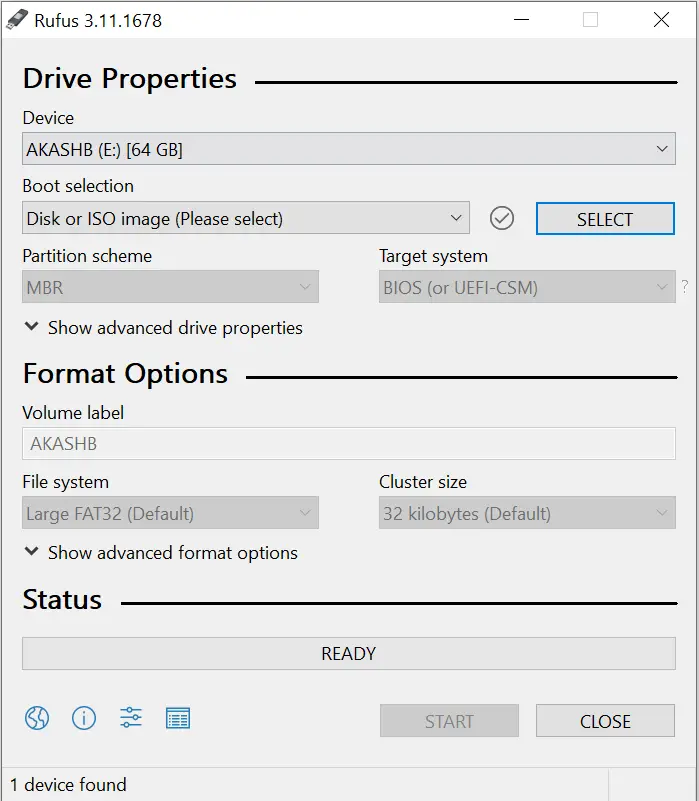
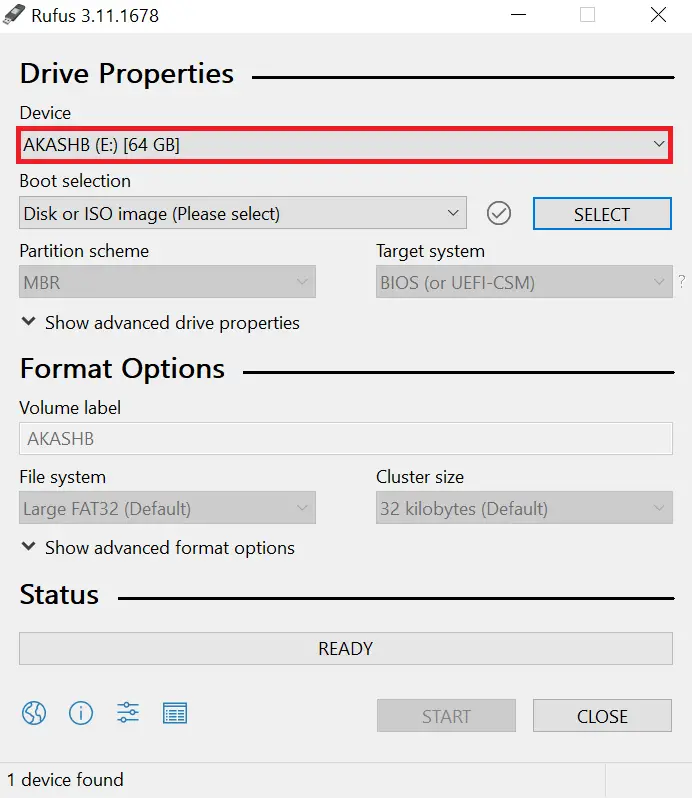
Step 5. It will automatically detect the inserted USB drive.
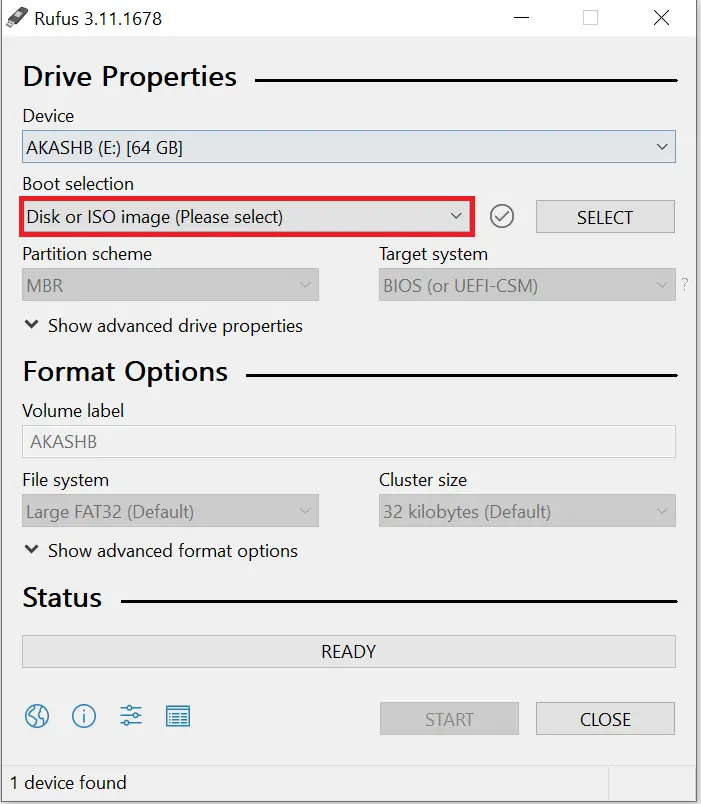
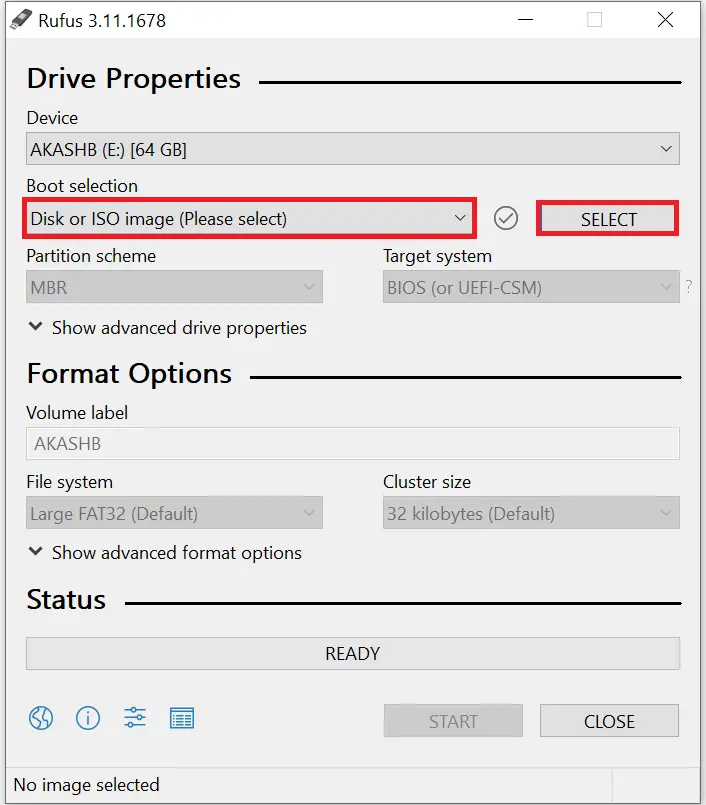
Step 6. Under the Boot selection drop-down, select the “Disk or ISO image (Please select)” option.
Step 7. Click on the SELECT button next to “Disk or ISO image (Please select).”
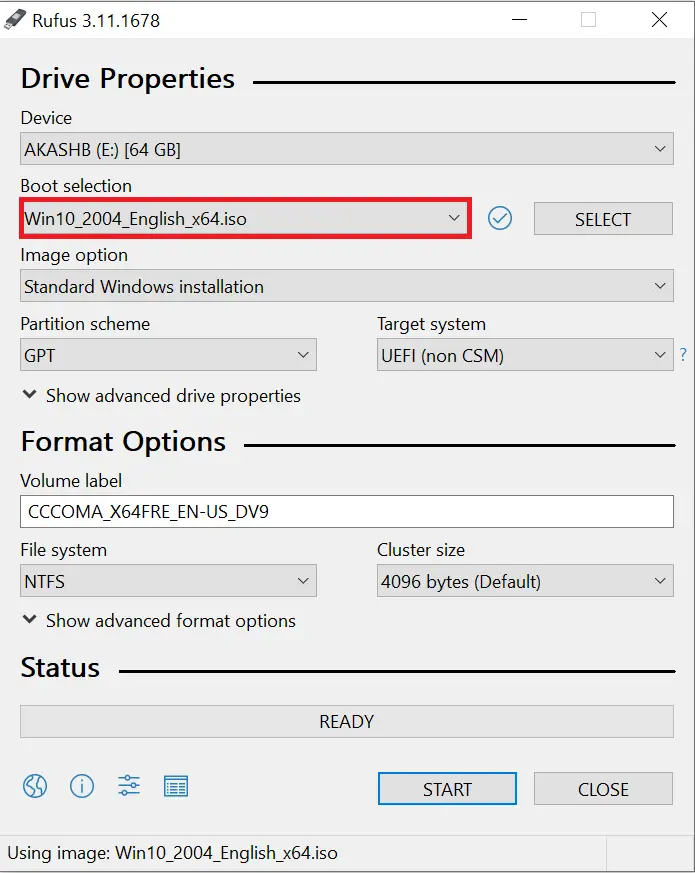
Step 8. Select the bootable ISO file. It will automatically detect the Windows version from the ISO file and show it on the software itself.
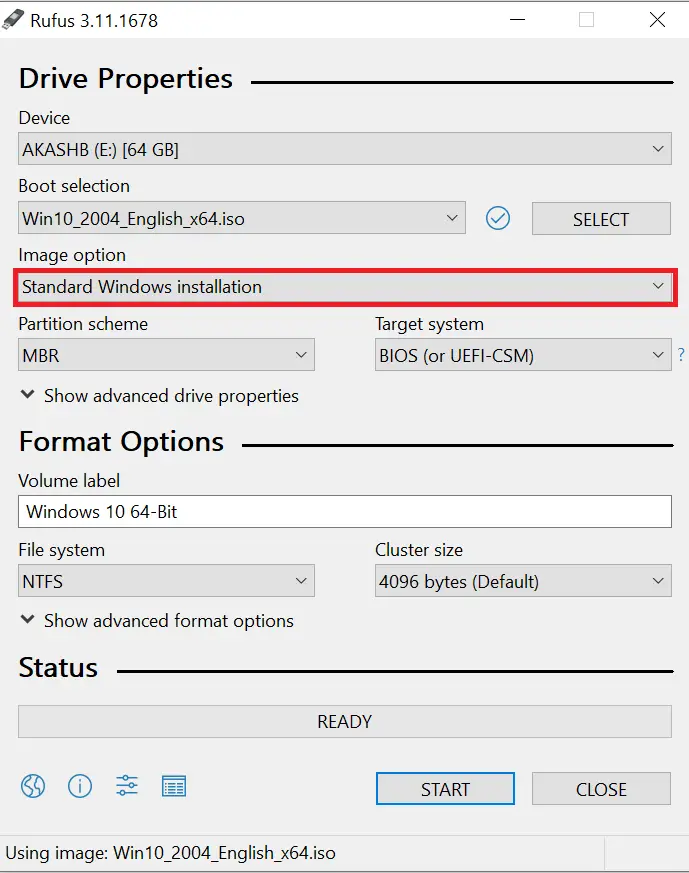
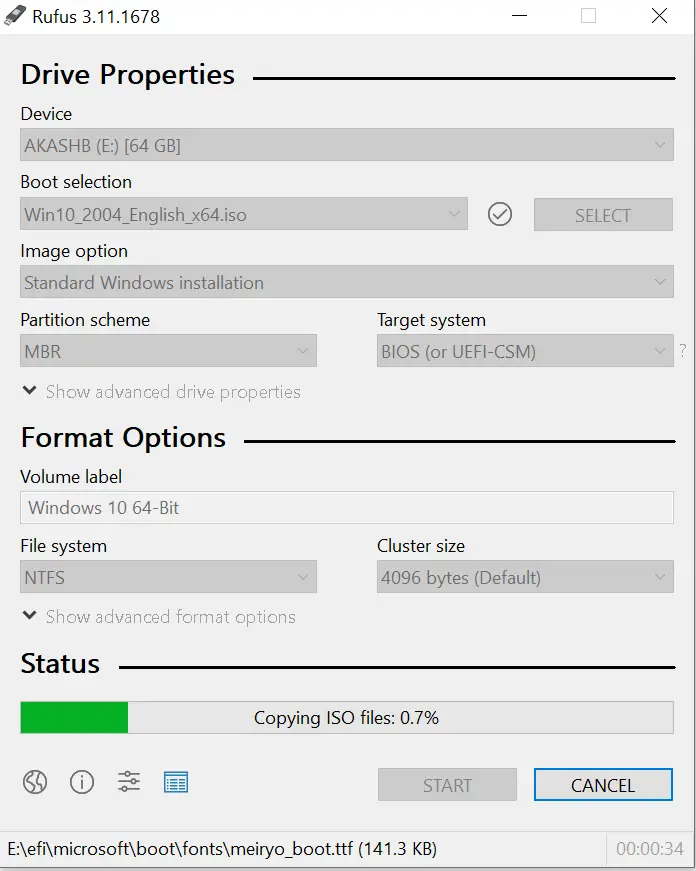
Step 9. Under the Image option, select Standard Windows installation because we will create a bootable USB flash drive of the Windows 10 operating system.
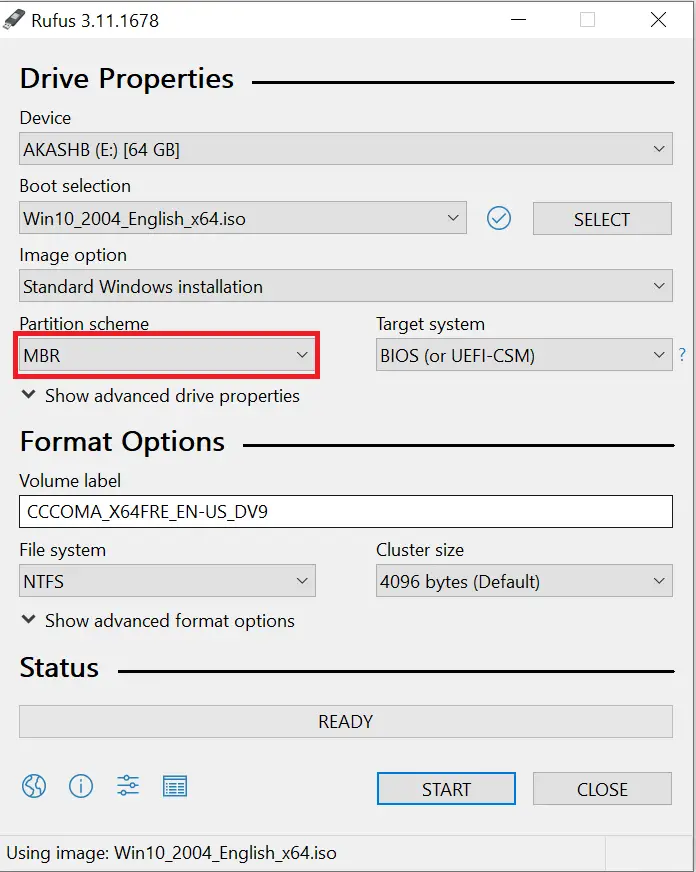
Step 10. The Rufus will automatically detect the partition scheme (MBR or GPT) from BIOS. If it cannot read for your PC, select the MBR partition scheme, which is useful for BIOS or UEFI computers, or select the GPT partition scheme, which is only supported for UEFI computers.
Step 11. The next option is the Volume label; if you want to change it to something rememberable, change it or leave it as default.
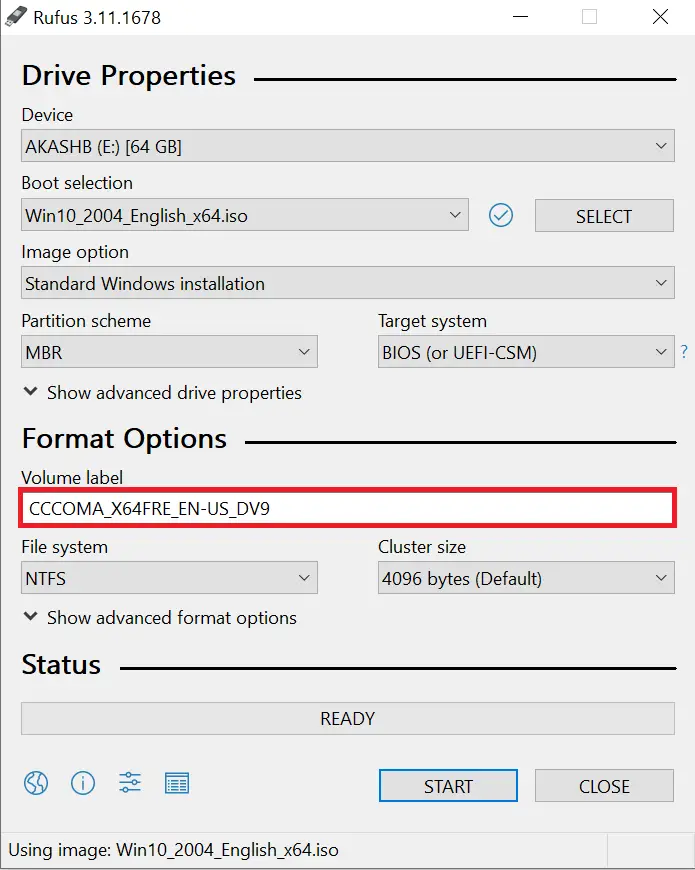
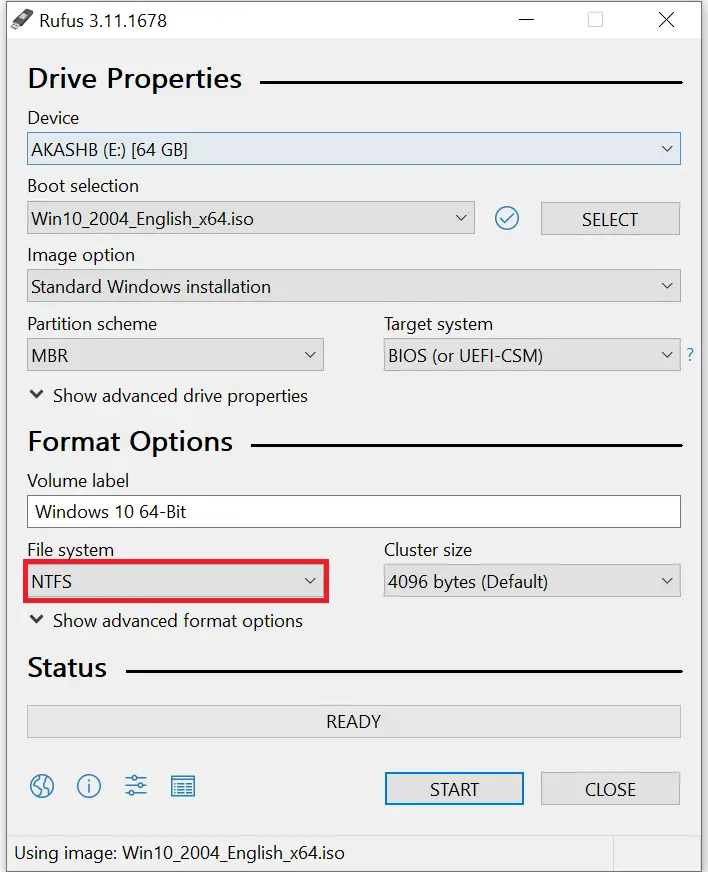
Step 12. The next option is the file system. Here, you will find NTFS and FAT32 file systems. The NTFS file system is better than FAT32 for faster installation.
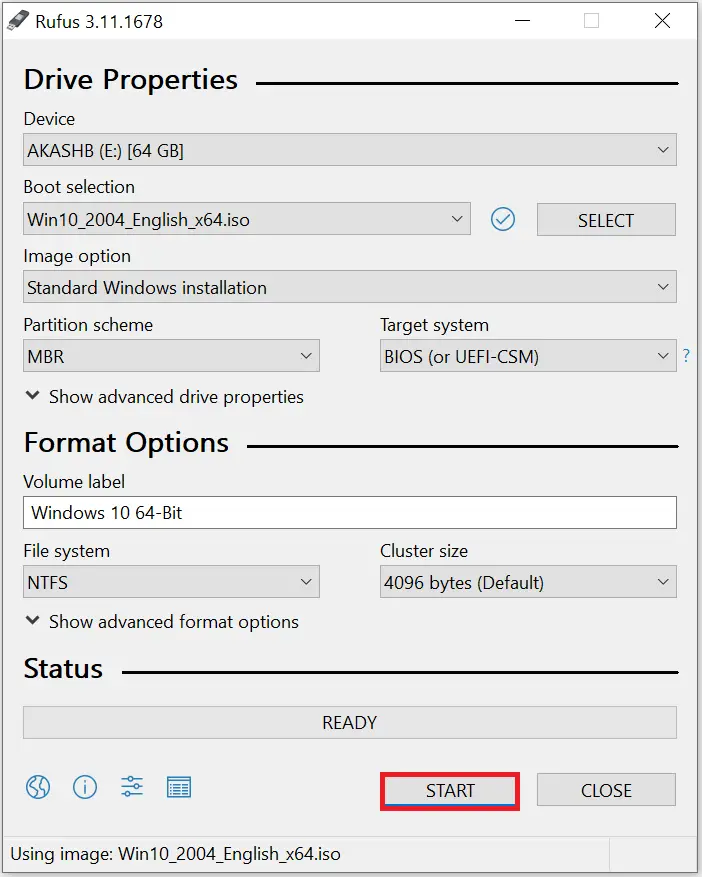
Step 13. Once you are ready with the above options, click on the Start button.
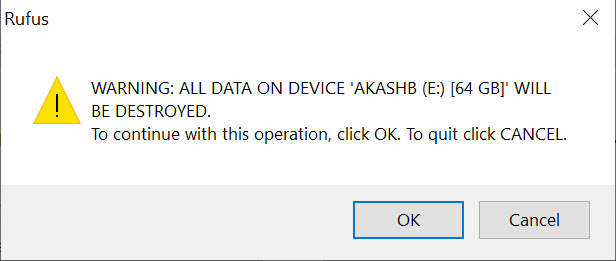
Step 14. Once the START button is clicked, it will warn that “all data on the device will be destroyed.”
If you haven’t stored any data on a USB drive, you can continue with the OK button.
Step 15. Now, Rufus software will format your USB drive and start copying the files.
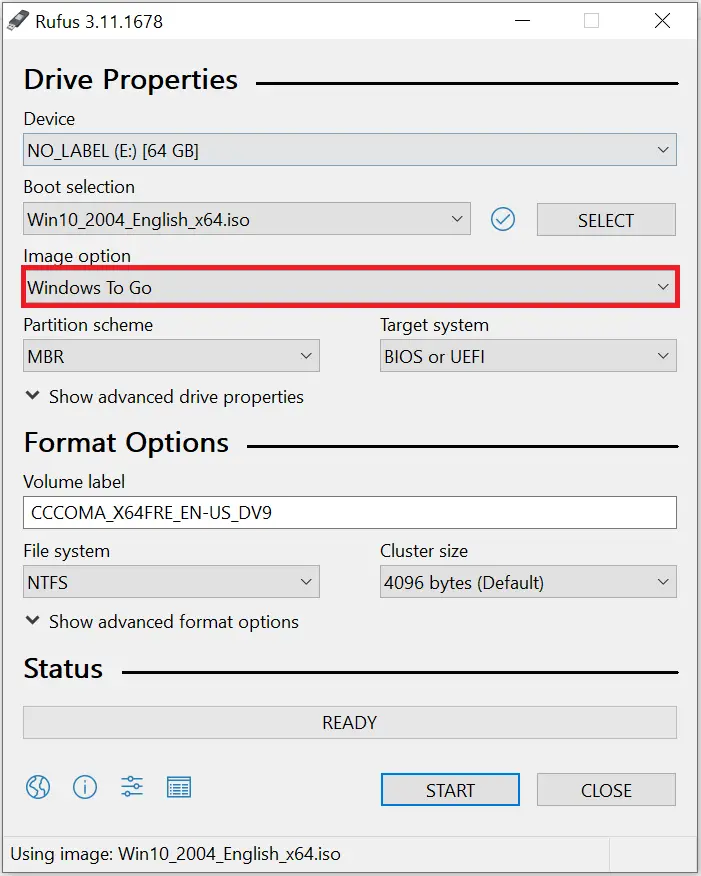
How to Create a “Windows To Go” USB Drive using Rufus?
To create a Windows To Go USB Drive, in Step 9, Under the Image option, select “Windows To Go” in place of Windows Standard Installation because we will create a “Windows To Go” USB disk for Windows. The rest of the procedures will be the same, as mentioned above.
Once you have created a bootable USB flash drive, you can test it without installing it on your computer or laptop.
Download Rufus
You can download the latest version of the Rufus utility from here.
Conclusion
In conclusion, creating a bootable USB drive is an essential process, and using the right tool can make it much easier and faster. Rufus is an excellent option for this purpose, offering fast performance, support for various operating systems, and ease of use. With its small file size and user-friendly interface, Rufus can be an efficient solution for creating bootable USB drives for both Windows and Linux operating systems. By following the simple steps outlined in this blog, anyone can create a bootable USB drive using Rufus and enjoy the benefits of this useful tool.