If you’re a Windows 11 user, you may have experienced issues with printers not working correctly or efficiently. Uninstalling a printer does not always remove the associated drivers from your computer. Over time, this can lead to a build-up of unnecessary drivers and files, which can slow down your system and create potential conflicts with new printers.
To ensure a clean and efficient printing experience, it’s important to know how to remove a printer driver on Windows 11 completely. In this guide, we’ll take you through the process step by step, so you can be sure that your printer is completely uninstalled from your system.
How to Remove the Printer from Windows 11 Settings?
The first step in removing a printer driver is to remove the printer from the Windows 11 Settings menu. Here’s how to do it:-
Step 1. Click on the Start button on your Taskbar and select “Settings” (the gear icon).
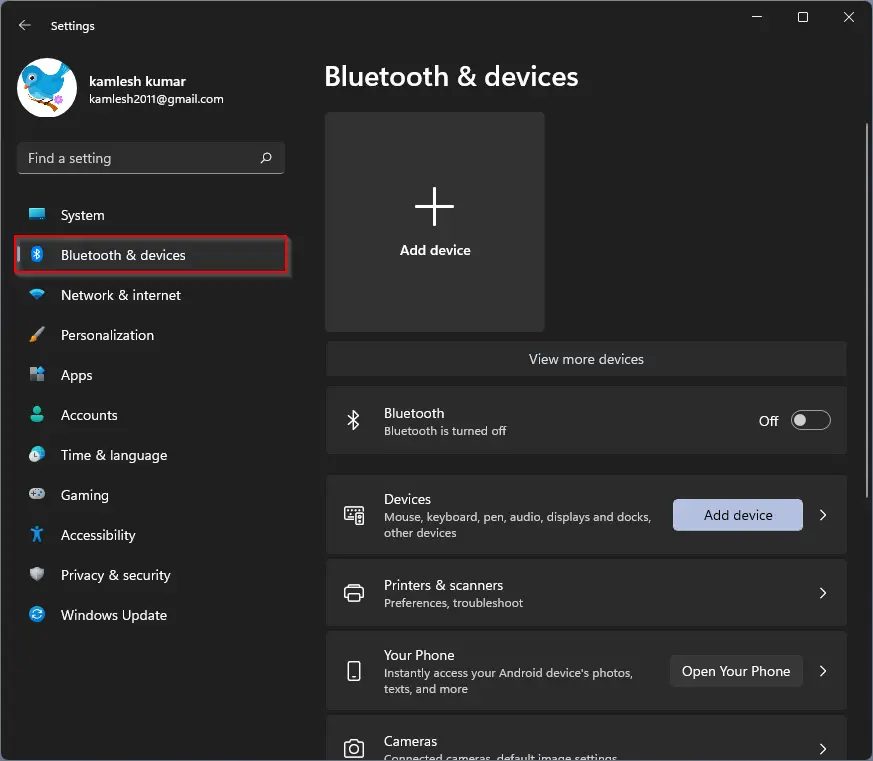
Step 2. In the Settings menu, select “Bluetooth & devices.”
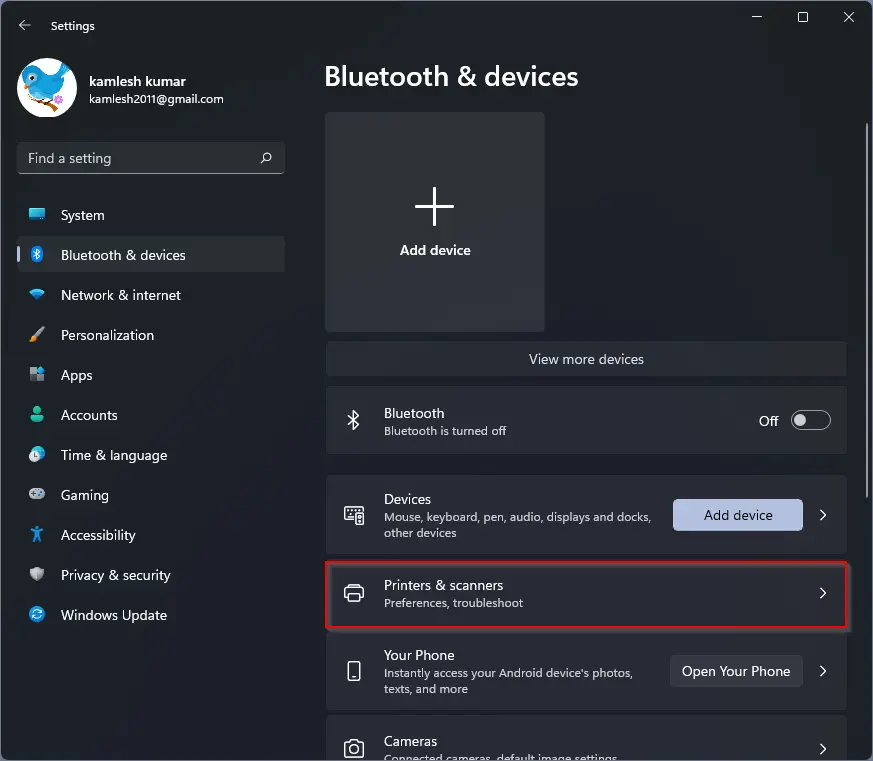
Step 3. On the right-hand side of the “Bluetooth & devices” menu, click “Printers & scanners.”
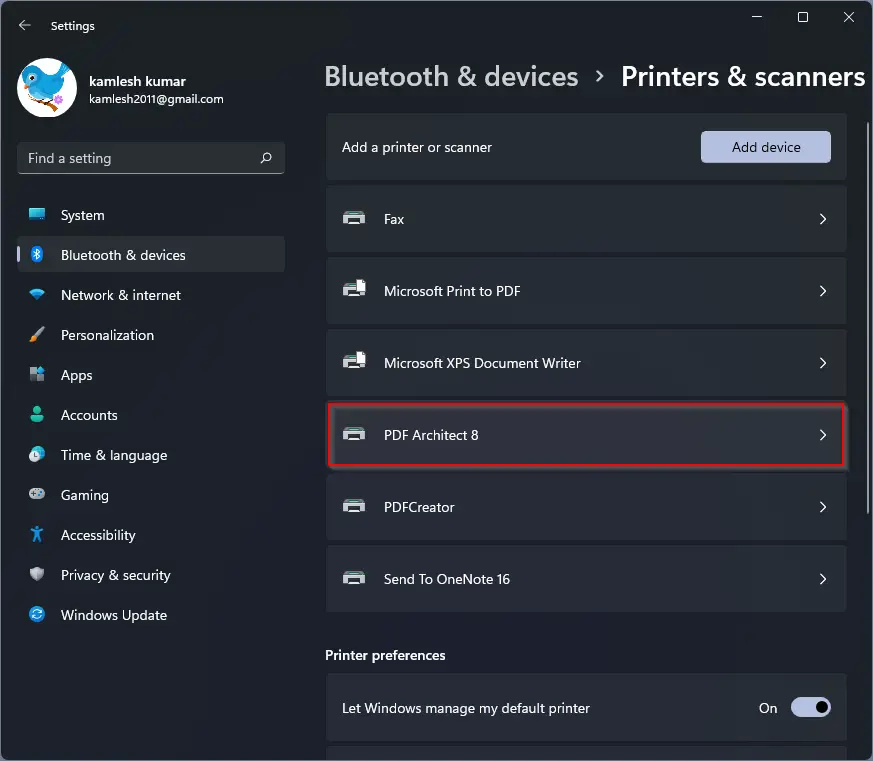
Step 4. Find the printer you want to remove from the list of installed printers and select it.
Step 5. Click the “Remove” button.
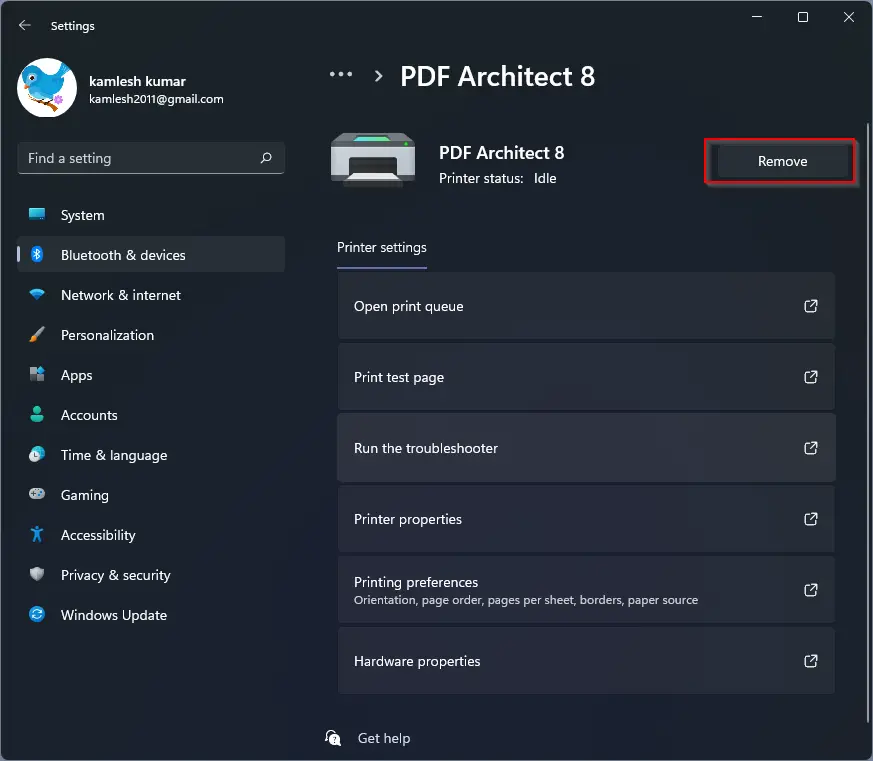
Step 6. A confirmation window will appear. Click “Yes” to confirm that you want to remove the printer.
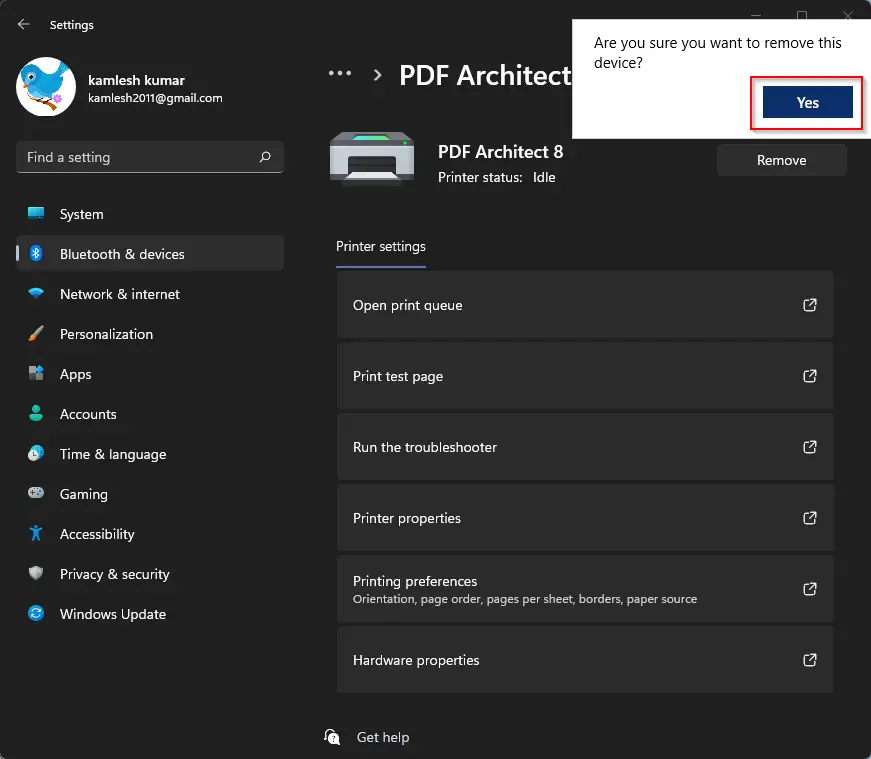
The printer will be removed from the list of installed printers in the “Printers & scanners” menu.
How to Delete Printer Driver from Print Management?
After you have removed the printer from the Windows 11 Settings menu, you need to delete the associated driver files. This can be done using the Print Management app. Here’s how to do it:-
Step 1. First, press the Windows key + R on your keyboard to open the Run dialog box.
Step 2. Next, type “printmanagement.msc” in the text field and click “OK” to open Print Management.
Step 3. In the left-hand menu, click “All Drivers” and select your local print server.
Step 4. Right-click the printer driver on the right side and select “Remove Driver Package.”
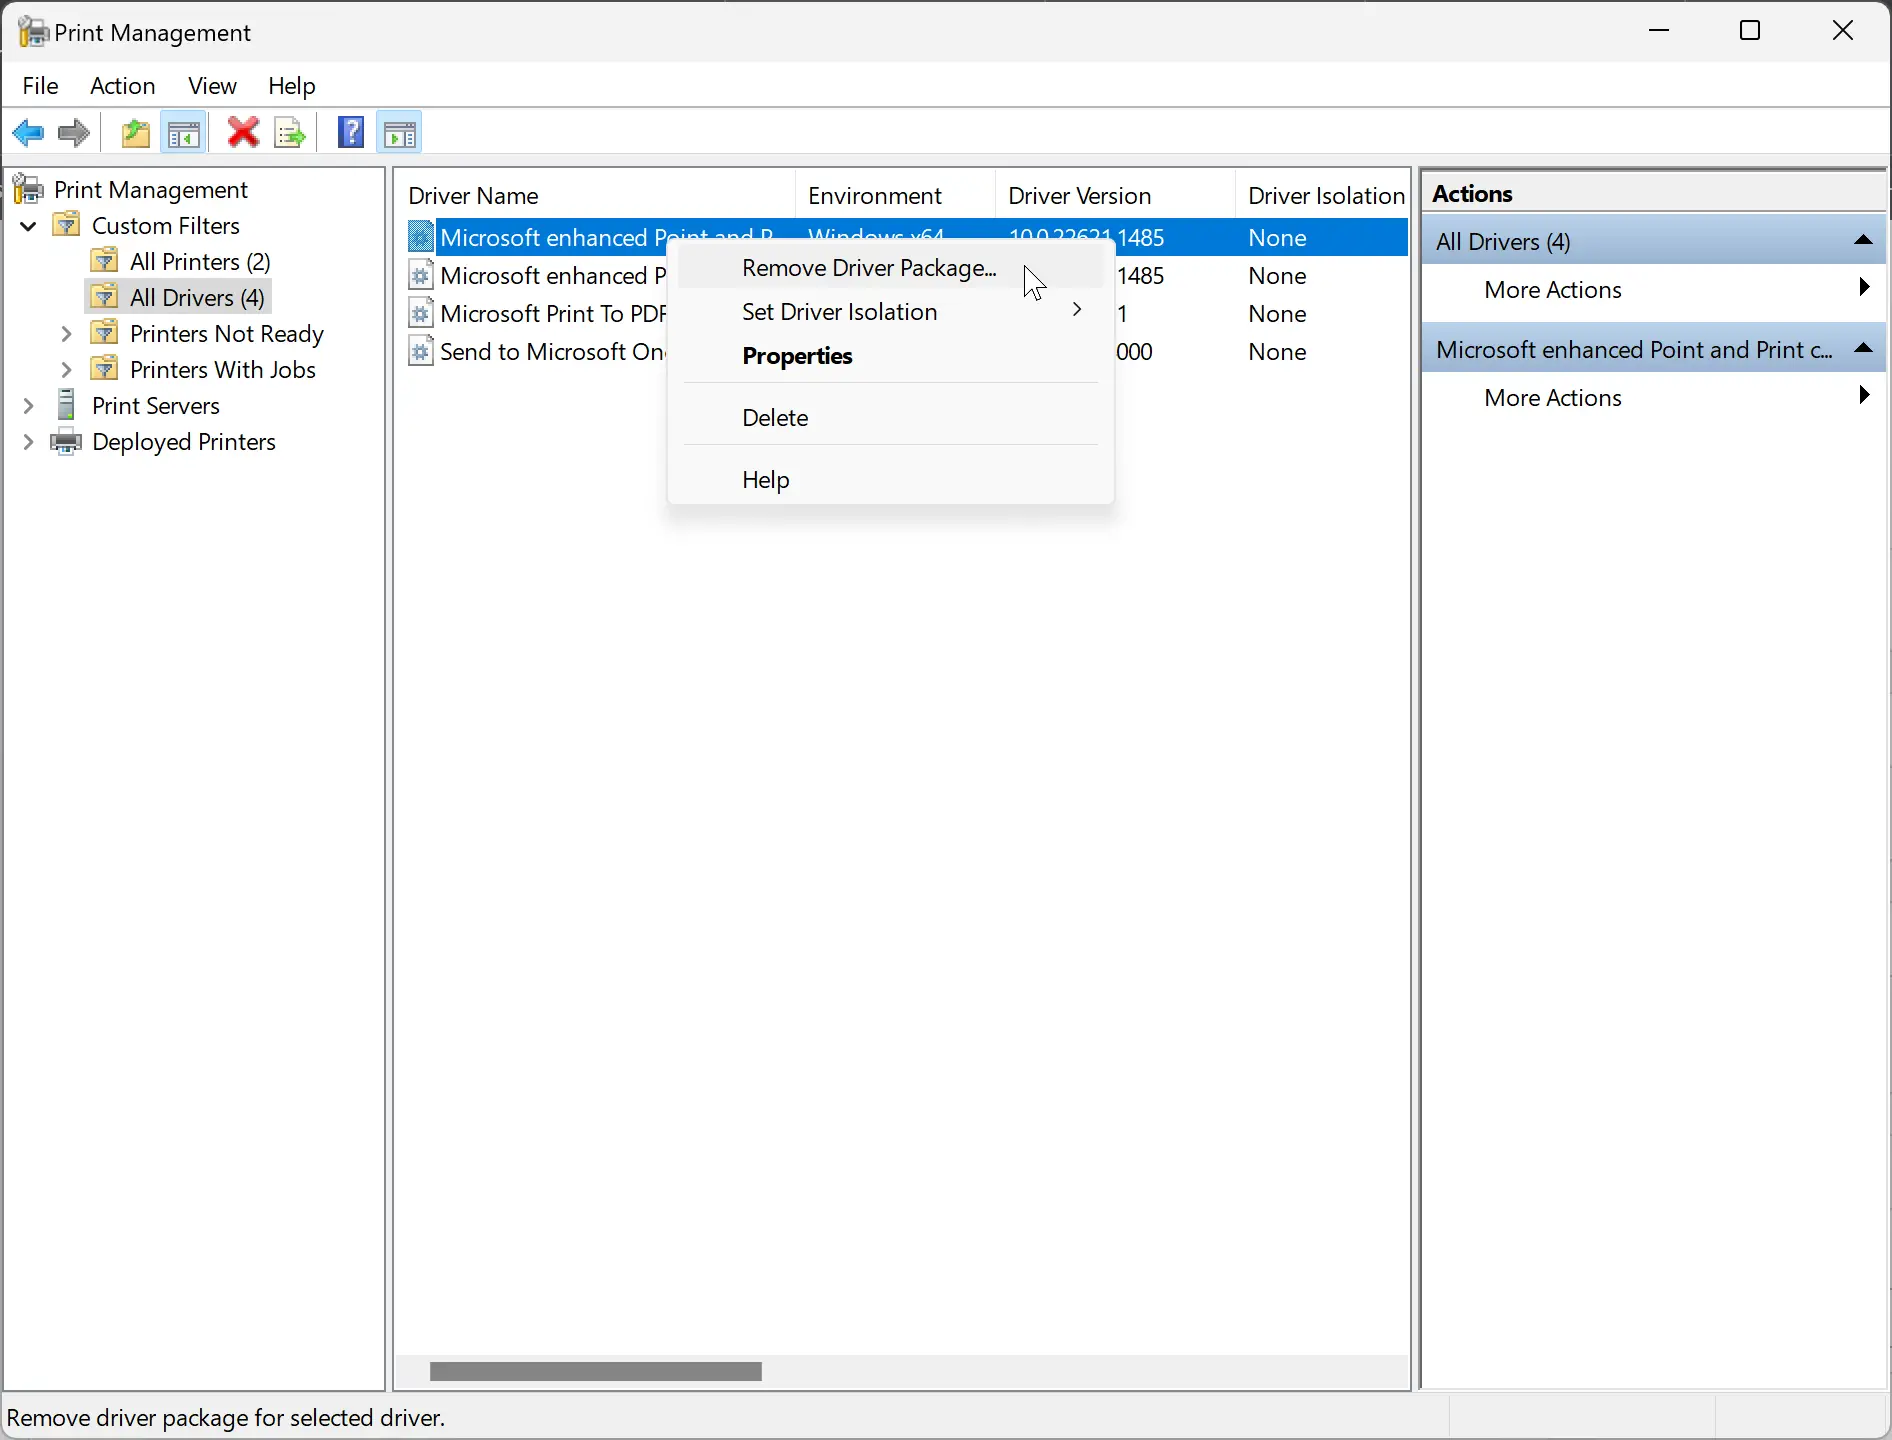
Step 5. A confirmation window will appear. Check on Delete and then OK button.
The driver and all of its associated files will now be removed from your Windows 11 computer.
It’s important to note that this method will only work if you have administrative privileges on your computer.
How to Remove Printer Driver from PowerShell?
Another way to delete a printer driver on Windows 11 is through PowerShell. Here’s how to do it:-
Step 1. Open PowerShell as an administrator.
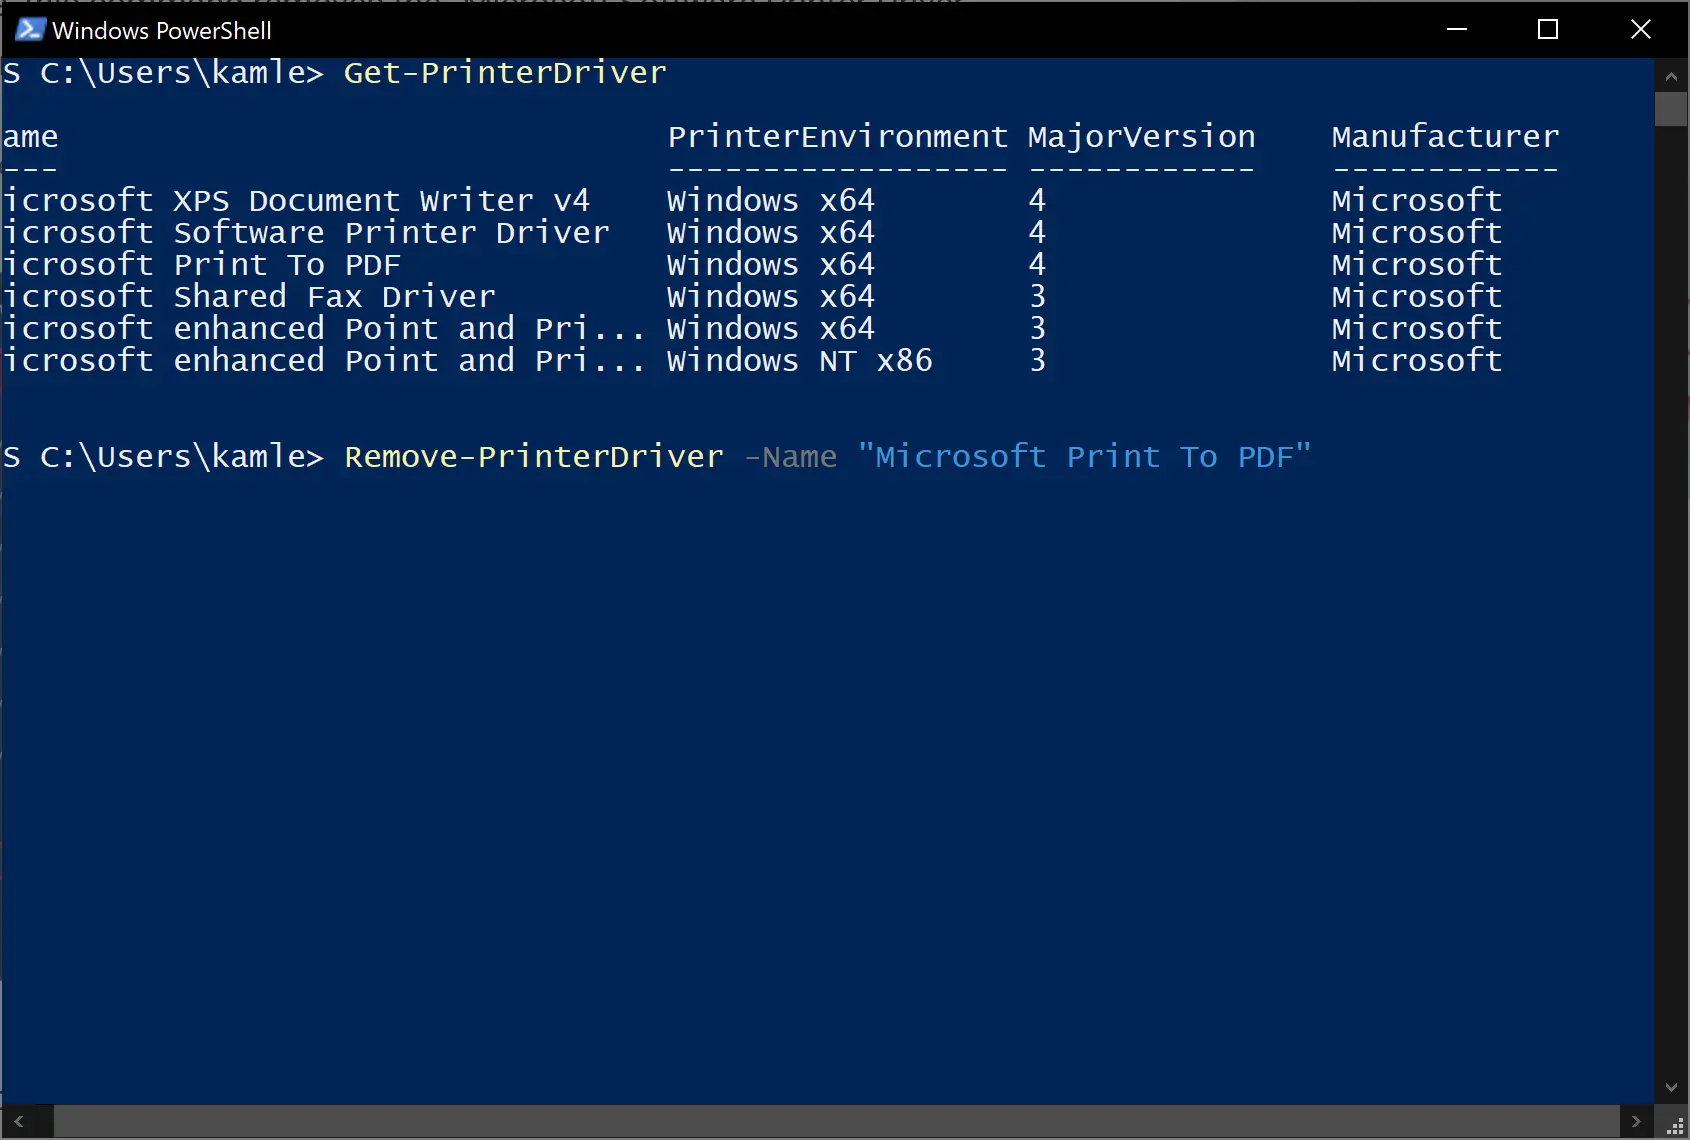
Step 2. Now, type the following command to list all the printer drivers installed on your system:-
Get-PrinterDriver
Step 3. Find the driver you want to remove from the list and note down its name.
Step 4. Type the following command, replacing “DriverName” with the name of the driver you want to remove:-
Remove-PrinterDriver -Name "DriverName"
Step 5. Press Enter to execute the command.
Step 6. Confirm that you want to delete the driver by typing “Y” and pressing Enter.
The driver should now be removed from your system.
Conclusion
In conclusion, removing printer drivers from a Windows 11 computer is essential for a clean and efficient printing experience. By following the above-mentioned methods, you can completely remove all traces of the printer and its driver from your computer, freeing up valuable disk space and minimizing the risk of any future conflicts.
The first method involves removing the printer from Windows 11 settings, while the second method requires using the Print Management app. The third method uses PowerShell to delete printer drivers. It’s important to note that administrative privileges are required for the second and third methods.
Regardless of which method you choose, make sure to follow the steps carefully to avoid any potential issues. By removing unwanted printer drivers, you can keep your system running smoothly and ensure that your printing experience is as efficient as possible.