Task Scheduler is a built-in utility in Windows operating systems that allows you to schedule and automate tasks to run on your computer. These tasks can be simple, such as opening a specific program or file, or more complex, such as running a backup or maintenance script. The tool offers a wide range of options, making it an invaluable tool for system administrators, power users, and anyone who wants to automate routine tasks.
Also Read: How to Delete a Scheduled Task in Windows 11/10?
In this article, we will explore the ins and outs of Task Scheduler, including how to create and manage tasks, what types of tasks you can run, and some advanced features that you may not know about.
How to Open Task Scheduler?
To open Task Scheduler in Windows, you can follow these steps:-
Step 1. Press the Windows key + R to open the Run dialog box.
Step 2. Type “taskschd.msc” into the Run box and press Enter.
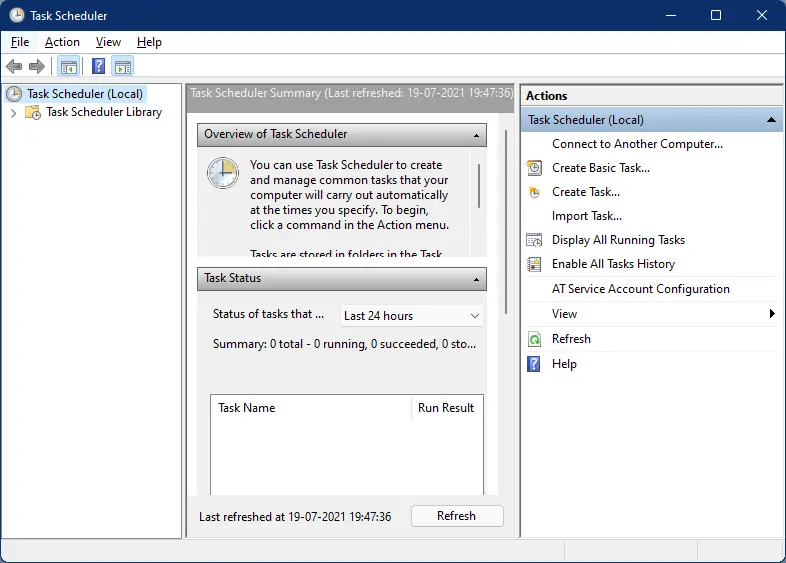
Task Scheduler will now open, and you can start creating tasks.
Creating a Basic Task
To create a basic task in Task Scheduler, follow these steps:-
Step 1. Open Task Scheduler.
Step 2. Click on “Create Basic Task” in the Actions pane.
Step 3. Follow the wizard to create a task, giving it a name, and description, and setting the trigger.
Step 4. Select the action you want the task to perform, such as opening a program or running a script.
Step 5. Choose any additional settings you want, such as how often the task should run, and then click Finish.
Creating an Advanced Task
If you need more control over your tasks, you can use the Create Task option in Task Scheduler. This allows you to set more specific triggers and conditions for your task.
To create an advanced task in Task Scheduler, follow these steps:-
Step 1. Open Task Scheduler.
Step 2. Click on “Create Task” in the Actions pane.
Step 3. In the General tab, give your task a name and description.
Step 4. Set the trigger for the task by clicking on the Triggers tab.
Step 5. Choose the action you want the task to perform by clicking on the Actions tab.
Step 6. Configure any additional settings you want, such as running the task only when the computer is idle and then clicking OK.
Managing Tasks
Task Scheduler allows you to manage and modify existing tasks easily. To do this, follow these steps:-
Step 1. Open Task Scheduler.
Step 2. Click on the task you want to manage.
Step 3. Click on “Properties” in the Actions pane.
Step 4. Make any changes you want to the task, such as the trigger or the action, and then click OK.
Advanced Features
Task Scheduler also offers some advanced features that can help you automate more complex tasks.
One such feature is the ability to run a task only when specific conditions are met. For example, you can set a task to run only when the computer is idle or when a specific event occurs.
Task Scheduler also allows you to create a task that runs with elevated privileges, which is useful for tasks that require administrative access.
Finally, you can export and import tasks in Task Scheduler, making it easy to transfer tasks between computers or to backup your existing tasks.
Conclusion
Task Scheduler is a powerful tool in Windows that can help you automate routine tasks and improve your productivity. By creating and managing tasks, you can save time and focus on more important things. With its advanced features, Task Scheduler is an invaluable tool for system administrators, power users, and anyone who wants to take full advantage of their computer.