Several users have reported that Windows 11 Start menu is not working. It may happen due to several reasons, such as corrupted system files and more. In this video, you will find all the possible ways to fix this issue, and hopefully, one of them will fix your Windows 11 Start menu. Before trying any of the tips, save your work first, as you’ll need to restart your Windows 11 machine several times.
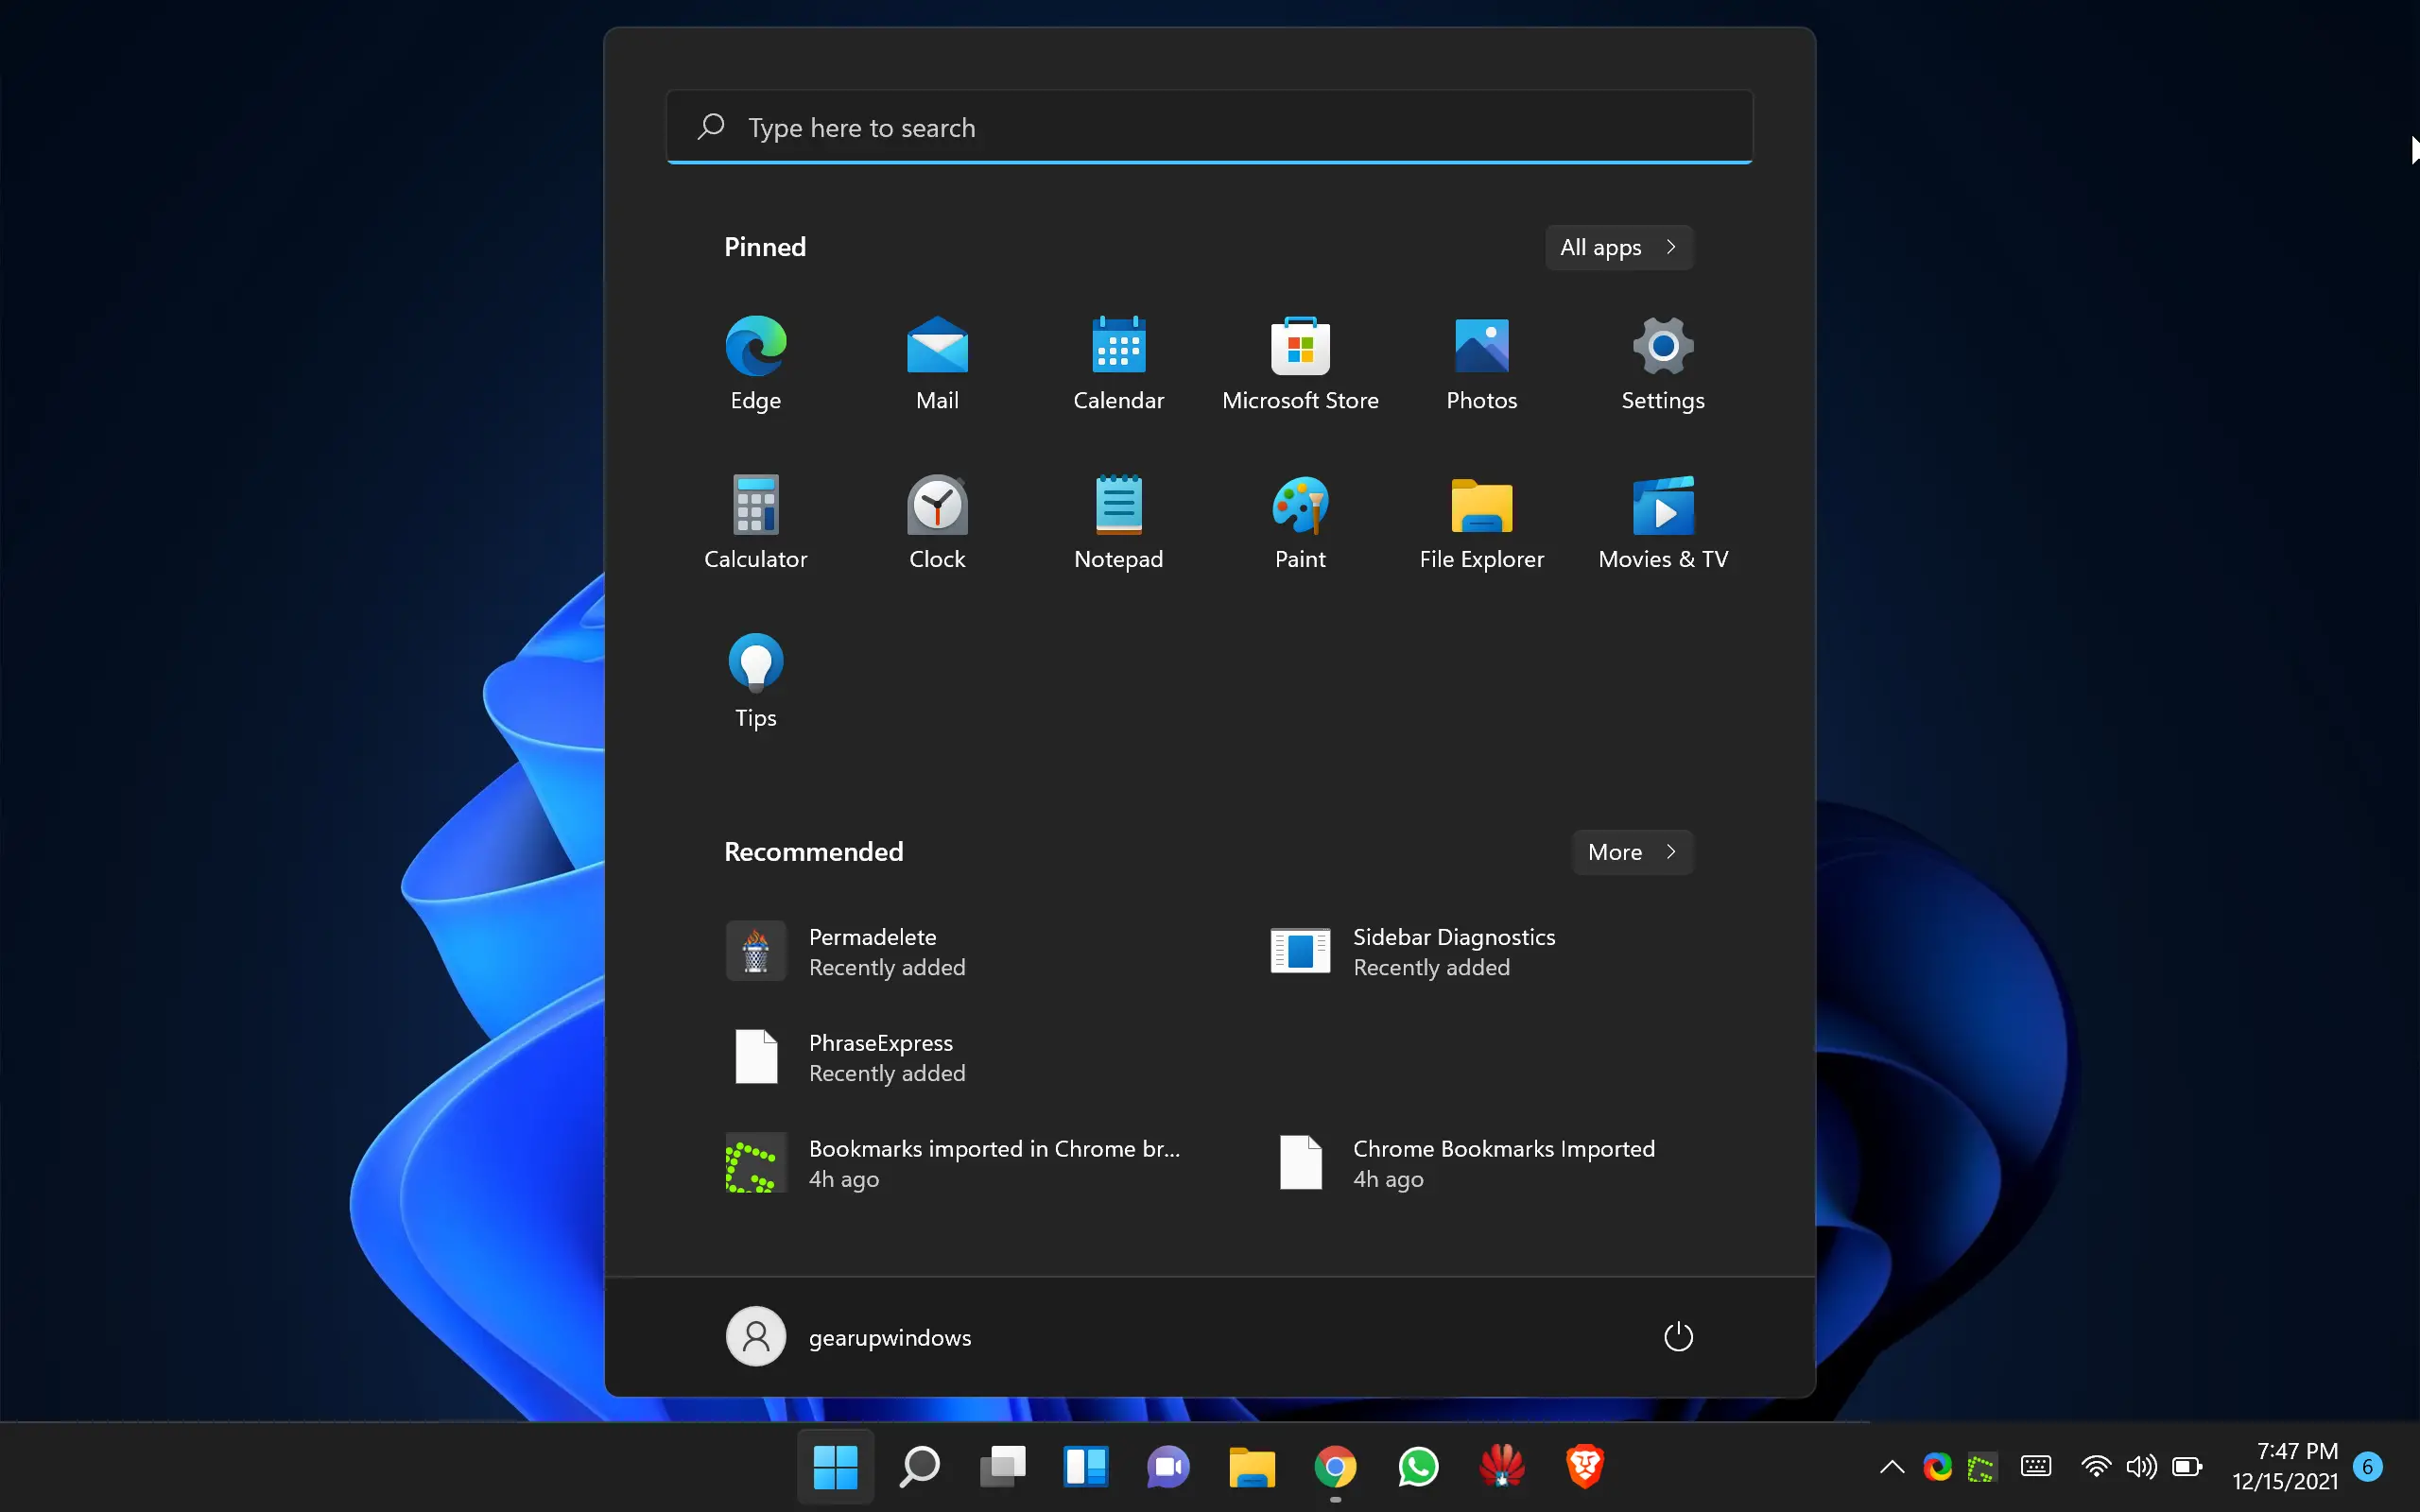
Windows 11 Start menu not working; how to fix it?
If your Windows 11 Start menu is not working, here are some troubleshooting steps you can try:-
- Restart your computer: Sometimes, a simple restart can fix the issue. Click on the Start button and select “Power” > “Restart.”
- Check for Windows updates: Ensure your computer is up to date with the latest Windows updates. Click on the Start button and select “Settings” > “Windows Update” > “Check for updates.”
- Check for corrupt system files: Open the Command Prompt as an administrator and run the command “sfc /scannow” to check for any corrupt system files. If it finds any issues, it will attempt to repair them.
- Check for corrupt user profile: Sometimes, the issue may be related to a corrupt user profile. Create a new user profile and see if the Start menu works in the new profile. If it does, you may need to fix your original user profile.
- Perform a system restore: If the issue started after you installed new software or made system changes, performing a system restore to a previous point in time may fix the issue.
- Perform a clean install of Windows 11: If all else fails, you may need to perform a clean install of Windows 11 to fix the issue.
These are some of the steps you can take to fix a non-working Start menu in Windows 11.