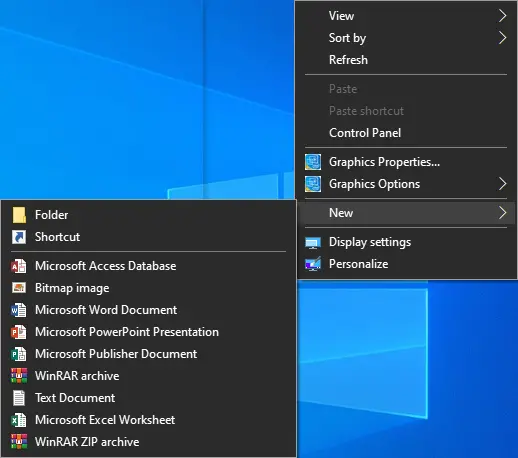
Context Menu is a useful option in Windows operating system and lets you access several favorite applications by simply right-clicking on a free space on the desktop or folder. By performing a right-click, you can arrange desktop icons, increase or decrease icon size, refresh your Windows Desktop, access display settings and so on. Those users who have installed Microsoft Office Program on their PC can quickly create a new Word document, Access database, PowerPoint presentation, and an Excel worksheet. That means several tasks can be performed with the help of right-click Context Menu.
Context Menu Tuner
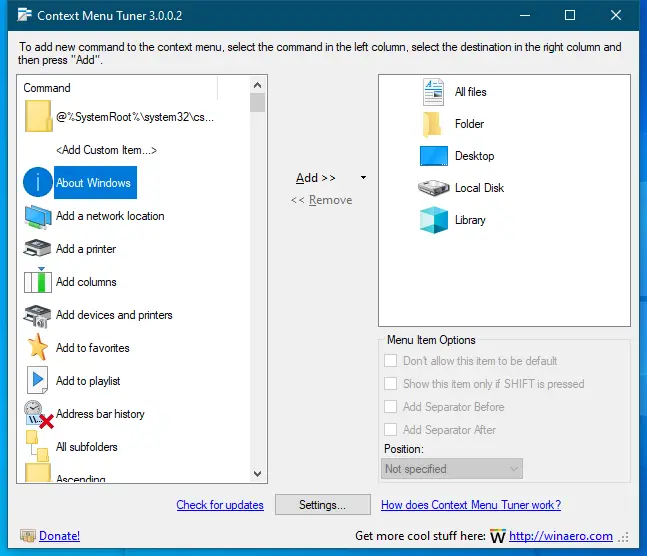
Context Menu Tuner is a free application that allows you to customize Windows 10, Windows 8, and Windows 7 File or Windows Explorer’s context menu. This freeware tool allows you to add any Ribbon command to the context menu of any file, folder, desktop, and even specific file type. You can even include those commands which are not added to the ribbon by default.
The Context Menu Tuner lets you specify the title and icon for the context menu item and add command-line arguments for the application you use. For every menu item, you added you could additionally specify the top or bottom position.

This freeware application allows you to add a separator before or after the context menu item.
Context Menu Tuner is a portable application that means there is no need to install it on your PC. Download, install and run it to change the context menu items. It supports Windows 10, Windows 7, Windows 8, and Windows 8.1, 32-bit, and 64-bit editions.
How to Customize File Explorer’s Context Menu in Windows 10/8/7 using Context Menu Tuner?
Step 1. Download Context Menu Tuner from Winaero.
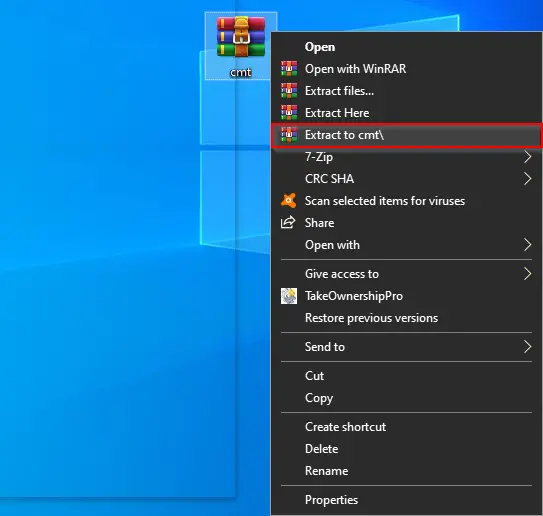
Step 2. Extract it into a folder using WinRAR or any other archiver.
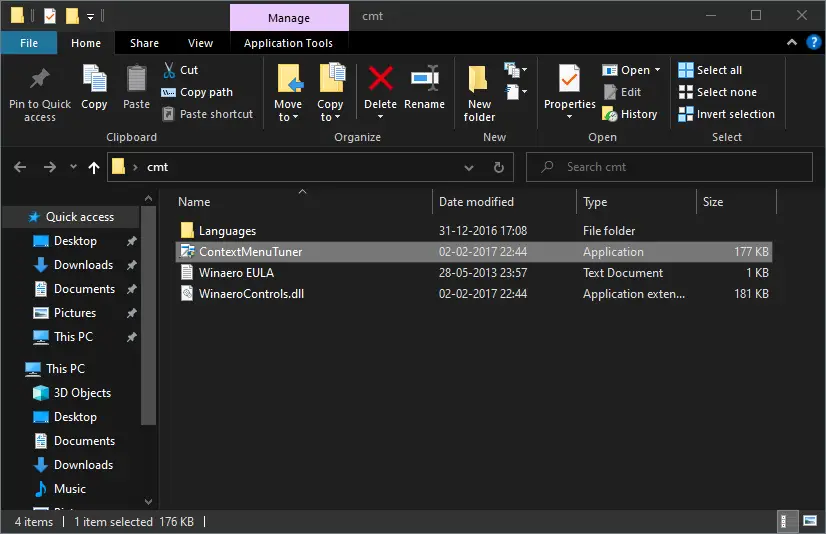
Step 3. Open the extracted folder by double click on it. Now, please double-click on the ContextMenuTuner application to open it.
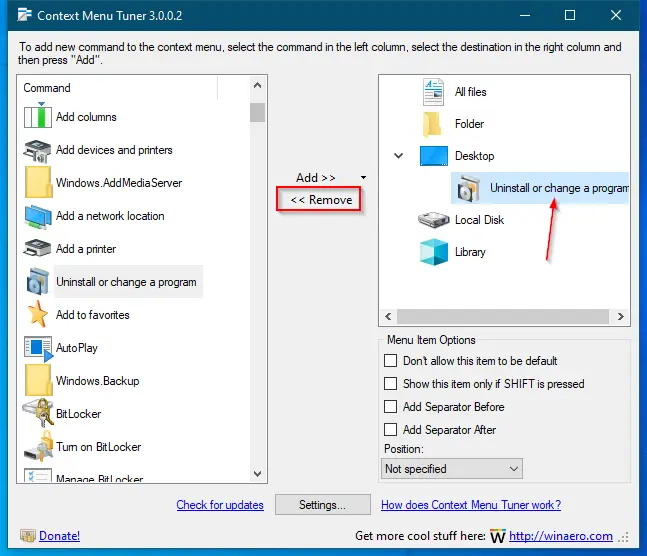
Step 4. From the left side pane of the Context Menu Tuner commands, select any that you want to include in the right-click context menu.
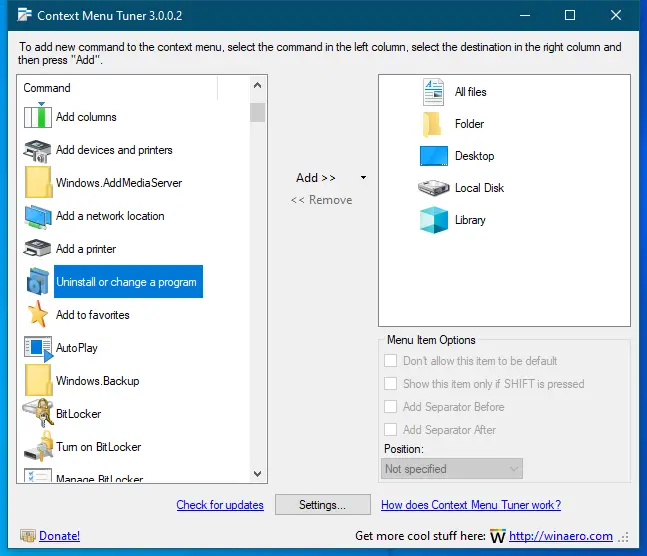
For example, we have selected the “Uninstall or change a program” command, which we prefer to include on the right-click menu of Desktop.
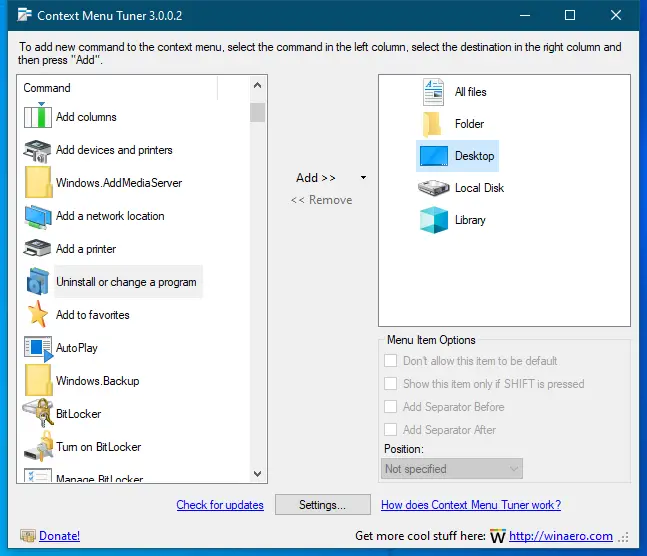
Step 5. Now, select the destination from the right-side pane. You can choose from All files, Folder, Desktop, Local Disk, and Library.
Step 6. Click the Add option at the center of the software.
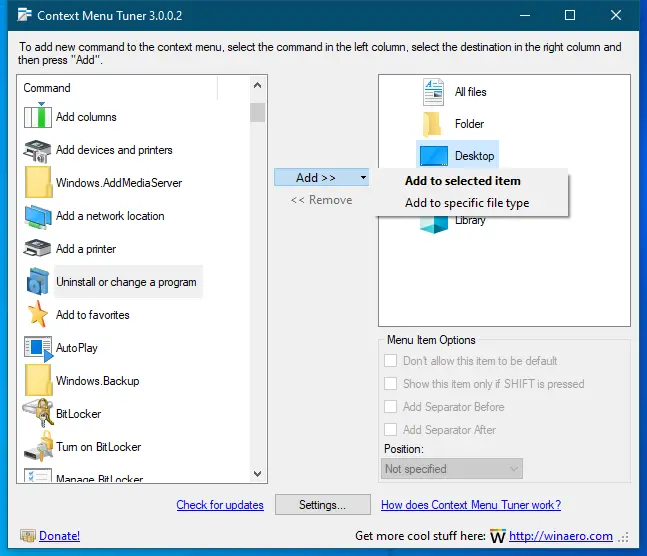
Step 7. Click on the “Add to selected item” option to see the command on the Desktop.
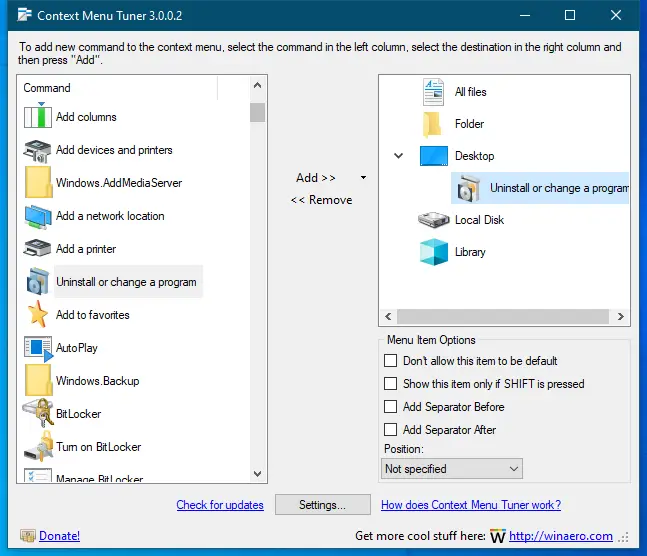
Step 8. If you want further to customize the behavior of newly added menu items, select them on the right-side pane to see the “Menu Item Options” on the right-side bottom.
You can set the following options:-
- Don’t allow this item to be the default
- Show this item only if SHIFT is pressed
- Add Separator Before
- Add Separator After
You can even change the position of the Menu Item from the drop-down menu of Position.
Step 9. If you want to remove or delete any command from the Context Menu, select the command on the right-side pane, and select the Remove option on the application center.
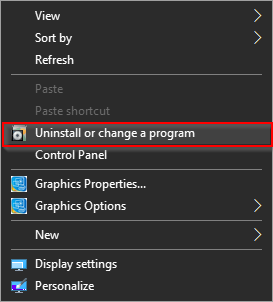
Once you complete the above steps, you should see the selected Command on the destination. For instance, we have added “Uninstall or change program” on the Desktop right-click Context Menu; you can see in the below image, the option has included.
With the help of this free Context Menu Tuner, you can also set your own command for any application. Let me know if you have created your own command or using the built-in commands of Context Menu Tuner on your Windows 10 PC.
