Automatically deleting no longer-needed files is a good practice to keep your computer organized and free up disk space. Over time, files accumulate on your computer, taking up valuable storage space. Some of these files are temporary files, log files, or files left over from software installations, while others may be old backups or outdated documents that you no longer need.
By deleting these unnecessary files, you can free up valuable storage space on your computer and improve its performance. It can also help you stay organized and make it easier to find the files you need. However, manually searching for and deleting these files can be time-consuming and tedious.
By using PowerShell to delete files older than a certain number of days automatically, you can save time and ensure that your computer stays organized and optimized. PowerShell is a command-line tool that allows you to automate tasks in Windows, including file management. By scheduling a PowerShell script to run at regular intervals, you can automate the process of cleaning up old files so you don’t have to remember to do it yourself.
On Windows 11/10, Storage Sense is a feature that automatically frees up space when the storage is running low. It works by deleting system files that are no longer needed and moving OneDrive content that has not been used for a while to the cloud. However, this feature has some limitations, as it does not allow you to add different locations to monitor and delete files that have not changed in a specified period.
Fortunately, you can use PowerShell and Task Scheduler to monitor and clean up files from any folder older than a specified number of days. In this gearupwindows guide, we’ll show you how to automatically delete files that haven’t been modified in a month or any number of days you specify on Windows 10 or 11.
How to Automatically Delete Files Older than X Days Using PowerShell on Windows 11 or 10?
Method 1: Delete Files Older Than X Days from PowerShell
To delete older files from a specific location on Windows 11/10, you can use PowerShell. Follow these steps:-
Step 1. Open an elevated PowerShell window.
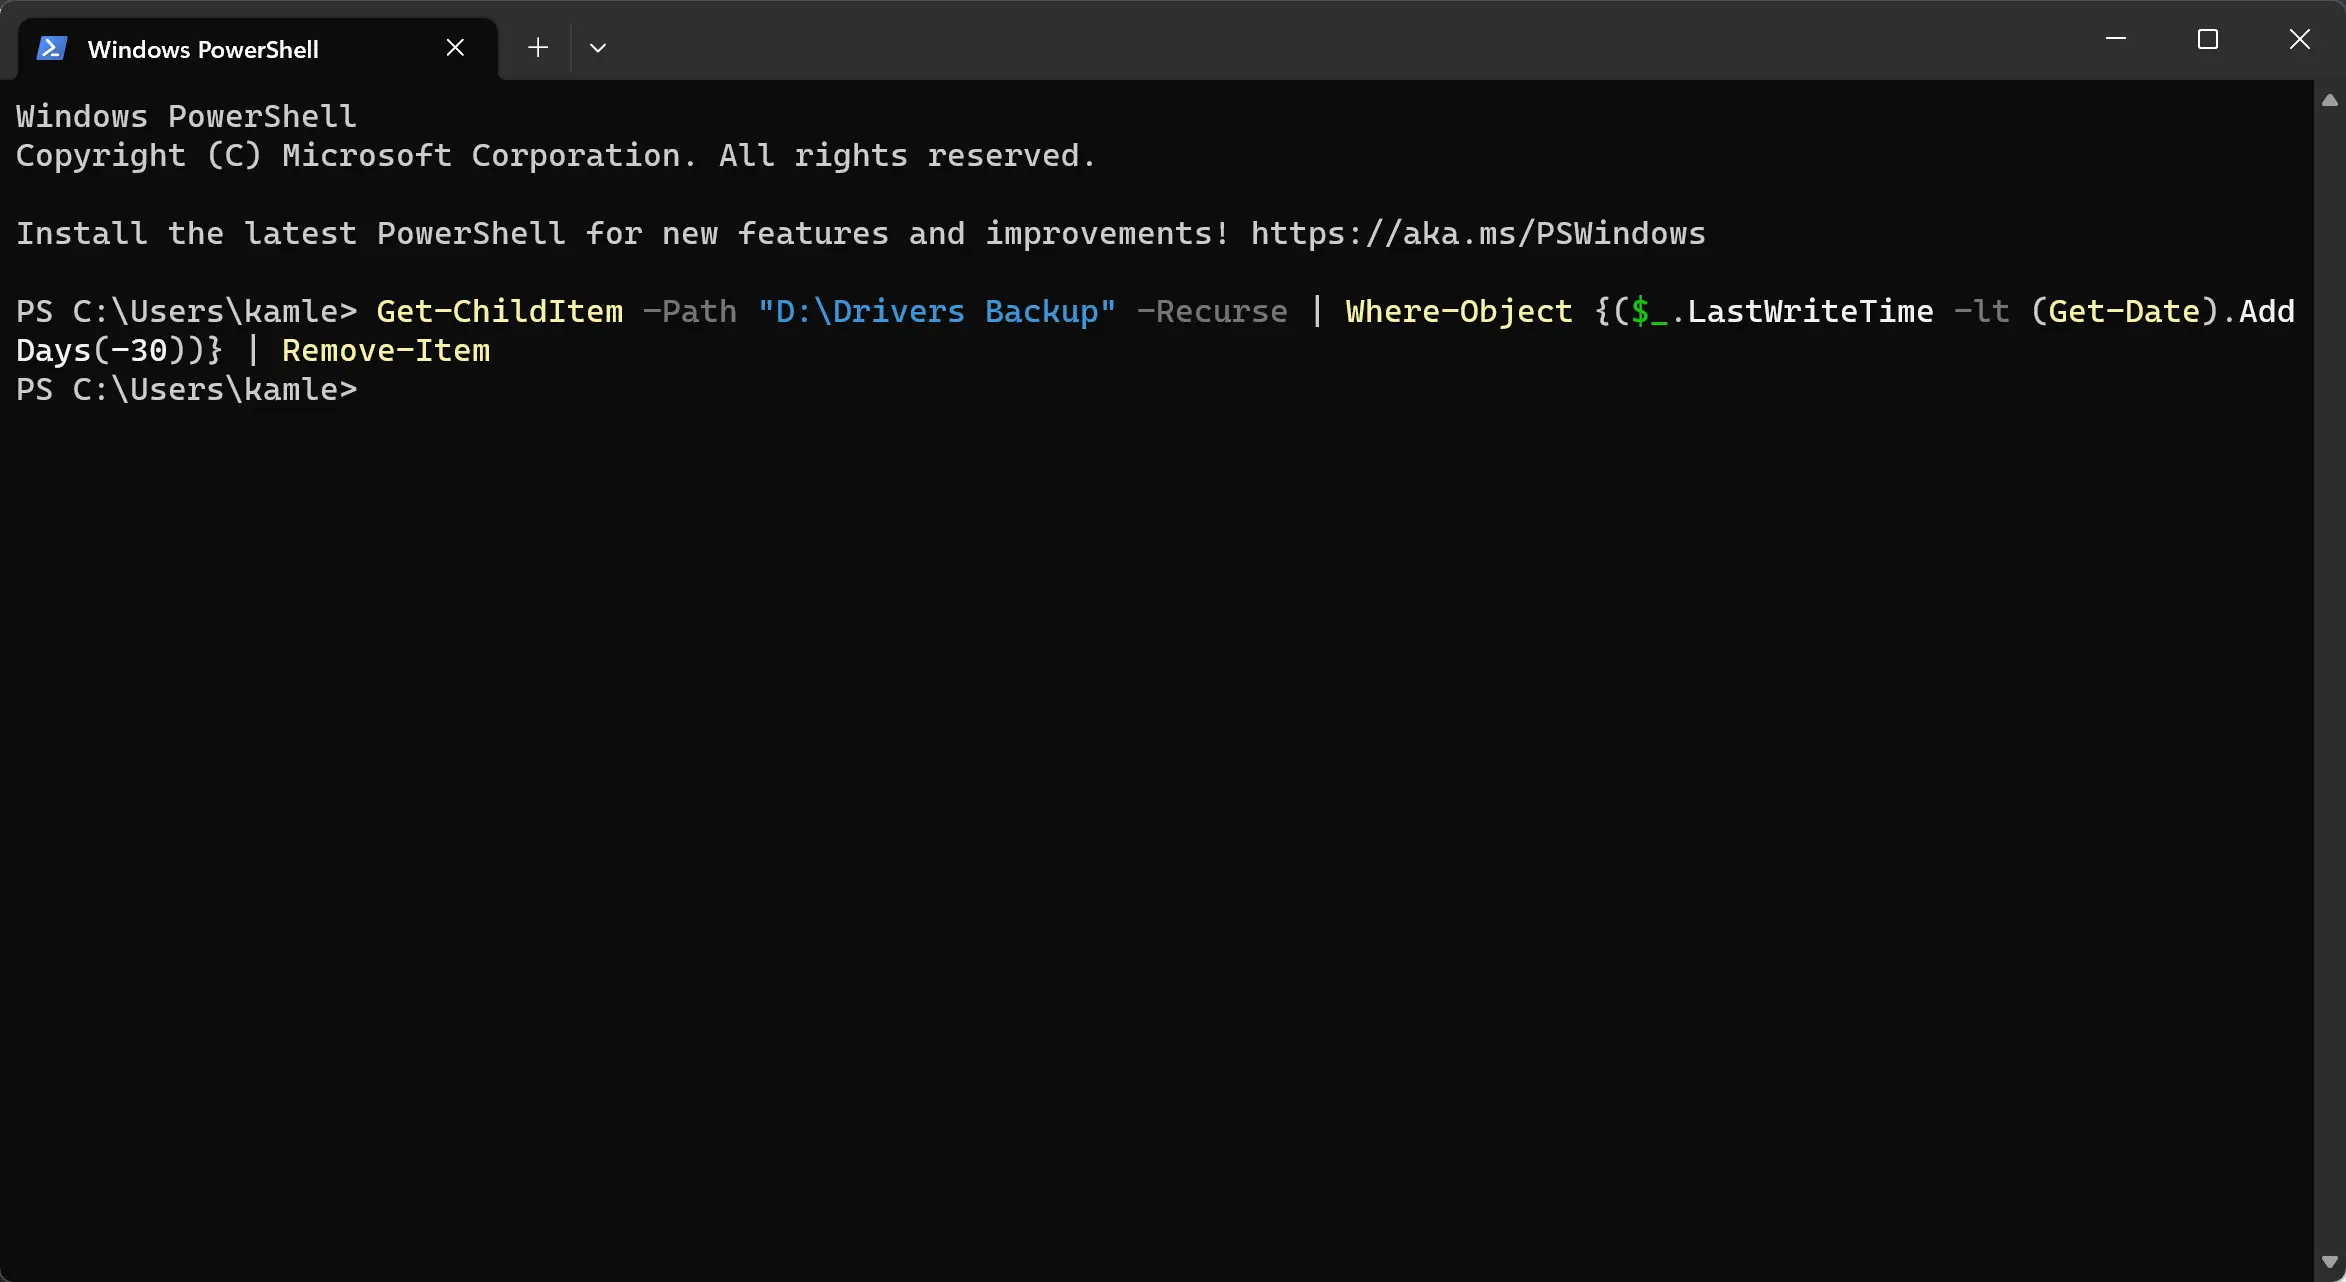
Step 2. Type the following command to delete files that haven’t been modified in the last 30 days, but replace “C:\path\to\folder” with the folder location and change “-30” for the age of the file since the last modification.
Get-ChildItem –Path "C:\path\to\folder" -Recurse | Where-Object {($_.LastWriteTime -lt (Get-Date).AddDays(-30))} | Remove-Item
Method 2: Automatically Delete Files Older Than X Days from Task Scheduler
While the above method works, you must open PowerShell and execute the command manually whenever you want to free up space. You can automate the process by creating a script and running it on a specific schedule using Task Scheduler.
Step 1. Open Notepad by searching for it in the Start menu.
Step 2. Copy and paste the following command into a new text file, but replace “C:\path\to\folder” with the folder location and “-30” for the age of the file since the last modification.
Get-ChildItem –Path "C:\path\to\folder" -Recurse | Where-Object {($_.LastWriteTime -lt (Get-Date).AddDays(-30))} | Remove-Item
Step 3. Click the File menu and choose the Save As option.
Step 4. Save the file by naming it “cleanup.ps1” with the “.ps1” extension.
Step 5. Now, open the Task Scheduler by searching for it in the Start menu.
Step 6. Right-click on the “Task Scheduler Library” folder, select the New Folder option, and give it a name.
Step 7. Right-click on the folder and select the Create Task option.
Step 8. In the “General” tab, under the “Security options” section, select the “Run whether user is logged on or not” option, and clear the “Do not store password” option.
Step 9. In the “Triggers” tab, click the New button, and specify when to run the task (One time, Daily, Weekly, Monthly), along with the Start settings on the right side. Then, click the OK button.
Step 10. In the “Actions” tab, click the New button, select the “Start a program” option, and type “powershell.exe” in the “Program/script” setting.
Step 11. In the “Add arguments” setting, type the following command, replacing “C:\path\to\cleanup.ps1” with the PowerShell script location you created earlier.
-ExecutionPolicy Bypass C:\path\to\cleanup.ps1
Step 12. Click the OK button.
Step 13. Click the Settings tab and check the following options: “Allow task to be run on demand,” “Run task as soon as possible after a scheduled start is missed,” and “If the task fails, restart every.”
Step 14. Click the OK button.
That’s it!