Do you know where Windows temporarily downloads the Windows update files? For your information only, by default, Windows Updates are downloaded to the “C:\Windows\SoftwareDistribution” folder. If you have installed Windows 11 on another drive than the “C” drive, then Windows updates will be downloaded to that drive in a similar folder such as “D:\Windows\SoftwareDistribution.”
Now, suppose you have installed Windows 11 on the “C” drive, and it is running low on storage space. In this condition, you have two options: either increase the “C” drive size or change the Windows updates folder location to another drive where sufficient free space is available. By doing this, your Windows updates will not hamper, and your computer will be secure.
A computer expert will always suggest you keep your Windows PC updated because an update may equip you with new features and several bug fixes. If you keep your PC updated, it will also help you to secure your account while browsing online.
If your primary drive is running out of storage, and you want to change or move the Windows updates folder to a new partition, this gearupwindows article will guide you.
How to Change or Move Windows Updates SoftwareDistribution Folder in Windows 11?
If Windows updates are hampered due to low storage, you may consider moving or changing the SoftwareDistribution folder location to the new drive/partition. To that, use the following steps:-
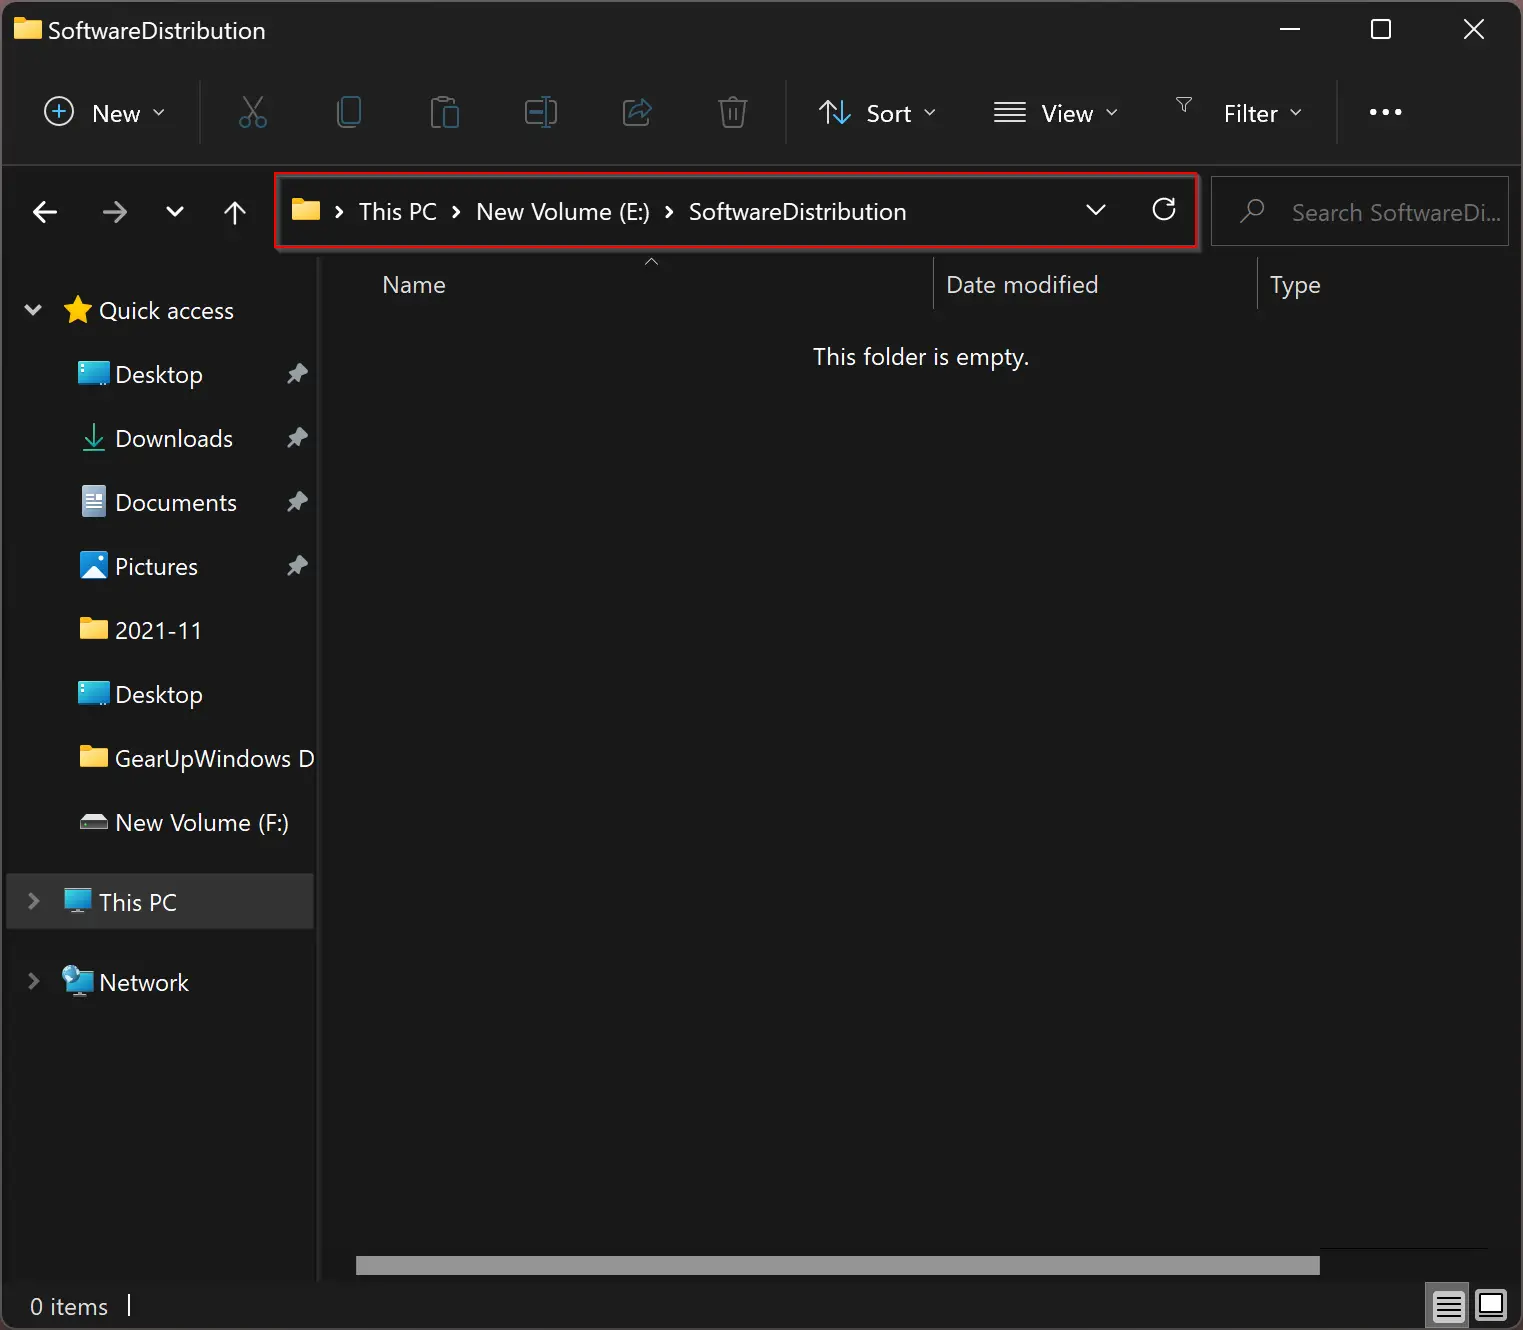
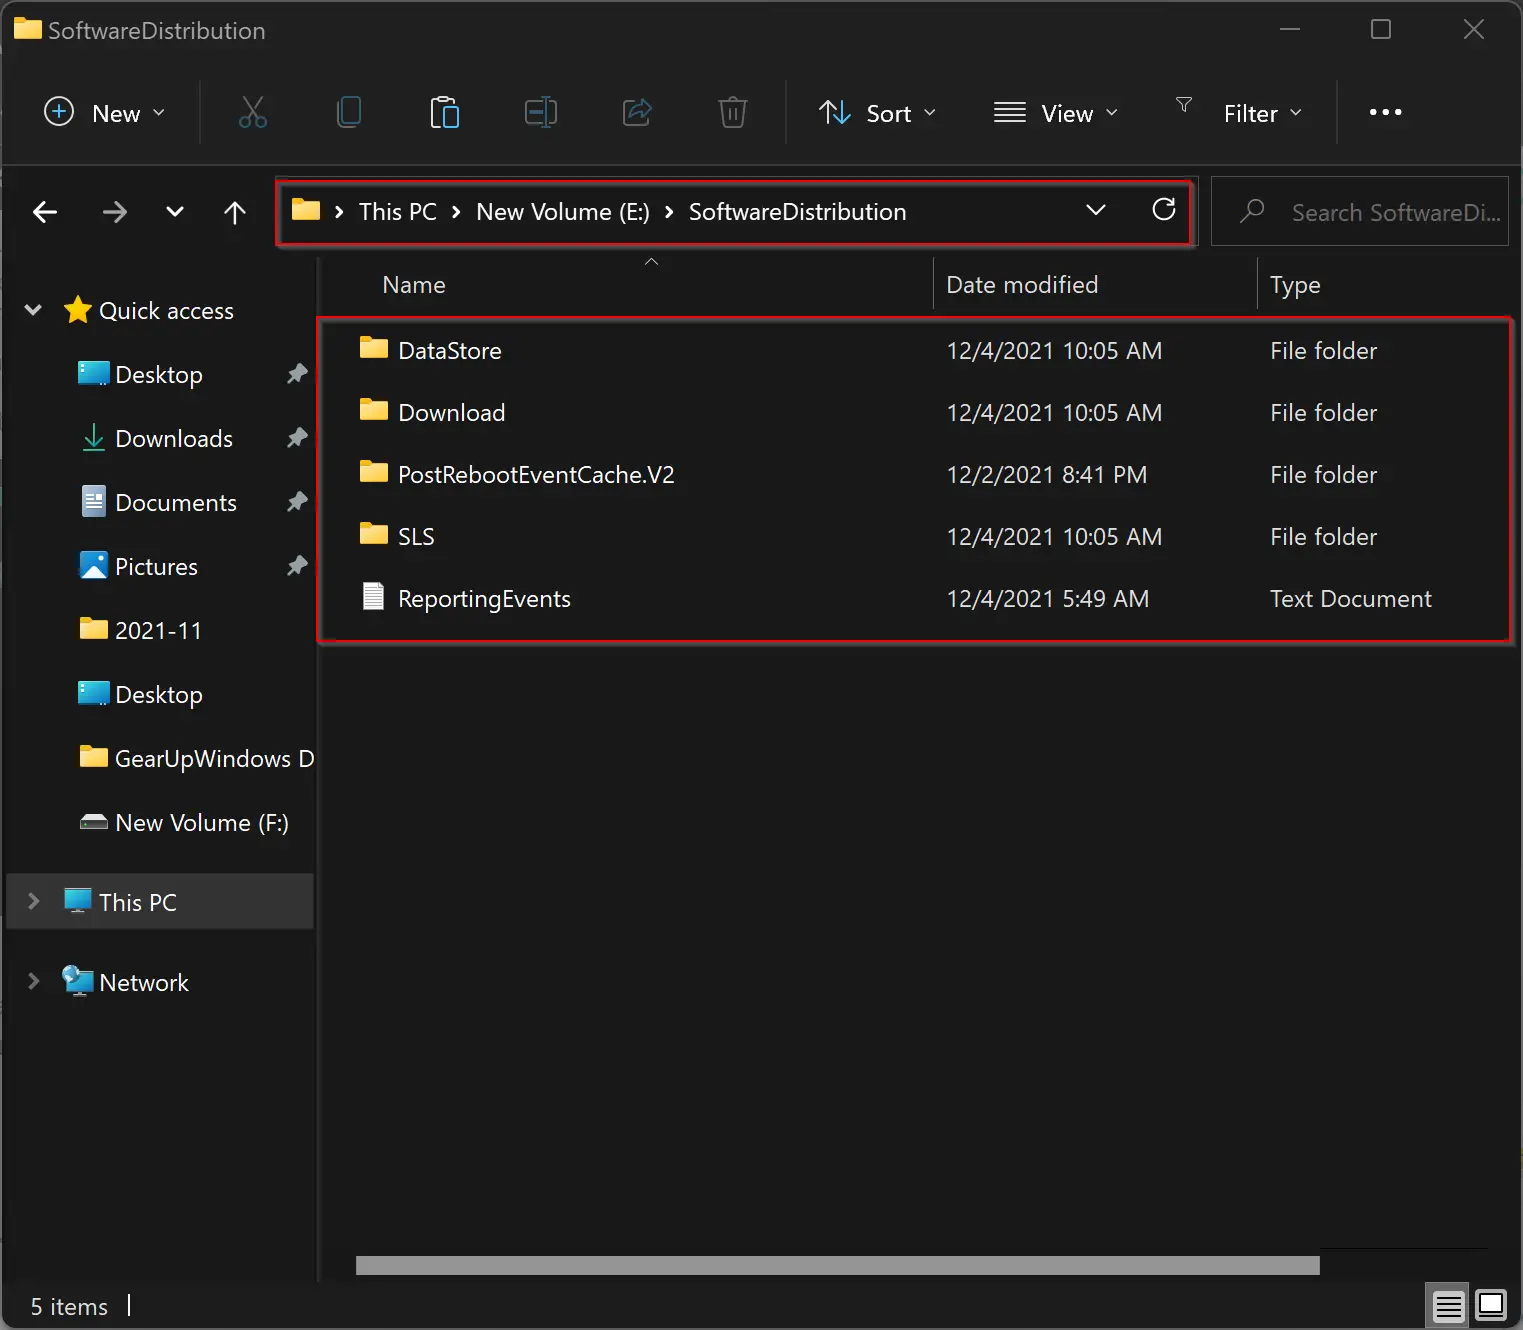
Step 1. First, examine the partition where you want to move the SoftwareDistribution folder. When you decide, create a new folder under that drive. Name the new folder SoftwareDistribution. Suppose the “E” drive has sufficient free space, and you want to use this partition to download Windows updates, then create the SoftwareDistribution folder under the “E” drive. So in my case, my new folder location will be “E:\SoftwareDistribution.”
Step 2. Now that you have created a folder for Windows Updates on a new drive, you need to stop the “Windows Update” service.
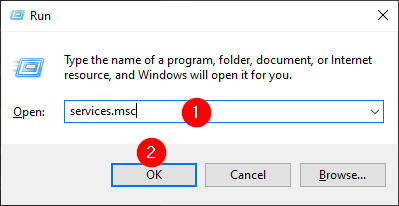
For that, press the Windows + R keys simultaneously on the keyboard to open the Run command box. Then in the “Run” box, type the following and hit Enter on the keyboard to open the Services window:-
services.msc
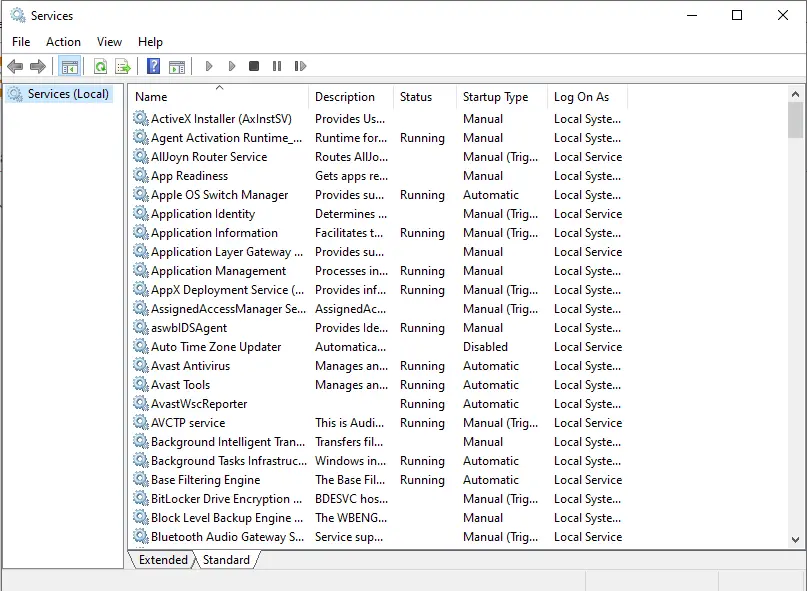
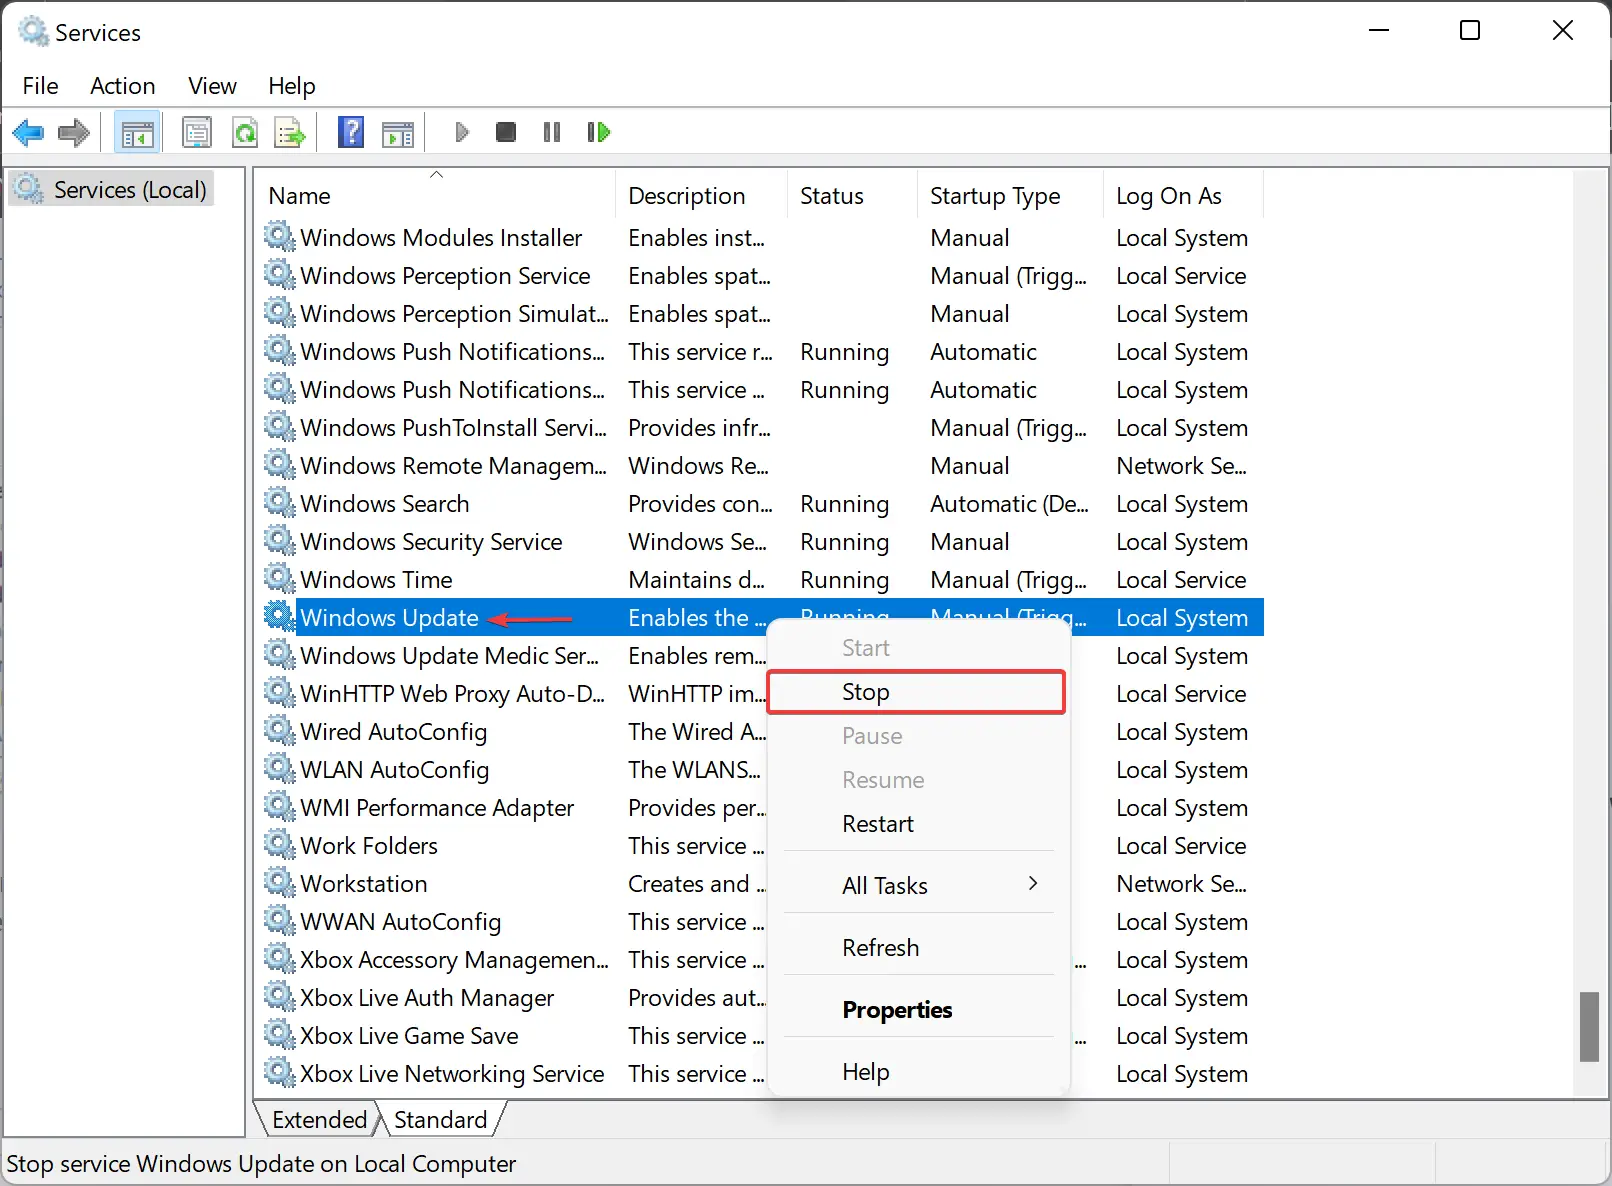
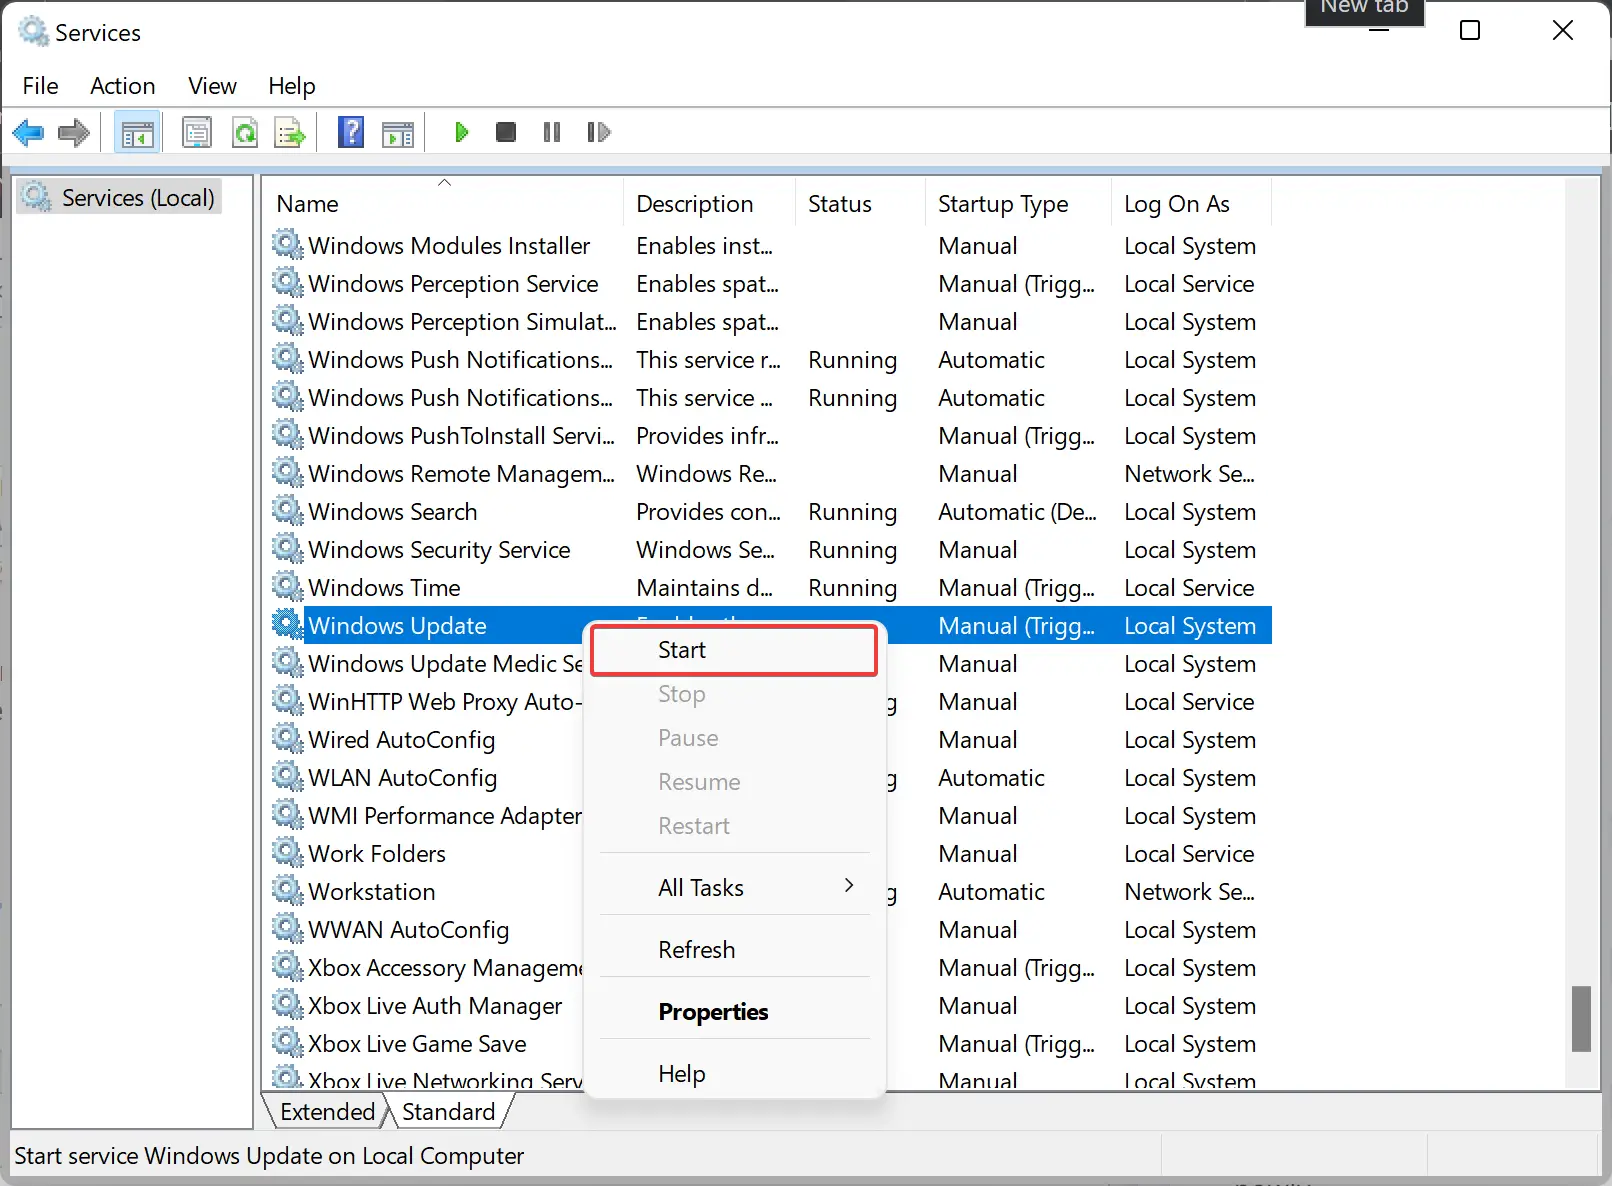
Step 3. After that, scroll down in the services list and locate the Windows Update service. Next, right-click on the “Windows Update” service and select the Stop option.
Step 4. When the “Windows Updates” service stops, rename the SoftwareDistribution folder to SoftwareDistribution.old under the “C:\Windows” directory.
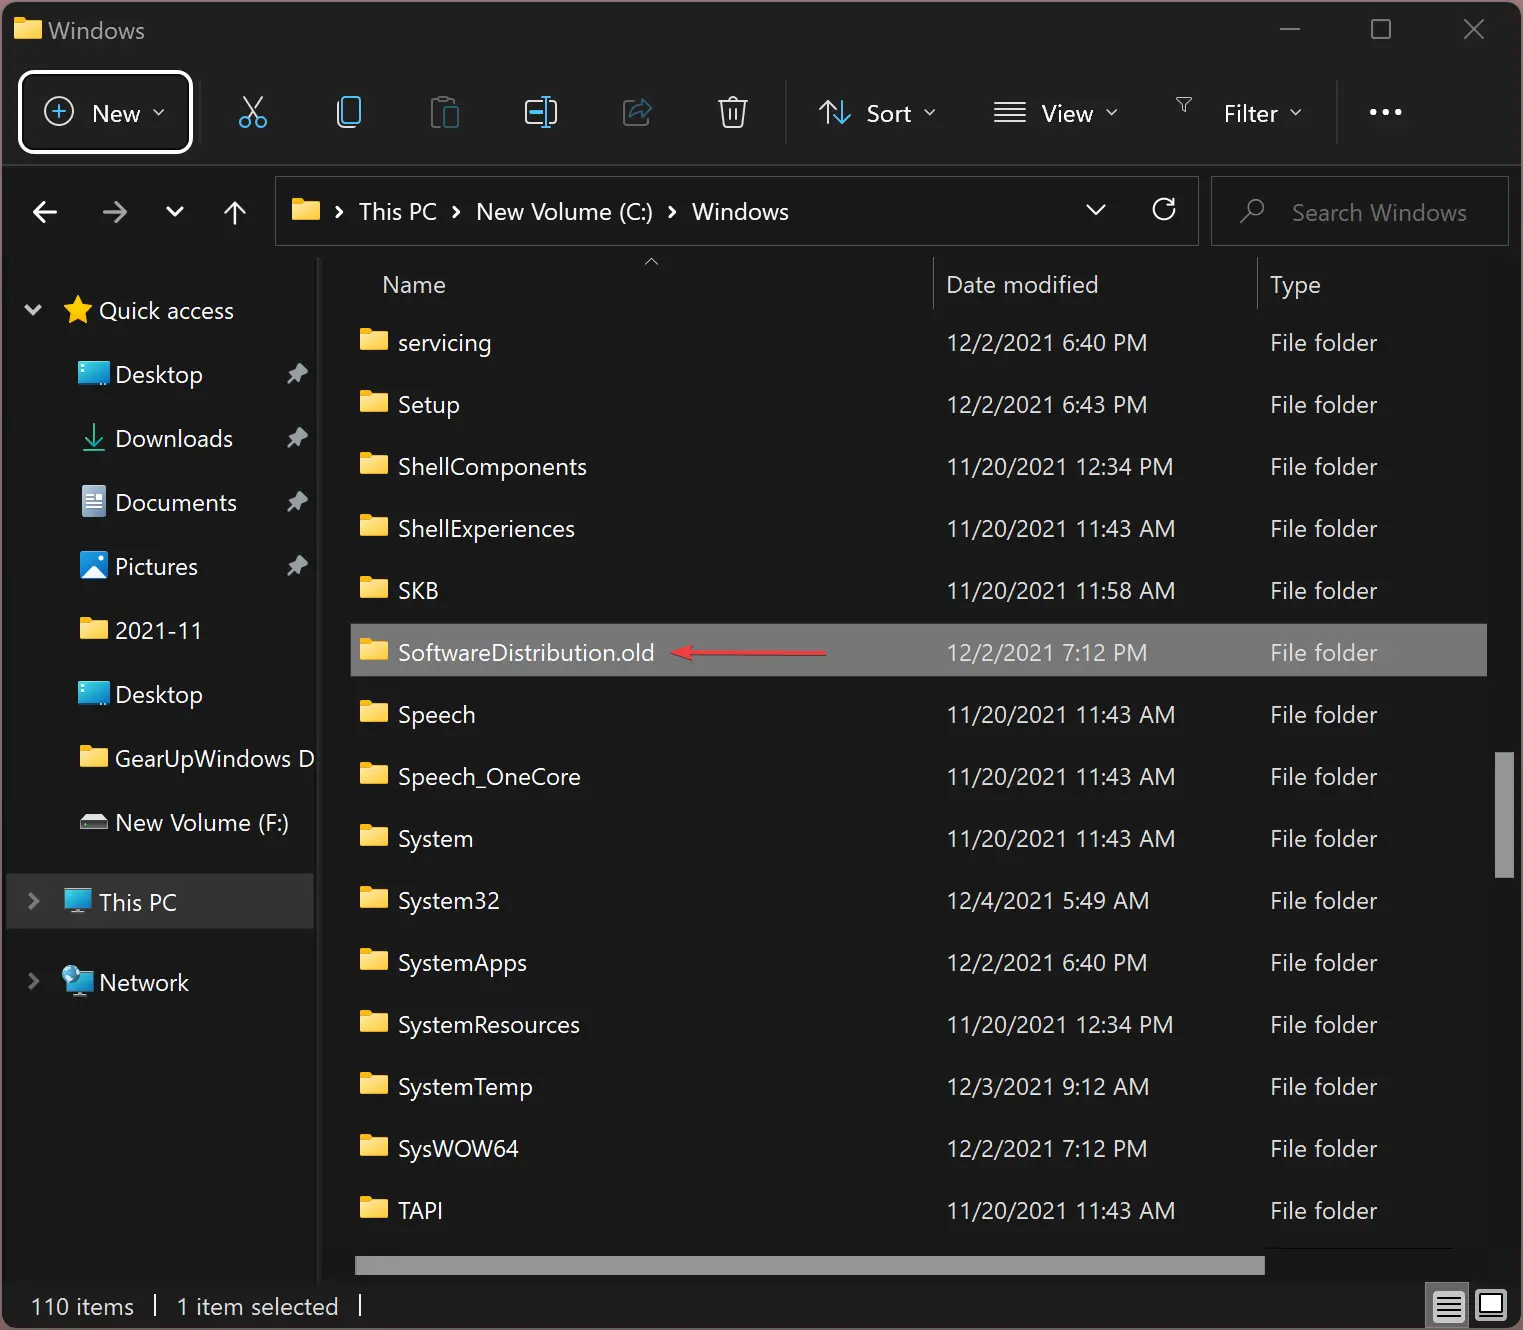
If the UAC dialog box prompts you, click the Yes button to confirm.
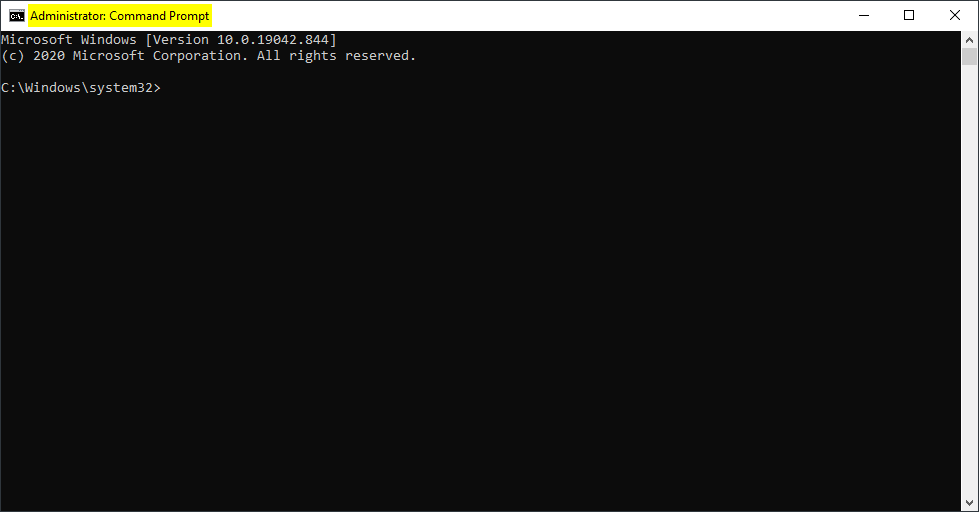
Step 5. Now, open Command Prompt windows with administrative privilege.
To do that, press the Windows + R keys from the keyboard to open the Run dialog box. In the Run box, type cmd and then press Ctrl + Shift + Enter from the keyboard to run the command prompt as an administrator.
Step 6. After that, on the Command Prompt console, type the following command and hit Enter button on the keyboard:-
mklink /j C:\Windows\SoftwareDistribution E:\SoftwareDistribution
Please note that you need to replace the “C:\windows\SoftwareDistribution” and “E:\SoftwareDistribution” paths in the above command line if it is different on your PC.
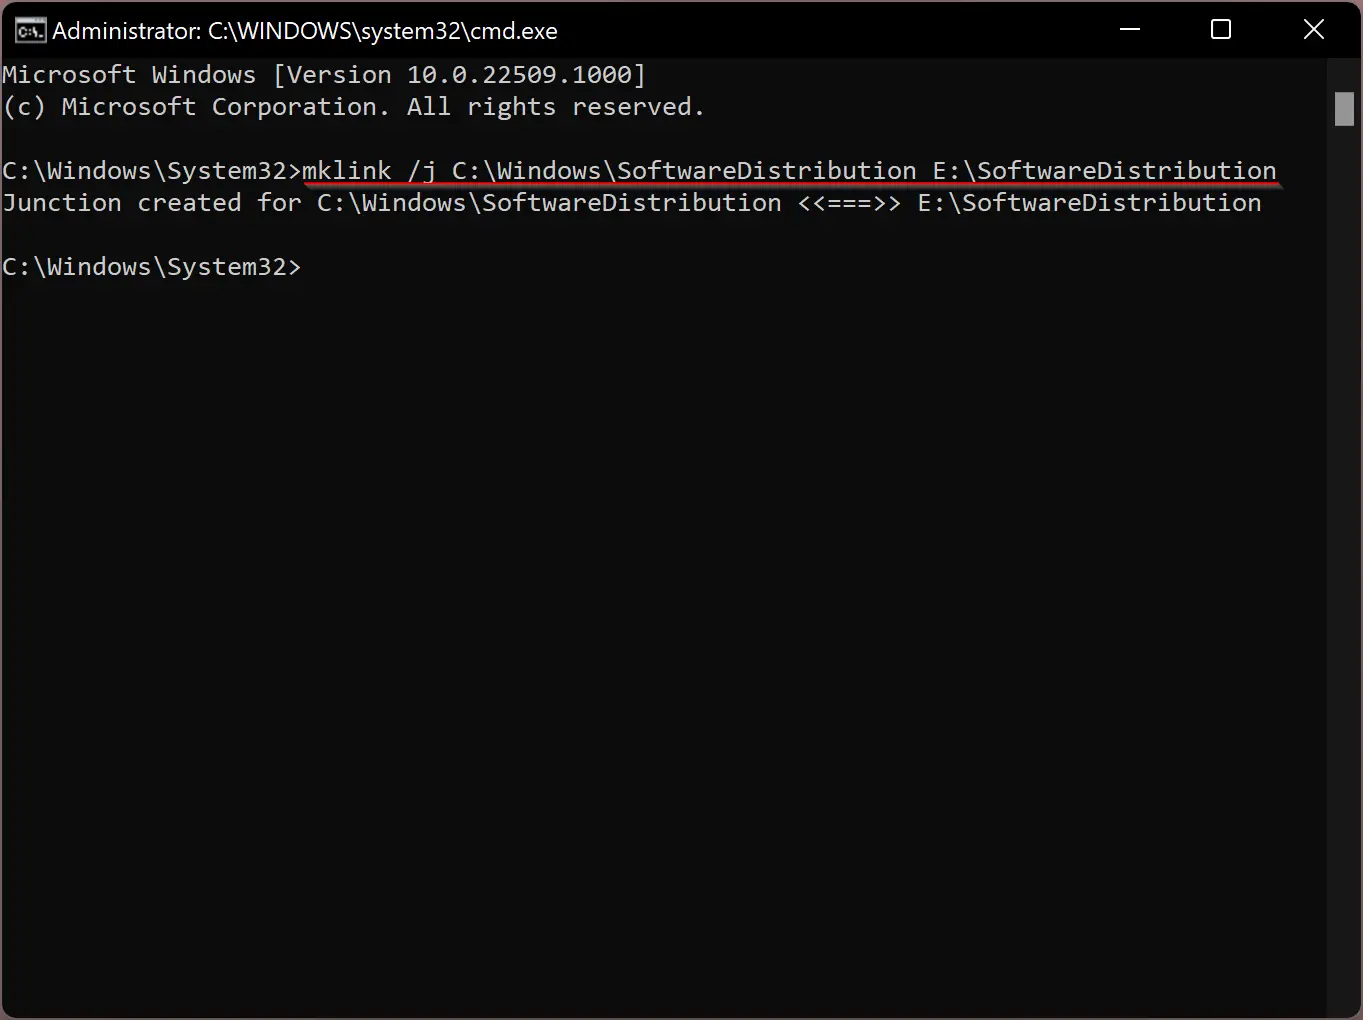
Once you execute the above command, you should get a message something like “Junction created for C:\Windows\SoftwareDistribution <<===>> E:\SoftwareDistribution.”
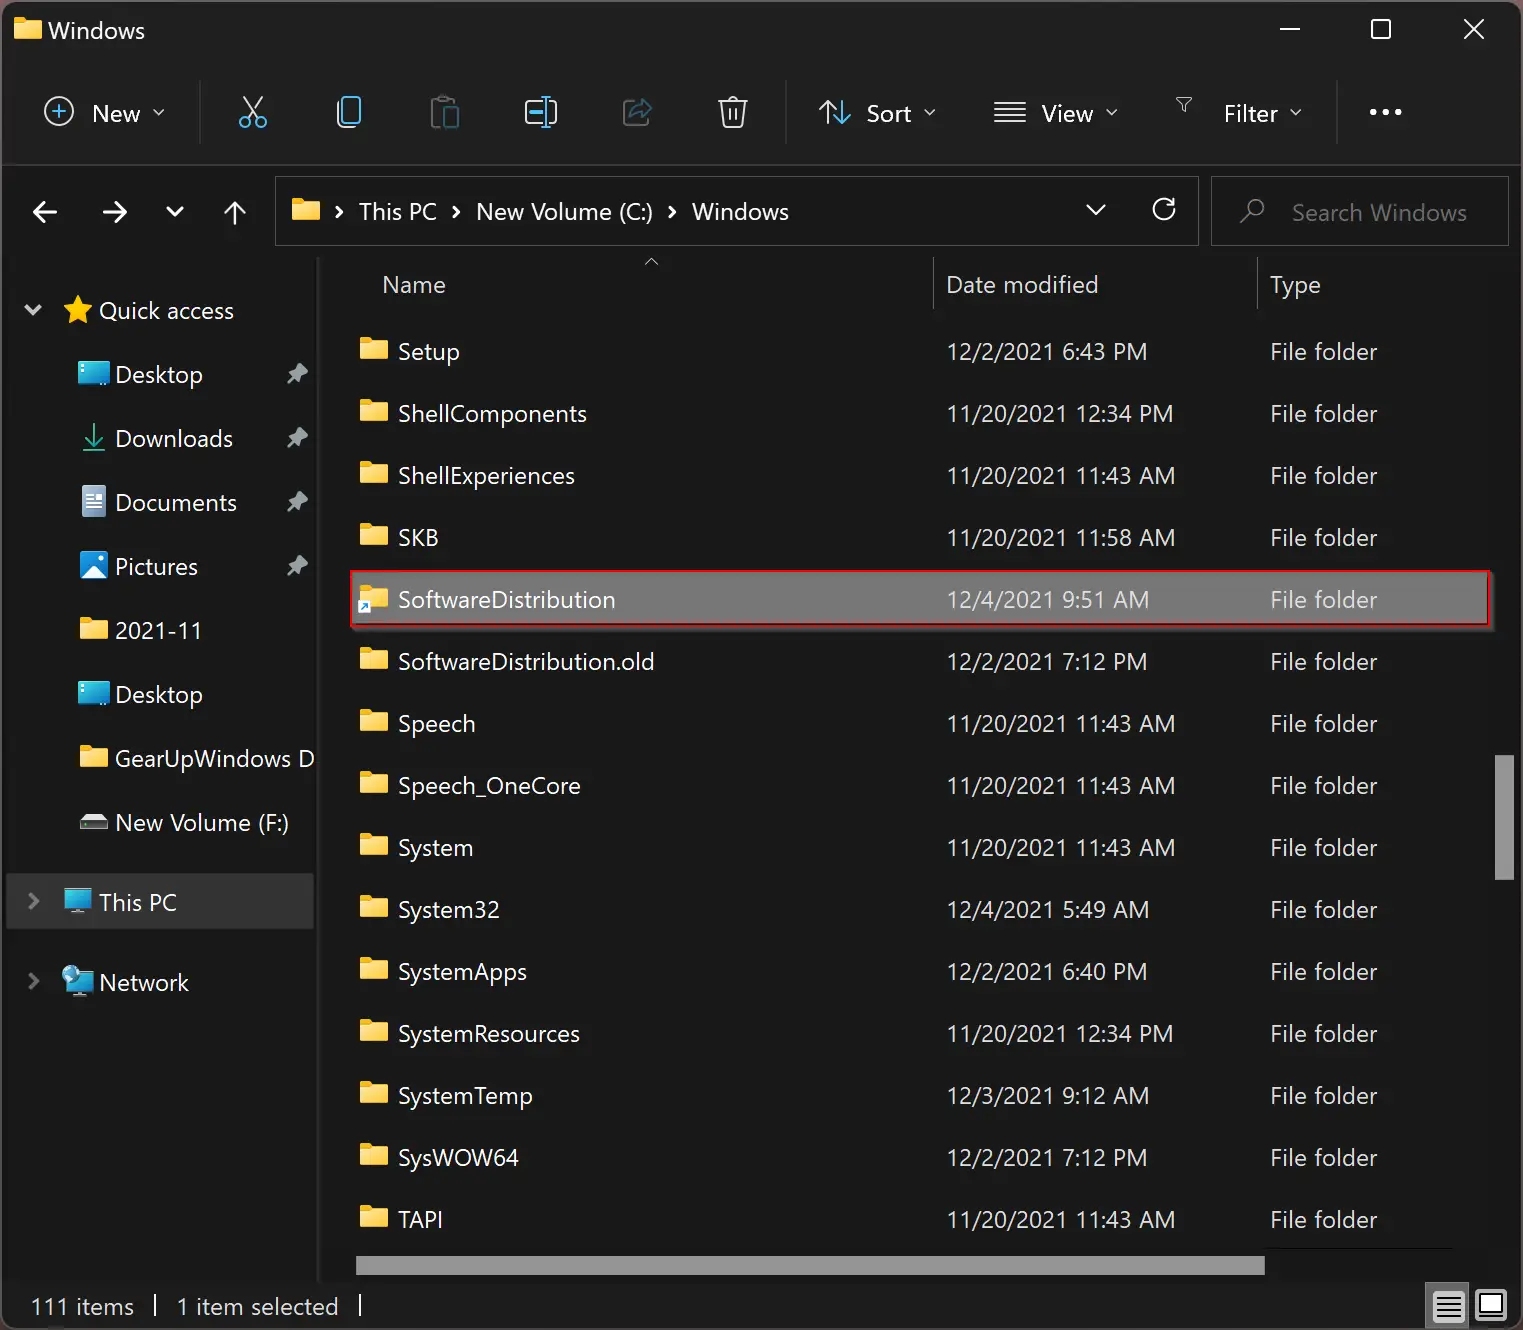
If everything goes fine, you will see a new “SoftwareDistribution” folder with a shortcut icon added to the “C:\Windows” folder with a symlink icon on the folder.
Step 7. Next, if you don’t want Windows Updates to download all previously downloaded updates again, you can copy the content from the “C:\Windows\SoftwareDistribution.old” folder into the newly created SoftwareDistribution folder.
Step 8. Now everything is done. You need to start the “Windows Updates” service that you stopped before.
For that, press the Windows + R keys simultaneously on the keyboard to open the Run command box. Then in the “Run” box, type the following and hit Enter on the keyboard to open the Services window:-
services.msc
Step 9. After that, scroll down in the services list and locate the Windows Update service. Next, right-click on the “Windows Update” service and select the Start option.
Step 10. When the “Windows Updates” service starts, if an update is available, you will notice that new Windows Updates files and folders are being downloaded to your specified folder.
Conclusion
In conclusion, it is crucial to keep your Windows PC updated to benefit from new features and bug fixes and maintain its security. However, if you encounter low storage space issues on the primary drive, you can change or move the Windows Updates SoftwareDistribution folder to another partition or drive. This article has outlined the steps to accomplish this task, which involves creating a new SoftwareDistribution folder on the desired drive, stopping the Windows Update service, renaming the old SoftwareDistribution folder, creating a junction between the new and old folders using Command Prompt, copying the content from the old folder to the new one, and finally starting the Windows Update service. By following these steps, you can continue to update your Windows PC without worrying about storage space issues.
Doesn’t work error 0x800700a1 failed download… and can’t install manualy some updates