PowerShell is a powerful scripting language designed by Microsoft for system administrators and developers. It is integrated into the Windows operating system and can be used to automate tasks and manage systems. However, to run PowerShell scripts, the execution policy must be set appropriately. In this guide, we will explore how to change the PowerShell execution policy in Windows 11.
What is PowerShell Execution Policy?
PowerShell execution policy is a security feature that determines the level of security for running PowerShell scripts. It specifies the rules determining whether a script can run and what kind of scripts can run on a system. There are several execution policy levels available in PowerShell:-
- Restricted: This is the default execution policy that does not allow any scripts to run.
- AllSigned: This policy allows only signed scripts to run. Unsigned scripts will not run even if they are stored locally.
- RemoteSigned: This policy allows signed scripts to run, but requires that remote scripts be signed by a trusted publisher.
- Unrestricted: This policy allows any script to run, regardless of where it came from or who created it. This is not recommended for security reasons.
- Bypass: This policy allows any script to run and skips all security checks. This is not recommended for security reasons.
How to Change PowerShell Execution Policy in Windows 11?
To change the PowerShell execution policy in Windows 11, follow these steps:-
Step 1. First, open PowerShell as an Administrator.
Step 2. Then, check the Current Execution Policy.
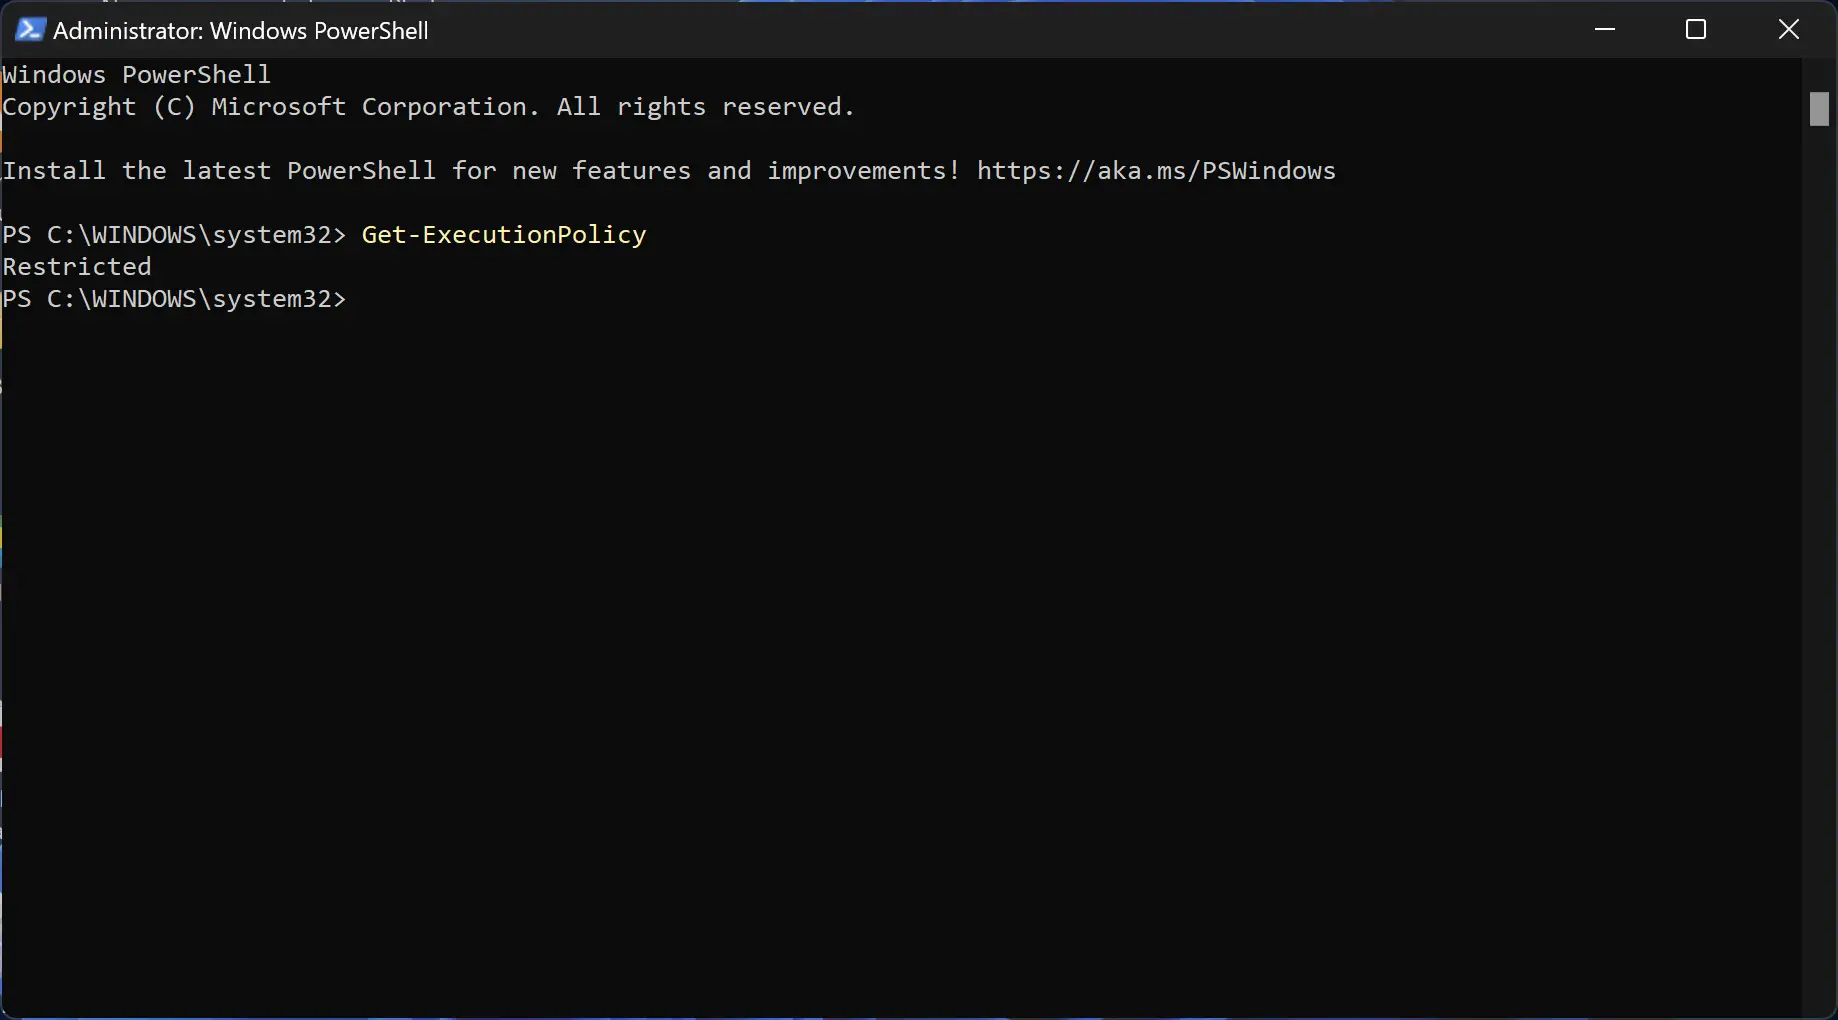
Before changing the execution policy, it is essential to know the current policy. To check the current execution policy, enter the following command in PowerShell:-
Get-ExecutionPolicy
This will display the current execution policy for the system.
Step 3. Now, set the New Execution Policy.
To set a new execution policy, enter the following command in PowerShell:-
Set-ExecutionPolicy <policy>
Replace <policy> with the desired execution policy. For example, to set the execution policy to RemoteSigned, enter the following command:-
Set-ExecutionPolicy RemoteSigned
You will be prompted to confirm the change. Type Y and press Enter to confirm.
Step 4. Now, verify the New Execution Policy.
To verify that the new execution policy has been set, enter the following command in PowerShell:-
Get-ExecutionPolicy
This will display the new execution policy for the system.
Step 5. Run PowerShell Scripts.
Now that the execution policy has been set, you can run PowerShell scripts on your system. If you have previously encountered an error message when running a PowerShell script, try running it again to see if the new execution policy resolves the issue.
Additional Tips
To change the execution policy for a specific user, add the -Scope parameter to the Set-ExecutionPolicy command, followed by CurrentUser. For example, to set the execution policy for the current user to RemoteSigned, enter the following command:-
Set-ExecutionPolicy RemoteSigned -Scope CurrentUser
If you receive an error message when attempting to change the execution policy, it may be because the Group Policy settings on your system are preventing the change. In this case, contact your system administrator to modify the Group Policy settings.
Conclusion
Changing the PowerShell execution policy in Windows 11 is a straightforward process that can help you automate tasks and manage systems more efficiently. By default, Windows 11 has a restricted execution policy that does not allow any scripts to run. However, following the steps outlined in this guide, you can change the execution policy to allow signed and/or remote scripts to run on your system. Be sure to verify the new execution policy before running any PowerShell scripts.