System Restore is an essential feature in Windows 11 that allows you to undo changes and restore your computer to a previous state if something goes wrong. It can be a lifesaver when dealing with software conflicts, driver issues, or system crashes. In this user-friendly guide, we will explore 11 easy methods to open System Restore on your Windows 11 PC, ensuring you have the knowledge to troubleshoot and restore your system effortlessly.
How to Open System Restore on Windows 11?
1. Using the Start Menu
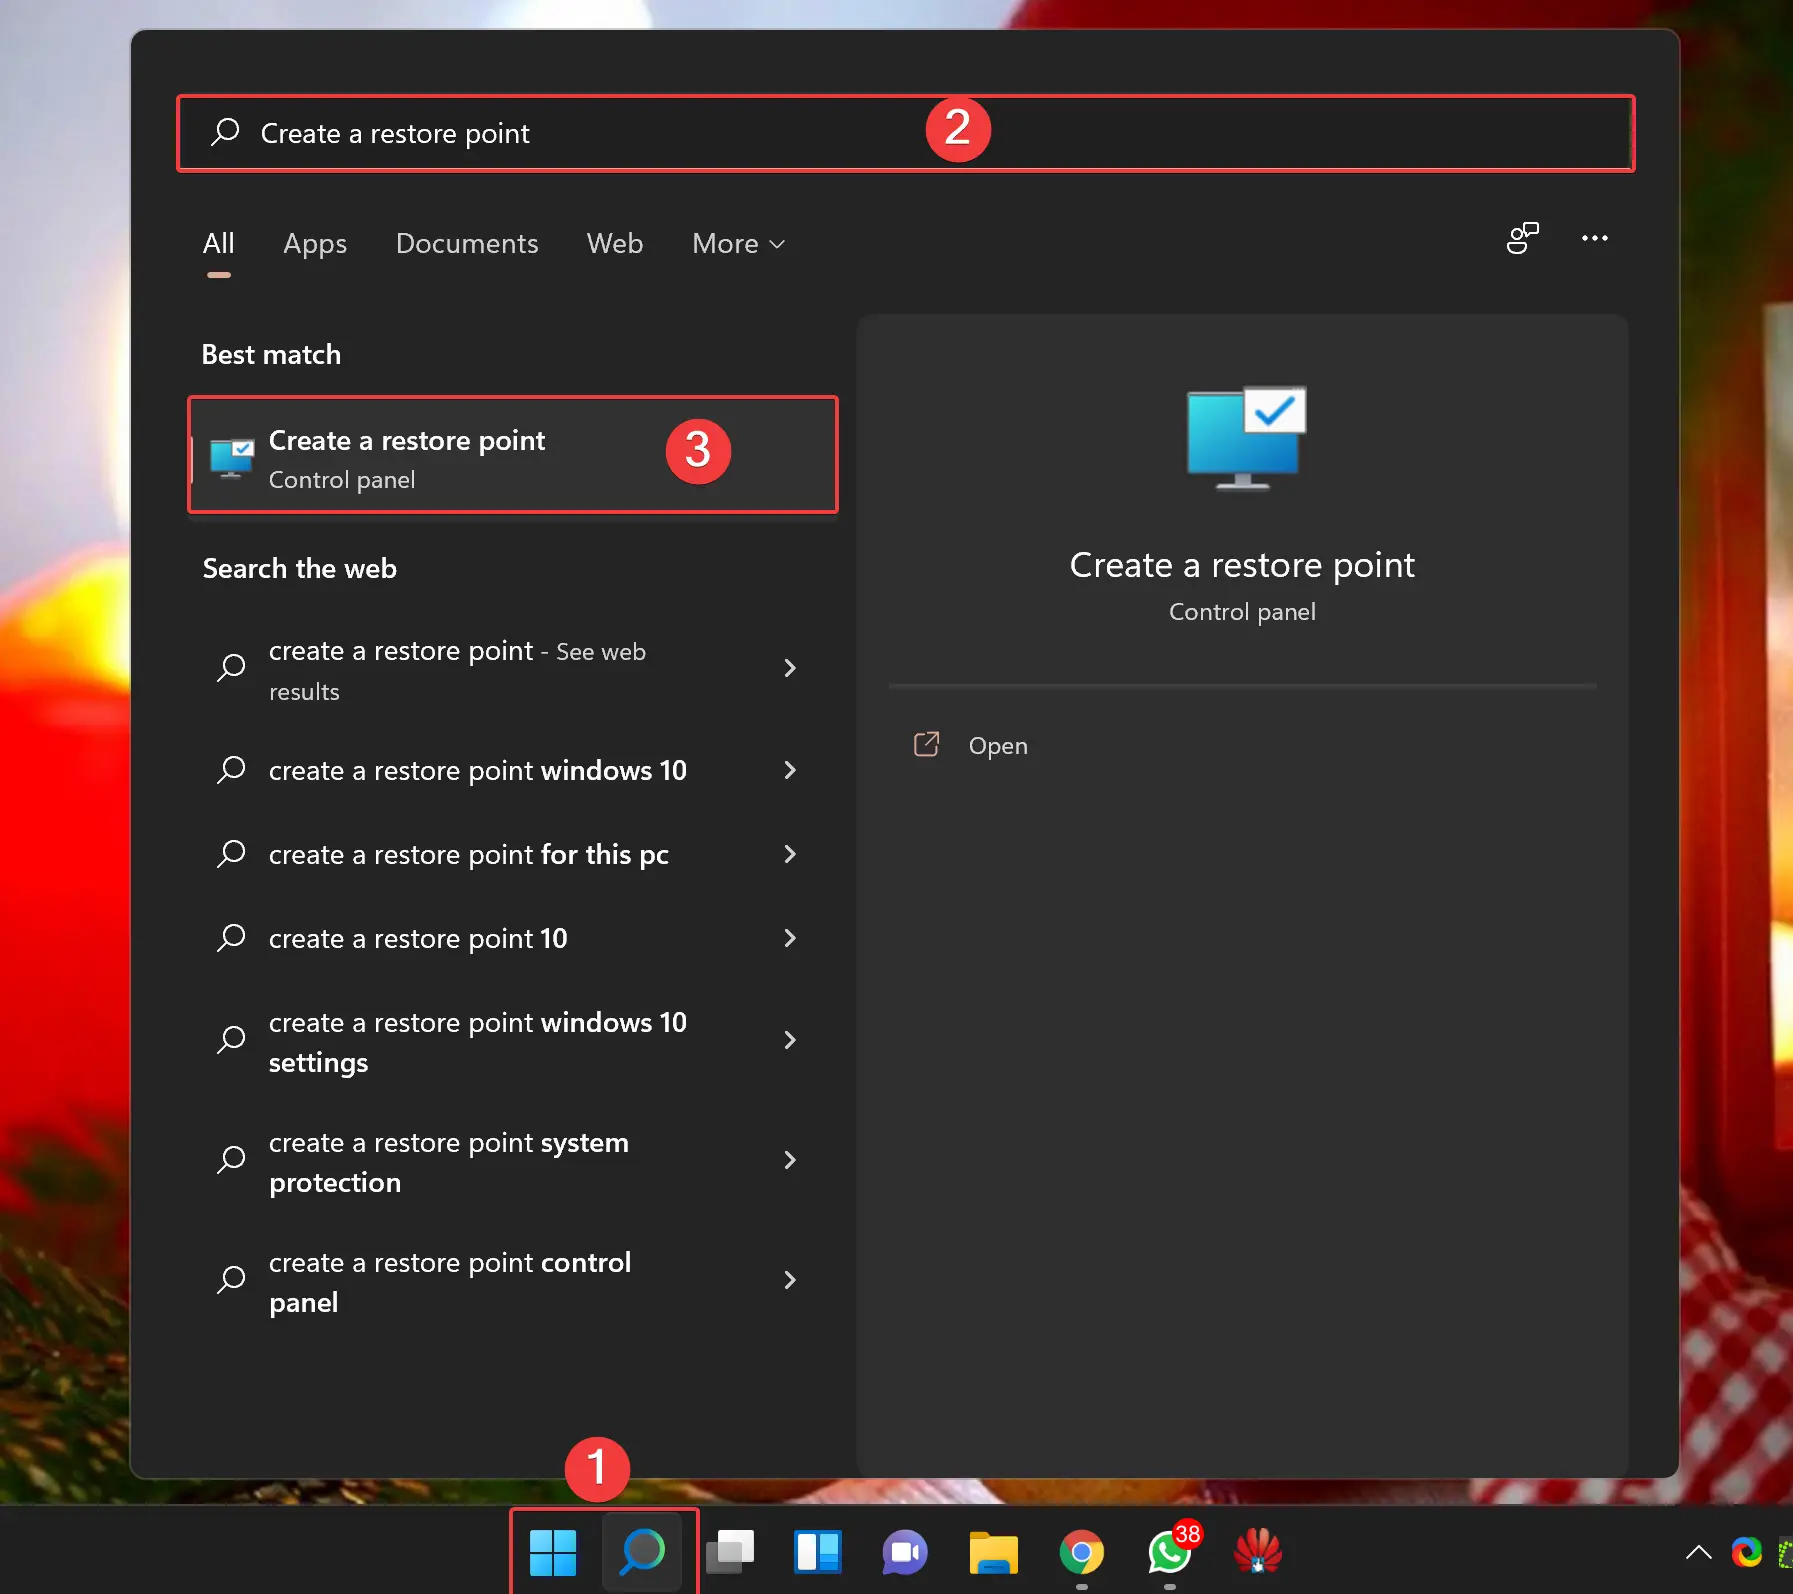
The Start menu is the most accessible way to access System Restore. Simply press the Windows key/button, type “Create a restore point,” and press Enter. Then click on the “Create a restore point” button.
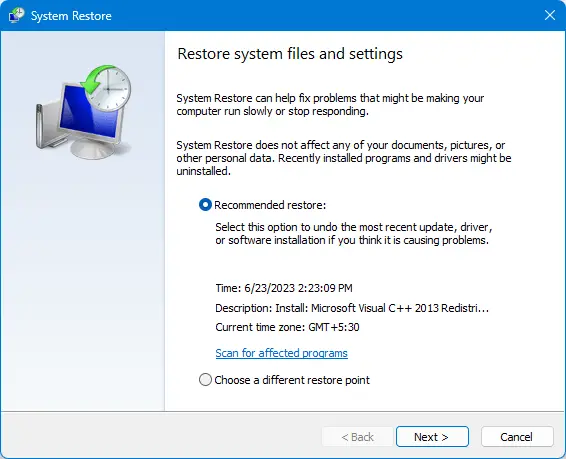
When you’re done, the “System Properties” window will open. Here, click on the “System Restore” button to open System Restore.
2. Through the Control Panel
Navigate to the Control Panel by pressing the Windows key, typing “Control Panel,” and pressing Enter. In the Control Panel search box, type “System Restore.”

In the search results, click on the “Create a restore point” link to open the “System Properties” window.
Clicking on the “System Restore” button will open the System Restore window.
3. Via Advanced System Properties
Press the Windows key, type “sysdm.cpl,” and press Enter to open the System Properties window.
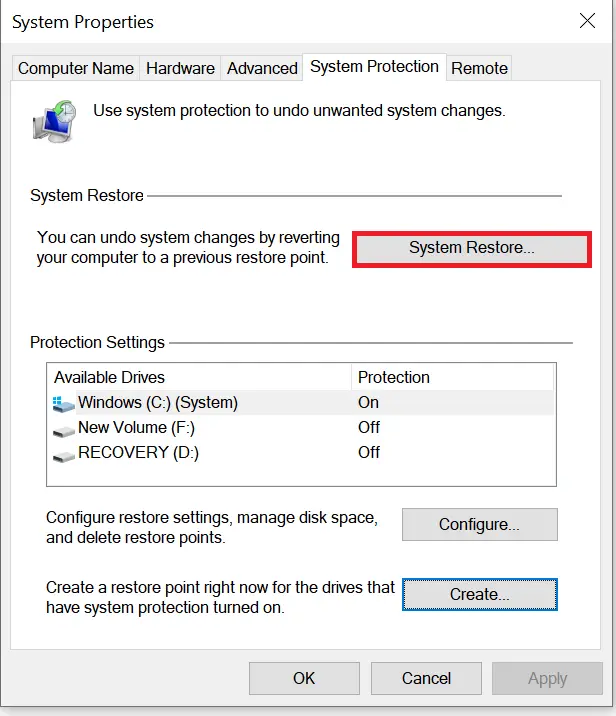
Switch to the “System Protection” tab and click on the “System Restore” button. This will open the System Restore window.
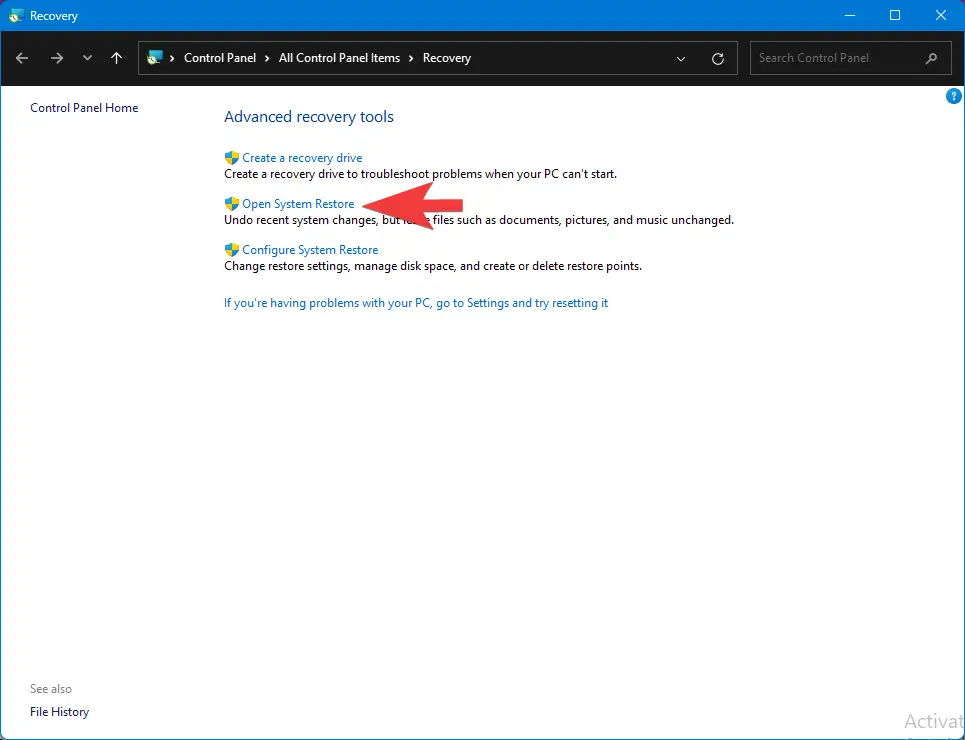
4. Using the Settings App
Right-click on the Start button and select “Settings.” In the Settings app, click on the search bar, type “Restore,” and select “Recovery” in search results.
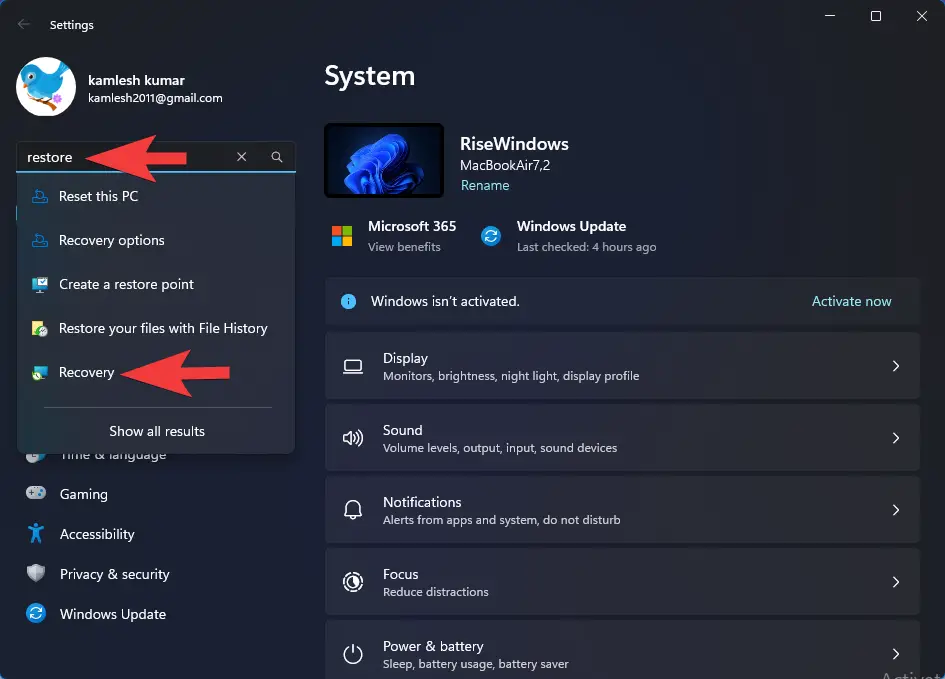
In the “Recovery” window, click on the “Open System Restore” link.
5. Using the Run Dialog Box
Press Windows + R to open the Run dialog box, type “rstrui,” and click OK. This will directly open the System Restore tool.
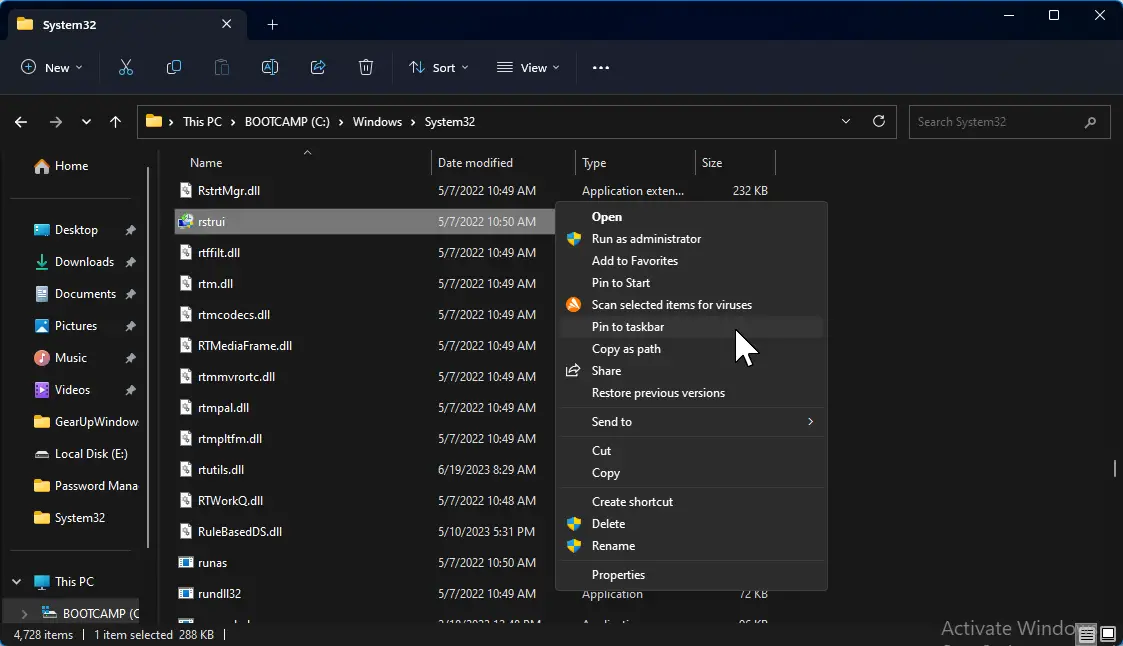
6. Utilizing a Pinned Taskbar Shortcut
Pin the System Restore tool to your taskbar by locating the “rstrui.exe” file under the C:\Windows\System32 folder, right-clicking it, and selecting “Show more options” and then “Pin to taskbar.” This allows you to open it with a single click.
7. Through the Task Manager
If the Control Panel app doesn’t open, you can use the Task Manager. Press Ctrl + Shift + Esc to open the Task Manager, click on “Run new task,” type “rstrui.exe,” and press Enter.

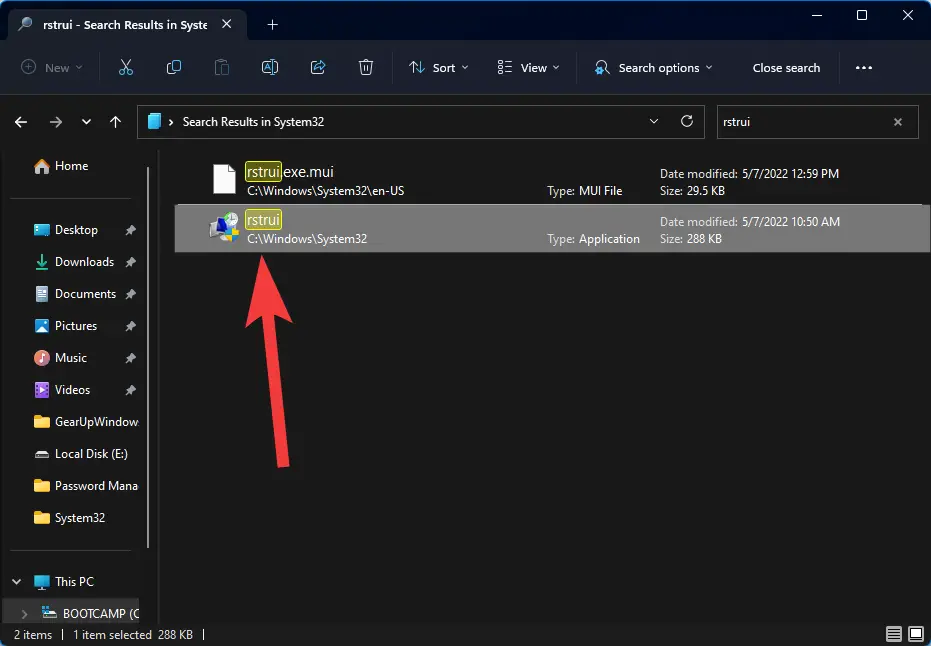
8. Using the File Explorer
Open the File Explorer (Windows + E) and navigate to the address bar. Enter “C:\Windows\System32” and search for “rstrui.” Double-click on “rstrui.exe” to launch System Restore.
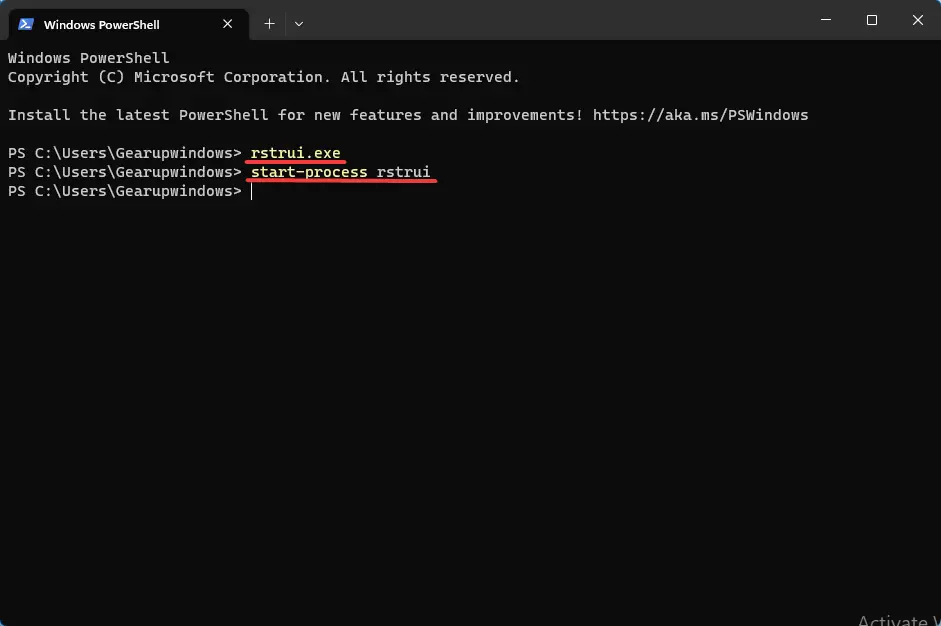
9. Via CMD or PowerShell
Open the Run dialog box (Windows + R), type “cmd” or “Powershell,” and press Enter. In the terminal, type “rstrui.exe” or use the command “start-process rstrui” to open System Restore.
10. Creating a Desktop Shortcut
On the desktop, right-click on an empty area, select “New > Shortcut,” and enter the path “C:\Windows\System32\rstrui.exe.” Click “Next” and then “Finish.” Double-click on the shortcut to open System Restore.

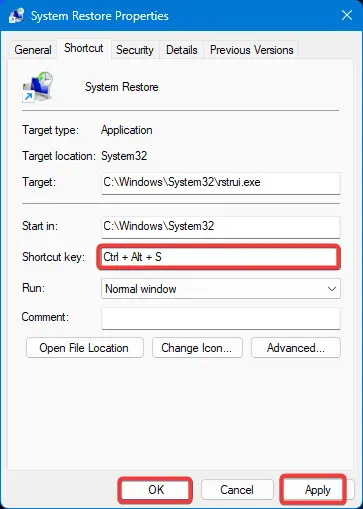
11. Using a Keyboard Shortcut
Assign a keyboard shortcut to the System Restore shortcut you created. Right-click on the shortcut, select “Properties,” go to “Shortcut key,” and press a combination like Ctrl + Alt + S. Click Apply and then OK. Pressing the assigned keys will open System Restore.
Conclusion
With these 11 easy methods at your disposal, opening System Restore on Windows 11 becomes a breeze. Whether you prefer using the Start menu, Control Panel, Settings app, or shortcuts, you now have multiple options to access this vital recovery tool. Remember to create restore points regularly to ensure you can easily revert your system to a previous state and maintain a stable and trouble-free Windows 11 experience.
