How do I create a slide to shut down in Windows 11? How do I add a “Slide to Shut Down” button to the Windows 11 Start screen? If you have used Windows 8/8.1 for a long time, you might be familiar with the Slide to shut down feature. You can consider the Slide to shut down one of the popular features of the Windows 8 operating system. This feature is also available in now-dated Windows 10, allowing you to shut down your PC by sliding a screen.
Switching On and switching Off our PC is one of the various tasks we perform daily on our computer or laptop. Starting Windows 8, Microsoft has included the Slide to shut down feature as a new interactive way to de-energize your device. This feature is also available on Windows 11, but it is typically enabled on Windows 11 tablet and appear when your press and hold the power button. On a Windows 11 computer and laptop, you need to enable it.
You can also get the tablet-like shutdown action on your Windows 11 laptop or desktop. You need to create a shortcut with the appropriate control for this feature to enable “Slide to Shutdown” on Windows 11. This will work even on devices that do not have a touchscreen feature.
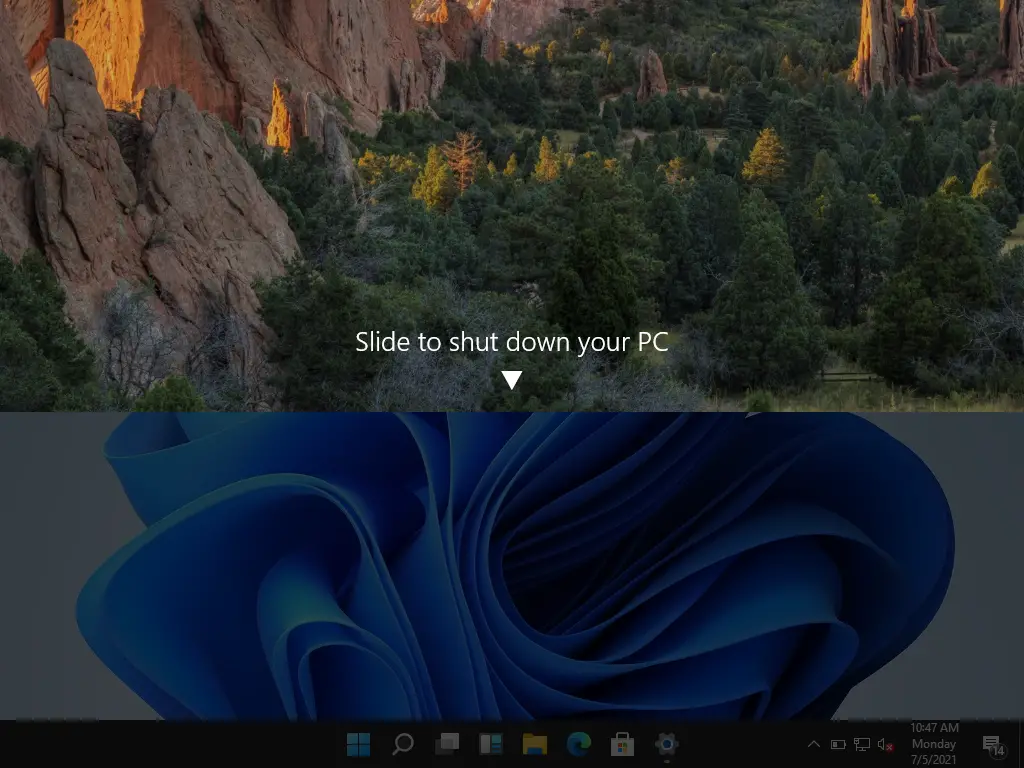
The slide-to-shut-down feature will let you shut down your PC by simply sliding a screen down. Just click on the SlideToShutDown executable file and then drag the curtain to the bottom of the screen.
How to create a “Slide to shut down” shortcut on Windows 11 PC?
Follow these steps to create a “Slide to shut down” shortcut on Windows 11 PC:-
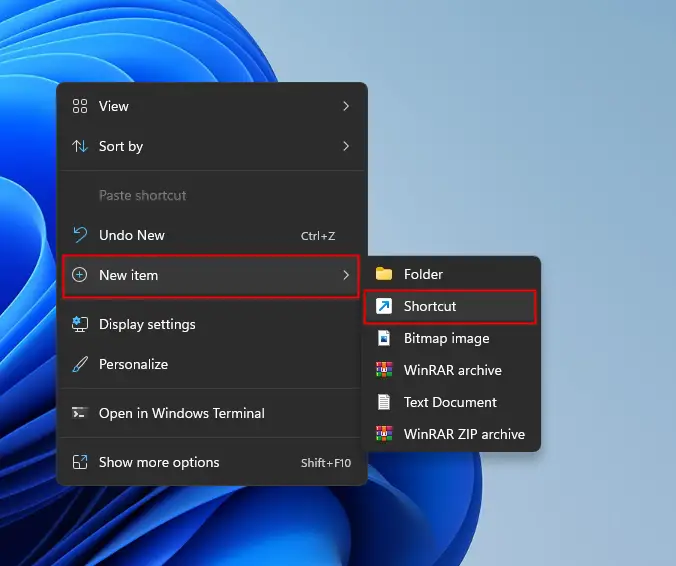
Step 1. Perform a right-click on a blank area on your desktop. Then select New item, and then click the Shortcut option.
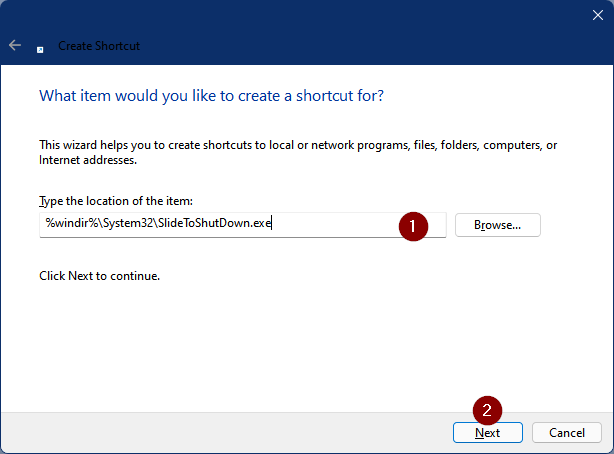
Step 2. On the Create shortcut wizard that appears, copy and paste the following text into the location box and then click the Next:-
%windir%\System32\SlideToShutDown.exe
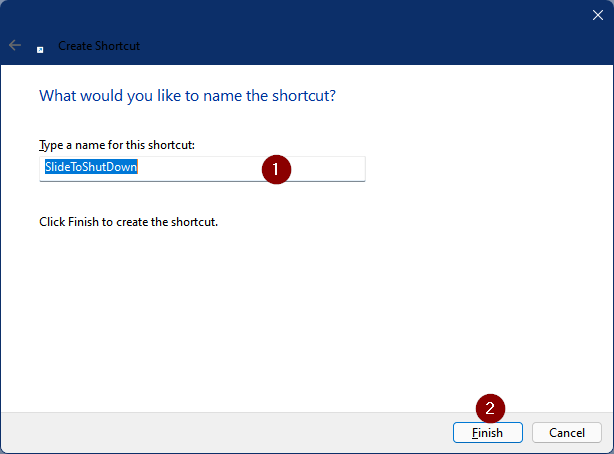
Step 3. In the next window, enter a descriptive name of the file or leave it as default and click the Finish button.
Once you perform the above steps, a shortcut of SlideToShutDown will appear on your Windows 11 desktop with an ugly icon. To decorate it with a marvelous icon, finish the next steps.
Step 4. Right-click on the SlideToShutDown shortcut icon and choose the Properties option.
![]()
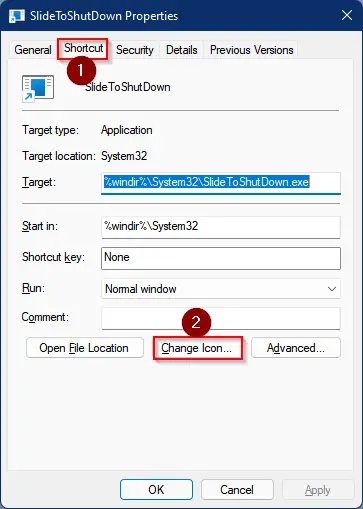
Step 5. In the “SlideToShutDown Properties” dialog box, click on the Shortcut tab and then click on the Change icon button.
Step 6. From the Change icon pop-up window, select any icon and then click the OK button.
![]()
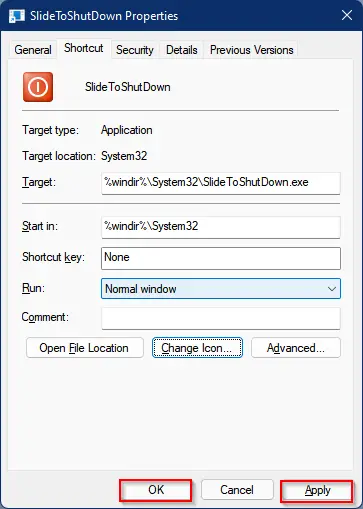
Step 7. Now, on the SlideToShutDown Properties window, click on Apply and then the OK button.
Until now, you have created a SlideToShutDown shortcut and changed the icon for this.
![]()
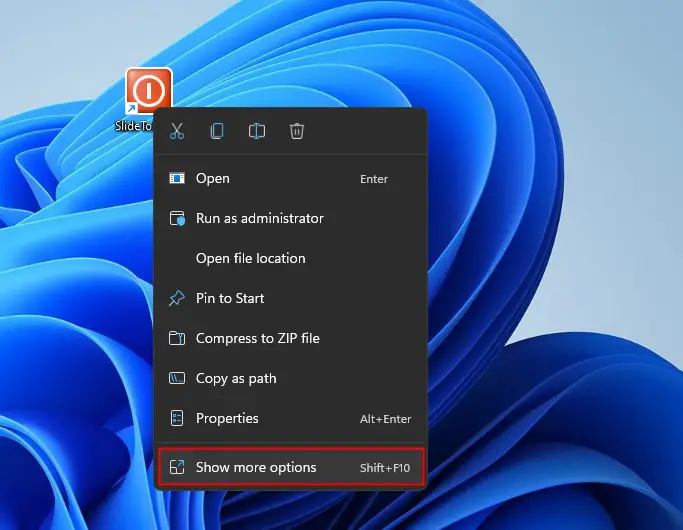
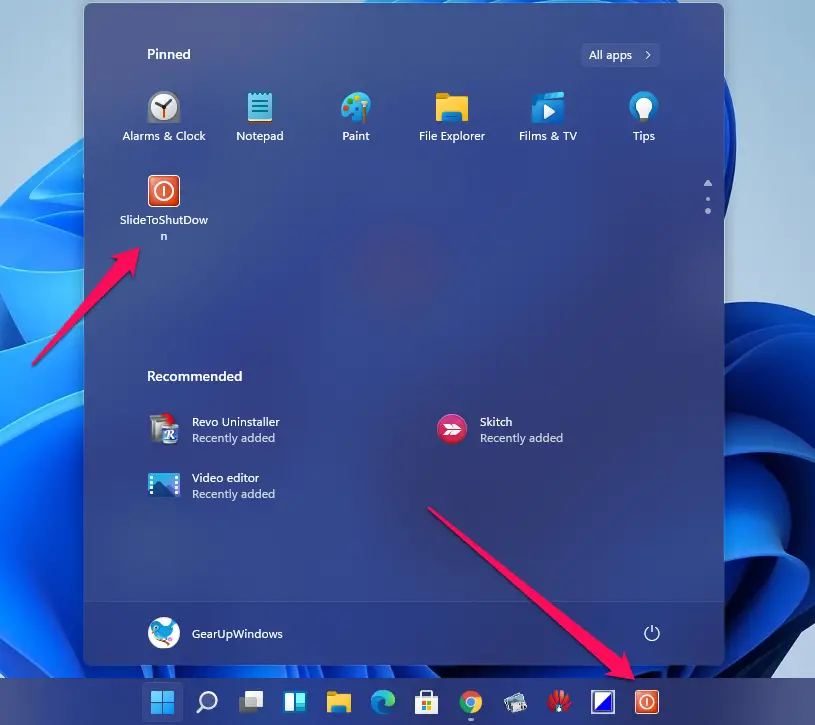
Step 8. If you would like to access SlideToShutDown through the Windows 11 Taskbar or Start menu quickly, right-click on this icon on the desktop and select “Show more options.”
Step 9. Here, select “Pin to Start” or “Pin to taskbar‘ or both options one by one.
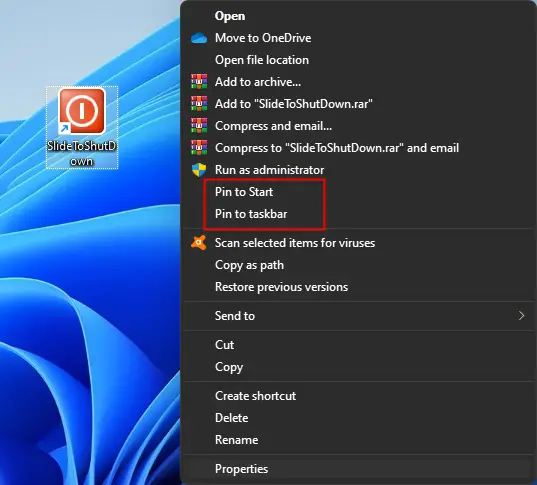
Now you can access SlideToShutDown from the Windows 11 Start Menu or Taskbar or both as you have configured.
Good luck.
Conclusion
In conclusion, the “Slide to shut down” feature was first introduced in Windows 8, and it is still available in Windows 11. Although this feature is mainly designed for touchscreen devices, you can enable it on your Windows 11 laptop or desktop by creating a shortcut. The above steps will guide you on how to create a shortcut and customize its icon to access it quickly from the Start Menu or Taskbar. With the “Slide to shut down” feature, shutting down your Windows 11 device has become more interactive and visually appealing.