Windows Defender is built-in antivirus software for Windows 11. When you install Windows 11 on a machine, Microsoft Defender starts protecting your computer until they find third-party software. When a third-party antivirus takes over command, Microsoft Defender sits in the background and starts relaxing. In the future, if you uninstall or disable third-party antivirus, Microsoft Defender activates itself and starts securing your machine.
The Microsoft Defender (Windows Defender) scans your computer files and folders for viruses and malware. If they find any, it will block that file from executing on your PC. For a specific purpose, if you want to run an executable file and Microsoft Defender stops it, you can either turn off Microsoft Defender completely or add that file/folder to the exclusion list. We don’t recommend turning off Microsoft’s Defender entirely and leaving your PC endangered.
In such a case, you need to use the exclusions function of Microsoft Defender. If you need, you can add a folder to the exclusion list. The defender will not scan that folder and will keep monitoring other parts of your system. But the risk is that if excluded directories are compromised, your computer might be vulnerable to threats.
How to Add Exclusions to Microsoft Defender on Windows 11?
To add a file or folder to the exclusion list of Microsoft Defender on Windows 11, do the following:-
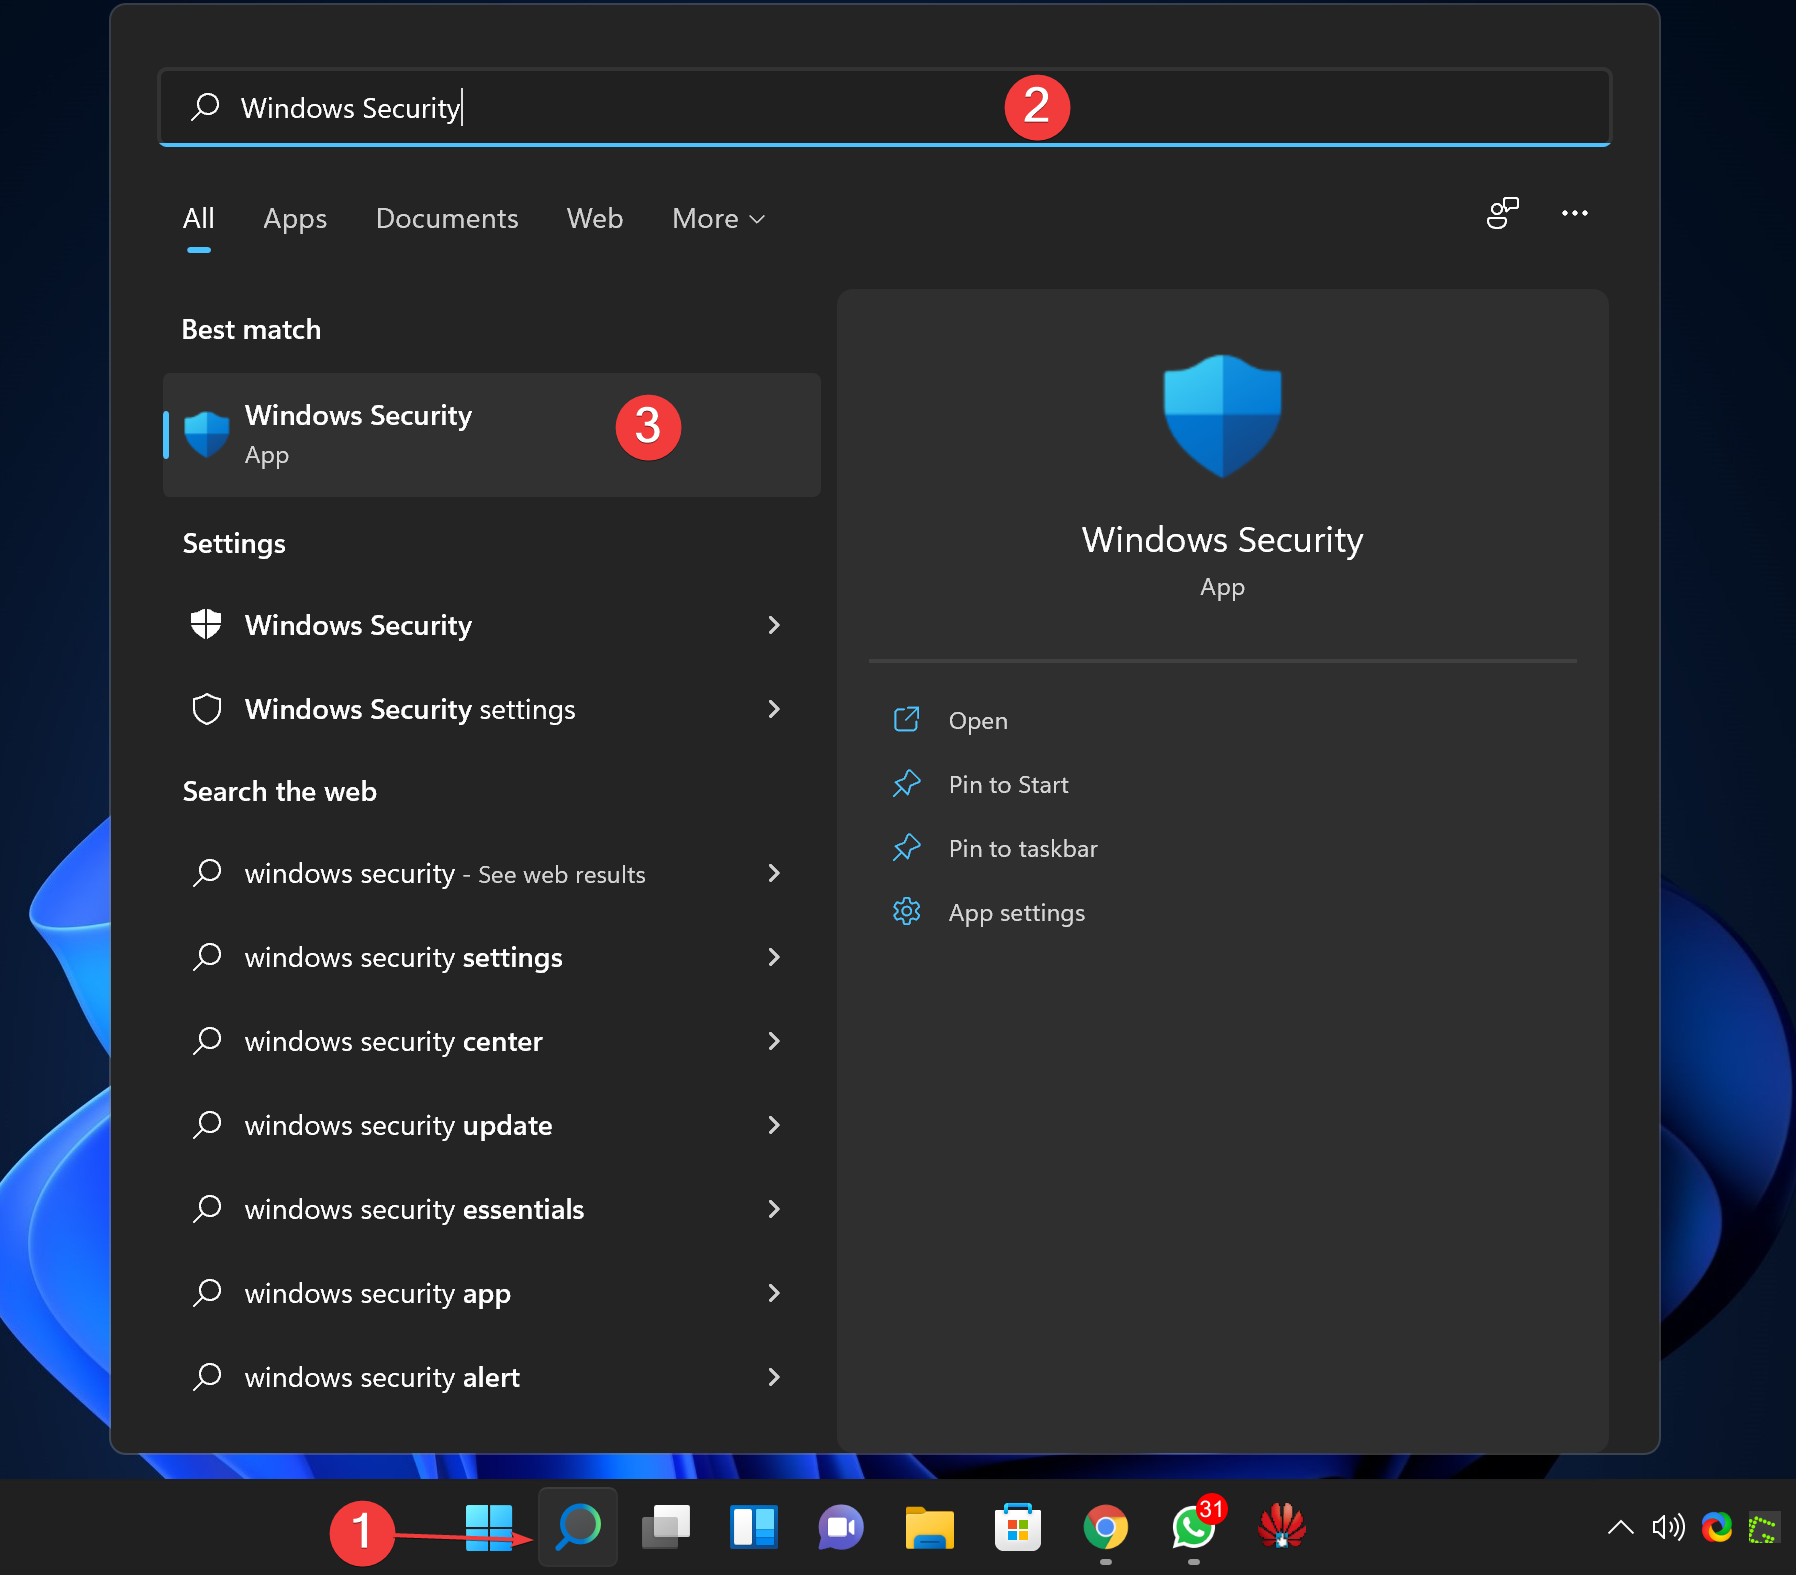
Step 1. First, open the Windows Security app.
To do that, click the Search button in the taskbar and type “Windows Security.” In the search results, click on its entry to open the same.
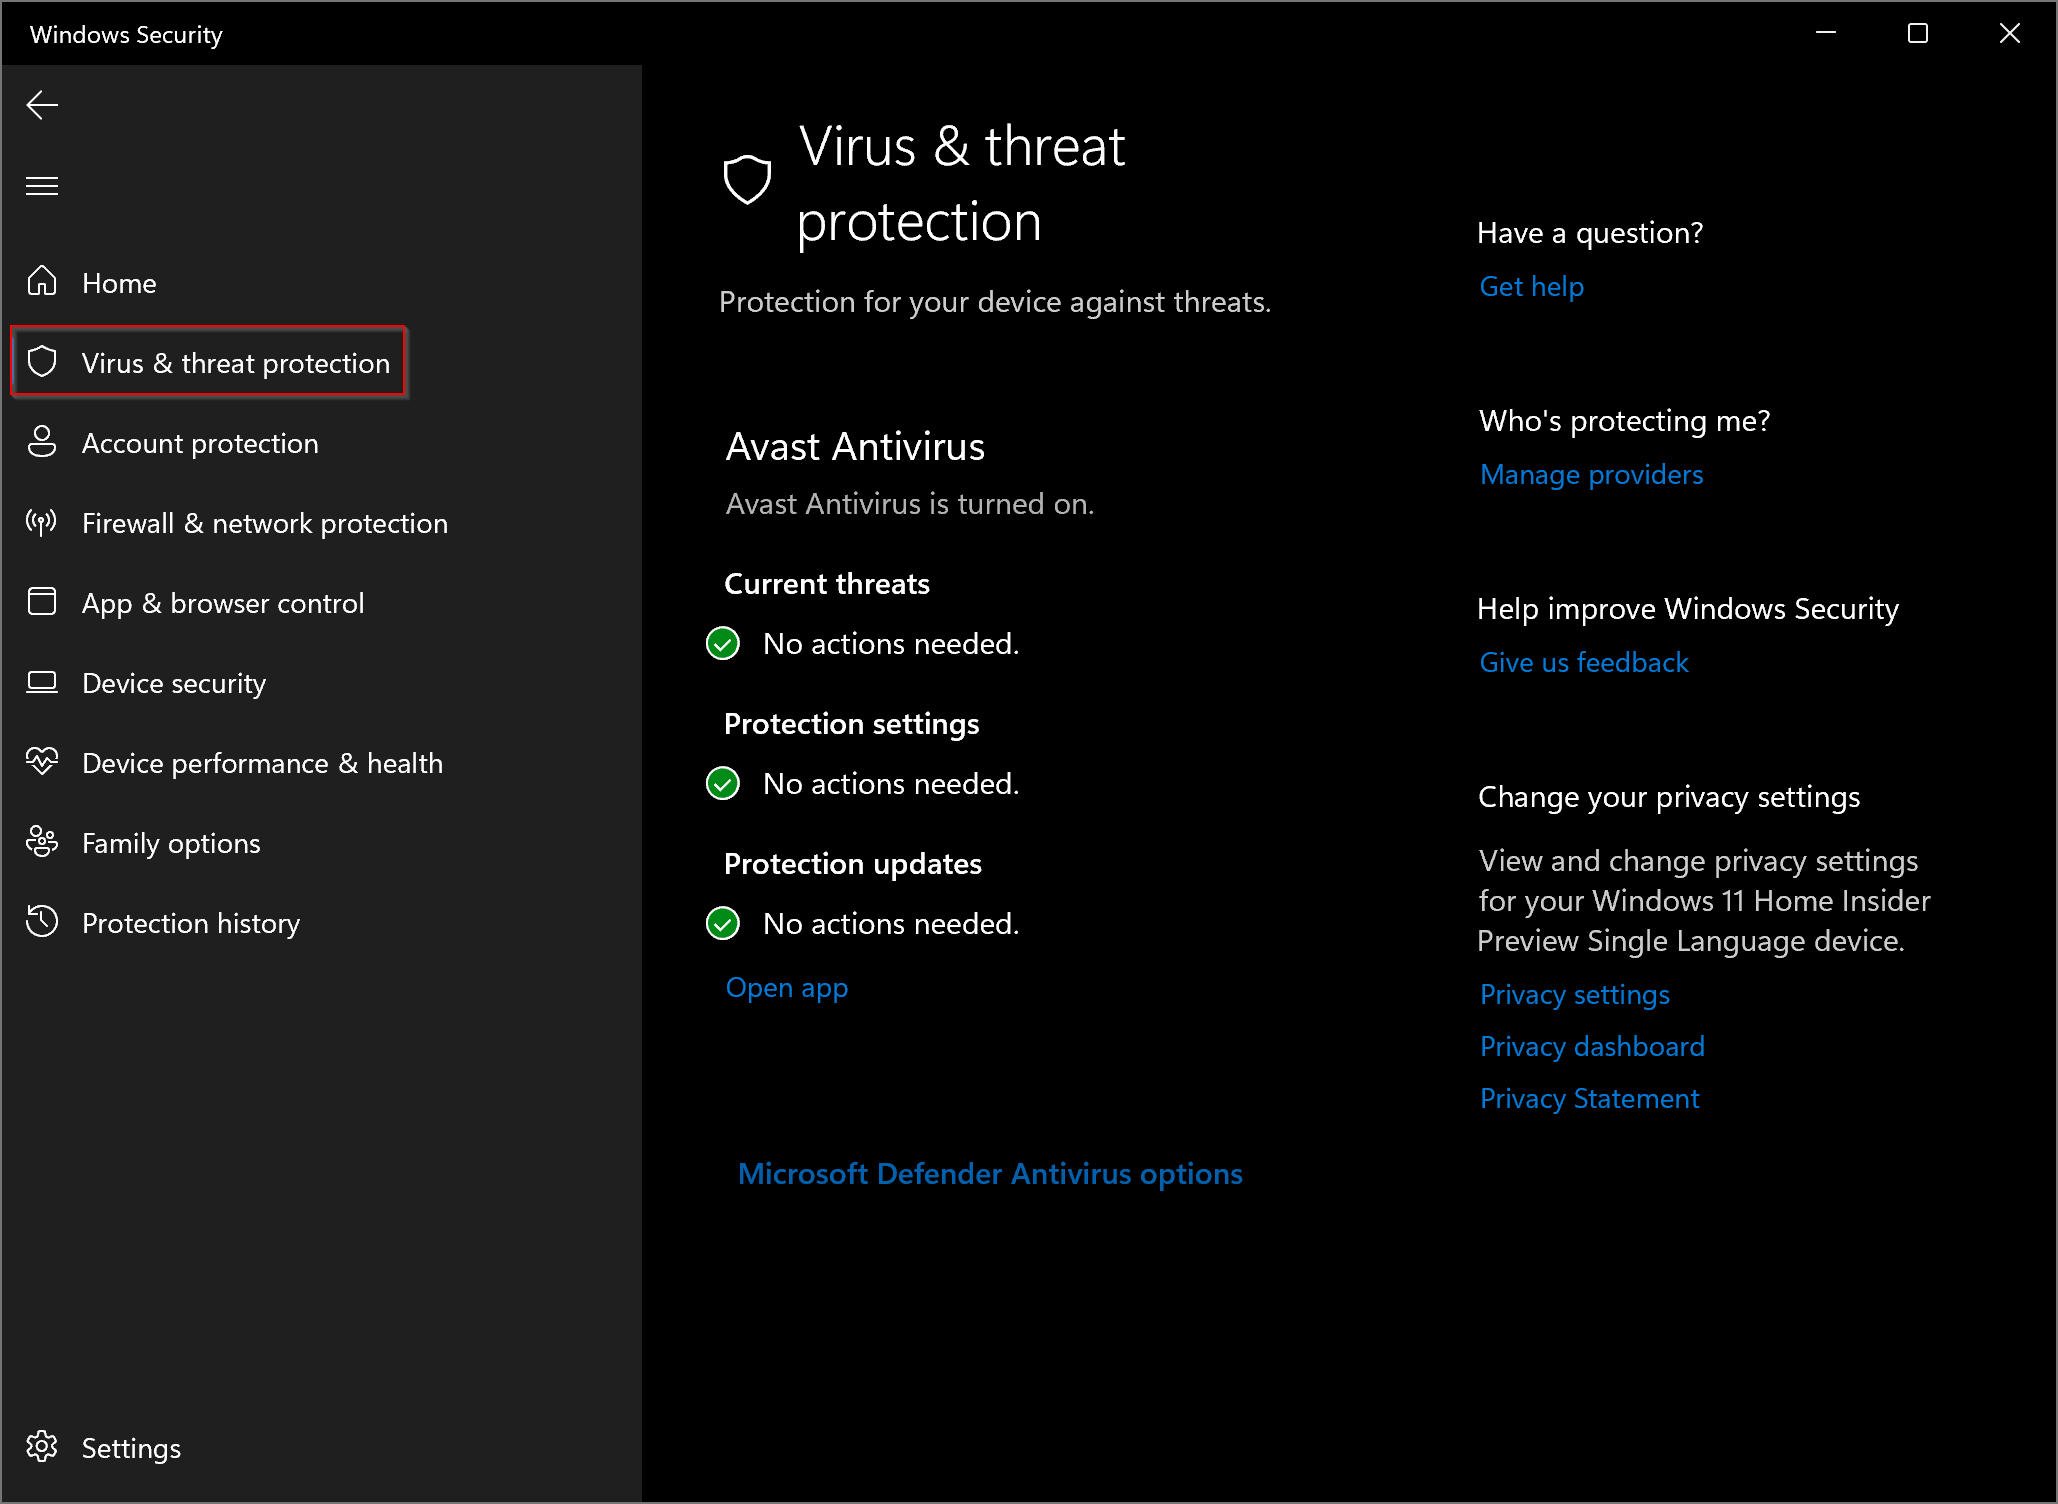
Step 2. Select Virtus & threat protection in the left sidebar when Windows Security opens.
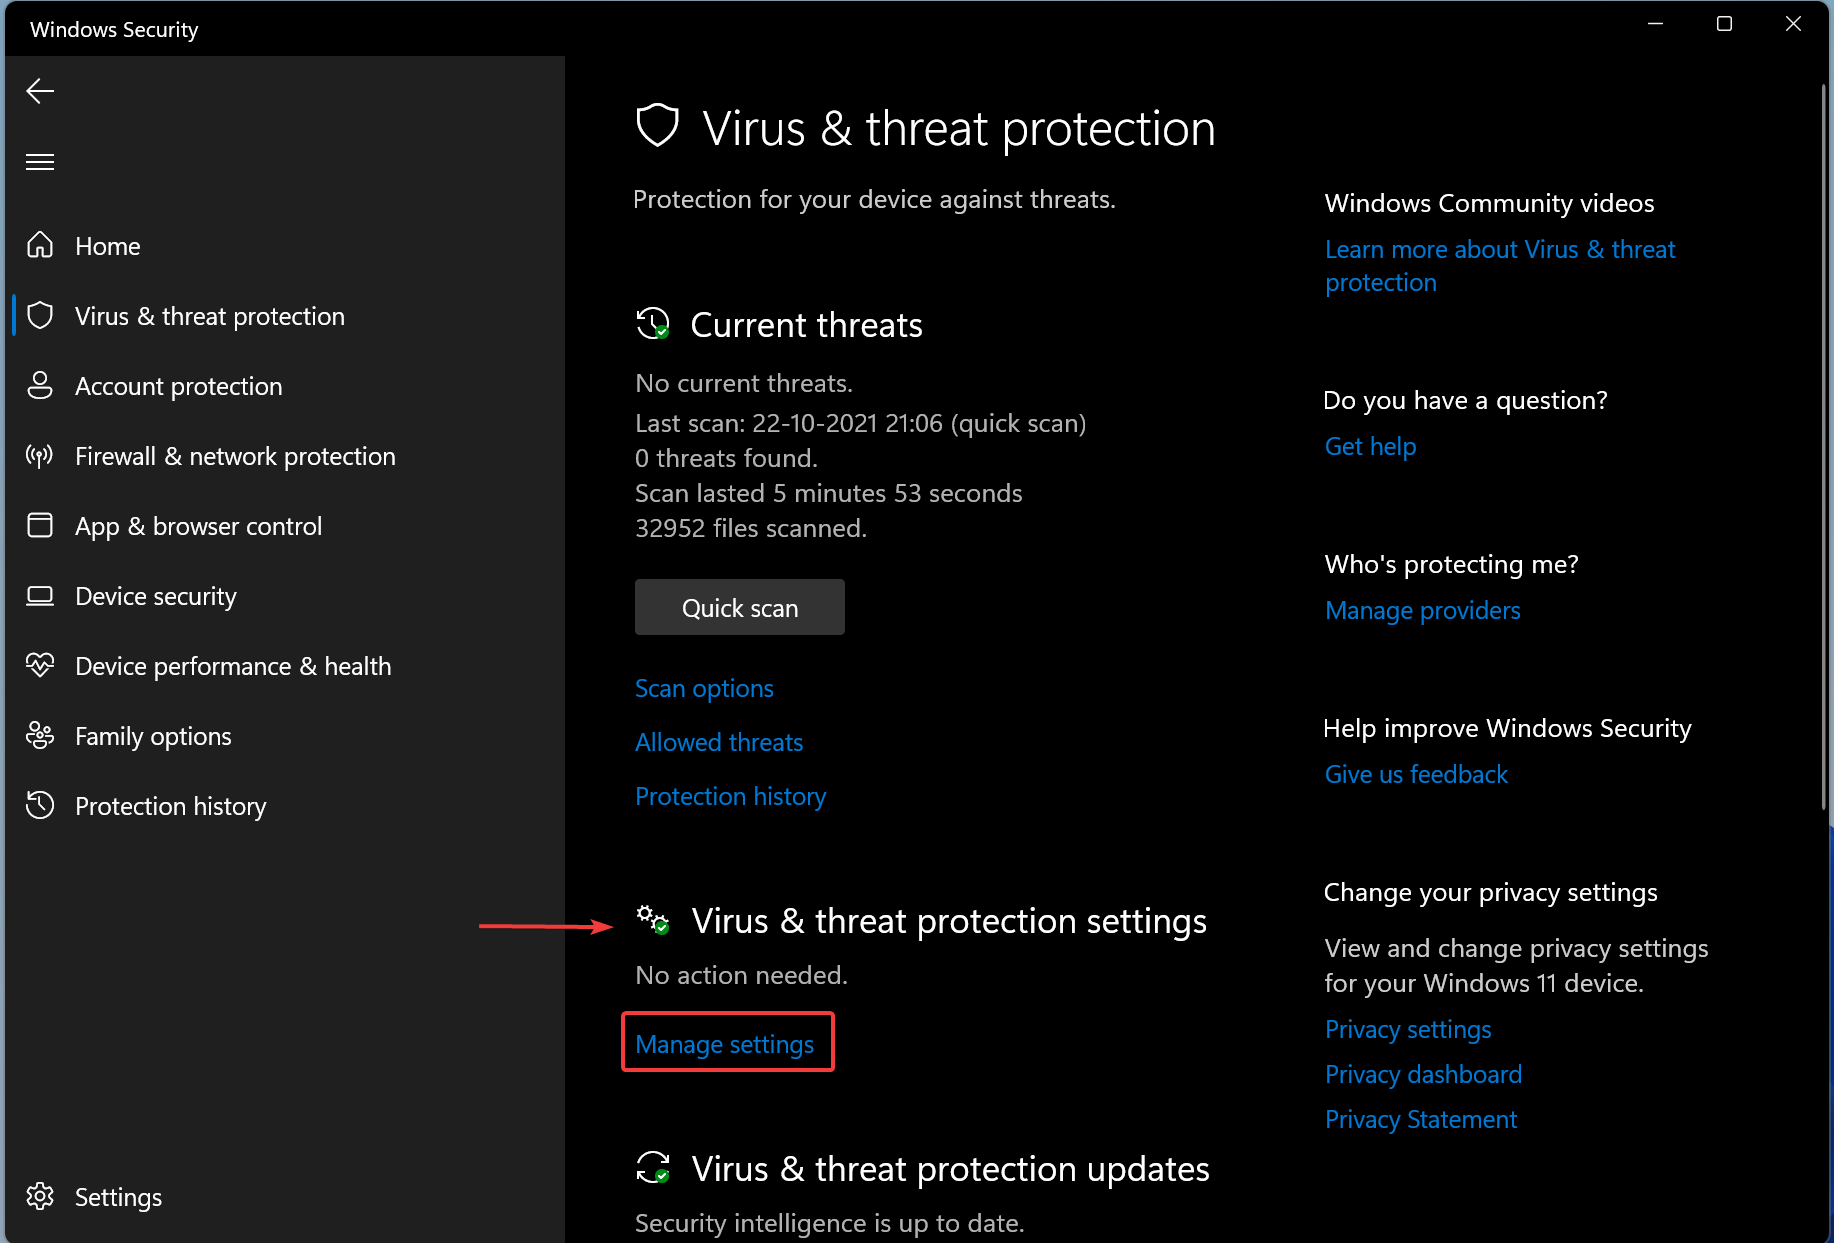
Step 3. After that, click the link Manage settings under the “Virus & threat protection settings” section.
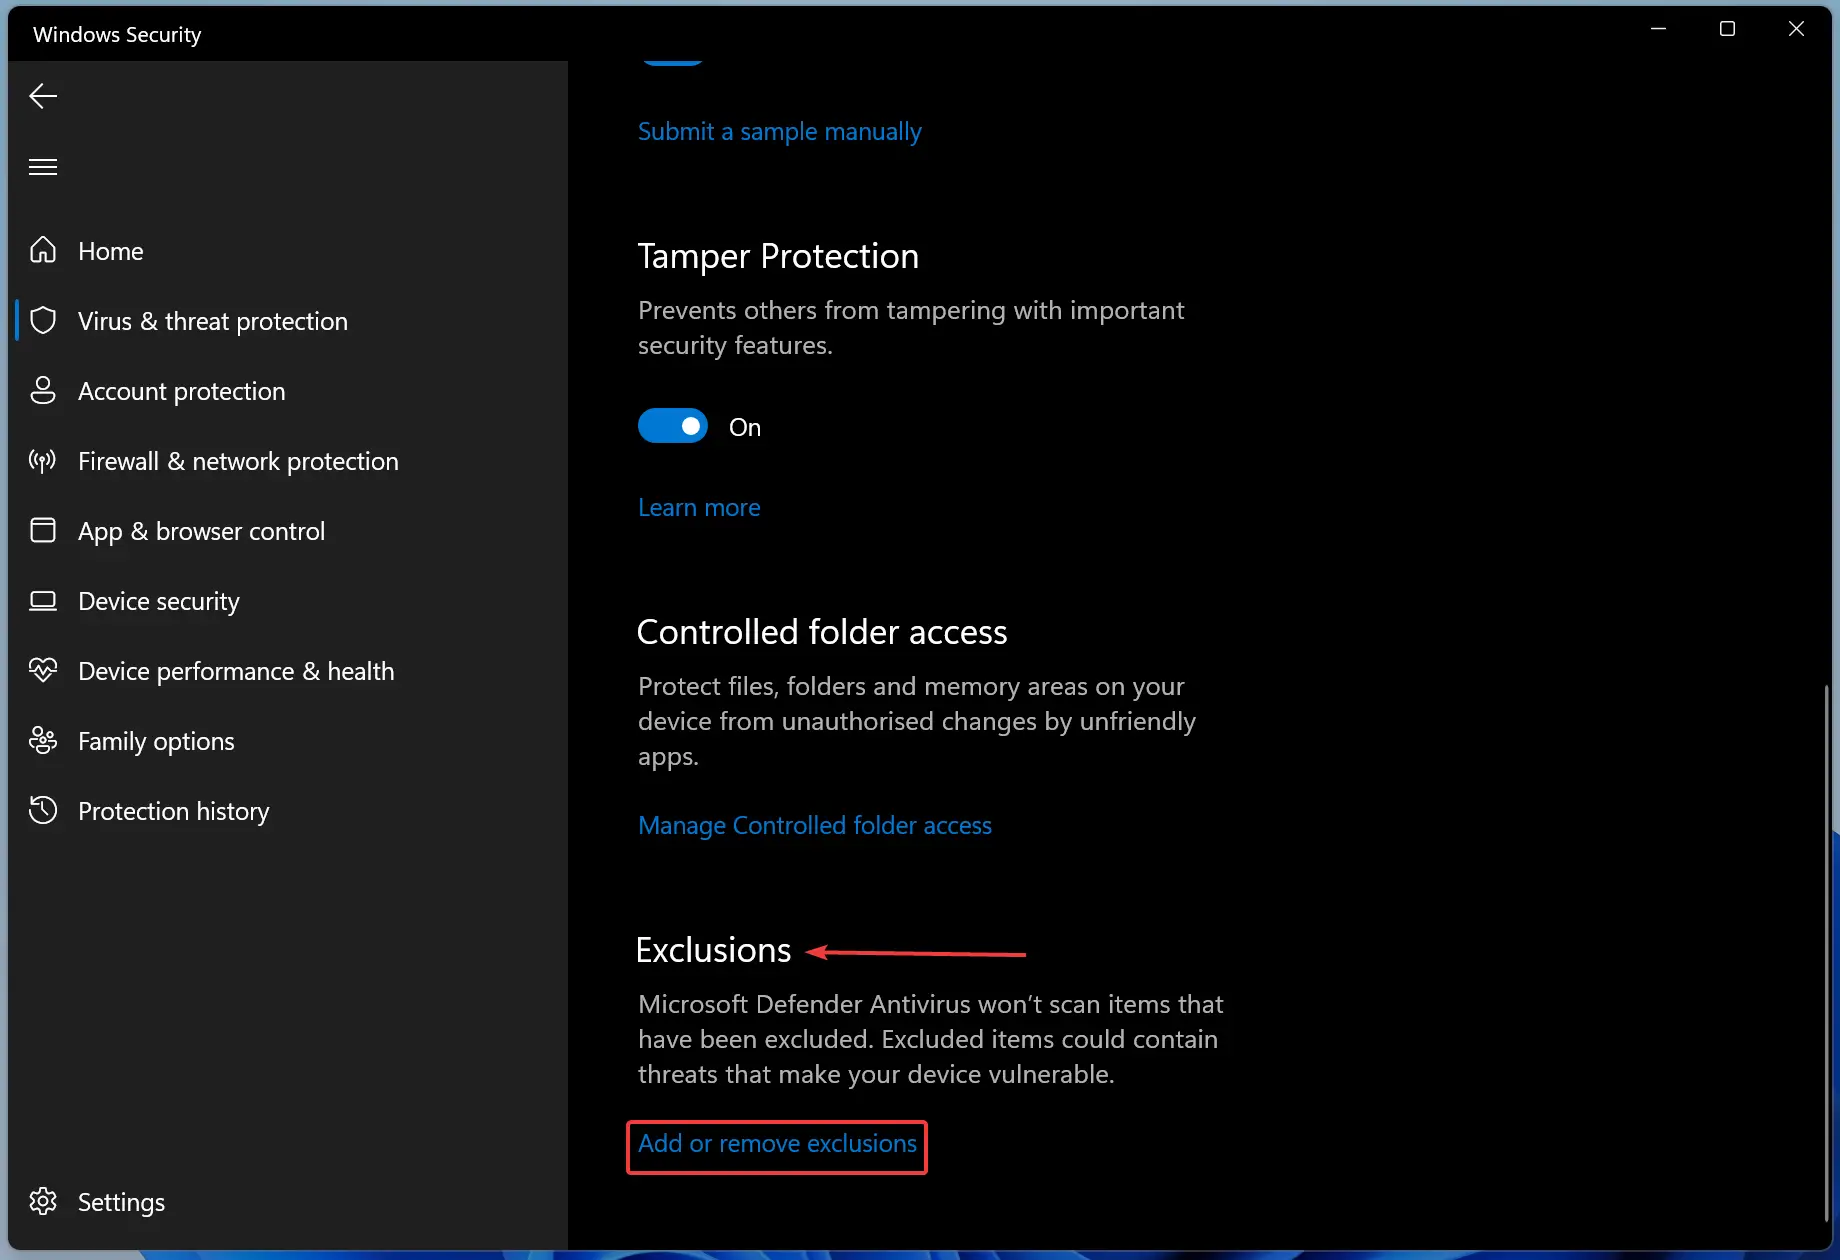
Step 4. Then scroll down on the right sidebar and click the Add or remove exclusions link under the Exclusions header.
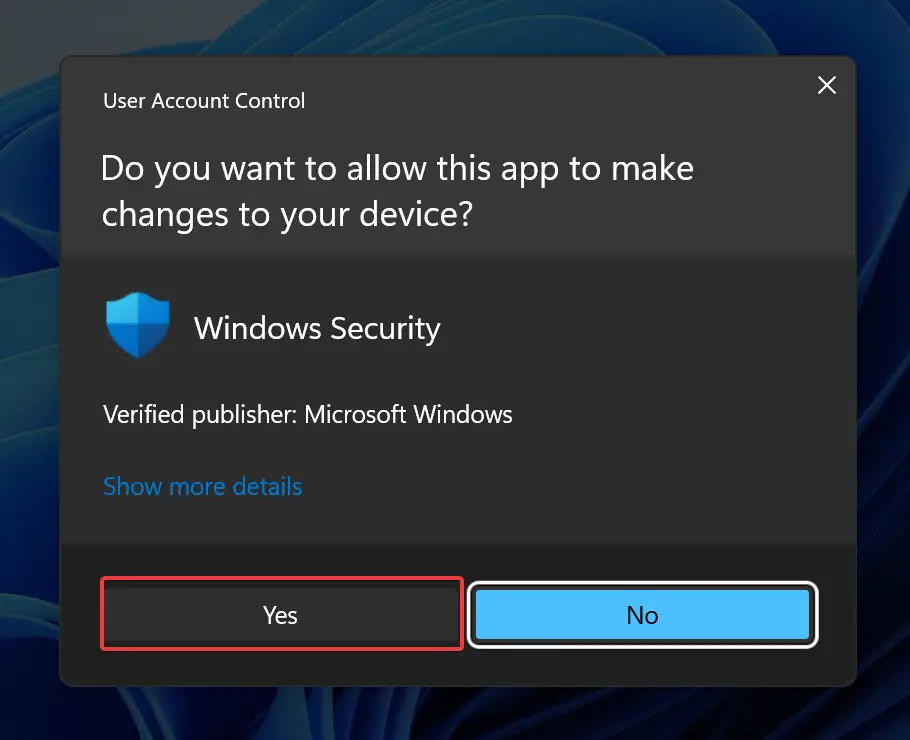
Step 5. If the “User Account Control” dialog appears, hit the Yes button.
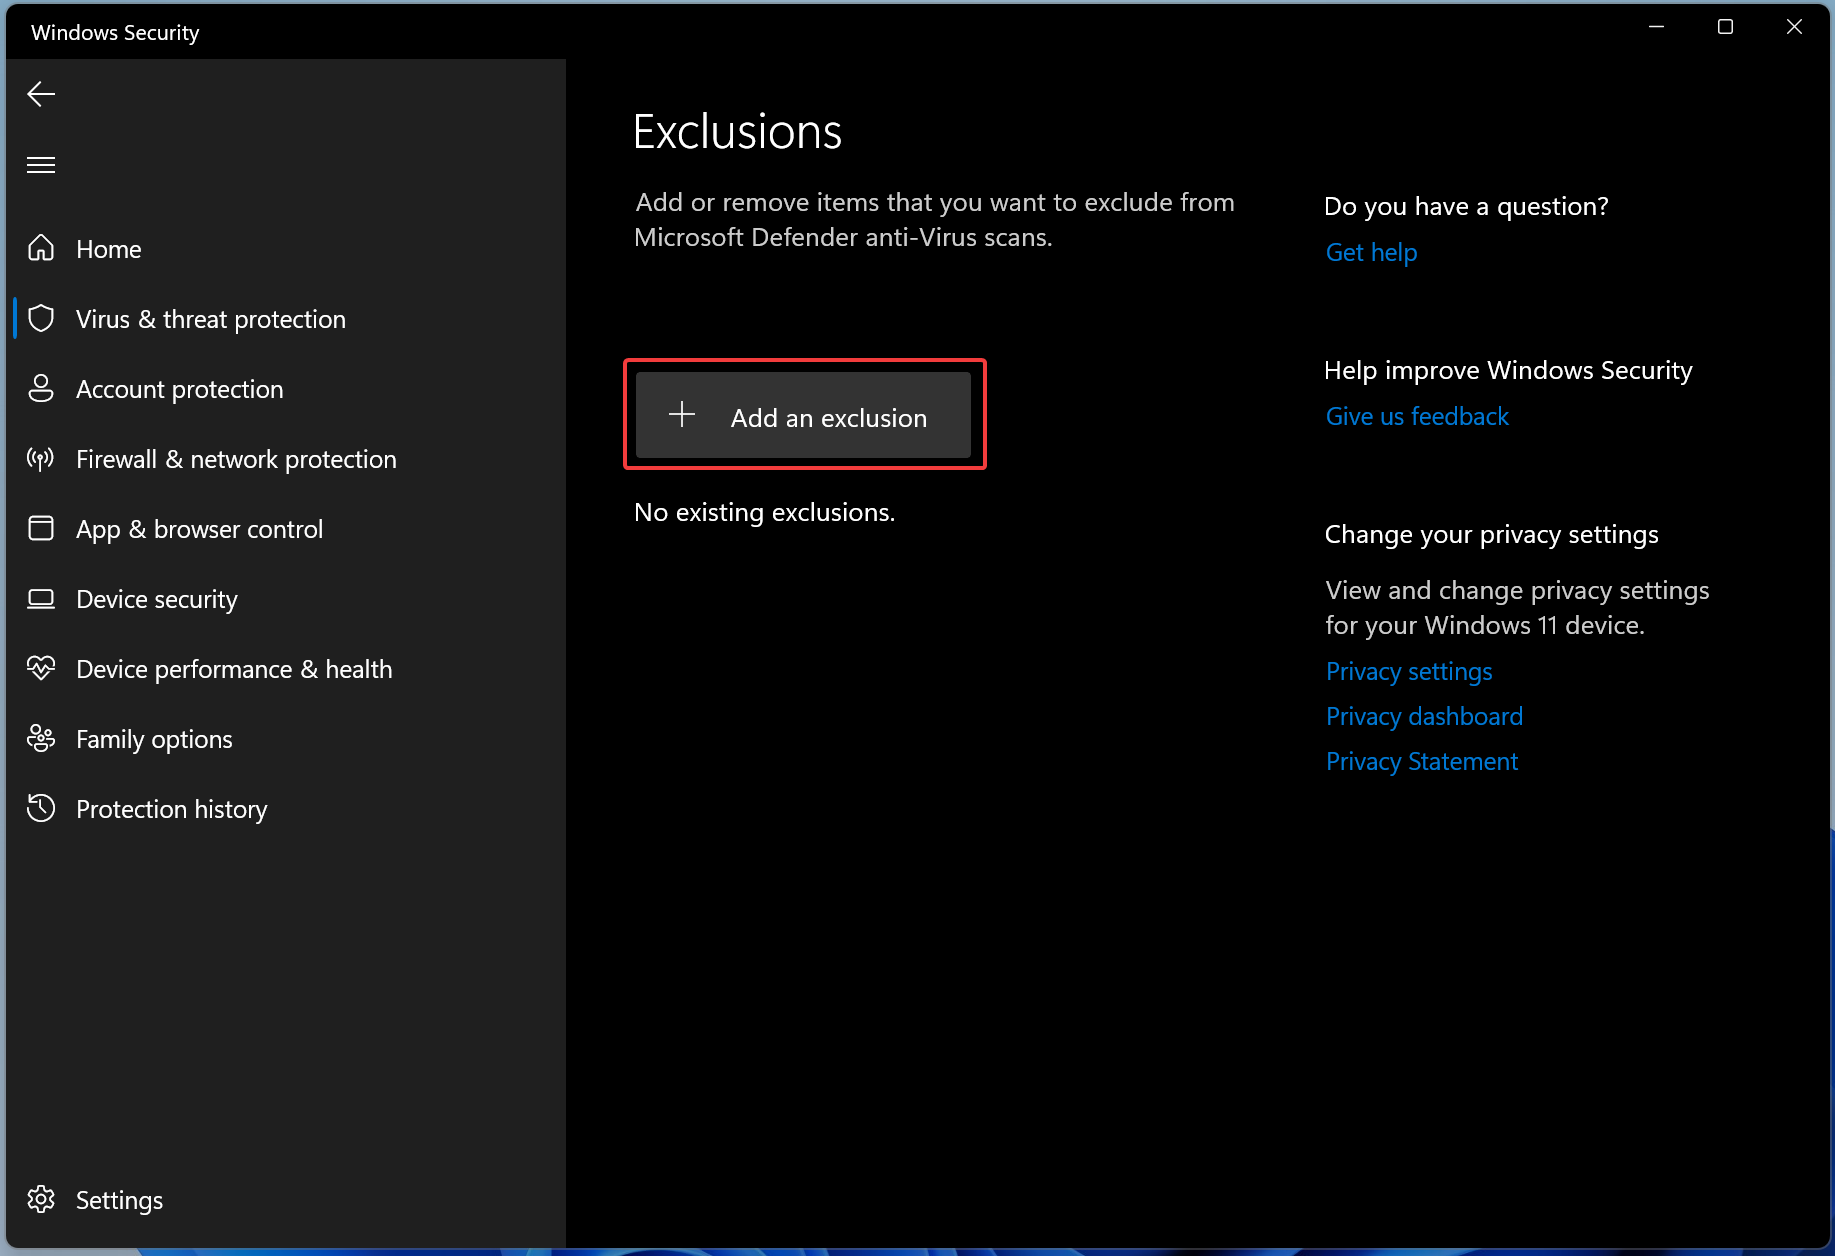
Step 6. Then, click the + Add An Exclusion button.
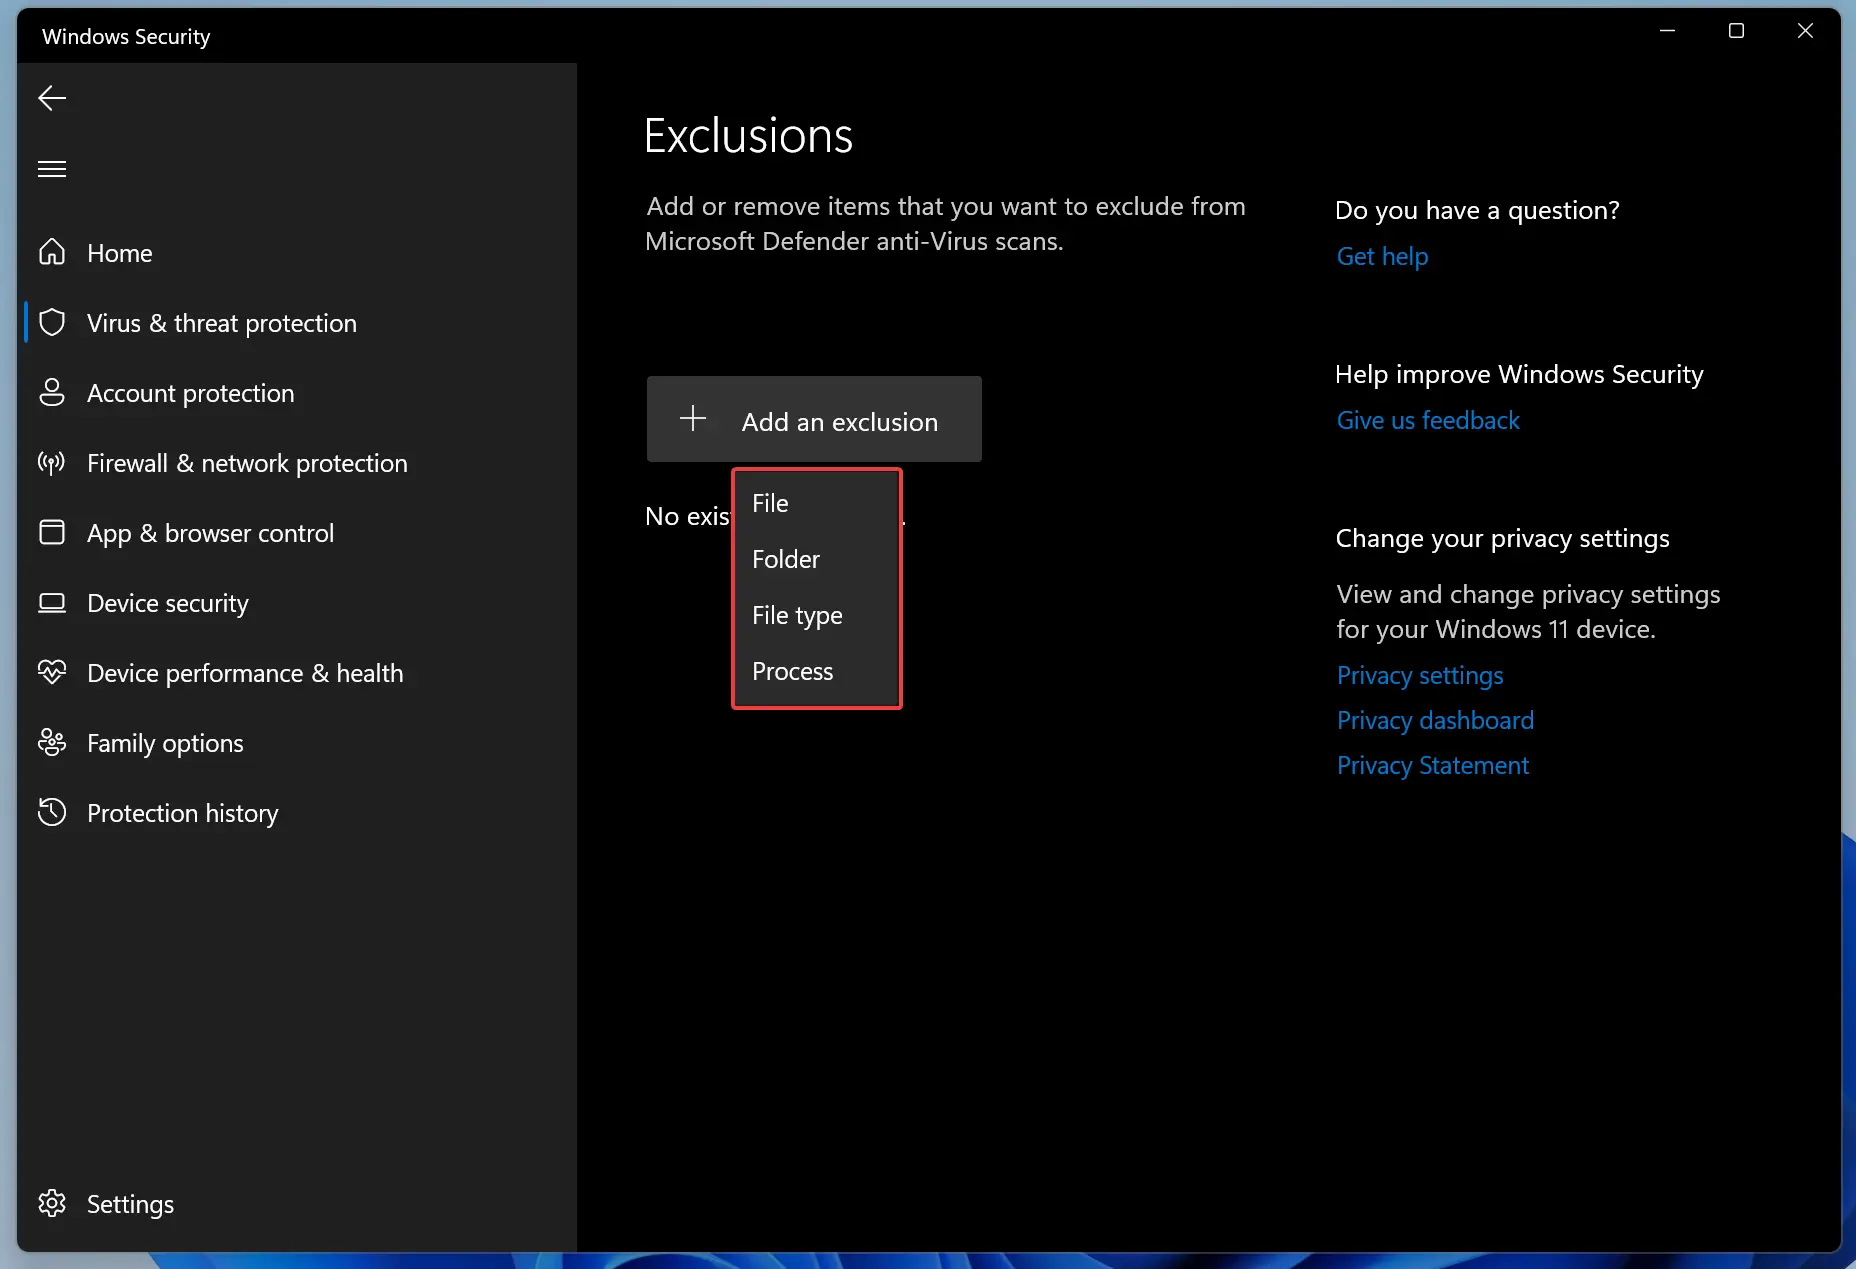
Step 7. Now you see a drop-down menu with four options:-
- File
- Folder
- File type
- Process
File: You can select a single file to add to the exclusion list.
Folder: If you want to exclude the entire folder and its sub-folder, choose this option.
File type: You can add file type in exclusion, for example, .docx.
Process: This option allows you to select a process to add to the exclusion list, for example, explorer.exe.
Select the appropriate option that you want to exclude from the list.
How to Remove Exclusions from Microsoft Defender on Windows 11?
To remove a file or folder in the exclusion list of Microsoft Defender on Windows 11, do the following:-
Step 1. First, open the Windows Security app.
To do that, click the Search button in the taskbar and type “Windows Security.” In the search results, click on its entry to open the same.
Step 2. Select Virtus & threat protection in the left sidebar when Windows Security opens.
Step 3. After that, click the link Manage settings under the “Virus & threat protection settings” section.
Step 4. Then scroll down on the right sidebar and click the Add or remove exclusions link under the Exclusions header.
Step 5. If the “User Account Control” dialog appears, hit the Yes button.
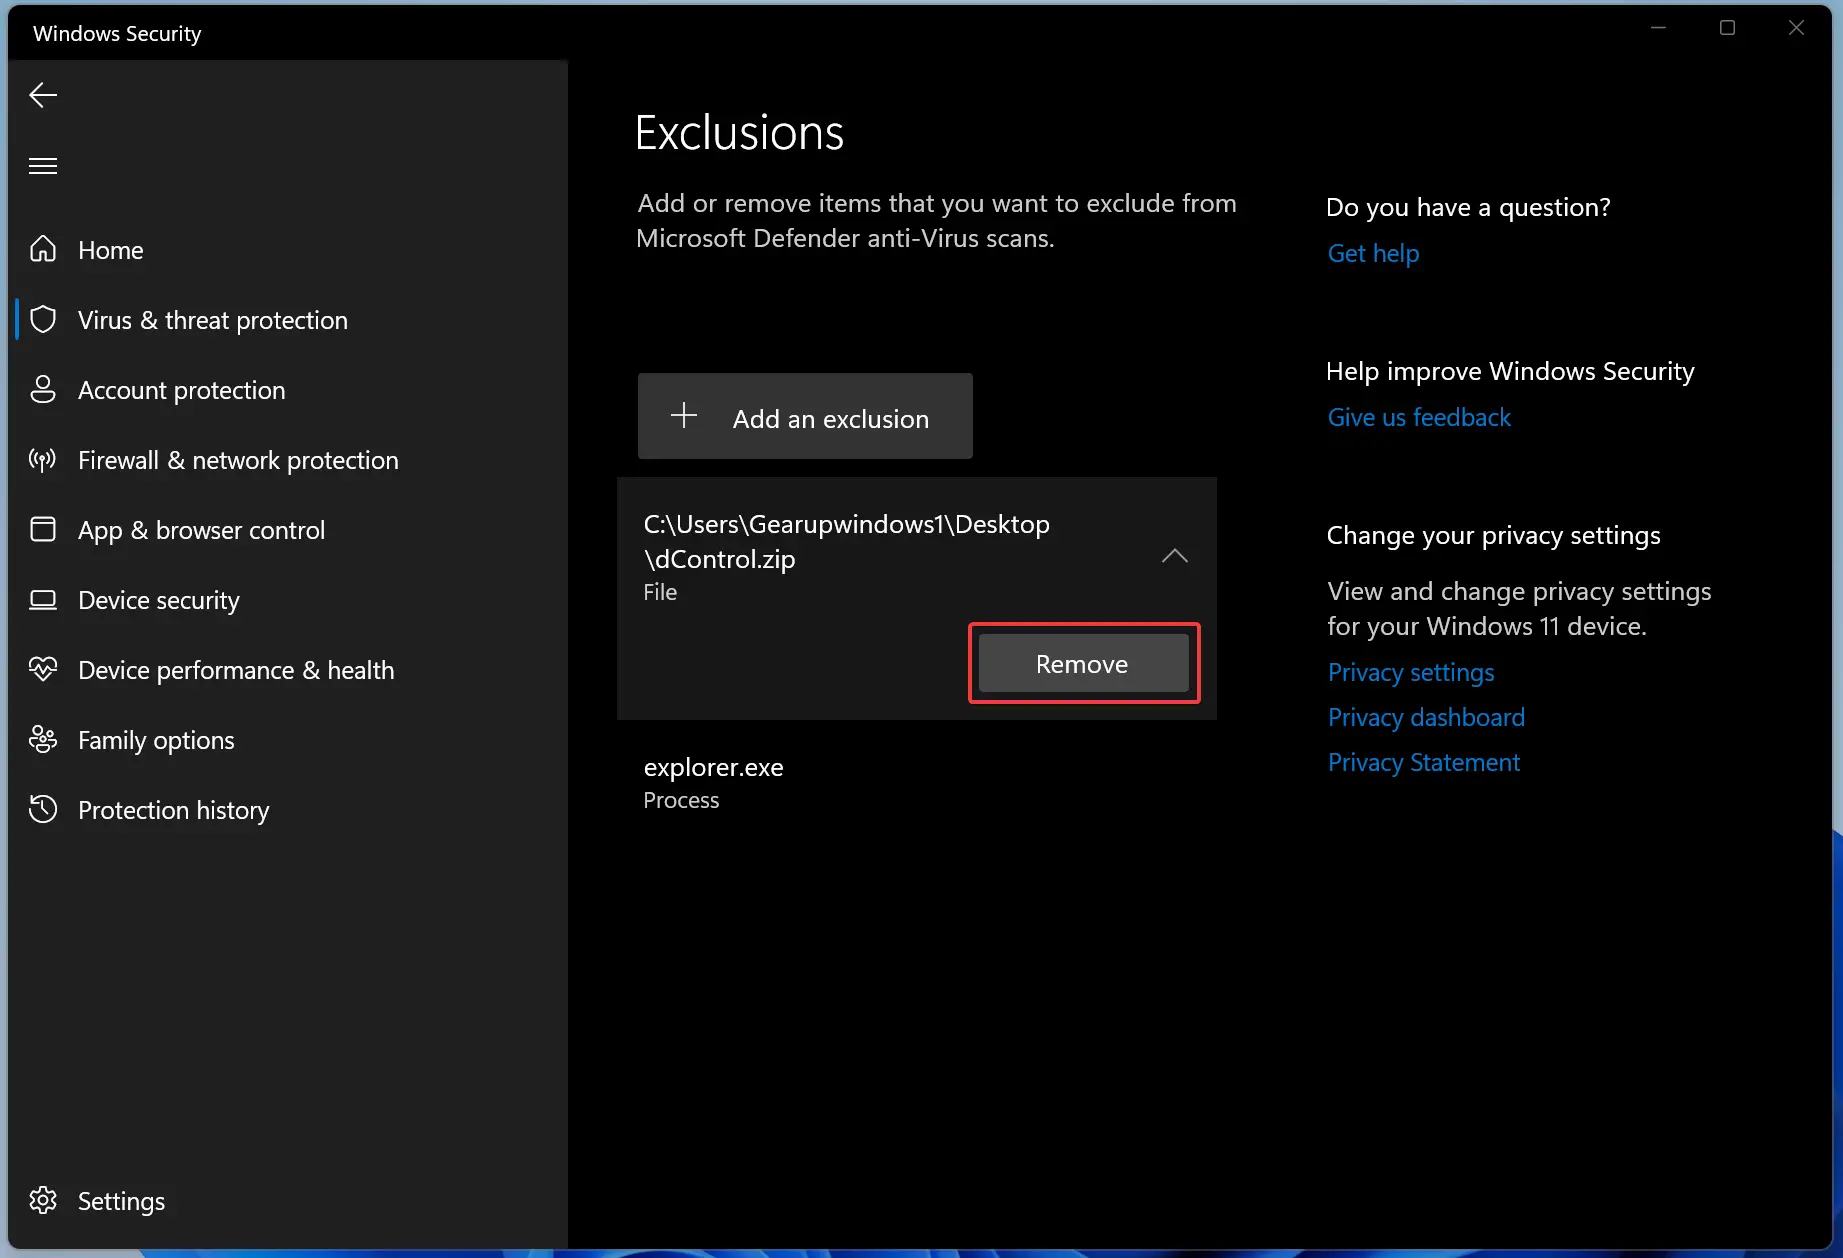
Step 6. Then, click on an item already added to the exclusion list.
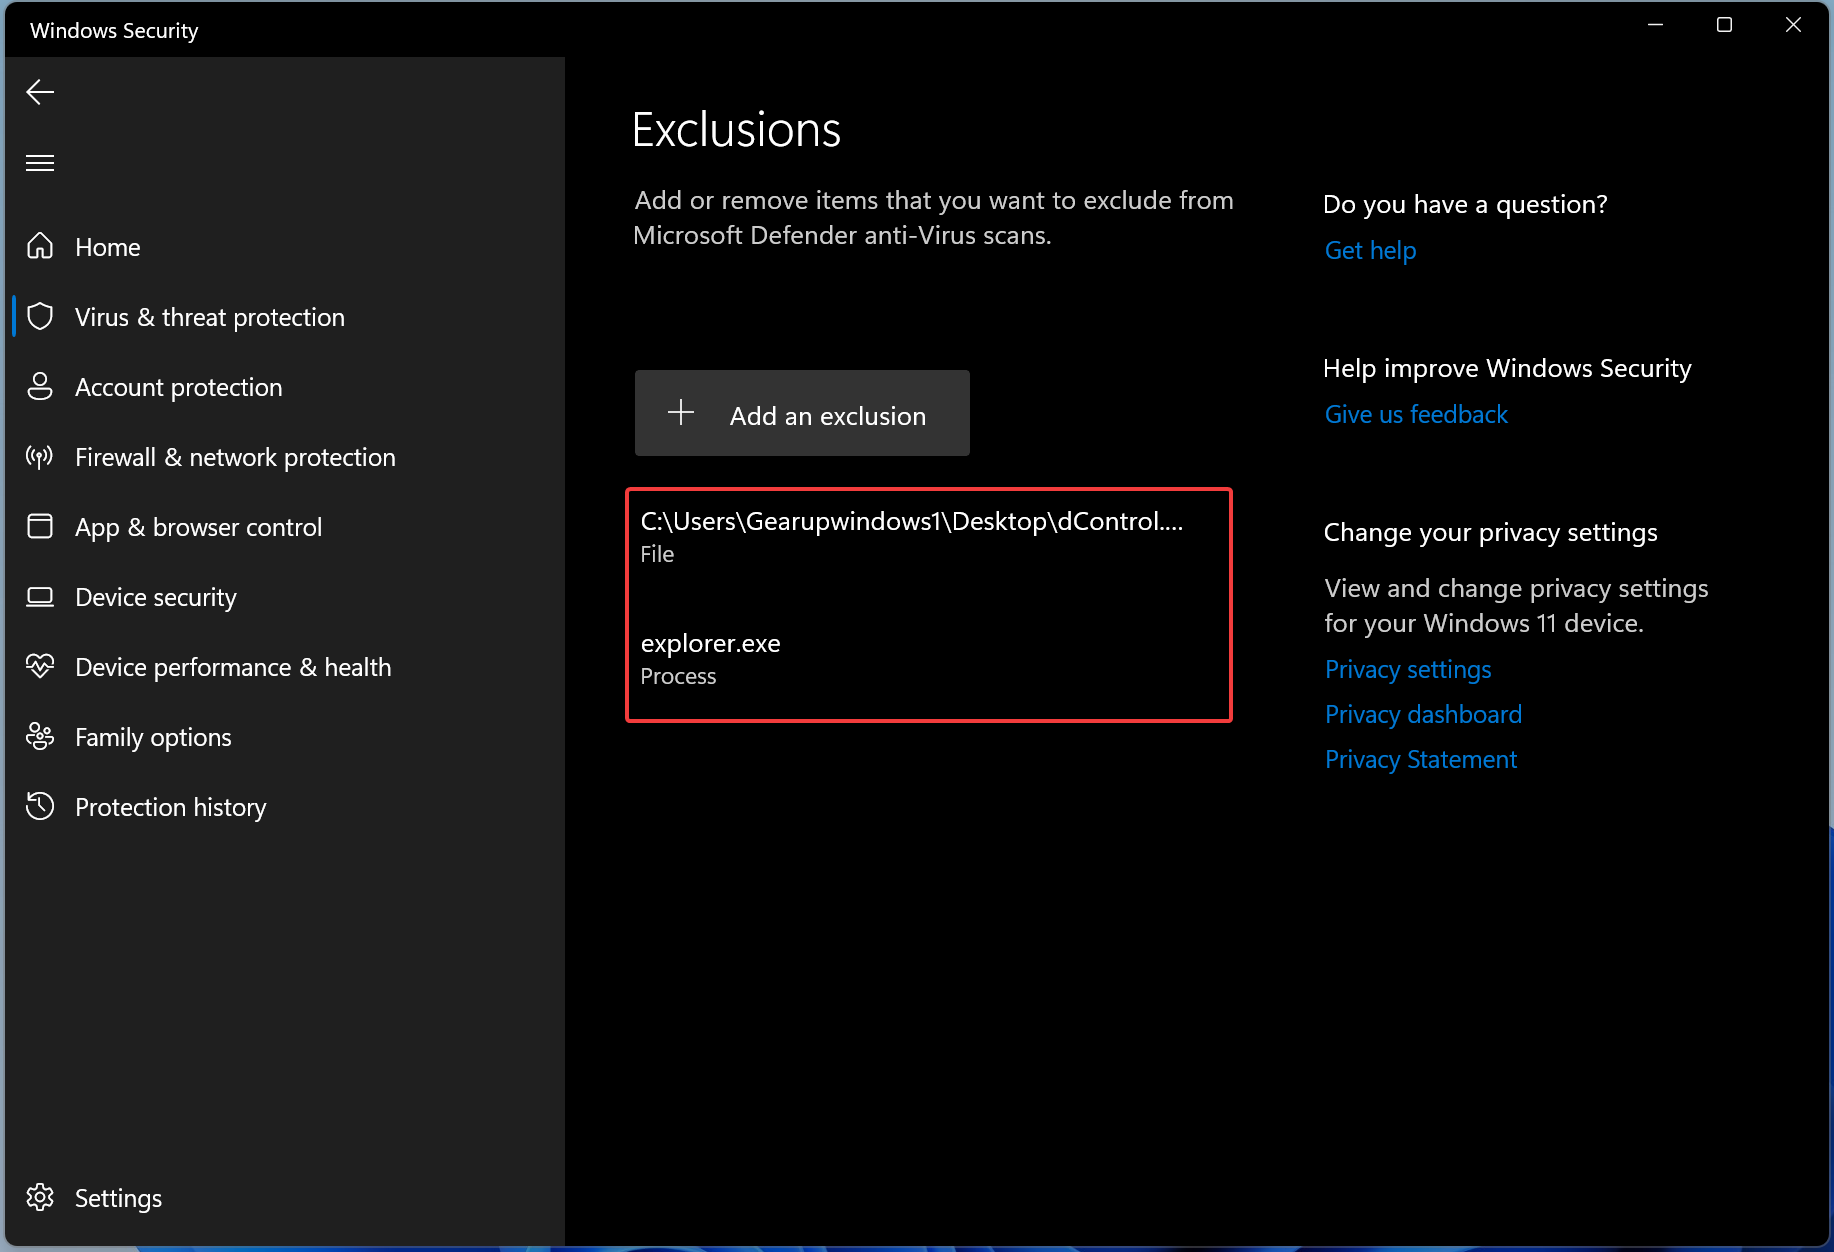
Step 7. Finally, click on the Remove button to remove a file/folder/process/file type from the exclusion list.
That’s it.
Conclusion
In conclusion, Microsoft Defender is a built-in antivirus software in Windows 11 that provides basic protection against viruses and malware. Although third-party antivirus software may provide more advanced features, Microsoft Defender still plays an important role in securing your computer. If you need to run an executable file that Microsoft Defender blocks, it’s better to add the file or folder to the exclusion list rather than turning off Microsoft Defender entirely. This article provides a step-by-step guide on how to add and remove exclusions from Microsoft Defender on Windows 11. By following these steps, you can customize your antivirus protection to meet your specific needs while keeping your computer safe from threats.