Solving network issues can be a frustrating experience, especially when you’re faced with multiple problems at once. However, there is a handy solution that can make your troubleshooting process much easier and more efficient: creating a user-friendly batch file. In this article, we will guide you through the steps of creating a batch file to fix network issues in Windows 11 or 10. By following these simple instructions, you’ll be able to resolve common network problems with just a few clicks.
How to Create a User-Friendly Batch File to Fix Network Issues in Windows 11 or 10?
To create a batch file to fix network issues in Windows 11 or 10, follow these simple steps:-
Step 1. To begin, open Notepad on your Windows 11 or 10 computer. Notepad is a lightweight text editor that allows you to create and edit plain text files, making it the perfect tool for creating batch files.
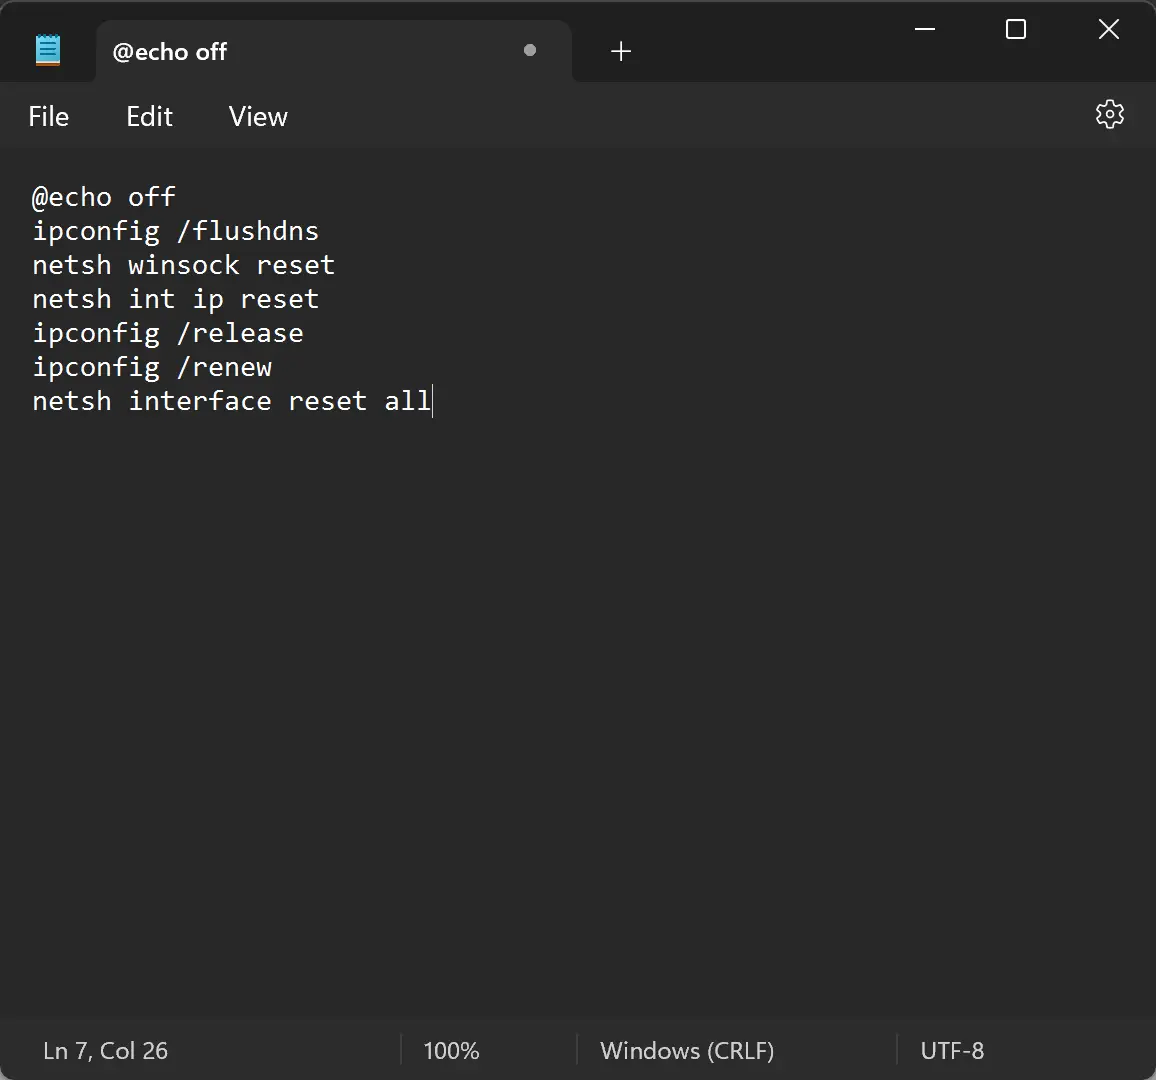
Step 2. In the Notepad window, type the following line to start the batch file:-
@echo off
This command ensures that the commands you enter are not displayed in the command prompt when the batch file is executed.
Step 3. The DNS cache can sometimes cause network connectivity issues. To flush the DNS cache, add the following line to the batch file:-
ipconfig /flushdns
This command clears the DNS cache, allowing your computer to establish fresh connections.
Step 4. Next, you’ll want to reset the TCP/IP settings. Add the following lines to the batch file:-
netsh winsock reset
netsh int ip reset
These commands reset the Winsock catalog and IP settings, which can help resolve network-related problems.
Step 5. If you’re still experiencing network issues, releasing and renewing the IP configuration might do the trick. Add the following lines to the batch file:-
ipconfig /release
ipconfig /renew
These commands release the current IP configuration and request a new IP address from the DHCP server.
Step 6. If all else fails, resetting the network adapters can often resolve stubborn network problems. Add the following lines to the batch file:-
netsh interface reset all
This command resets all network interfaces, allowing them to start fresh.
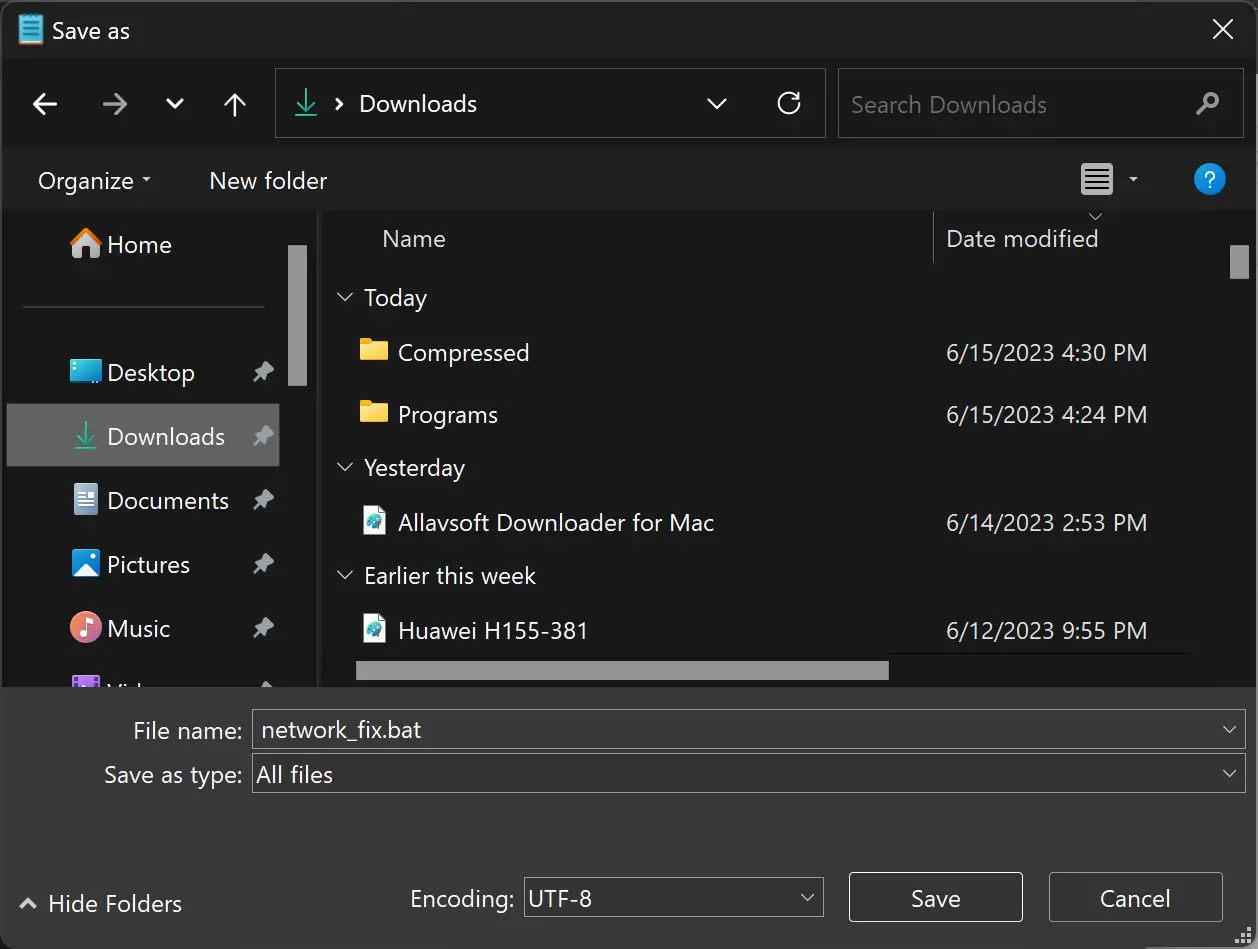
Step 7. Once you’ve added all the necessary commands, it’s time to save the batch file. Go to “File” in the Notepad menu and choose “Save As.” Give the file a name, such as “network_fix.bat,” and ensure to select “All files” in the “Save as type” drop-down menu.
Step 8. To run the batch file, simply double-click on it. A command prompt window will open, and the commands within the file will be executed one by one. You may see some output in the command prompt, indicating that the commands are being executed successfully.
Step 9. After the batch file has finished running, it’s time to test your network connection. Try accessing websites or performing any other network-related tasks that were previously problematic. In many cases, the network issues should now be resolved.
Conclusion
By following these steps and creating a user-friendly batch file, you can quickly and effectively troubleshoot network issues in Windows 11 or 10. The batch file automates the process, eliminating the need for manual command entry and saving you valuable time. Next time you encounter network problems, simply run your batch file and let it do the work for you. Enjoy a smoother and more seamless network experience!