This video will guide you on how to Export the Installed Apps List in Windows 11 without any Software. This video is also helpful for those who are still using Windows 10, 8, or 7.
How to get a list of installed apps in Windows 11 using Command Prompt?
Step 1. To export the installed apps list in a notepad file, press the Windows + R keys to open the Run dialog box.
Step 2. Then, type cmd in the Run box and press Ctrl + Shift + Enter to open the command prompt with admin rights.
Step 3. If User Account Control (UAC) prompts, click Yes to continue.
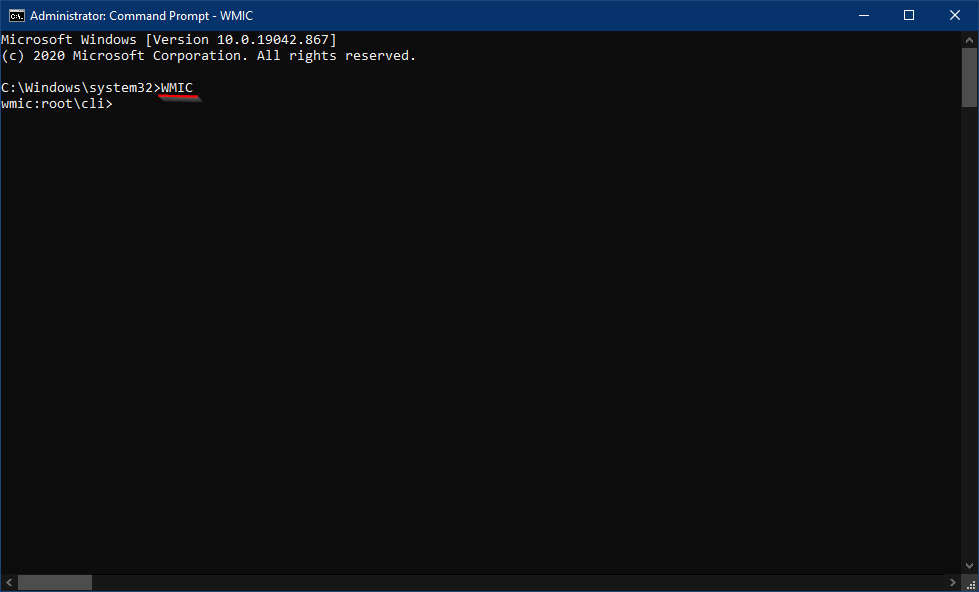
Step 4. In the elevated command Prompt window, type WMIC and press Enter from the keyboard to execute it.
Step 5. Next, type the following and hit Enter from the keyboard:-
/output:C:\InstallList.txt product get name,version
How to get a list of installed apps in Windows 11 using PowerShell?
Here are the steps to export a list of installed apps in Windows 11 using PowerShell:-
Step 1. Open an elevated PowerShell window.
Step 2. In the PowerShell window, type the following command and press Enter:-
Get-AppxPackage | Select-Object Name, PackageFullName, Version | Export-Csv "C:\AppList.csv" -NoTypeInformation
This command will generate a list of all the installed apps in your system, including their names, package full names, and versions, and save it to a file named “AppList.csv” in the root of your C: drive.
Open File Explorer and navigate to the C: drive. You should see a file named “AppList.csv” in the root directory.
Double-click the “AppList.csv” file to open it in Microsoft Excel or any other spreadsheet application.
That’s it! You have successfully exported a list of installed apps in Windows 11 without any additional software. You can use this list to keep track of your installed apps or to restore your system in case of a reinstallation.