Windows 10 introduced a feature that can significantly boost your productivity: Virtual Desktops. Virtual Desktops allow you to create multiple desktop environments on a single physical computer. It’s like having several monitors, each with its own set of open apps and windows. This feature is handy for organizing your work, separating personal and professional tasks, or managing various projects simultaneously. In this step-by-step guide, we will walk you through the process of setting up and effectively using Windows 10’s Virtual Desktops.
How to Set Up Windows 10’s Virtual Desktops?
To configure or set up Windows 10’s Virtual Desktops, follow these steps:-
Step 1. To begin, click the Task View button on the taskbar, or simply press the “Windows Key + Tab.” This action will open the Task View, displaying your current desktop and any open windows.
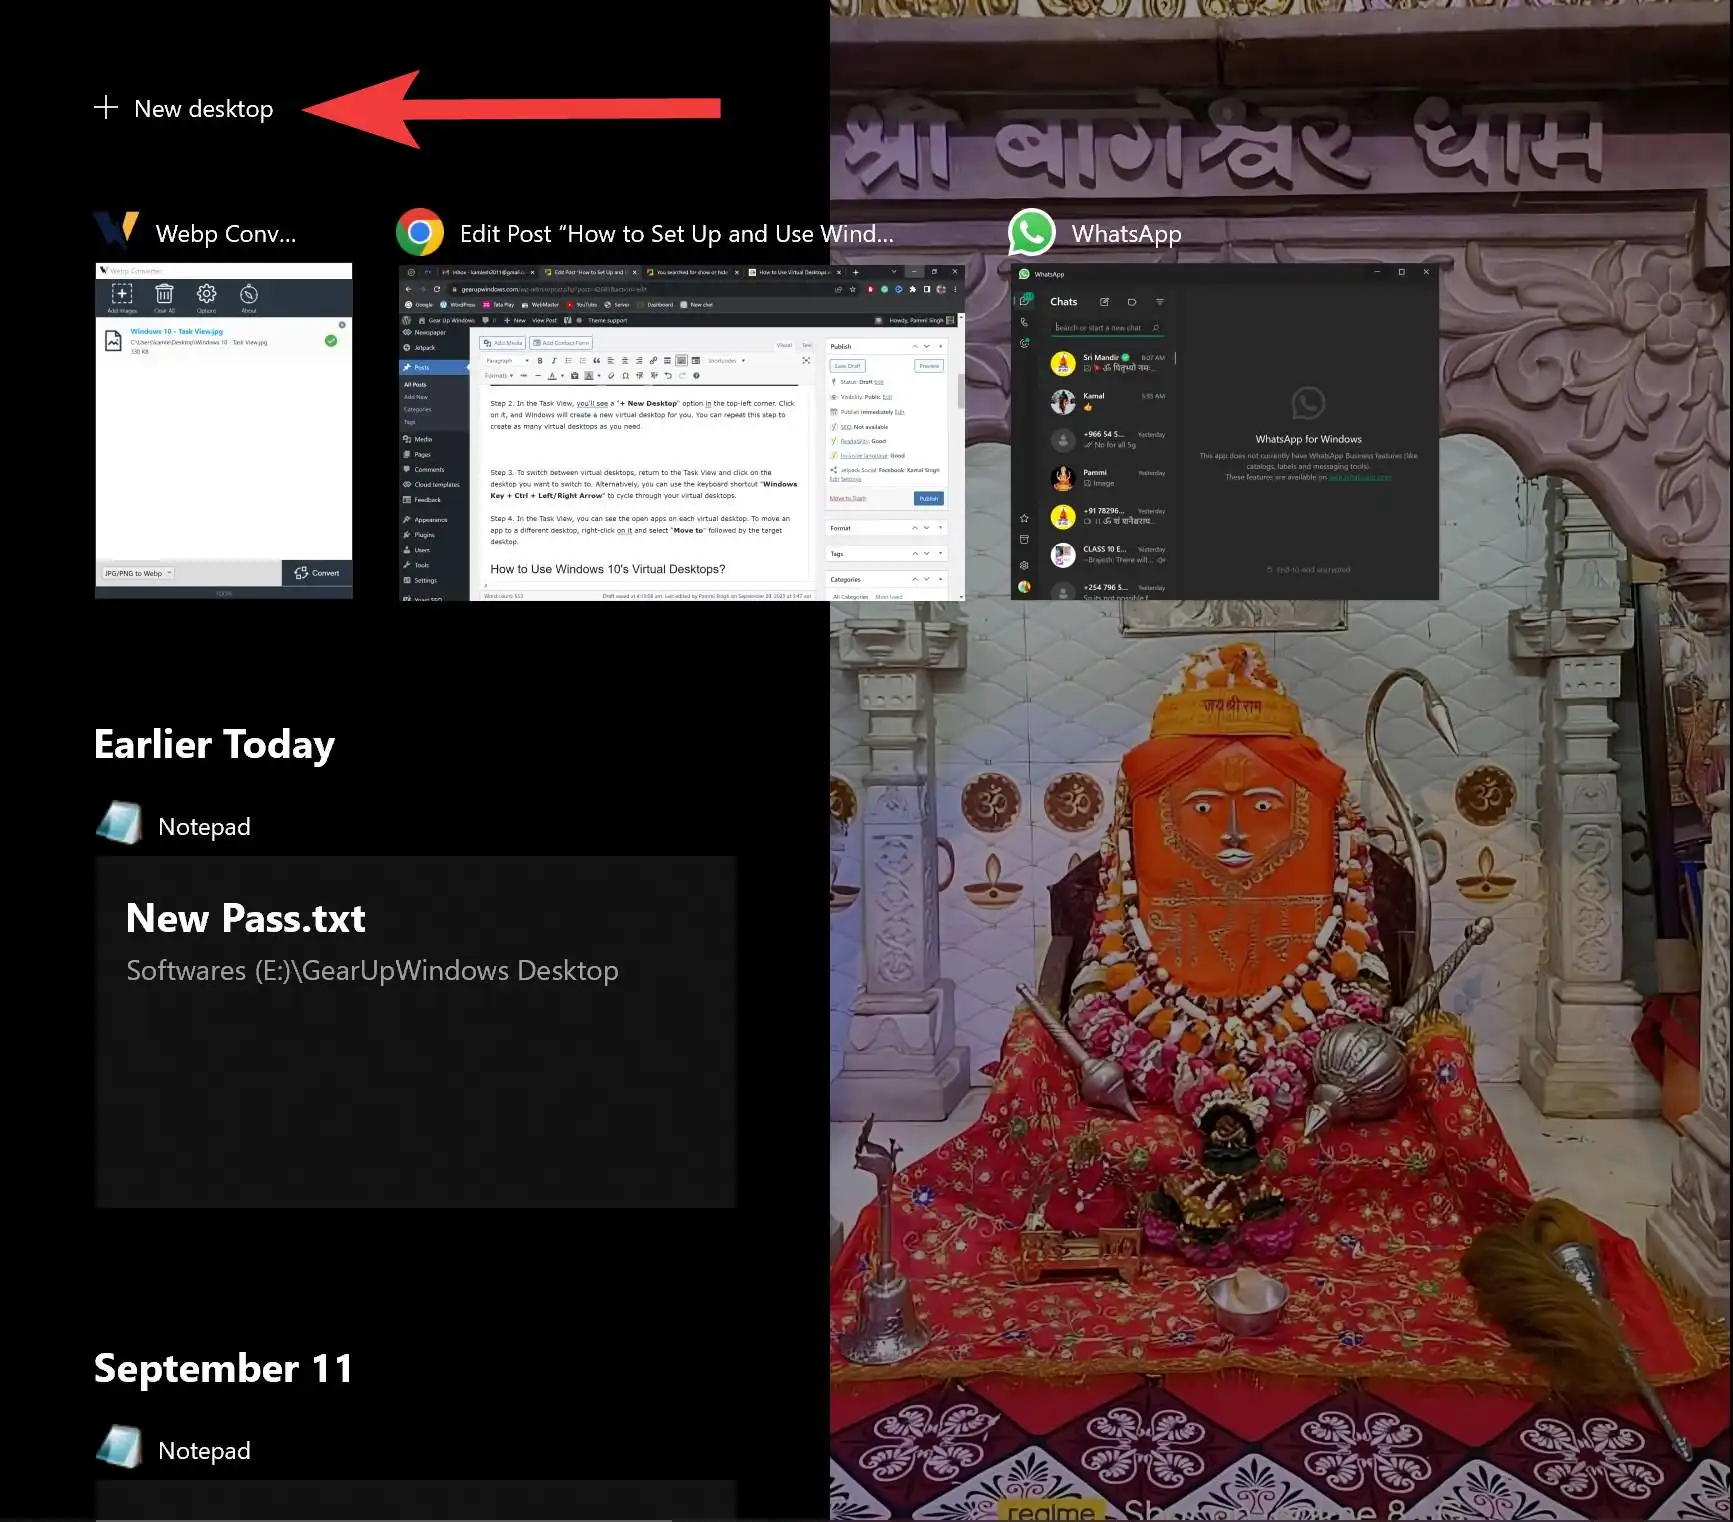
Step 2. In the Task View, you’ll see a “+ New Desktop” option in the top-left corner. Click on it, and Windows will create a new virtual desktop for you. You can repeat this step to create as many virtual desktops as you need.
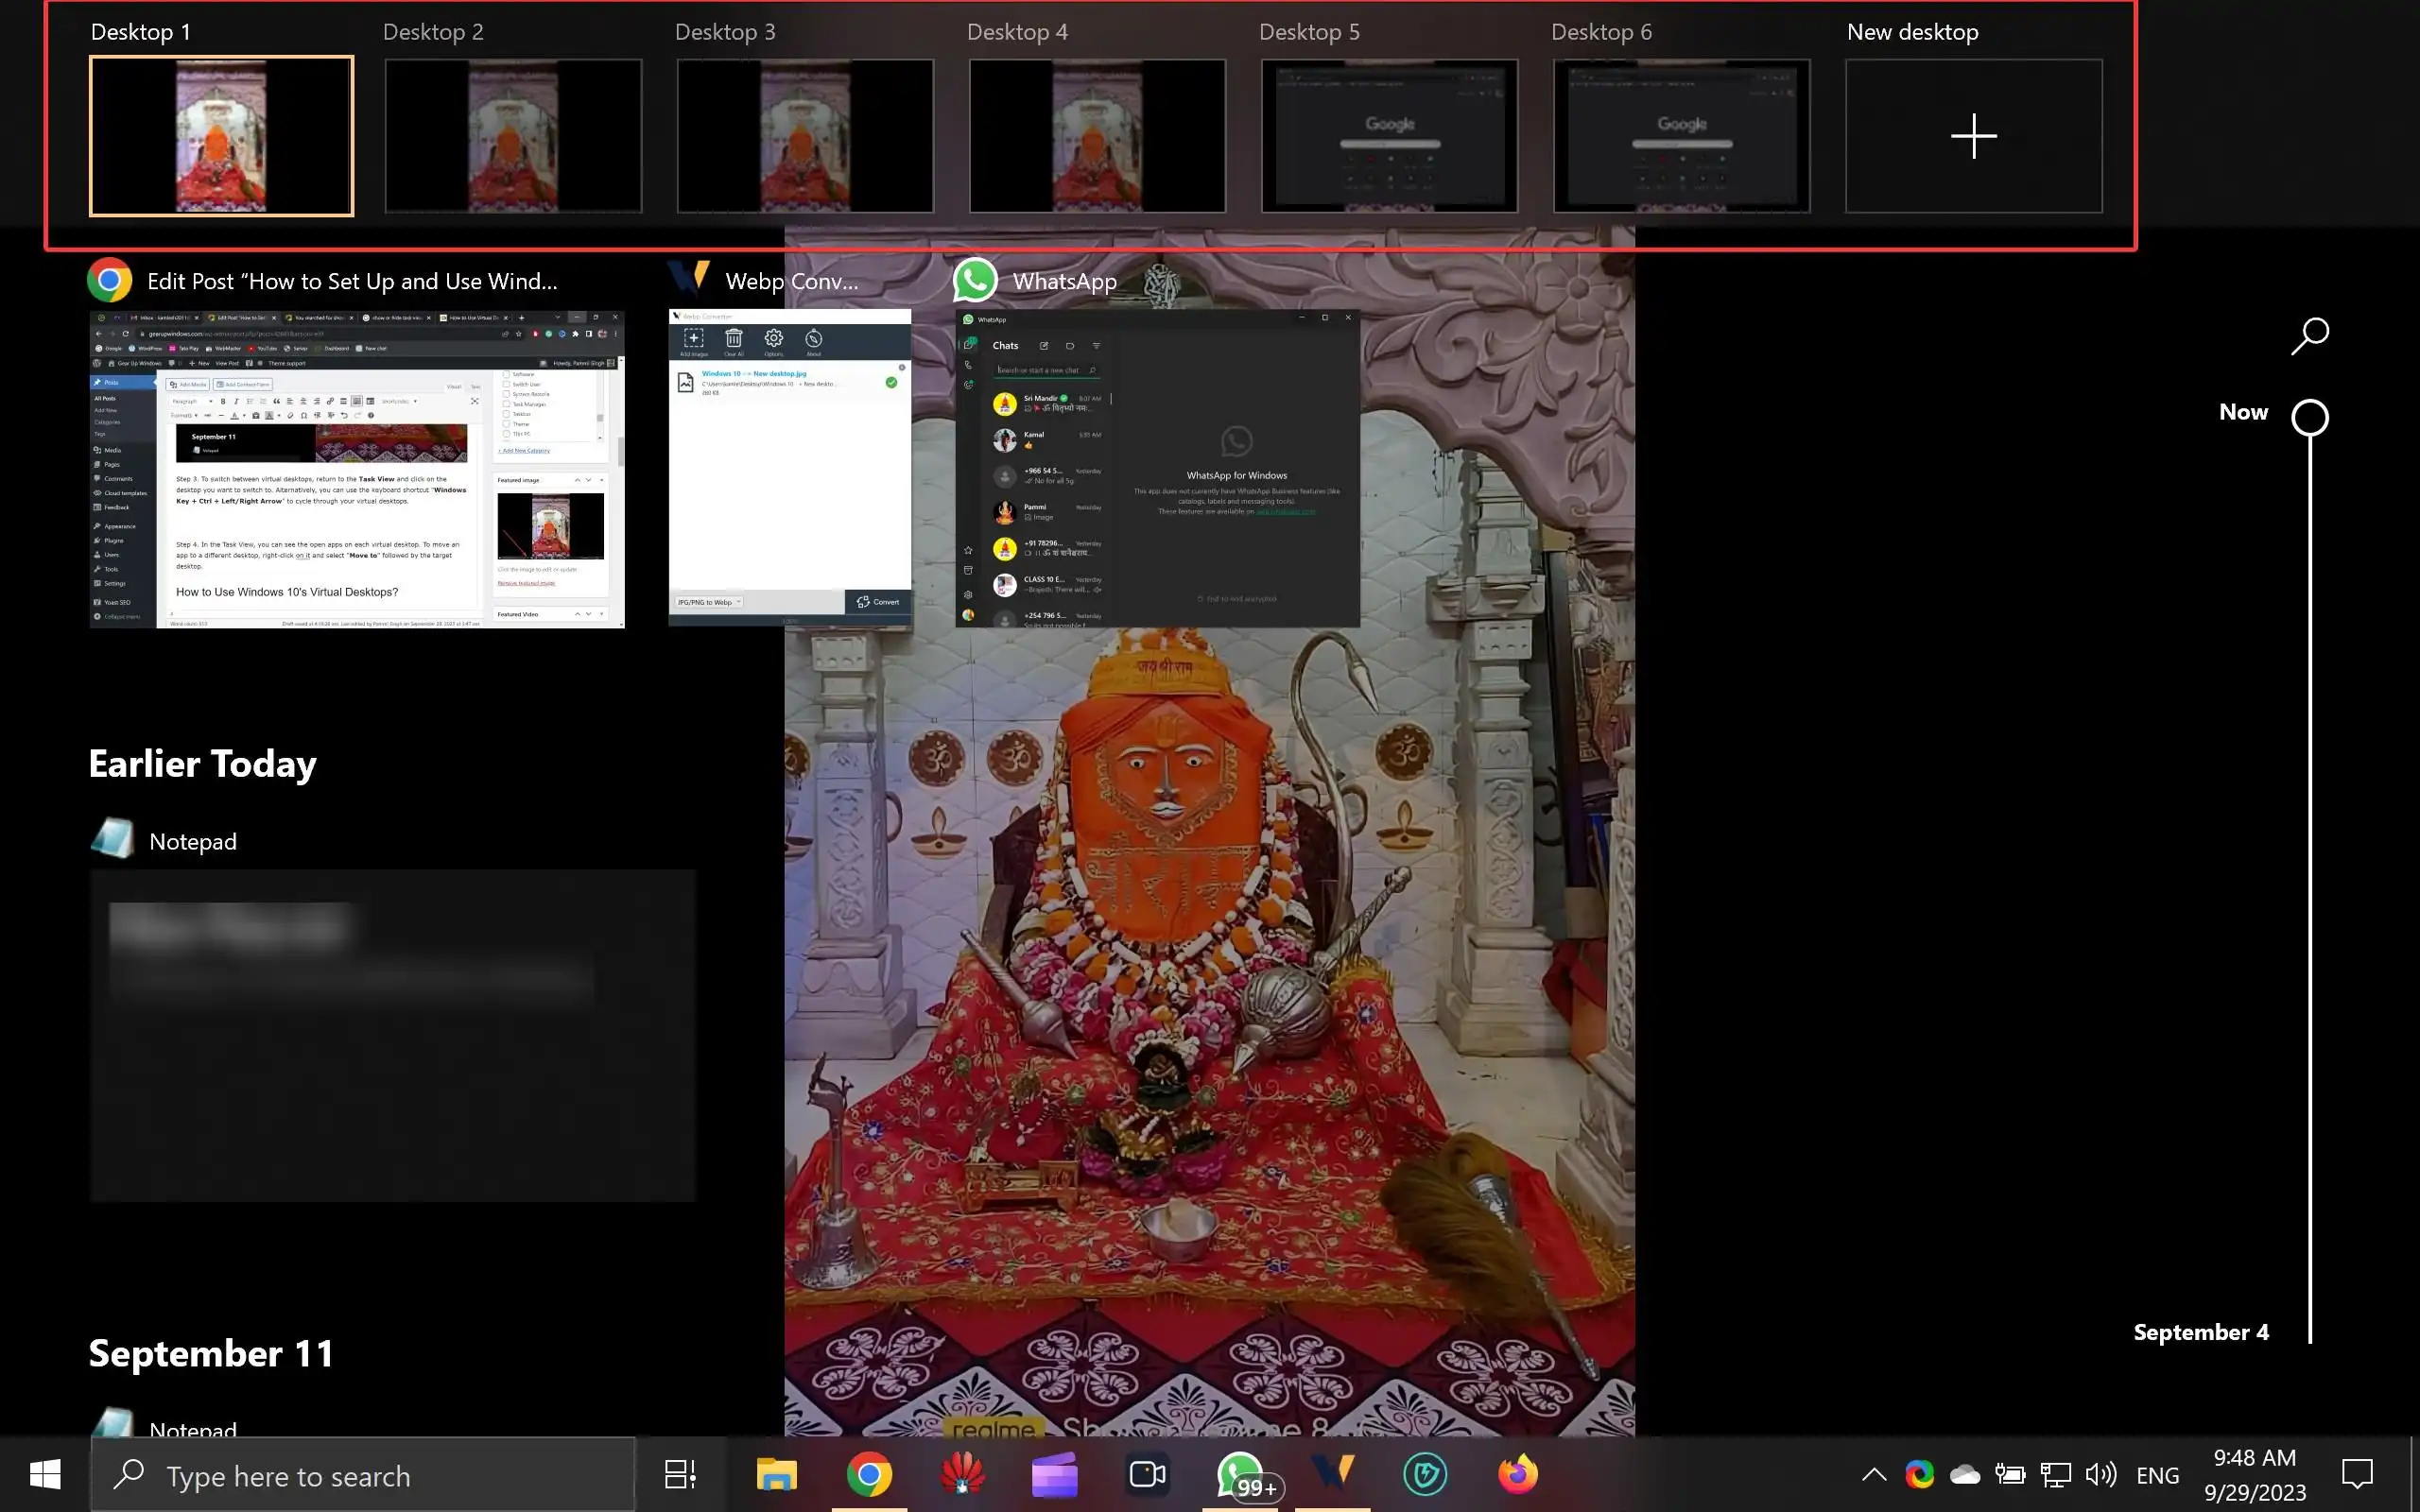
Step 3. To switch between virtual desktops, return to the Task View and click on the desktop you want to switch to. Alternatively, you can use the keyboard shortcut “Windows Key + Ctrl + Left/Right Arrow” to cycle through your virtual desktops.
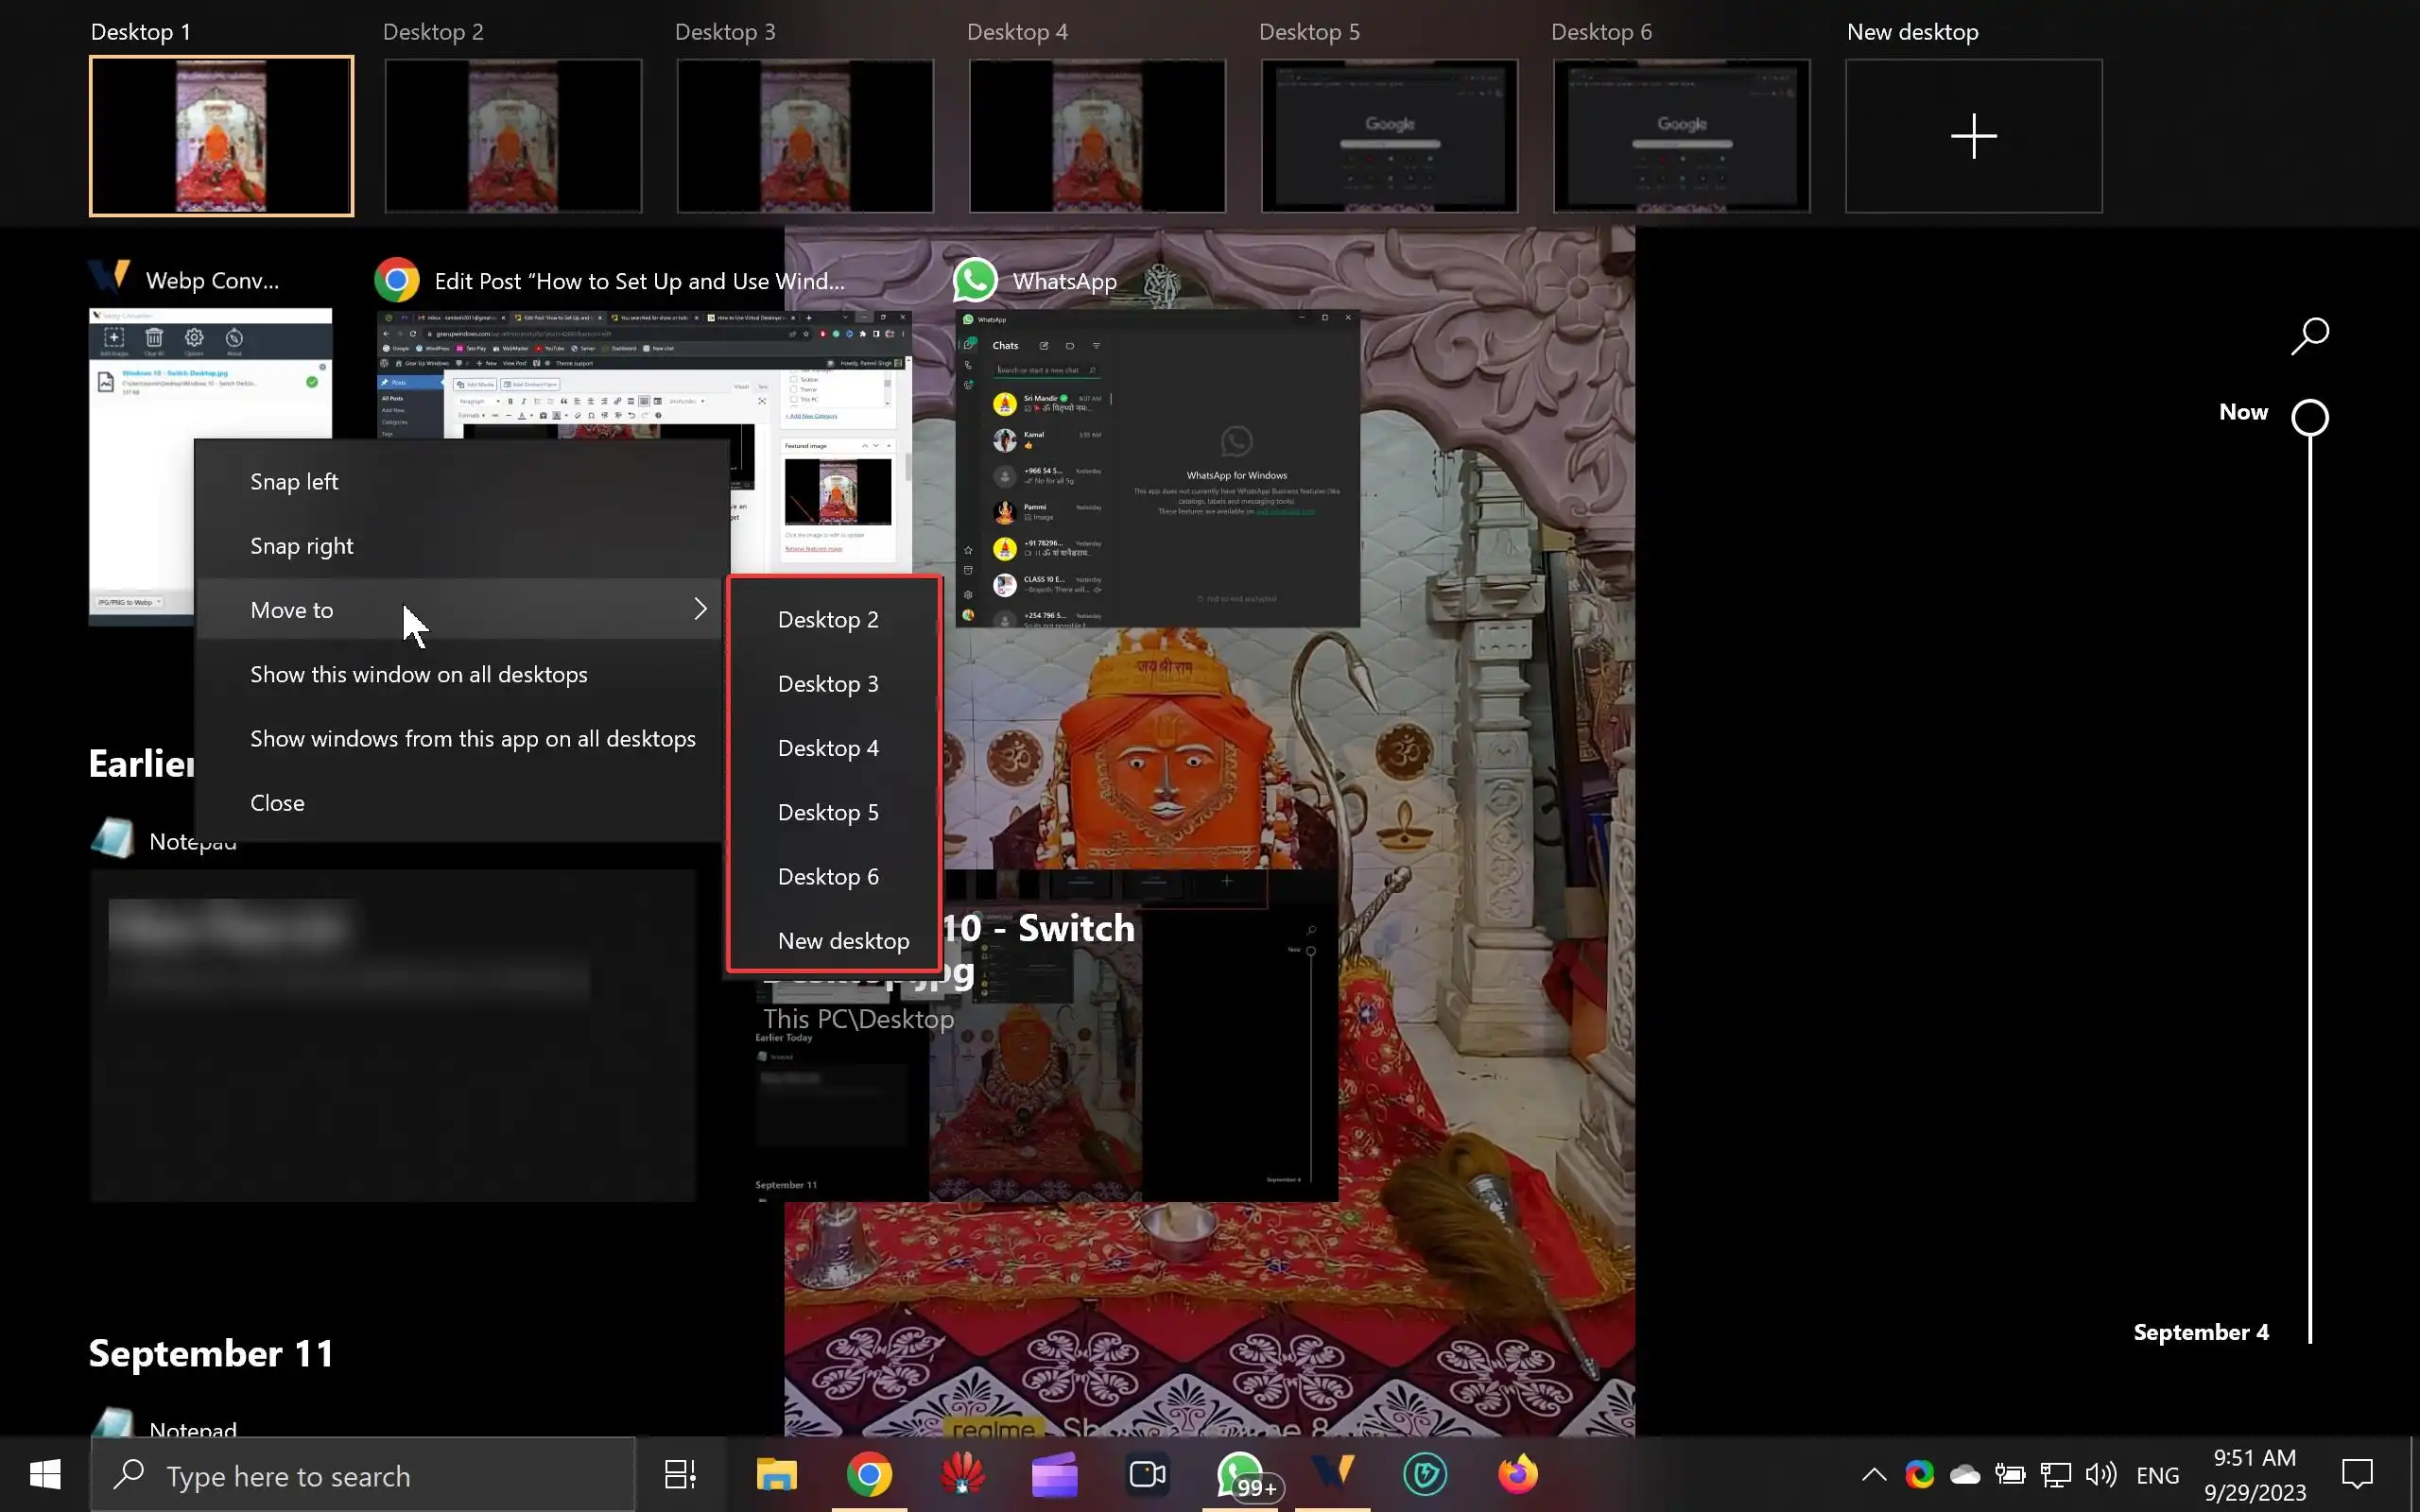
Step 4. In the Task View, you can see the open apps on each virtual desktop. To move an app to a different desktop, right-click on it and select “Move to” followed by the target desktop.
How to Use Windows 10’s Virtual Desktops?
Now that you’ve set up your virtual desktops, let’s explore some tips on how to use them effectively:-
Organize Your Tasks: Assign specific tasks or projects to each virtual desktop. For example, you can have one desktop for work-related tasks, another for personal activities, and a third for a specific project.
Keyboard Shortcuts: Master the keyboard shortcuts for virtual desktops. Besides the switching shortcut mentioned earlier, you can use “Windows Key + Ctrl + D” to create a new desktop, “Windows Key + Ctrl + F4” to close the current desktop, and “Windows Key + Ctrl + Number” to switch directly to a specific desktop.
Taskbar on Each Desktop: Each virtual desktop has its own taskbar. You can customize these taskbars by pinning your most-used apps for quick access.
Customize Desktop Backgrounds: To help distinguish between virtual desktops, set unique desktop backgrounds for each one. Right-click on the desktop, select “Personalize,” and choose a different background.
Notifications: Be mindful of notifications. Windows 10 will show notifications on the desktop you are currently using. Ensure you are on the right desktop to stay focused on the related tasks.
Overview of All Desktops: Press “Windows Key + Tab” to see an overview of all your virtual desktops. This view makes it easy to drag and drop windows between desktops.
Use Task View for Multitasking: Task View isn’t just for managing virtual desktops. You can also use it to create separate Task View windows to organize your tasks further.
Conclusion
Windows 10’s Virtual Desktops are a powerful feature that can help you stay organized and boost your productivity. By creating distinct virtual environments for different tasks or projects, you can reduce clutter and focus on what matters most. With a little practice and customization, you’ll find Virtual Desktops to be an invaluable tool in managing your digital workspace.