For the longest time, customizing RGB lighting effects on your gaming peripherals meant diving into a myriad of dedicated software applications, each tailored to a specific brand. Razer, SteelSeries, Corsair, Logitech – all excellent brands, but each requiring its own app. This resulted in multiple pieces of software bloating up your device and a cluttered user experience.
Enter Windows 11 and its game-changing feature – Dynamic Lighting. With Dynamic Lighting, Microsoft has seamlessly integrated RGB lighting controls into the native Windows 11 interface. This means no more juggling between different apps to tweak your RGB settings. While currently available to Windows Insiders, it’s expected to become widely accessible when Windows 11 version 23H2 rolls out. In this gearupwindows article, we’ll guide you on how to use Dynamic Lighting for RGB devices on Windows 11.
What is Dynamic Lighting?
Dynamic Lighting is a revolutionary feature designed to unify the control of RGB lighting across various peripherals without the need for third-party software. It achieves this by collaborating with device partners such as Razer, Corsair, Logitech, and Asus to support the open HID LampArray standard.
With Dynamic Lighting, you can now configure RGB lighting on devices like mice, keyboards, desk mats, monitors, and more directly from the Windows 11 Settings app. While it may not offer the same level of intricacy as dedicated apps, it provides a convenient way to control your RGB lighting.
How to Use Dynamic Lighting for RGB devices on Windows 11?
Here’s how you can utilize Dynamic Lighting on Windows 11:-
Step 1. Open the Settings app on your Windows 11 computer.
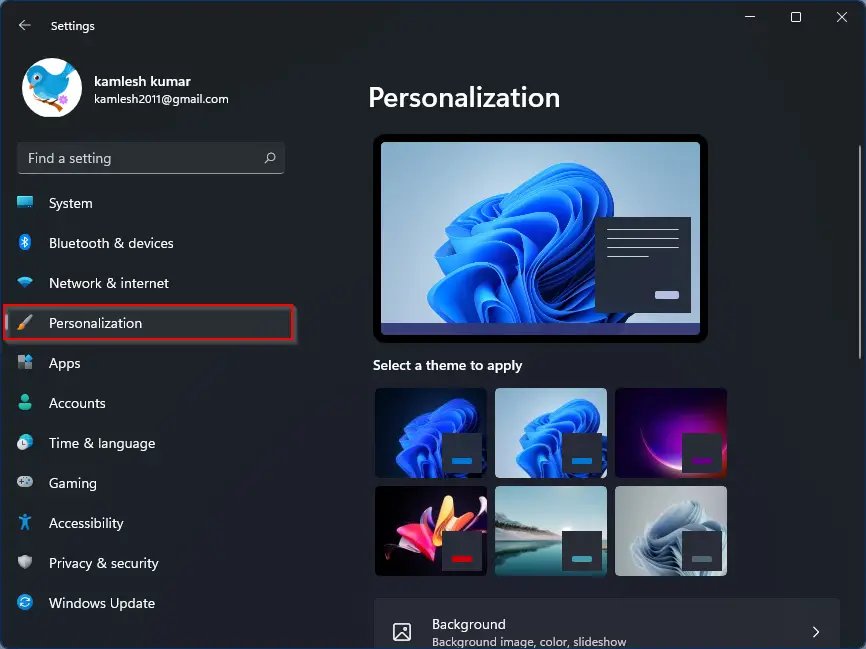
Step 2. Click on “Personalization” in the left sidebar.
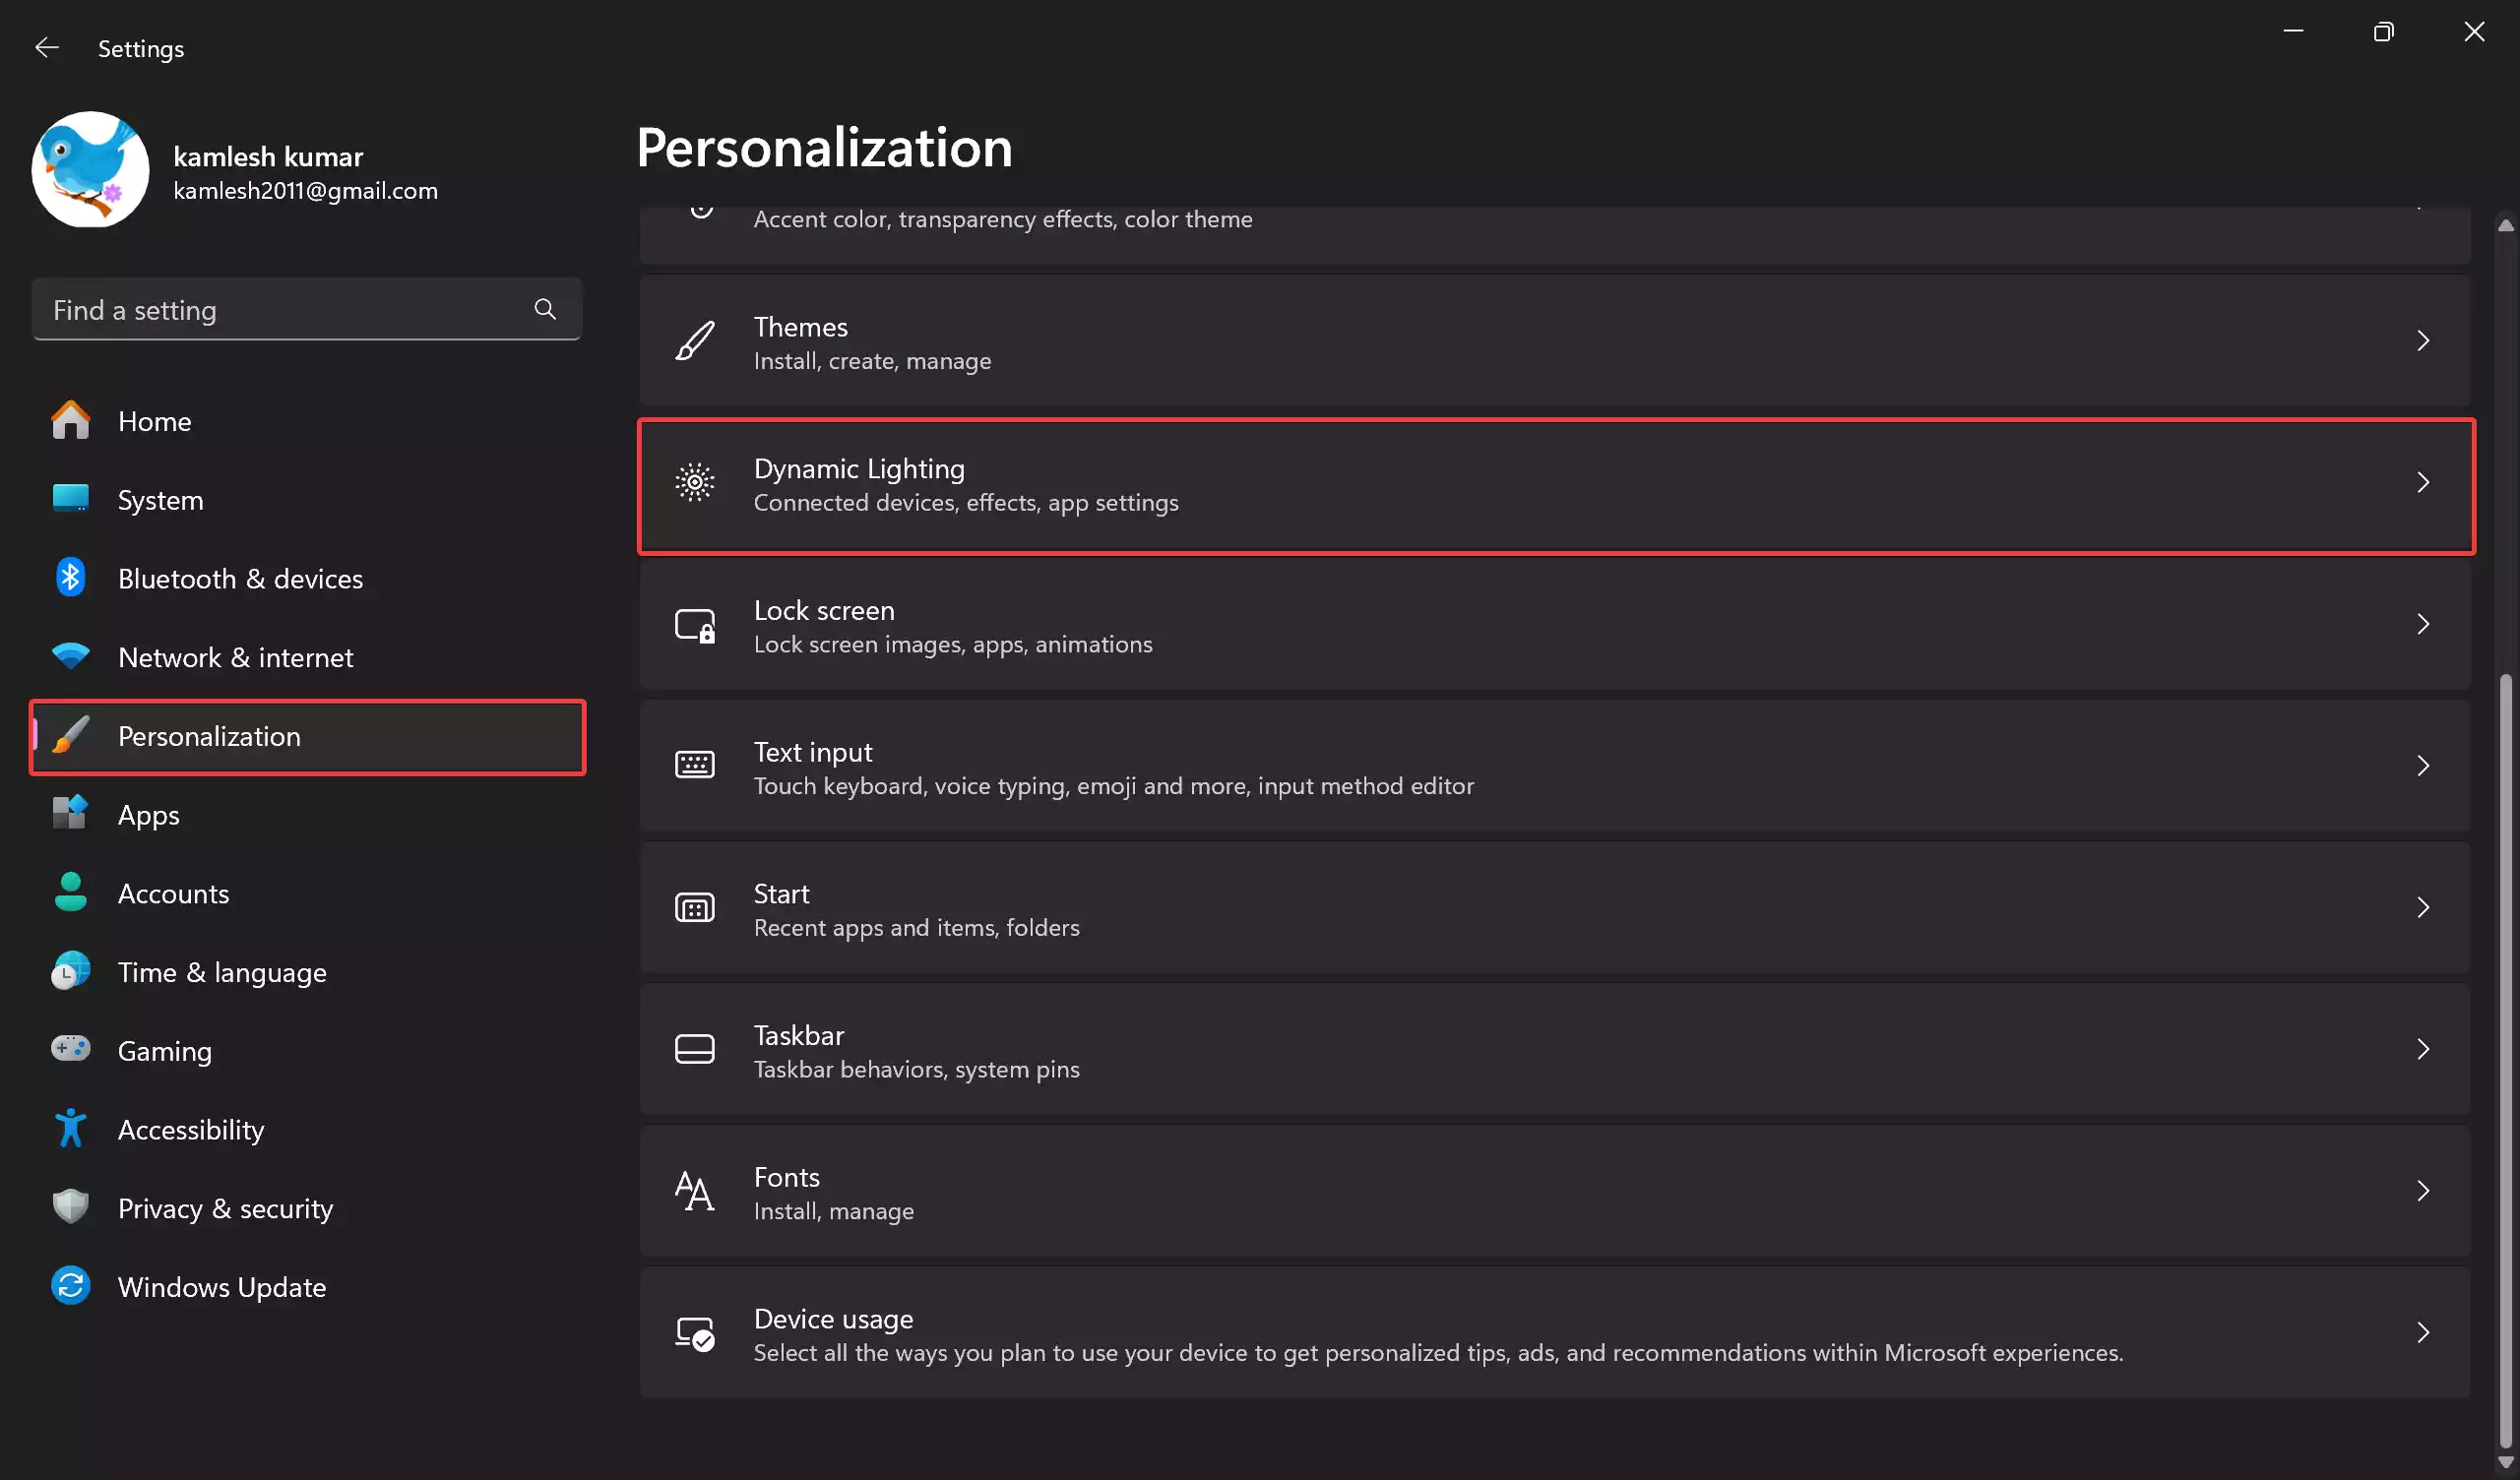
Step 3. In the right sidebar, you’ll find the “Dynamic Lighting” tab. Click on it.
Step 4. Ensure that your compatible RGB devices are connected to your PC. The list of connected devices will be displayed on this page.
Step 5. You can either click on an individual device to access lighting controls for that specific device or make changes for all connected accessories from the main Dynamic Lighting page.
Step 6. To enable RGB controls, toggle on the “Use Dynamic Lighting on my devices” switch, if available.
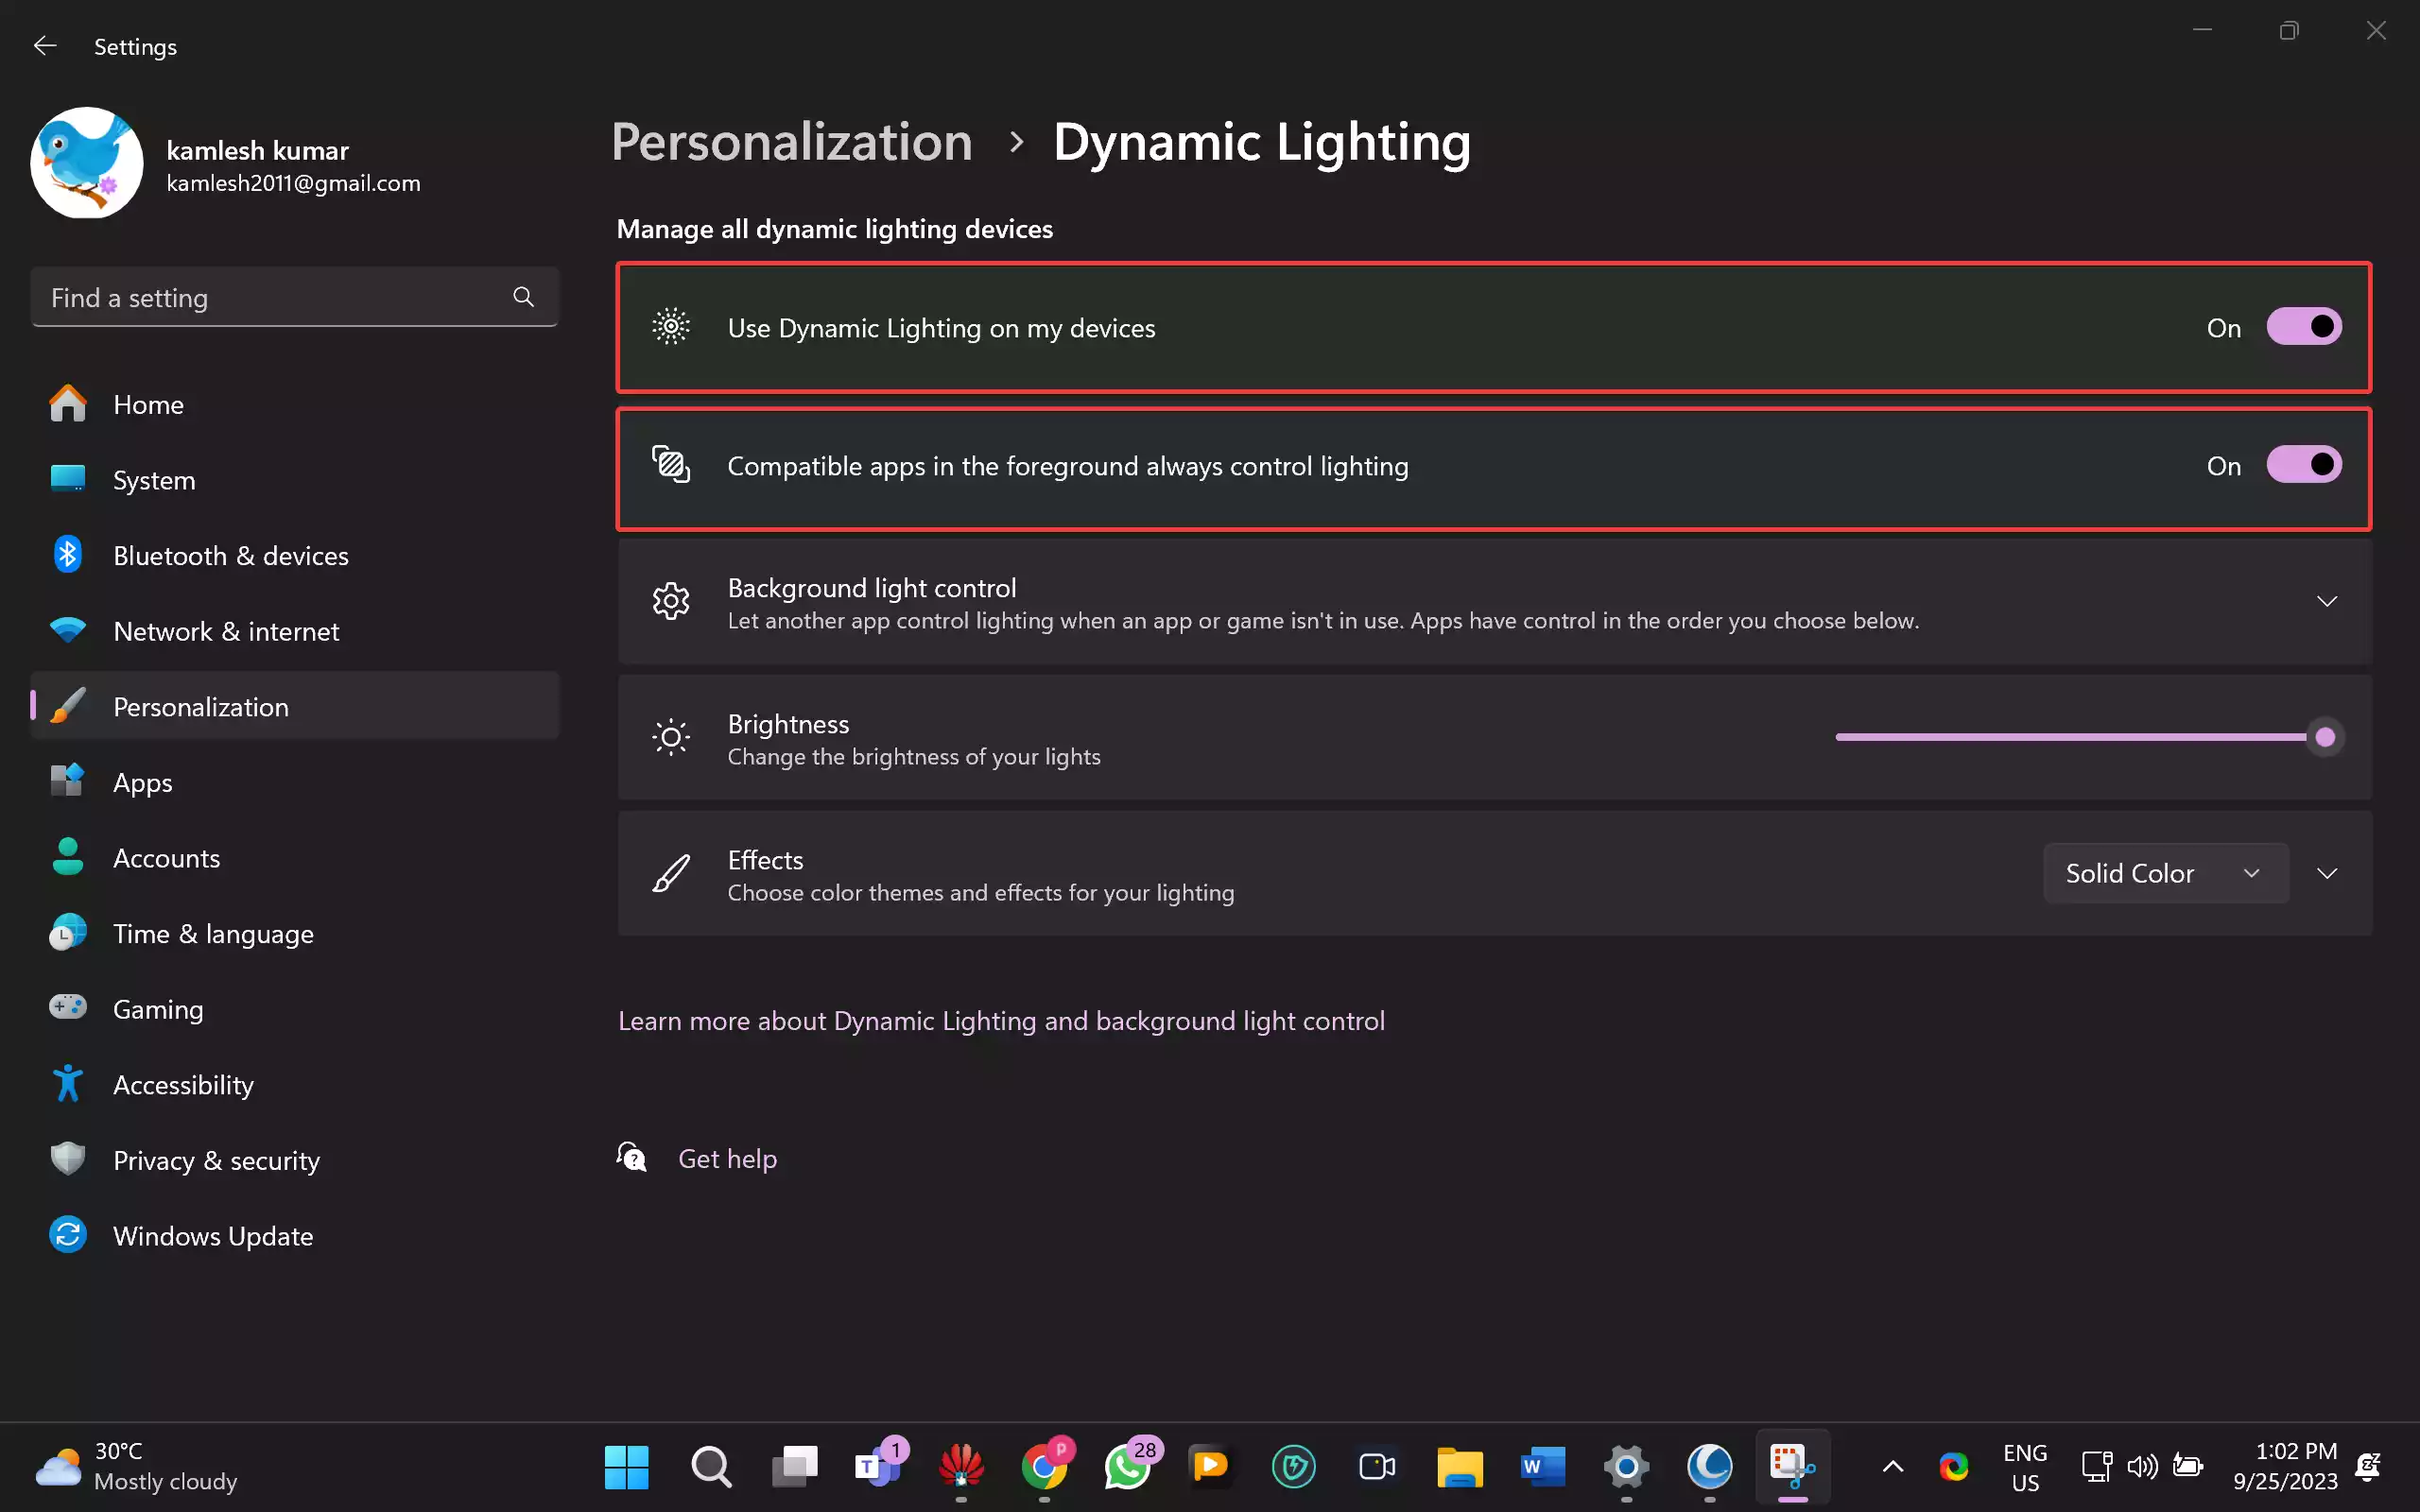
Step 7. Optionally, you can toggle off the “Compatible apps in the foreground always control lighting” switch. This allows you to manage lighting using Windows 11’s controls rather than third-party apps.
Step 8. Use the slider to set the brightness level of your RGB lighting to your liking.
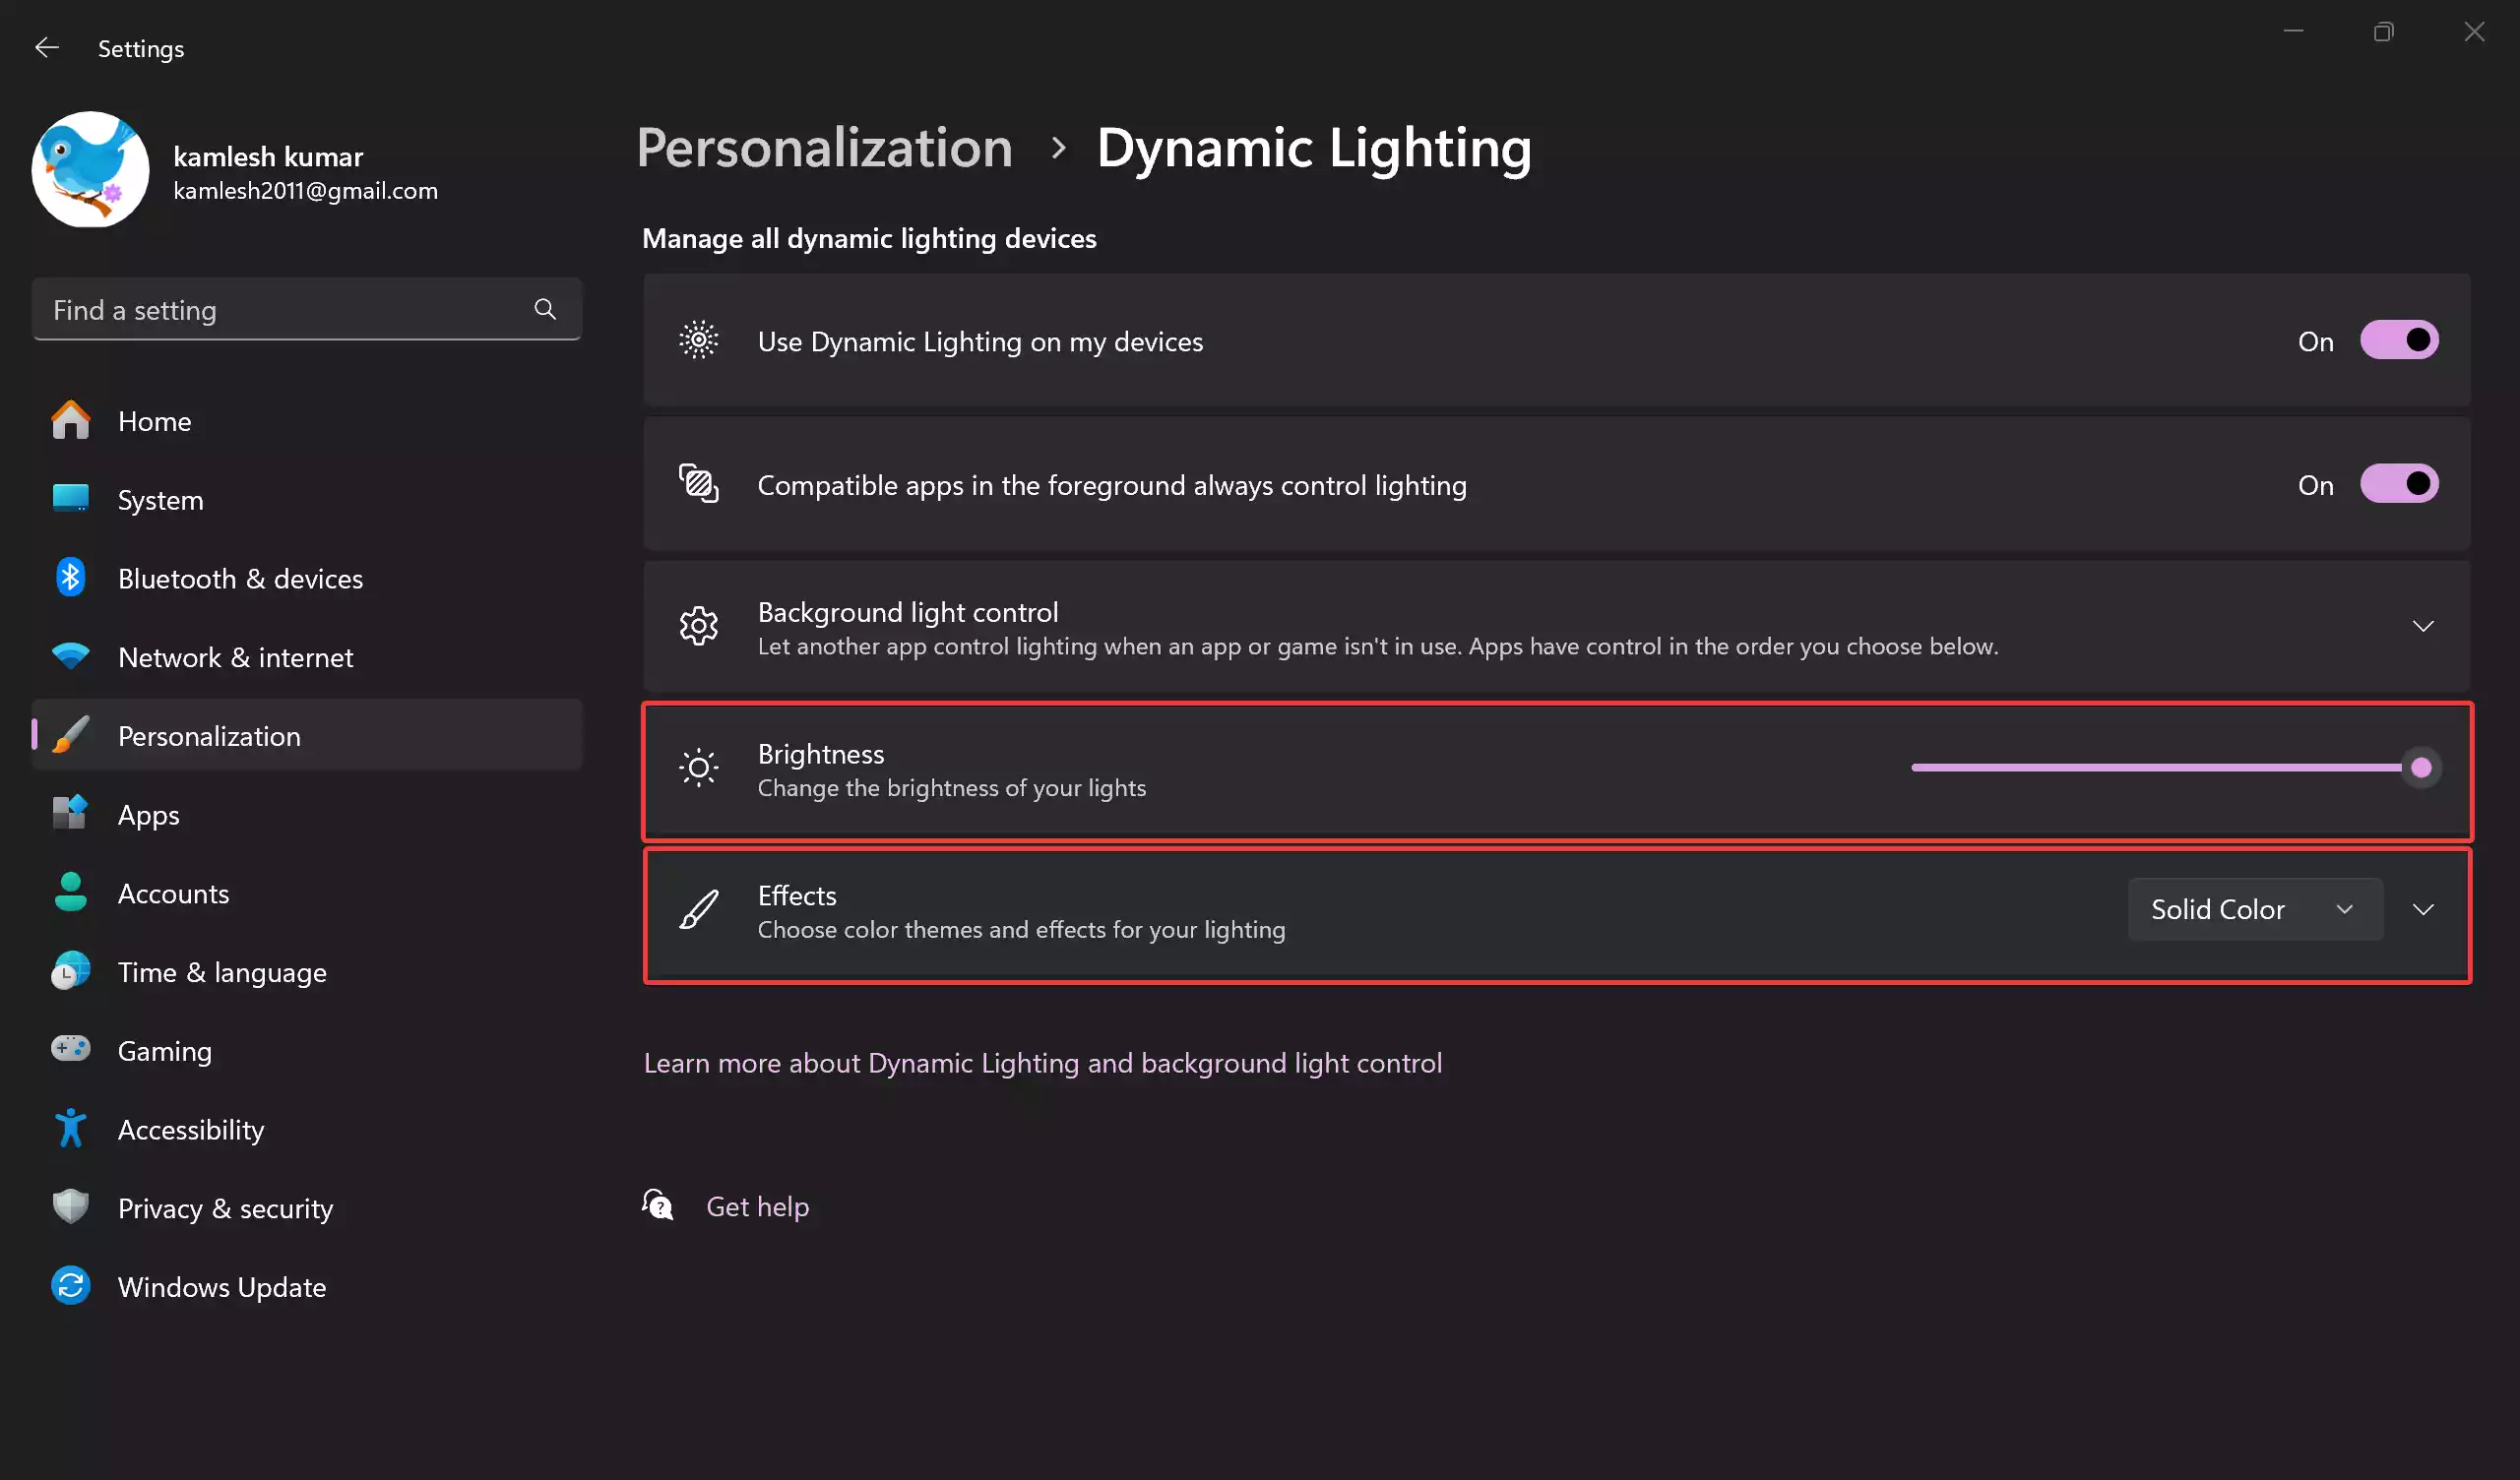
Step 9. Click on the “Effects” setting and choose a lighting effect for your devices. For instance, you can opt for “Solid Color.”
Step 10. Optionally, you can explore five additional effects:-
- Breathing: A gentle pulsating effect with adjustable speed.
- Rainbow: A dynamic color cycle with speed and direction controls.
- Wave: A mesmerizing wave-like pattern with speed and direction options.
- Wheel: A spiral effect with customizable speed and direction.
- Gradient: A smooth transition between two colors with directional choices.
Once you’ve configured your settings, your devices will automatically reflect the chosen lighting configuration.
Conclusion
Dynamic Lighting on Windows 11 is a game-changer for RGB enthusiasts. It simplifies the process of customizing RGB lighting on your peripherals, eliminating the need for multiple manufacturer-specific apps. While it may not cover every RGB device initially, Microsoft’s commitment to expanding support makes it a promising feature for the RGB community.
Say goodbye to the clutter of RGB software and embrace the convenience of Dynamic Lighting as it evolves and becomes more accessible with future Windows 11 updates. Unlock the vibrancy of your RGB devices and enjoy a seamless lighting experience right from the heart of Windows 11.
