To free up space on a Windows 10 PC, many of us tend to empty the Recycle Bin and delete temporary files. Additionally, you can use the inbuilt tool Disk Cleanup to remove unwanted files from your computer. However, these methods require manual execution.
But did you know that Microsoft has included a Storage sense tool in Windows 10 that can automatically clean your PC? Although Storage Sense is an optional feature and is disabled by default, it can help keep your PC clean by deleting temporary files, emptying the recycle bin in 30-day intervals, and removing files in the Downloads folder that haven’t been changed in the last 30 days. Furthermore, you can also use Storage Sense to delete the previous version of Windows 10, freeing up additional space.
How to Enable Storage Sense on Windows 10?
Follow these steps to enable Storage Sense on Windows 10:-
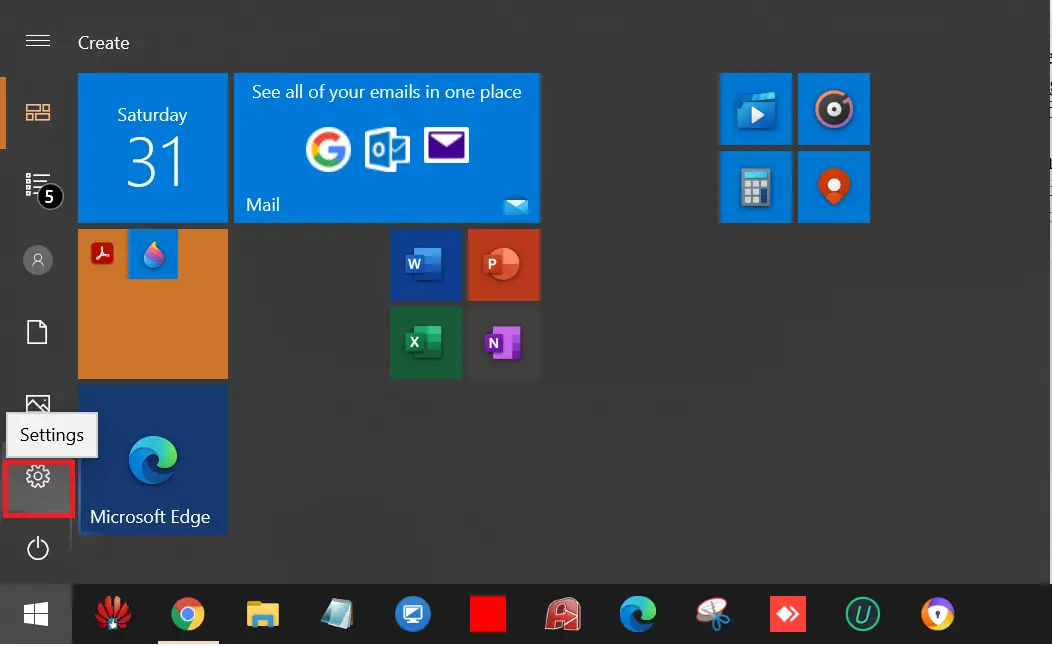
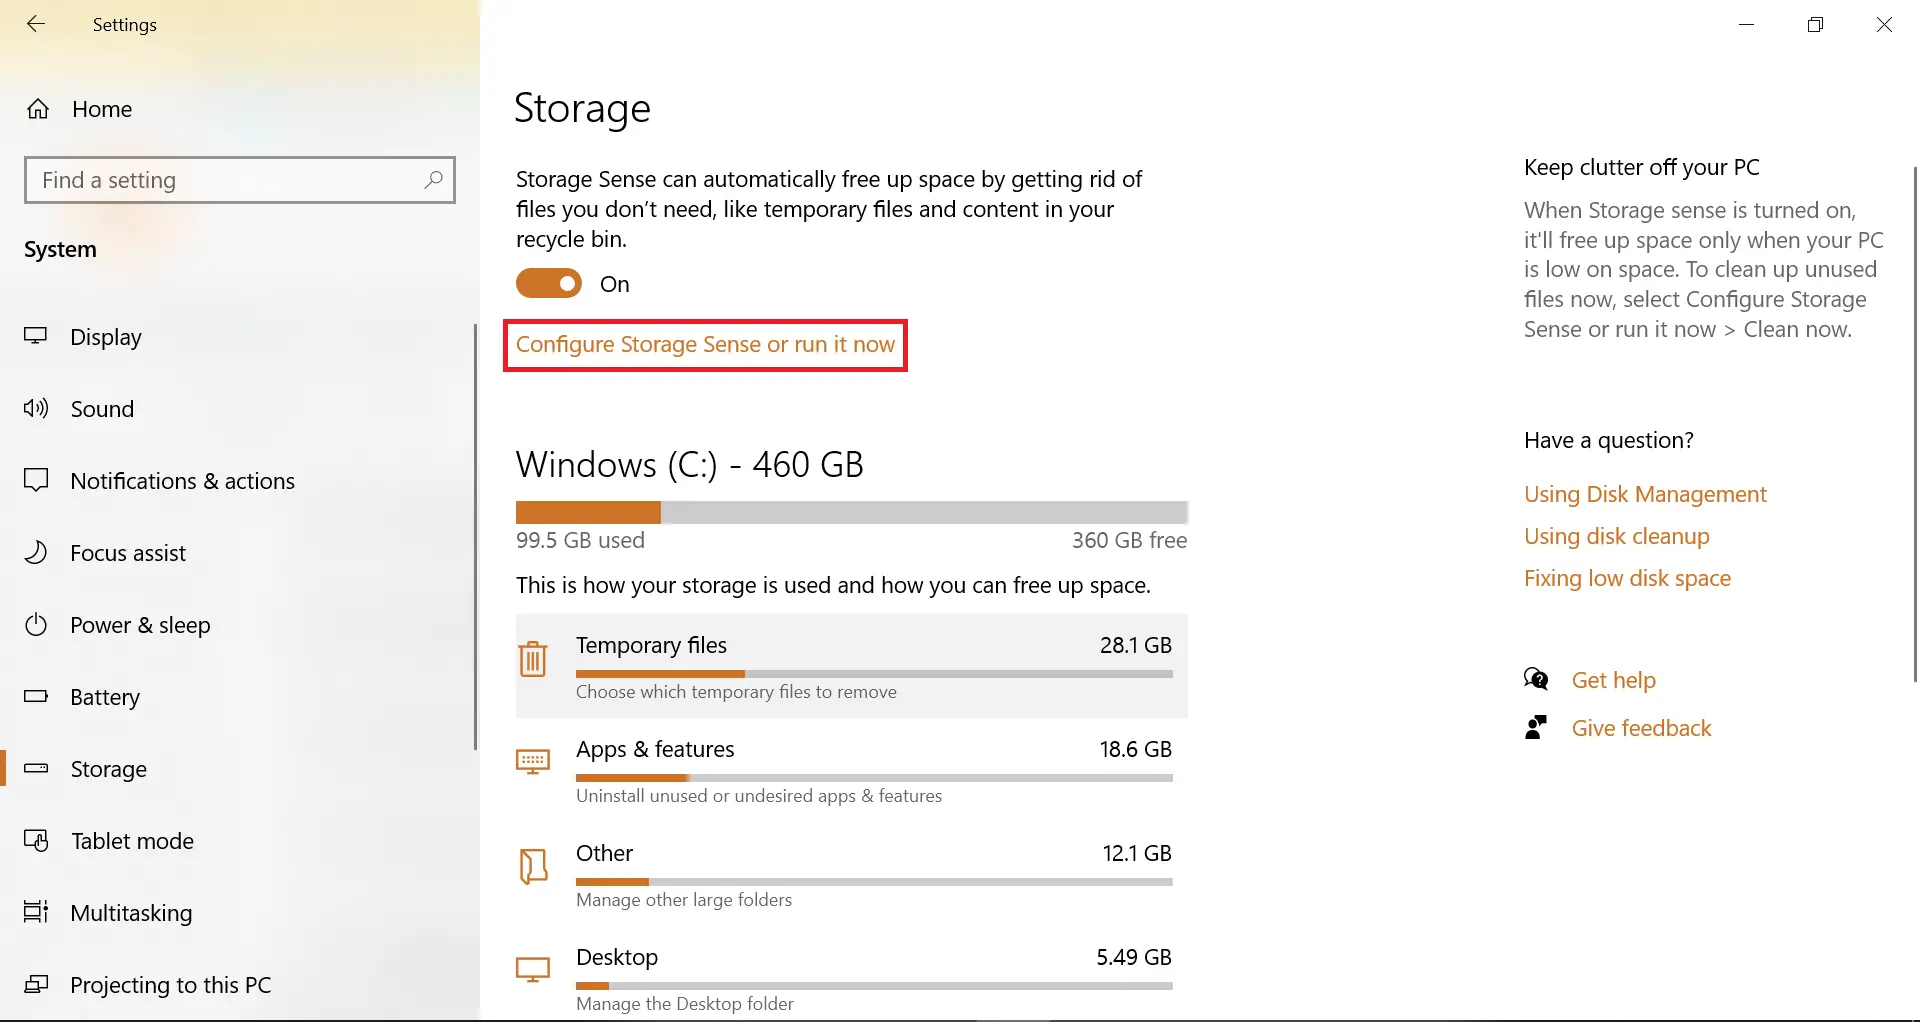
Step 1. Click the Start button, then the Settings icon to launch the Settings app.
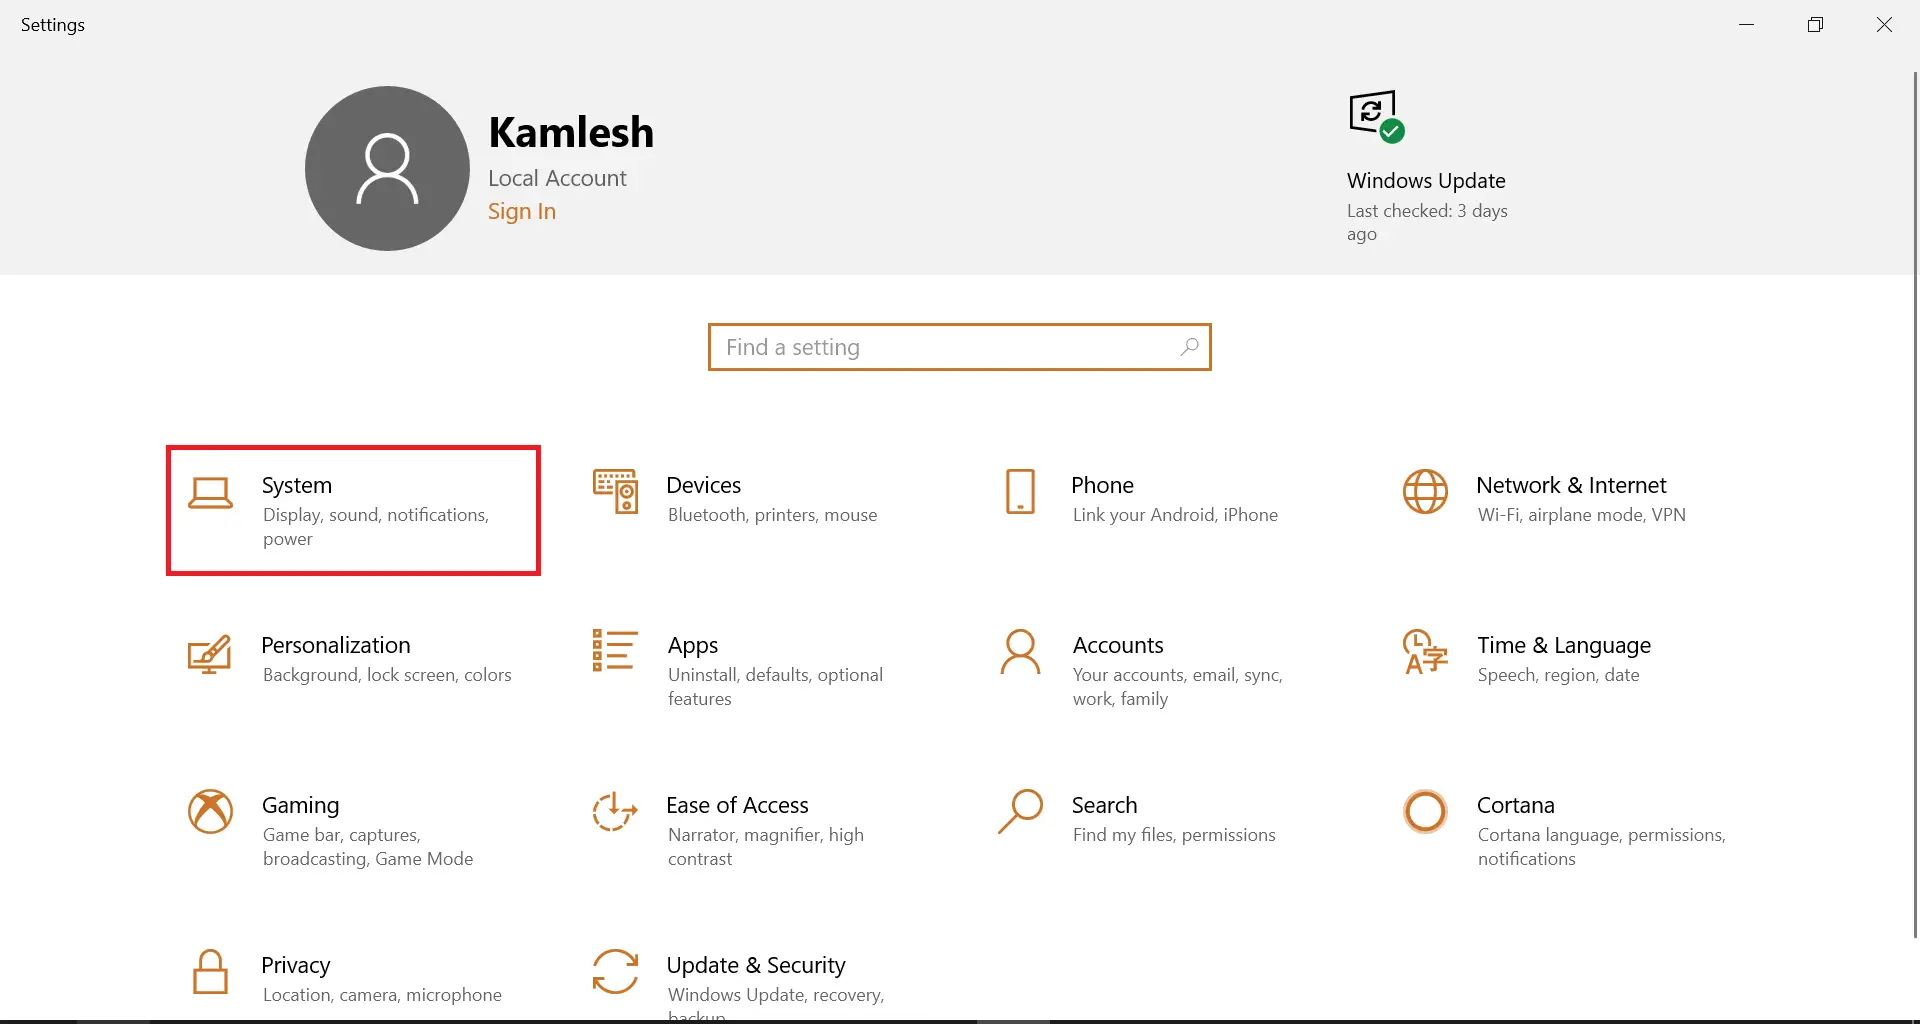
Step 2. Click on the System under Settings.
Step 3. Click on Storage from the left options.
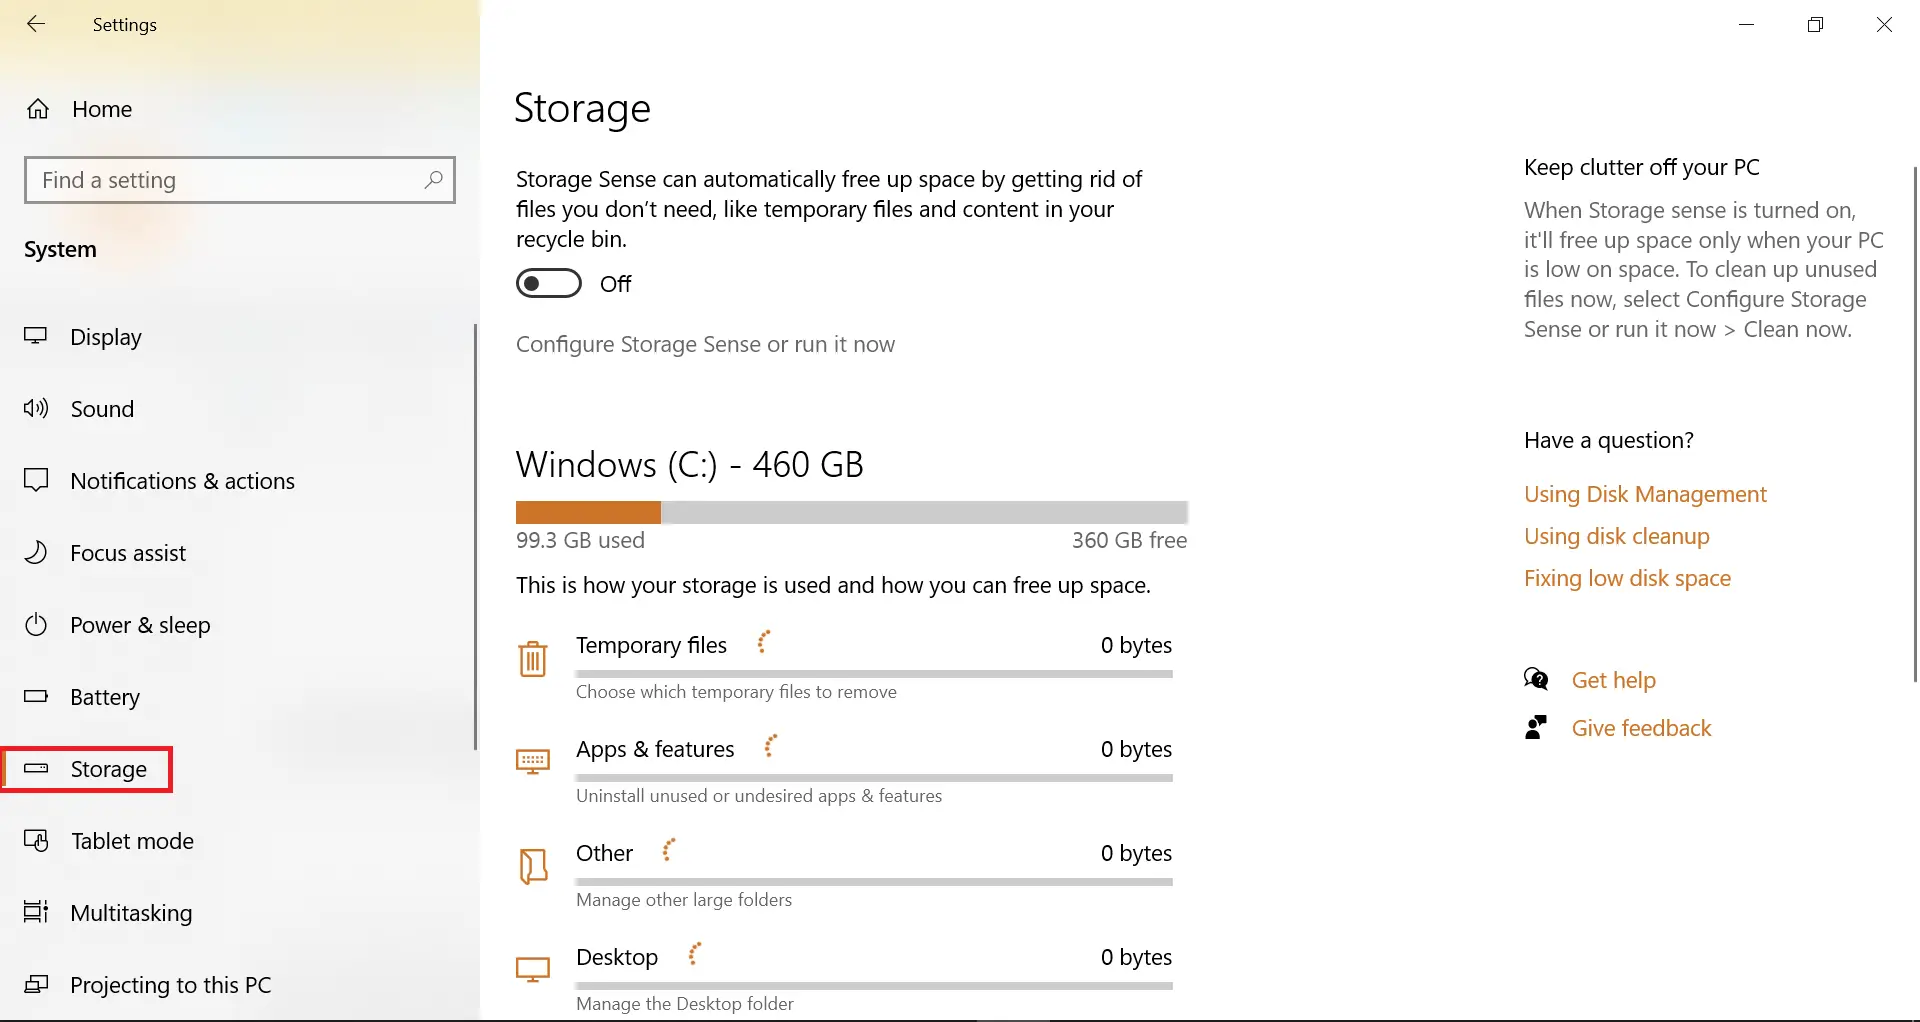
Step 4. Turn On the toggle switch next to “Storage Sense can automatically free up space by getting rid of files you don’t need, like temporary files and content in your recycle bin.”
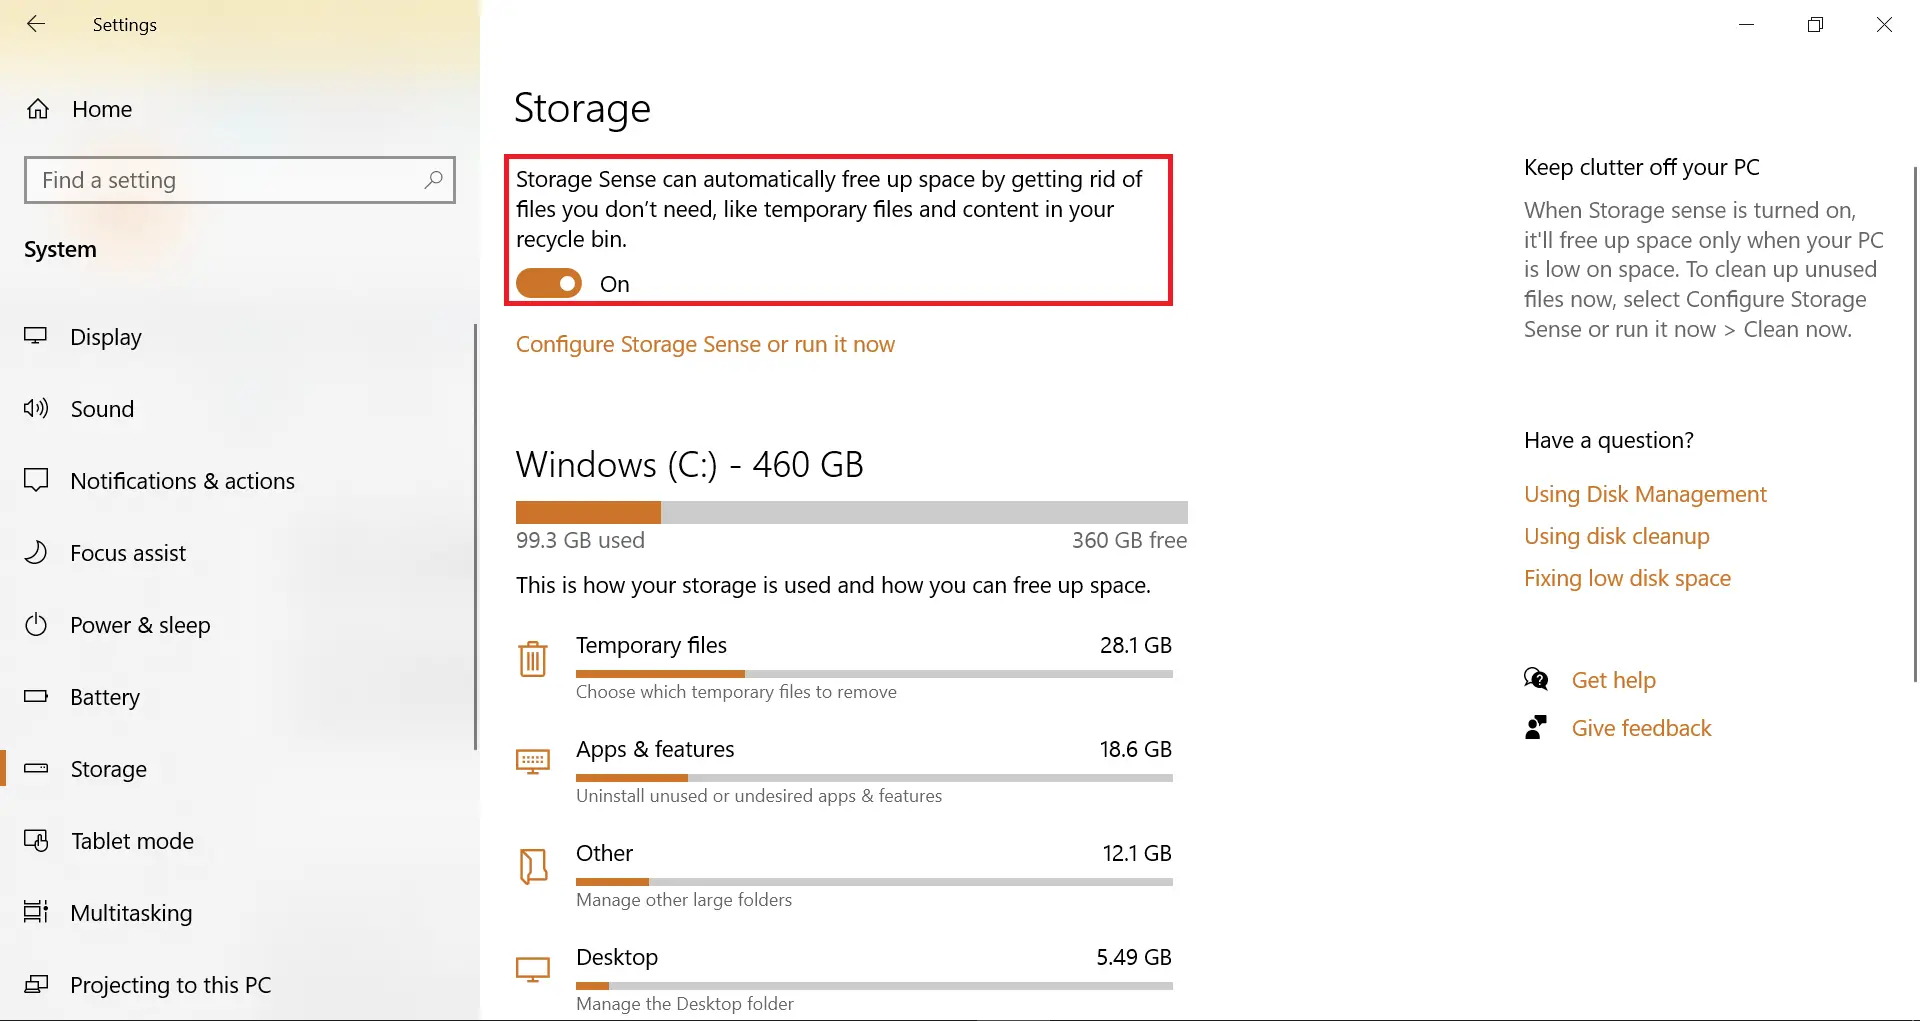
After following the aforementioned steps, Windows 10 will begin to automatically delete unnecessary files on your device, including temporary files, items in the recycle bin, and any files in the Downloads folder that have not been modified in the last 30 days.
How to configure Storage Sense settings on Windows 10?
As previously mentioned, Storage Sense is programmed to automatically remove temporary files, Recycle bin items, and files in the Downloads folder that have not been changed in the last 30 days. However, you have the option to configure Storage Sense to choose which files should be automatically deleted from your device and which files should not be deleted.
Step 1. Click the Start button, then the Settings icon to launch the Settings app.
Step 2. Click on the System under Settings.
Step 3. Click on Storage from the left options.
Step 4. Click on the link Configure Storage Sense or run it now.
Step 5. Under the Run Storage Sense section, you can select one of the cleaning options from Every day, Every week, Every month, and During low free disk space.
To delete the temporary files, you can choose from 1 day, 14 days, 30 days, and 60 days.
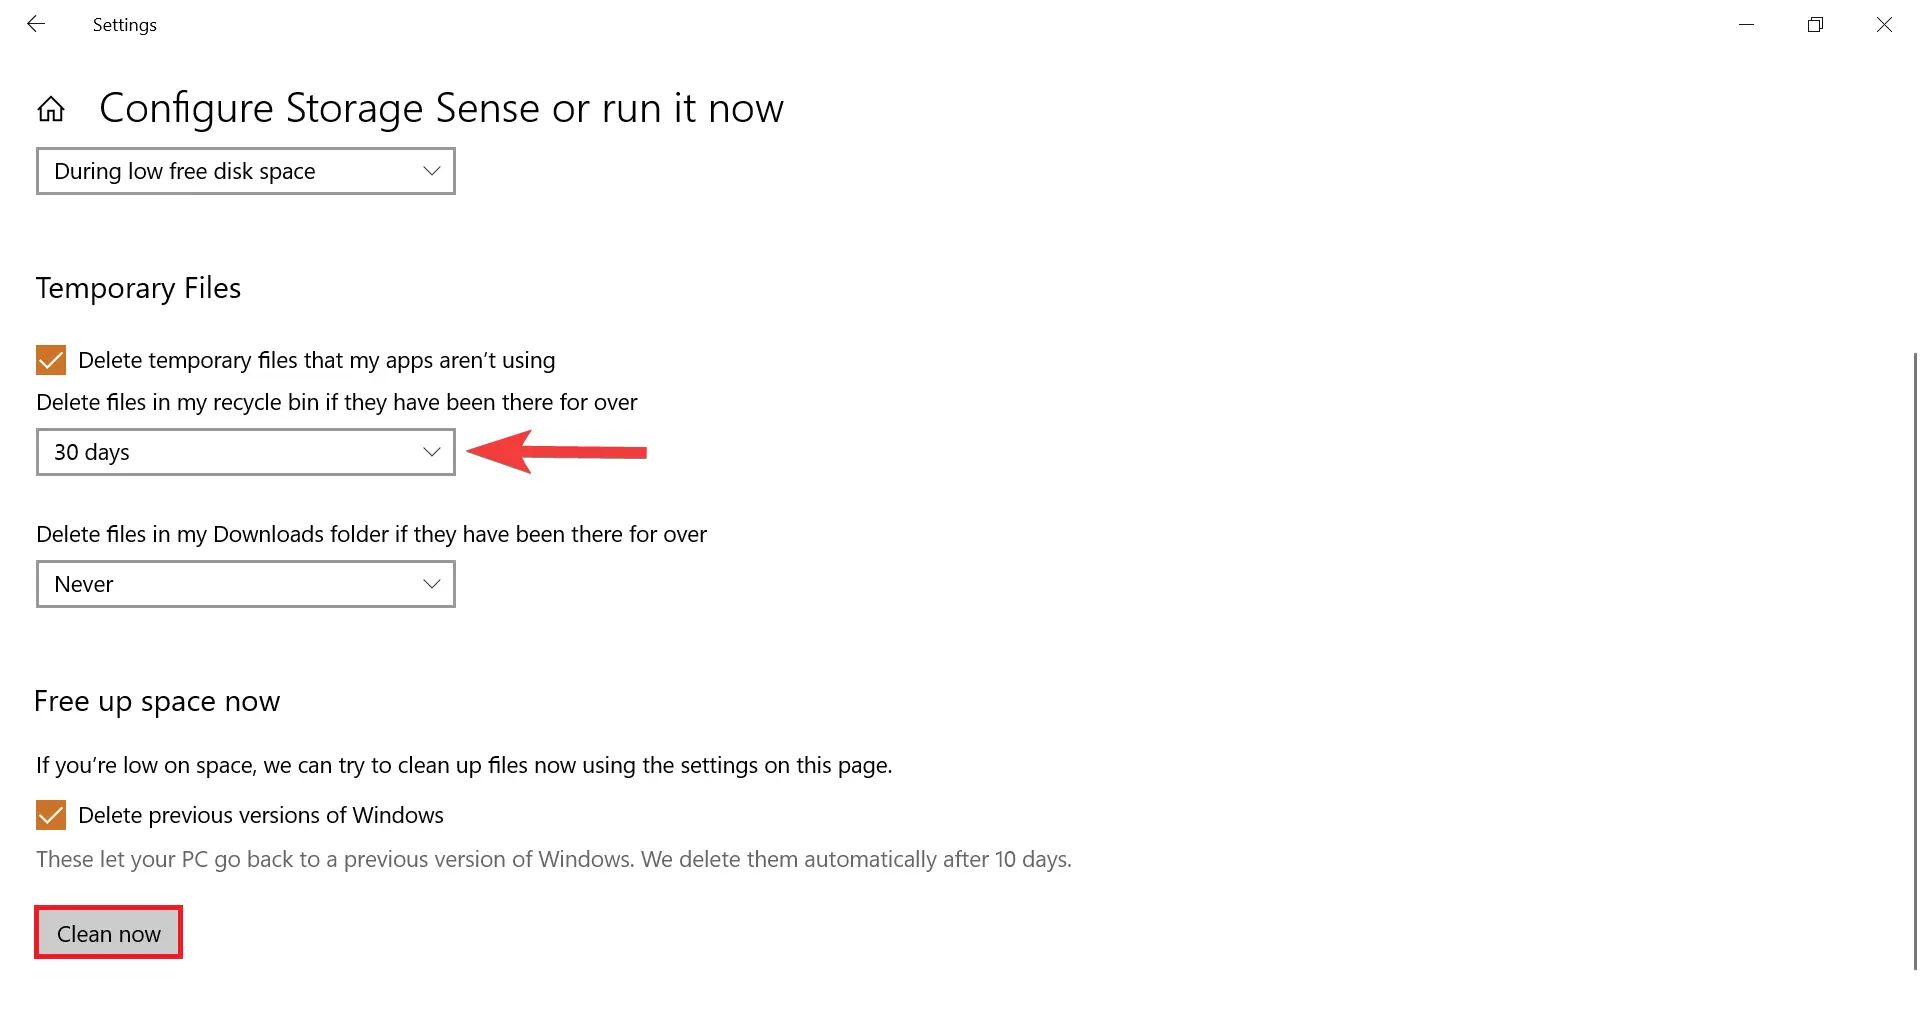
Once you have configured the Storage Sense tool, you can close the Window. Click on the Clean now button if you want to run immediately.
That’s it.
Conclusion
In conclusion, keeping your PC clean and free of unnecessary files is essential for maintaining its performance and longevity. While there are manual methods for freeing up space on a Windows 10 PC, Microsoft has included an automatic solution in the form of Storage Sense. By enabling and configuring Storage Sense, you can set your device to automatically delete temporary files, recycle bin items, and files in the Downloads folder that have not been changed in a specified amount of time. This feature is easy to use and can help keep your PC clean and running smoothly.