Are you wondering how to Zip or Unzip files on your Windows 11 computer? The ZIP file format is popular for compressing files, reducing their size, and making it easier to transfer them over the internet. With a single ZIP file, you can pack several files or folders, simplifying the file-handling process.
ZIP is commonly used by developers to distribute software packages. Compressing a software program in ZIP format saves storage space on the server and makes it faster to download to your computer. ZIP files offer many advantages, such as sharing multiple images with friends or family. Uploading each image individually to an email server can be time-consuming and tedious, but creating a single ZIP archive file for all the images makes it easier to transfer them over the network without losing their original quality.
There are many freeware applications available online for zipping or unzipping, including Ashampoo ZIP Free, RAR Opener, and others. However, in this article by Gearupwindows, we will show you how to zip or unzip files on Windows 11 without using a third-party app. Windows 11 has built-in support for ZIP files, so you don’t need to download any additional software to work with them.
How do I Create a Zip File (Compressed Folder) on Windows 11?
A Zip file is also known as a Compressed Folder, according to Microsoft. Therefore, it is possible to refer to a zip file as a compressed folder. For example, if you have multiple images on your hard disk and wish to share them with others or save them as a backup on your external HDD/SSD, you can create a single compressed folder or zip file.
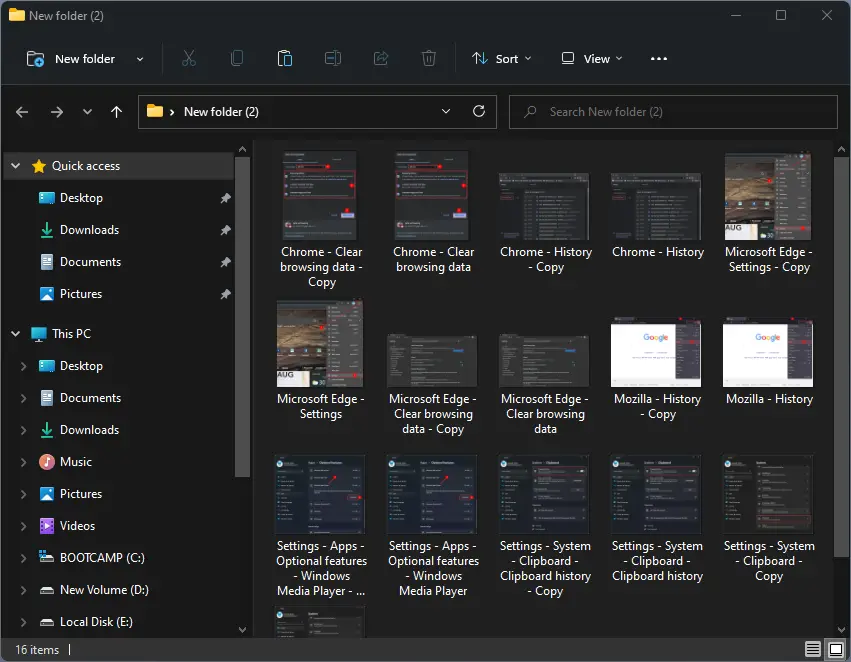
Whether you want to create a zip file for a single file or multiple files, the process is the same. Simply select the file(s) you want to include in the zip file and right-click on them.
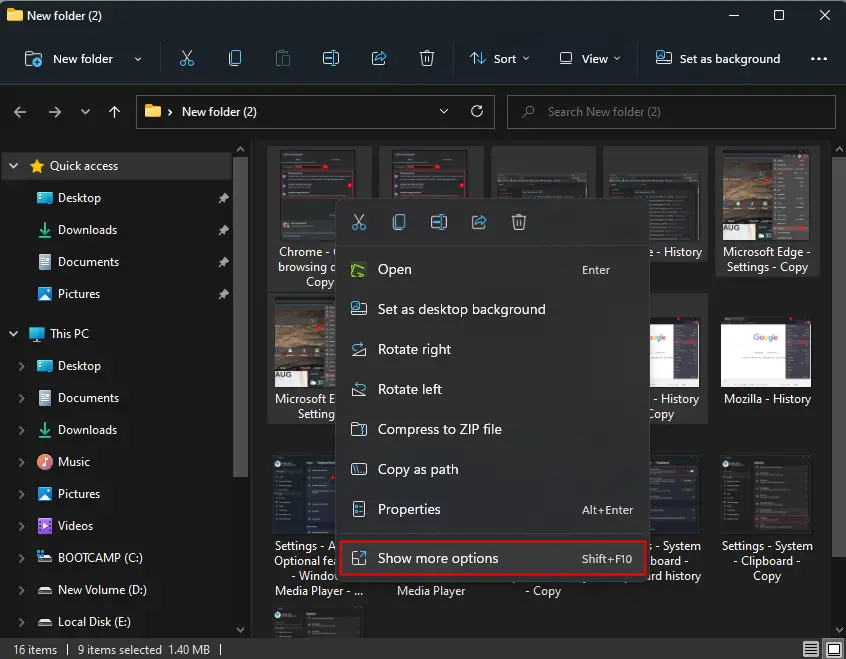
Select Show more options to see the classic context menu.
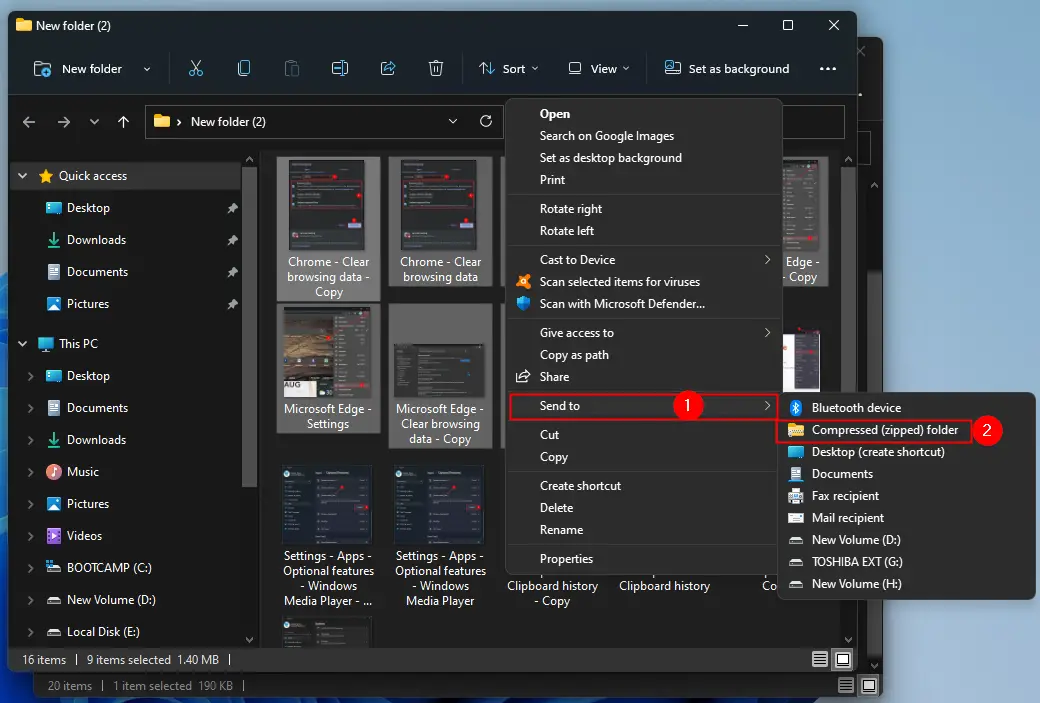
Now, from the available context menu options, select Send to and then click on the Compressed (zipped) folder option.
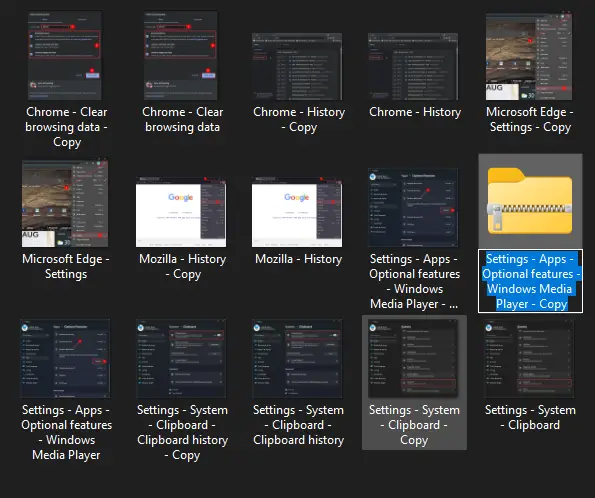
Windows will compress or zip the file(s) or folder(s), and a new ZIP file will appear in the same location as the files you’re working with. The ZIP file icon looks like a standard Windows folder with a zipper on it. It also allows you to name ZIP files whatever you want. Type a name, and then press Enter from the keyboard.
Using the above method, you can create a zip/compressed file for several files and folders according to your needs.
How to View a ZIP File’s Contents on Windows 11?
Viewing the content of the zip file is quite easy—double-click on the zip/compressed file to see the content inside it. Now, double-click on the file inside the zip file to open that with the associated program on your PC.
How to Add Files to a Compressed Folder on Windows 11?
Once you have created a zip file and later you want to add another file (s) under that compressed folder, it is possible. To do that, double-click on the zip file to view its contents. Now drag your desired file/folder to opened compressed folder.
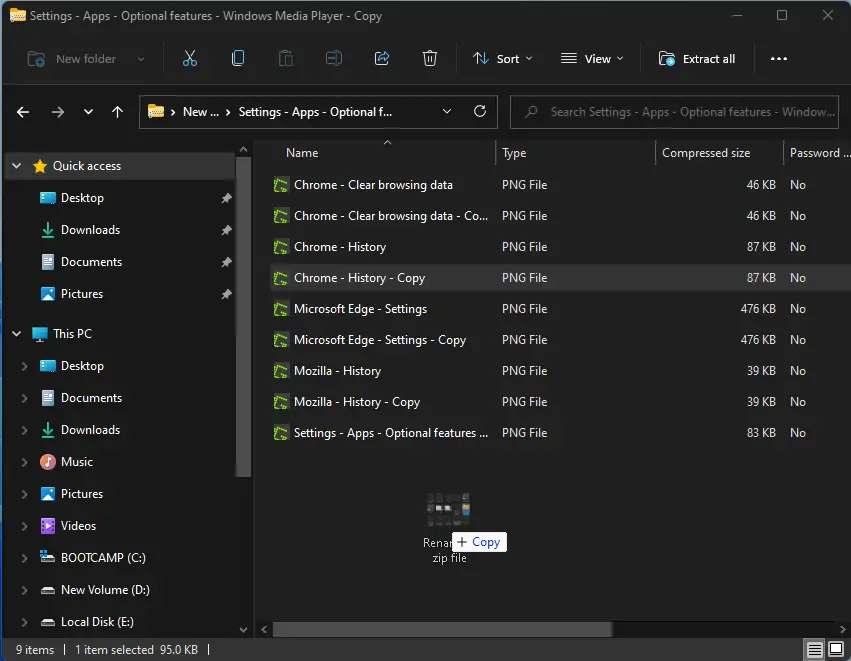
Now, you can close the compressed folder. No more action is required. The file you have dragged toward the zip file is copied into that.
How to Delete File From Compressed Folder on Windows 11?
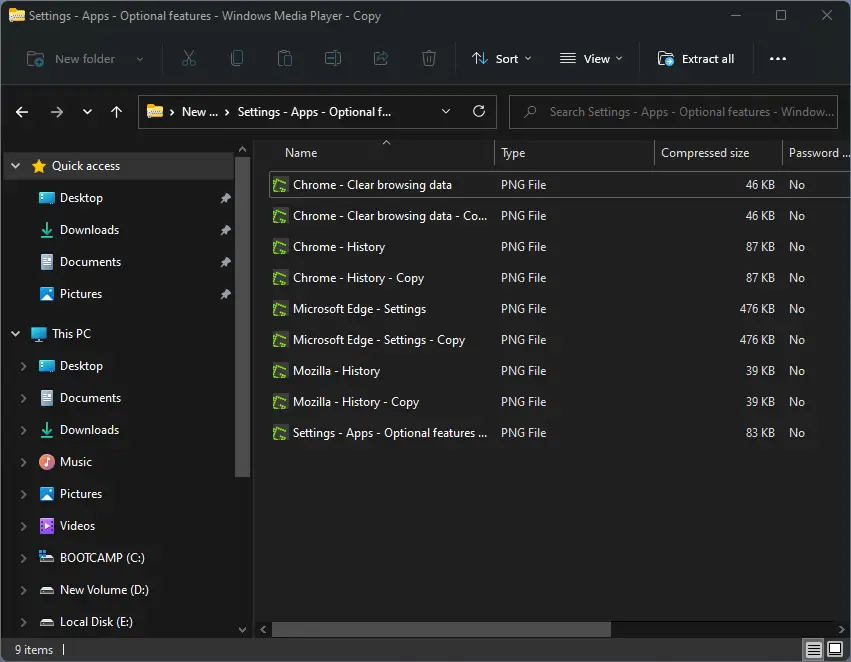
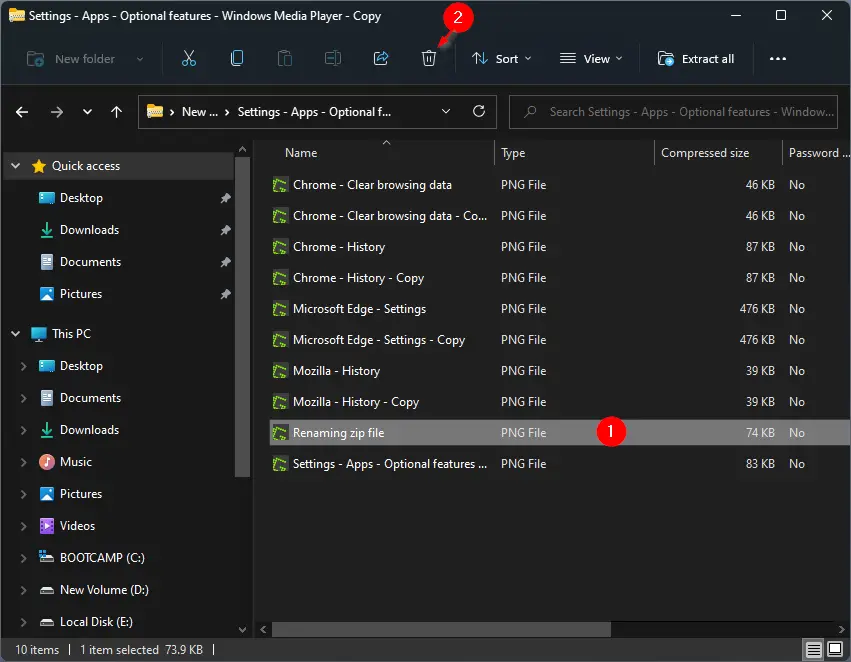
Suppose you would like to remove any file from the ZIP file, double-click on the zip file to view its contents. Select the file inside and then click on the Delete icon from the toolbar. The selected file is removed from the compressed folder.
How to Extract a Single File from a Compressed Folder (Zip File)?
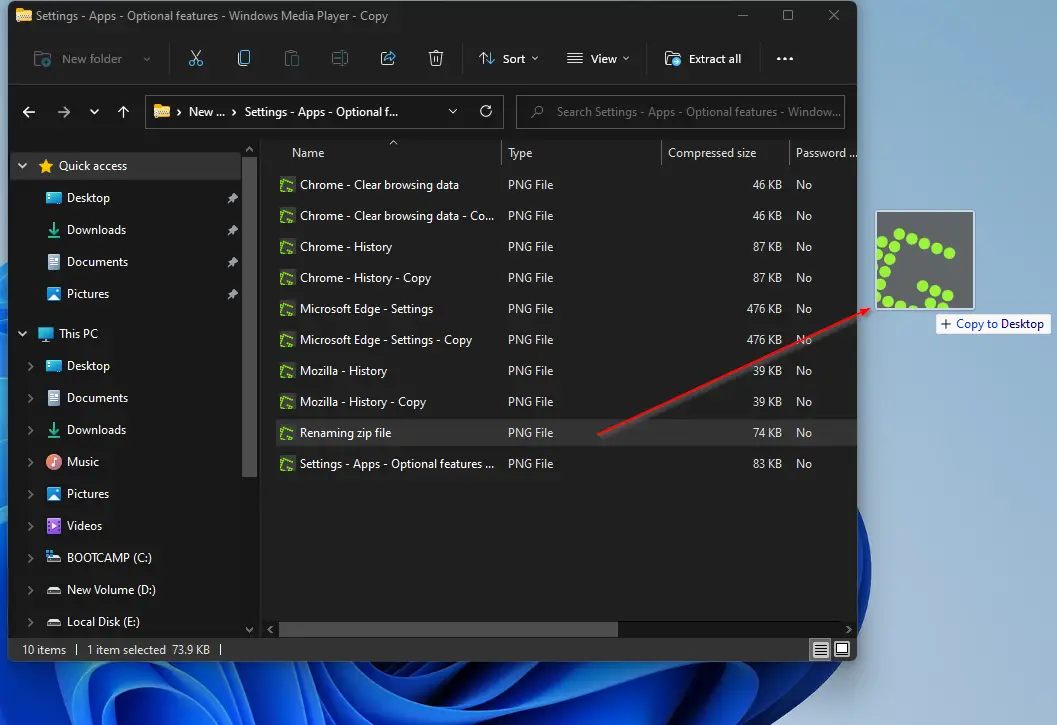
Extracting a single file from a compressed folder (zip file) is quite easy. Just open the compressed folder by double-clicking on it and select the desired file that you want to extract. Now, drag it to the desired location.
How to Extract All Files or Folders from a Compressed Folder (Zip File)?
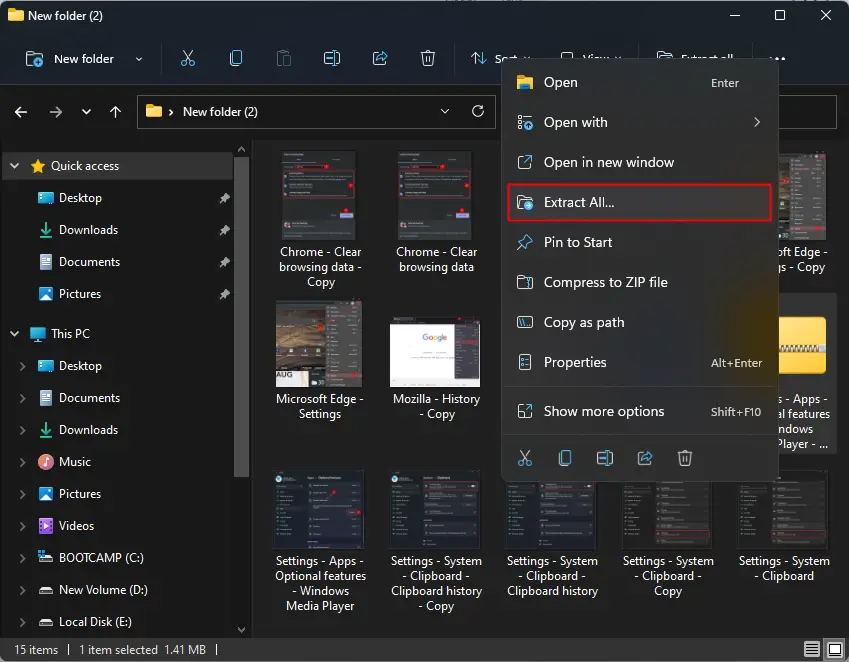
To extract all files or folders from a compressed folder, right-click on the zip file and select the Extract all option.
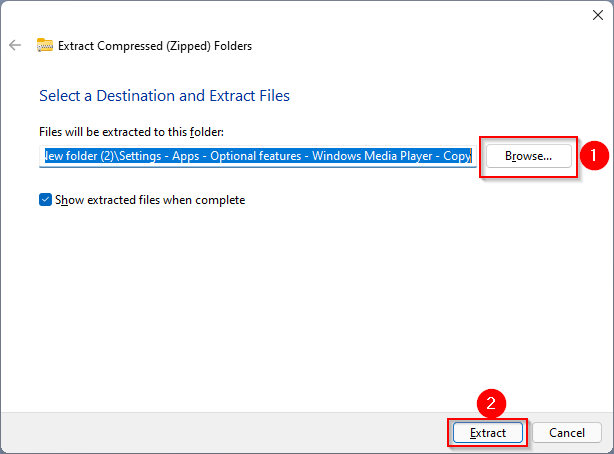
In the dialog box that appears, click on the Browse button to select the desired location where you want to keep the extracted files, and then click on the Extract button.
Above are the ways to handle zip files on your Windows 11 PC.
Conclusion
In conclusion, working with ZIP files can be very useful when it comes to reducing the size of files or folders, making it easier to transfer them over the internet. Windows 11 has built-in support for ZIP files, so you don’t need to download any additional software to work with them. In this article, we’ve shown you how to create a compressed folder or ZIP file, how to view its contents, add or delete files from it, and extract single or multiple files or folders from a compressed folder. By following these simple steps, you can easily manage your files and folders in Windows 11 without the need for third-party applications.