Windows 11 is a sleek and modern operating system, but have you ever found yourself wishing you could effortlessly center your windows on the screen for a cleaner and more organized desktop? Well, you’re in luck! In this gearupwindows guide, we’ll walk you through the process of centering your windows in Windows 11 with the help of a handy tool called Window Centering Helper. Say goodbye to the hassle of dragging and resizing windows manually; this tool makes it a breeze.
Getting Started with Window Centering Helper
Window Centering Helper is a nifty piece of software designed to simplify your desktop experience. Here’s how to get started:-
Step 1. First, head to the official GitHub page for Window Centering Helper and download the software. You’ll find both portable and installer versions to choose from. The portable version is as simple as a double-click to run, while the installer version requires a quick installation.
Step 2. Ensure that your system has .NetFramework 4.5 installed. This will allow the application to run smoothly. Once installed, the tool resides in your system tray.
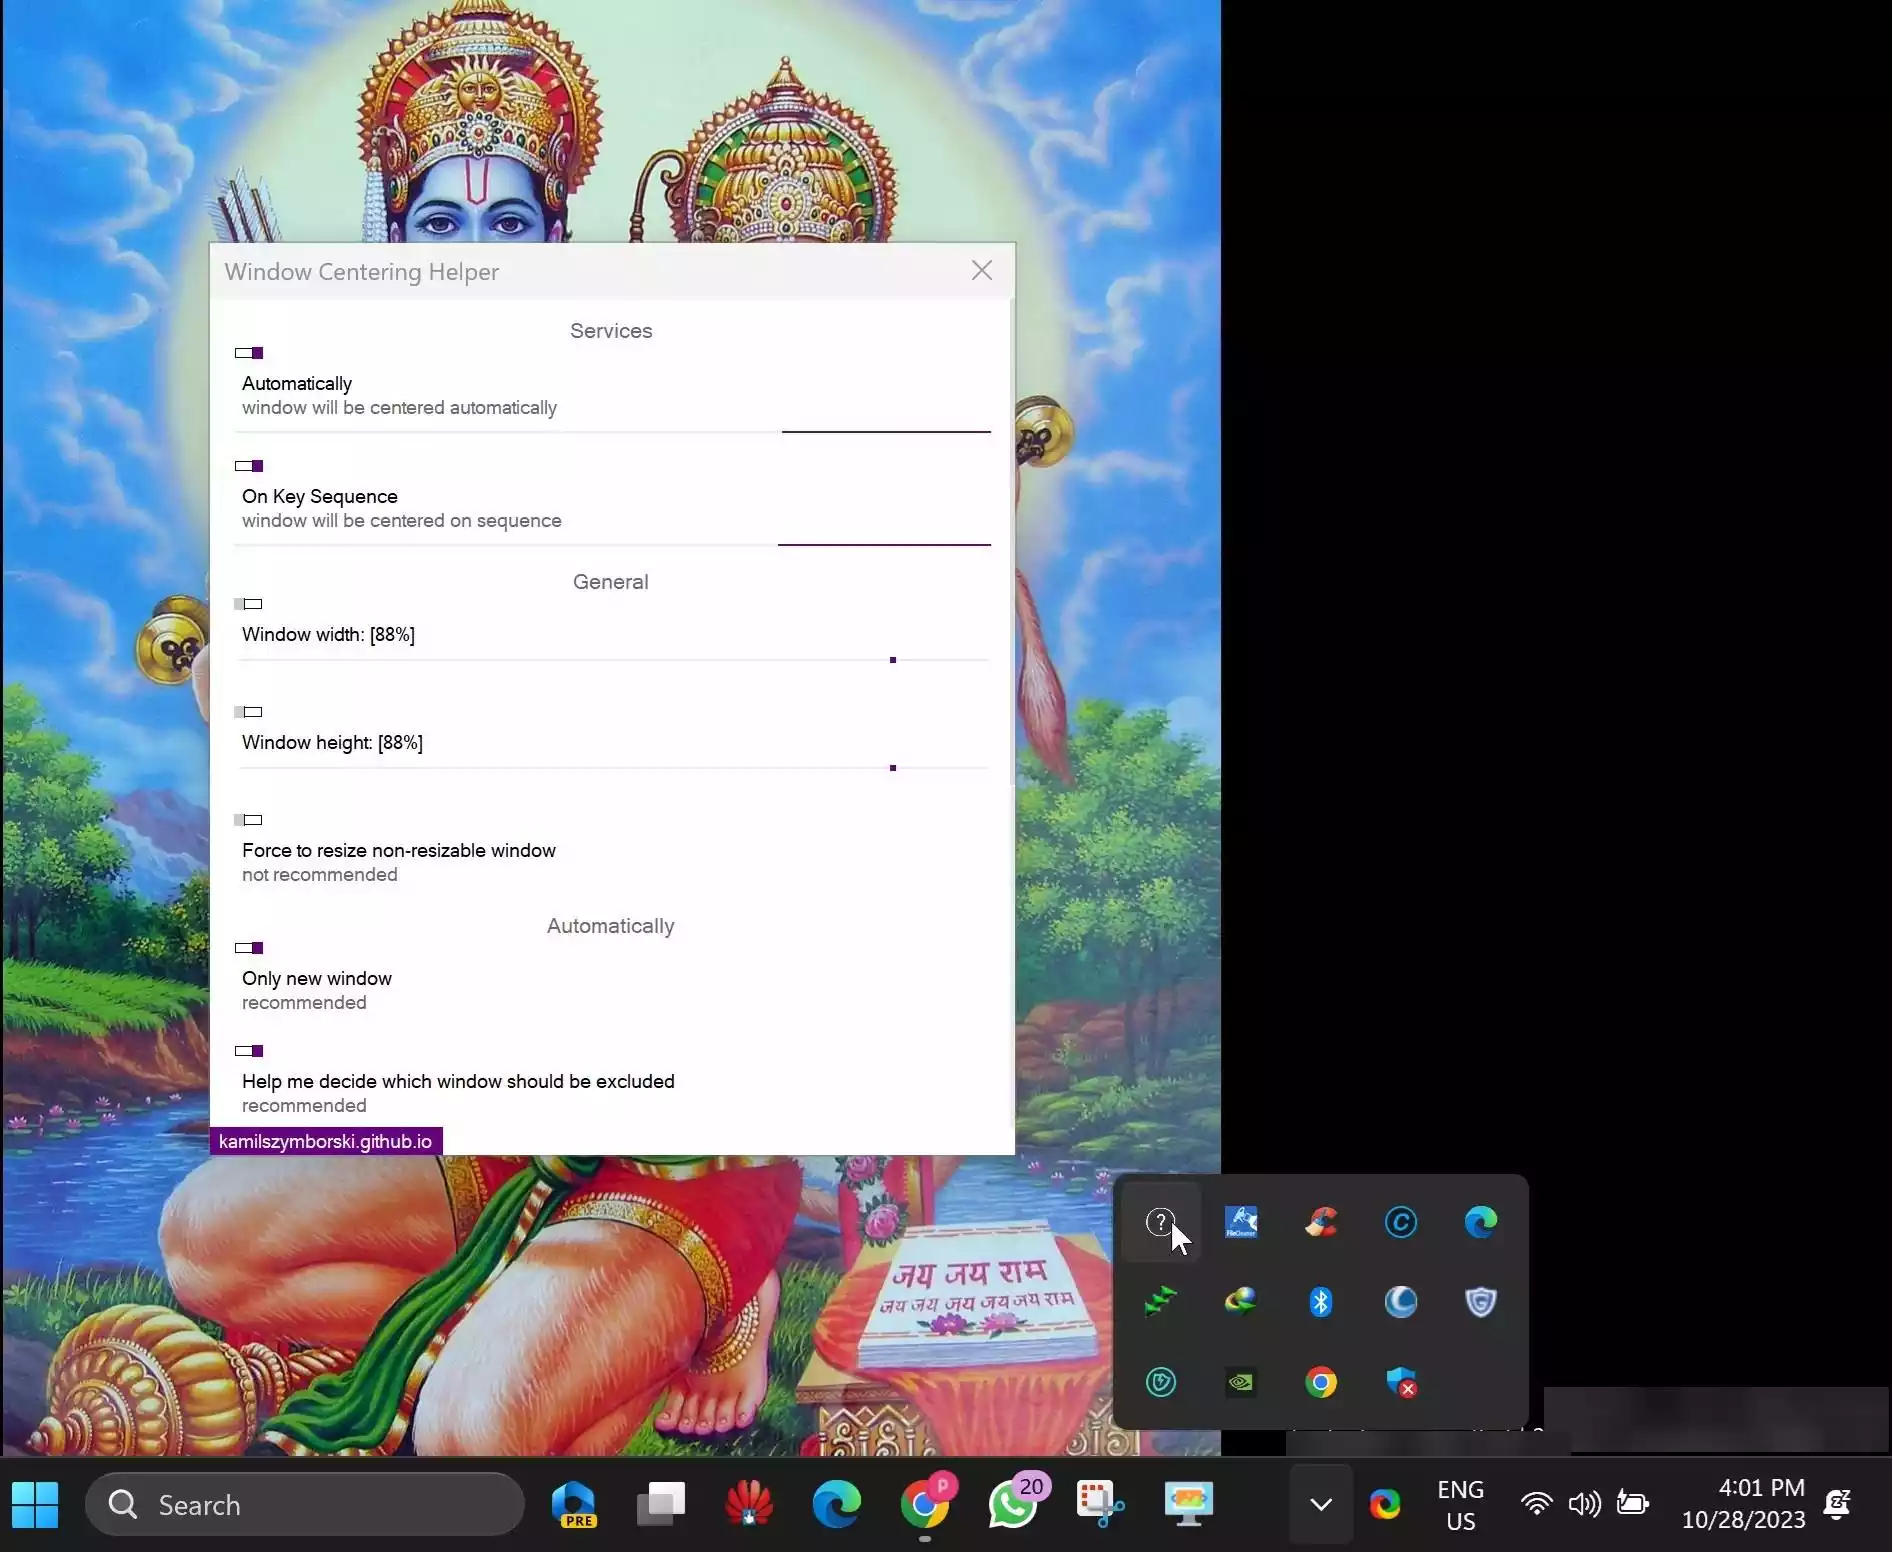
Step 3. After installation, you’ll notice the Window Centering Helper icon in your system tray. Click on it to open the minimalistic control panel.
How to Center a window in Windows 11?
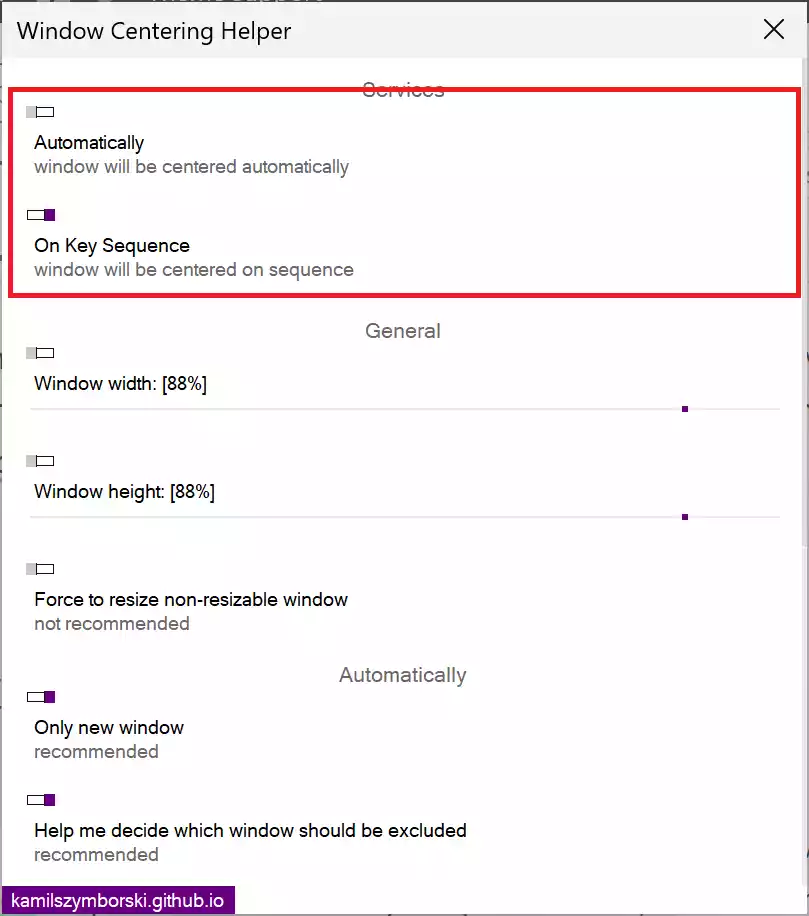
By default, Window Centering Helper is set to automatically center your program windows when you open them. This feature is incredibly handy for keeping your desktop organized. Each new window opens in the center of your screen, and additional windows stack on top of the previous one.
But what if you want more control? Window Centering Helper has you covered. You can manually center windows by turning off the ‘Automatically‘ toggle. With this option disabled, you’ll need to use a hotkey to center your windows.
Manual Centering with Hotkeys
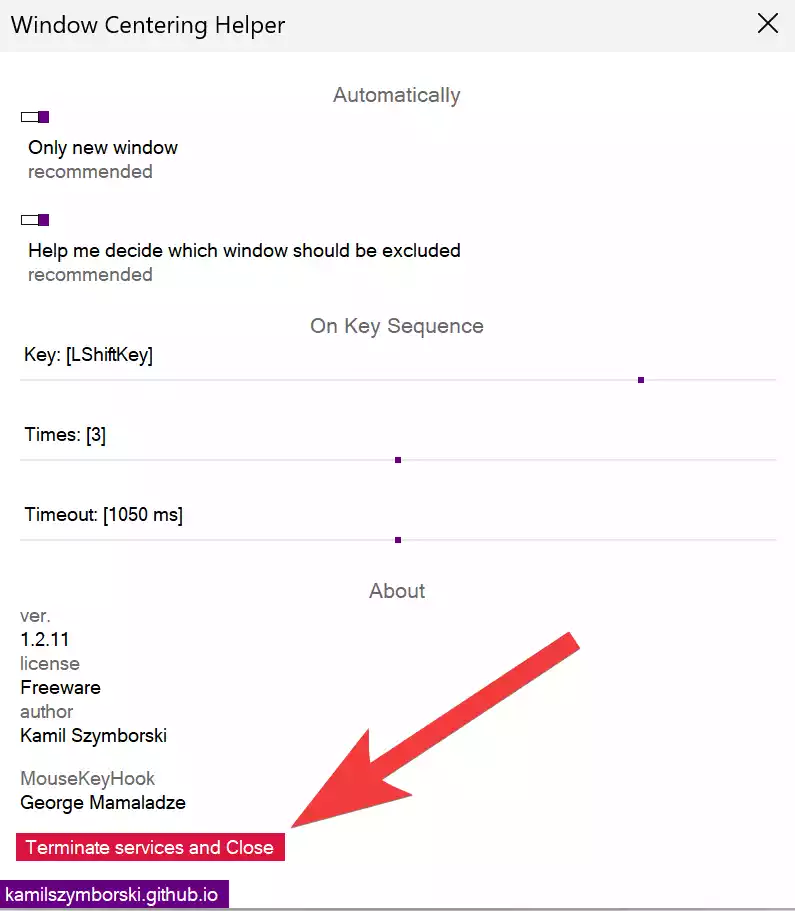
To manually center a window, enable the ‘On Key Sequence‘ option. By default, this means you press the left Shift key three times in a row to move a window to the center of the screen. If this key sequence doesn’t suit your preferences, don’t worry; you can easily customize it in the application’s settings.
Customizing Hotkeys
In the application’s control panel, navigate to the ‘On Key Sequence‘ section. Here, you’ll find three settings you can adjust:-
Key: Change the key in the key sequence to something that suits you better, like Back, PageUp, F1, or F2.

Times: Alter the number of times the key needs to be pressed to activate the centering command.
Timeout: Set the timeout between key presses, which can range from 100 to 2000 milliseconds.
Additional Settings
Apart from the hotkey customization, the application offers additional settings. Under the ‘General‘ section, you can control the size of the window while it’s being centered, adjust window width, window height, and even force the resize of non-resizable windows. The ‘Automatically‘ section lets you decide whether to center only new windows and which windows to exclude from automatic centering.
Closing the Application
When you’re done with Window Centering Helper, scroll to the bottom of the application window, and click the “Terminate services and Close” button to exit the application.
Download Window Centering Helper
You can download Window Centering Helper freeware application from here.
Conclusion
Window Centering Helper is a simple yet powerful tool for keeping your desktop tidy and your windows perfectly centered. Whether you prefer automatic centering or the control of manual hotkeys, this application has got you covered. Say goodbye to the frustrations of window management in Windows 11, and enjoy a more organized workspace. Happy centering!