Safe Mode in Windows 11/10 allows you to start the operating system in primary mode. In Safe Mode, Windows starts with a limited set of files and drivers. This mode is beneficial when you are troubleshooting your Windows. If you don’t experience any issues in safe mode, that means the default settings and fundamental device drivers aren’t causing the problem in normal mode on your device.
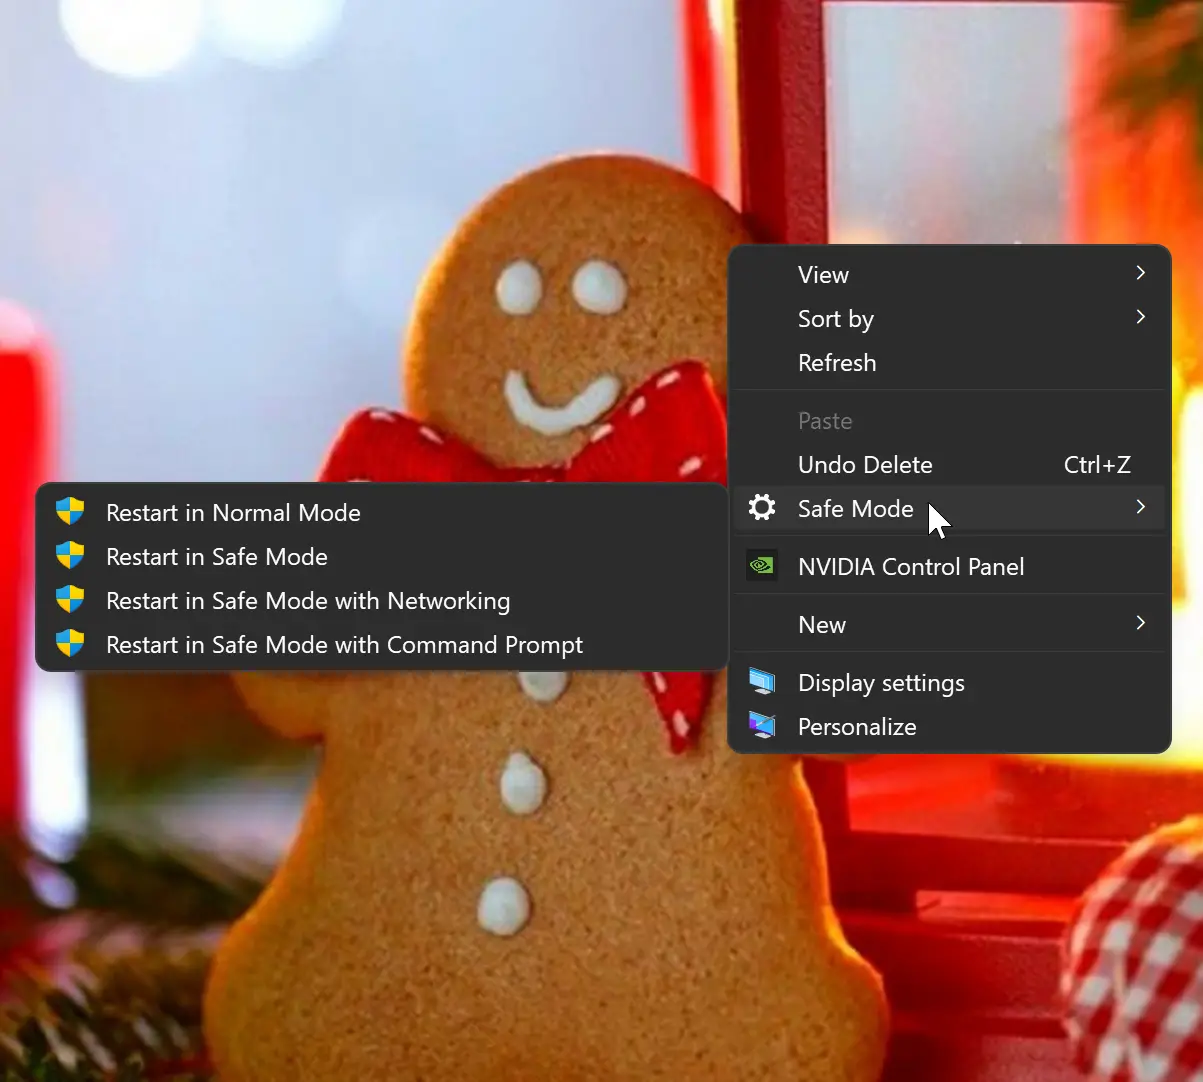
In this gearupwindows article, we will guide you on adding or removing Safe Mode to the Desktop context menu in Windows 11/10. When you add the Safe Mode to the Desktop right-click menu, whenever needed, you can quickly boot into a different state of Safe Modes, such as Safe Mode with Networking or Safe Mode with Command Prompt.
How to Add or Remove Safe Mode to/from Desktop Context Menu?
To add, remove or use safe mode to the desktop context menu, you need to sign in as an administrator on your PC. And for Windows 11, you will need to click on Show more options to access these options.
Furthermore, you’ll need to edit the registry to add or remove safe mode to the desktop context menu. Hence, we recommend you back up the registry and create a system restore point. If something goes wrong, you can restore your PC to its previous working state.
To add Safe Mode on the Desktop context menu, use the following recommended steps:-
Step 1. First, invoke the Run dialog by hitting Windows + R keys on the keyboard.

Step 2. After that, type Notepad in the Run box, and hit Enter to open Notepad.
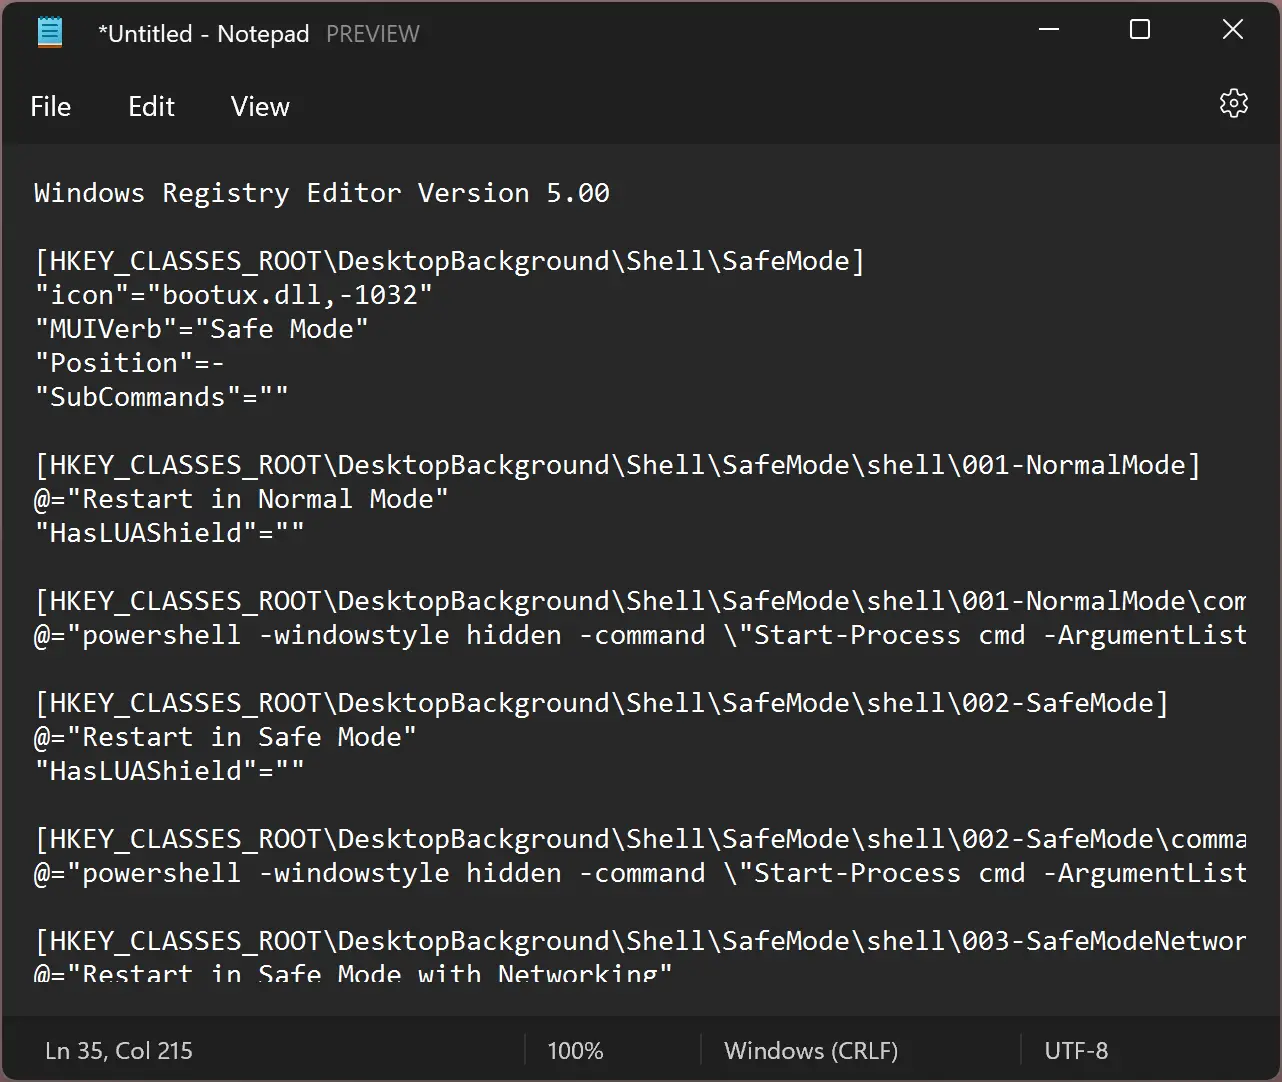
Step 3. Then, copy and paste the following texts into the Notepad app:-
Windows Registry Editor Version 5.00

[HKEY_CLASSES_ROOT\DesktopBackground\Shell\SafeMode]
"icon"="bootux.dll,-1032"
"MUIVerb"="Safe Mode"
"Position"=-
"SubCommands"=""

[HKEY_CLASSES_ROOT\DesktopBackground\Shell\SafeMode\shell\001-NormalMode]
@="Restart in Normal Mode"
"HasLUAShield"=""

[HKEY_CLASSES_ROOT\DesktopBackground\Shell\SafeMode\shell\001-NormalMode\command]
@="powershell -windowstyle hidden -command \"Start-Process cmd -ArgumentList '/s,/c,bcdedit /deletevalue {current} safeboot & bcdedit /deletevalue {current} safebootalternateshell & shutdown -r -t 00 -f' -Verb runAs\""

[HKEY_CLASSES_ROOT\DesktopBackground\Shell\SafeMode\shell\002-SafeMode]
@="Restart in Safe Mode"
"HasLUAShield"=""

[HKEY_CLASSES_ROOT\DesktopBackground\Shell\SafeMode\shell\002-SafeMode\command]
@="powershell -windowstyle hidden -command \"Start-Process cmd -ArgumentList '/s,/c,bcdedit /set {current} safeboot minimal & bcdedit /deletevalue {current} safebootalternateshell & shutdown -r -t 00 -f' -Verb runAs\""

[HKEY_CLASSES_ROOT\DesktopBackground\Shell\SafeMode\shell\003-SafeModeNetworking]
@="Restart in Safe Mode with Networking"
"HasLUAShield"=""

[HKEY_CLASSES_ROOT\DesktopBackground\Shell\SafeMode\shell\003-SafeModeNetworking\command]
@="powershell -windowstyle hidden -command \"Start-Process cmd -ArgumentList '/s,/c,bcdedit /set {current} safeboot network & bcdedit /deletevalue {current} safebootalternateshell & shutdown -r -t 00 -f' -Verb runAs\""

[HKEY_CLASSES_ROOT\DesktopBackground\Shell\SafeMode\shell\004-SafeModeCommandPrompt]
@="Restart in Safe Mode with Command Prompt"
"HasLUAShield"=""

[HKEY_CLASSES_ROOT\DesktopBackground\Shell\SafeMode\shell\004-SafeModeCommandPrompt\command]
@="powershell -windowstyle hidden -command \"Start-Process cmd -ArgumentList '/s,/c,bcdedit /set {current} safeboot minimal & bcdedit /set {current} safebootalternateshell yes & shutdown -r -t 00 -f' -Verb runAs\""
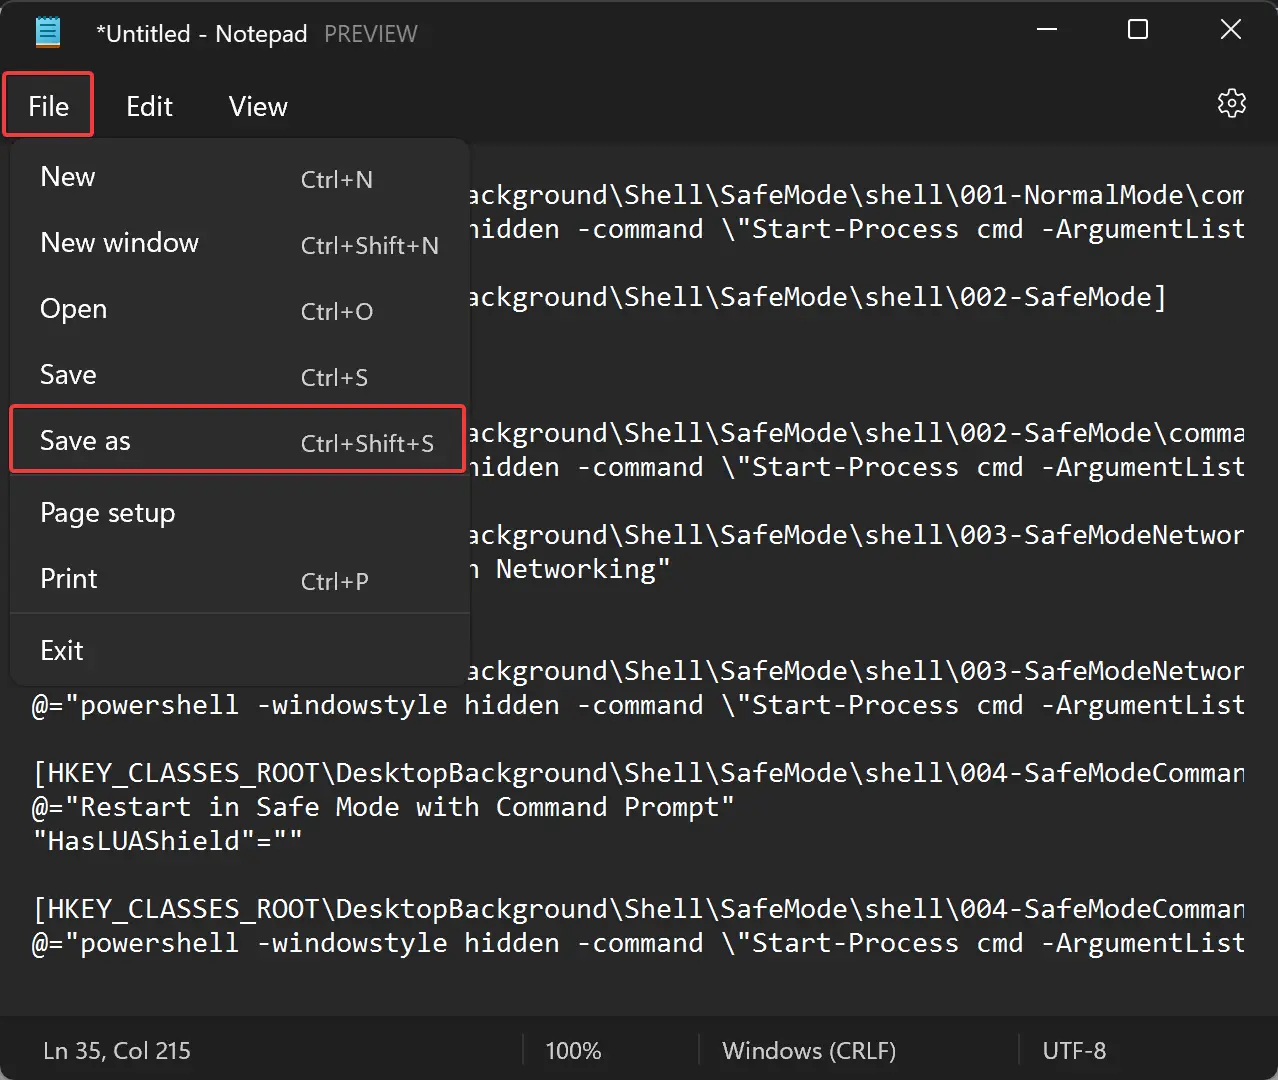
Step 4. Next, click on the File menu and select Save as option.
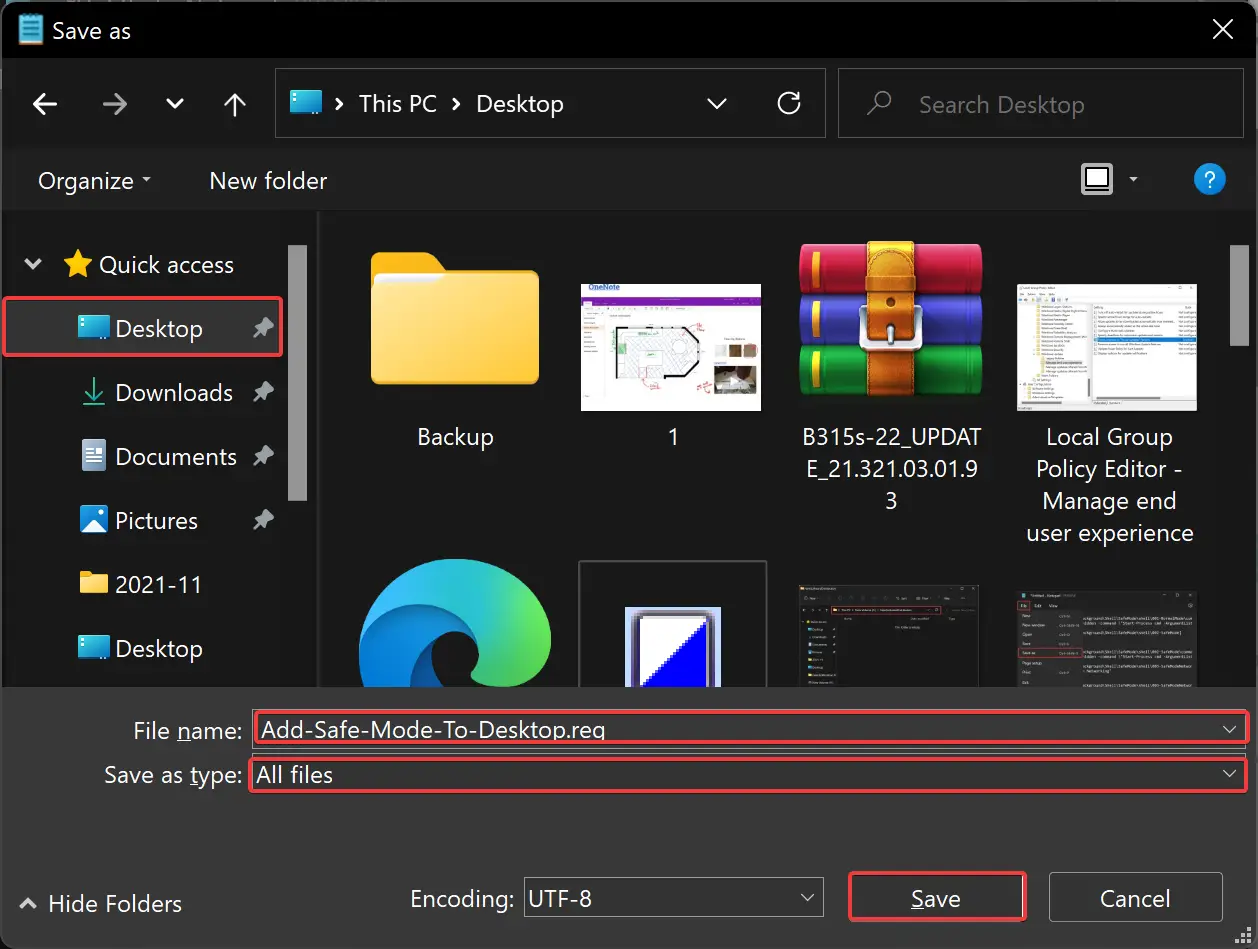
Step 5. Then, select the location where you want to save the file. Enter the file’s name with the “.reg” extension (e.g., Add-Safe-Mode-To-Desktop.reg). Finally, choose All Files from the “Save as type” drop-down list.
Step 6. Once you complete the above steps, you should have a file name with “Add-Safe-Mode-To-Desktop.reg” on the preferred location. Now, double-click the saved .reg file to merge it.
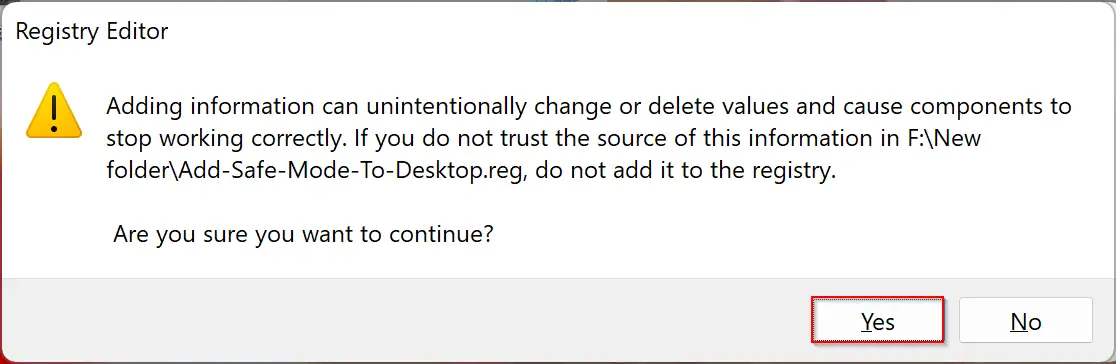
Step 7. If prompted by UAC, click on the Yes button.
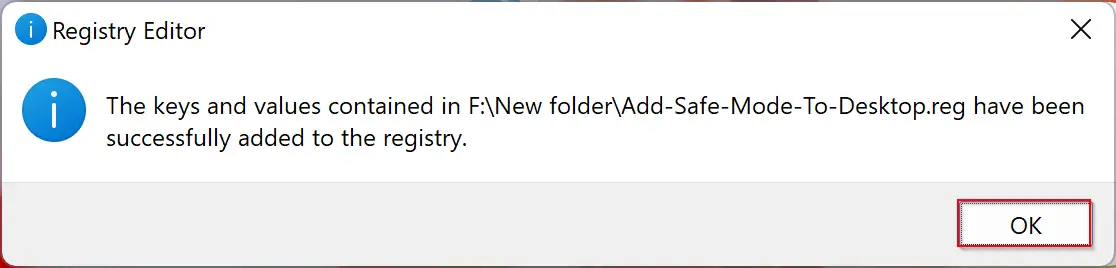
Step 8. Click OK to exit.
To remove Safe Mode from Desktop Context Menu, repeat the above steps, and in step 3 above, copy and paste the following lines:-
Windows Registry Editor Version 5.00

[-HKEY_CLASSES_ROOT\DesktopBackground\Shell\SafeMode]
Then name the file as “Remove-Add-Safe-Mode-To-Desktop.reg” in step 5 above.
When you double-click on the above .reg file, it will delete the “Safe Mode” context menu.
Conclusion
In conclusion, Safe Mode is a powerful tool in Windows 11/10 that allows users to troubleshoot their devices by starting the operating system with a limited set of files and drivers. By adding or removing Safe Mode to/from the Desktop context menu, users can quickly access different modes of Safe Mode, such as Safe Mode with Networking or Safe Mode with Command Prompt. However, editing the registry can be risky, so it’s important to back up the registry and create a system restore point before making any changes. Following the steps outlined in this gearupwindows article, users can easily add or remove Safe Mode from the Desktop context menu to enhance their troubleshooting experience.