Do you use a Windows 11-powered touch screen computer with a stylus? Then, the Pen menu could be a handy companion for you. When you activate the Pen menu, Windows 11 displays an icon on the right side of the Taskbar. By clicking on its icon, you can access various apps from its pop-up menu, such as Sticky Notes, Snip & Sketch, etc. Following that, you can use it to pin frequently used apps and open them quickly.
How to Show or Hide the Pen Menu Taskbar Icon on Windows 11?
Follow these steps to show or hide the Pen Menu Taskbar Icon on Windows 11:-
Step 1. Open the Settings app by pressing the Windows + I keys from the keyboard or using any other method.
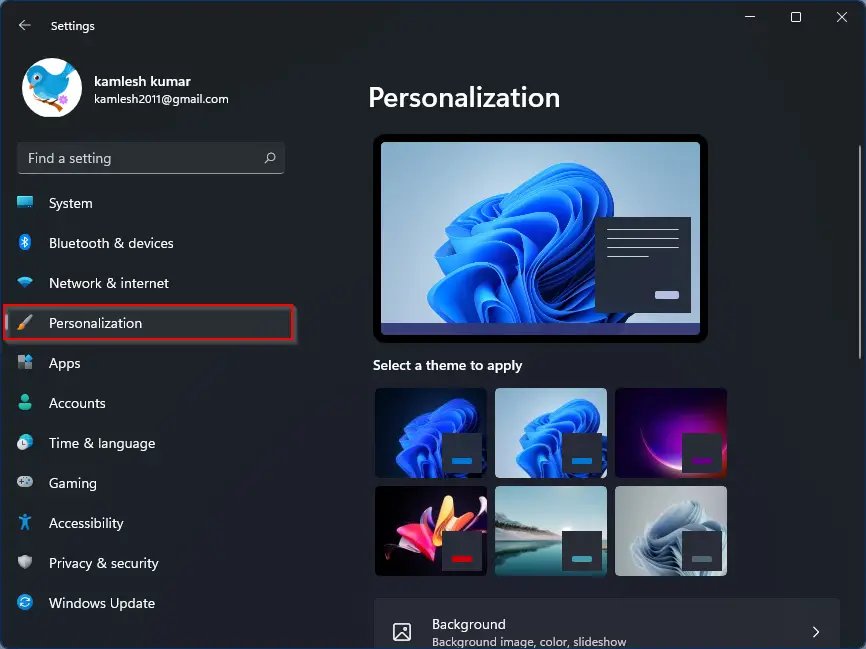
Step 2. When Windows Settings opens, select the Personalization category from the left sidebar.
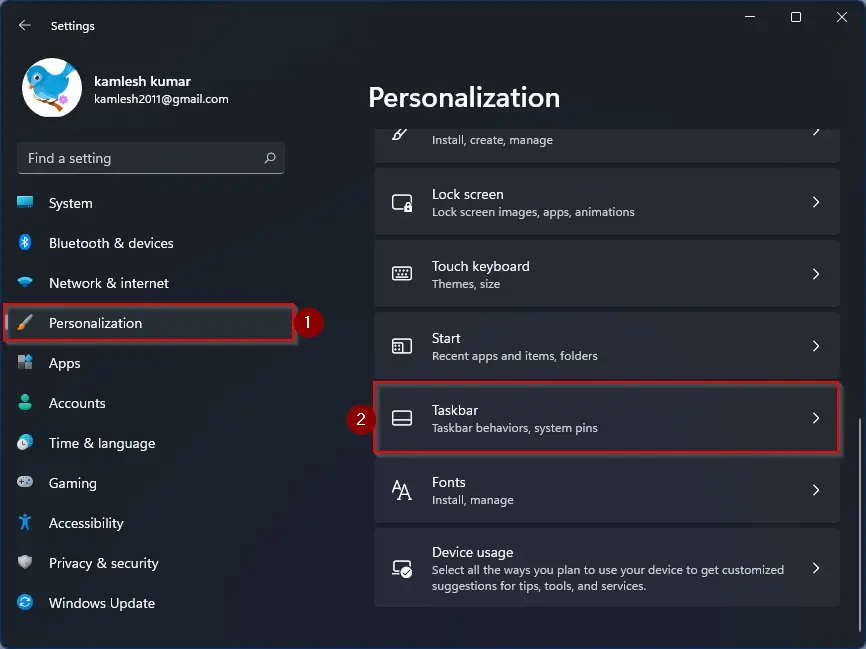
Step 3. On the right side of Personalization, click the Taskbar tab.
Step 4. Now under the Taskbar corner icons section, turn on the toggle switch of the Pen menu.
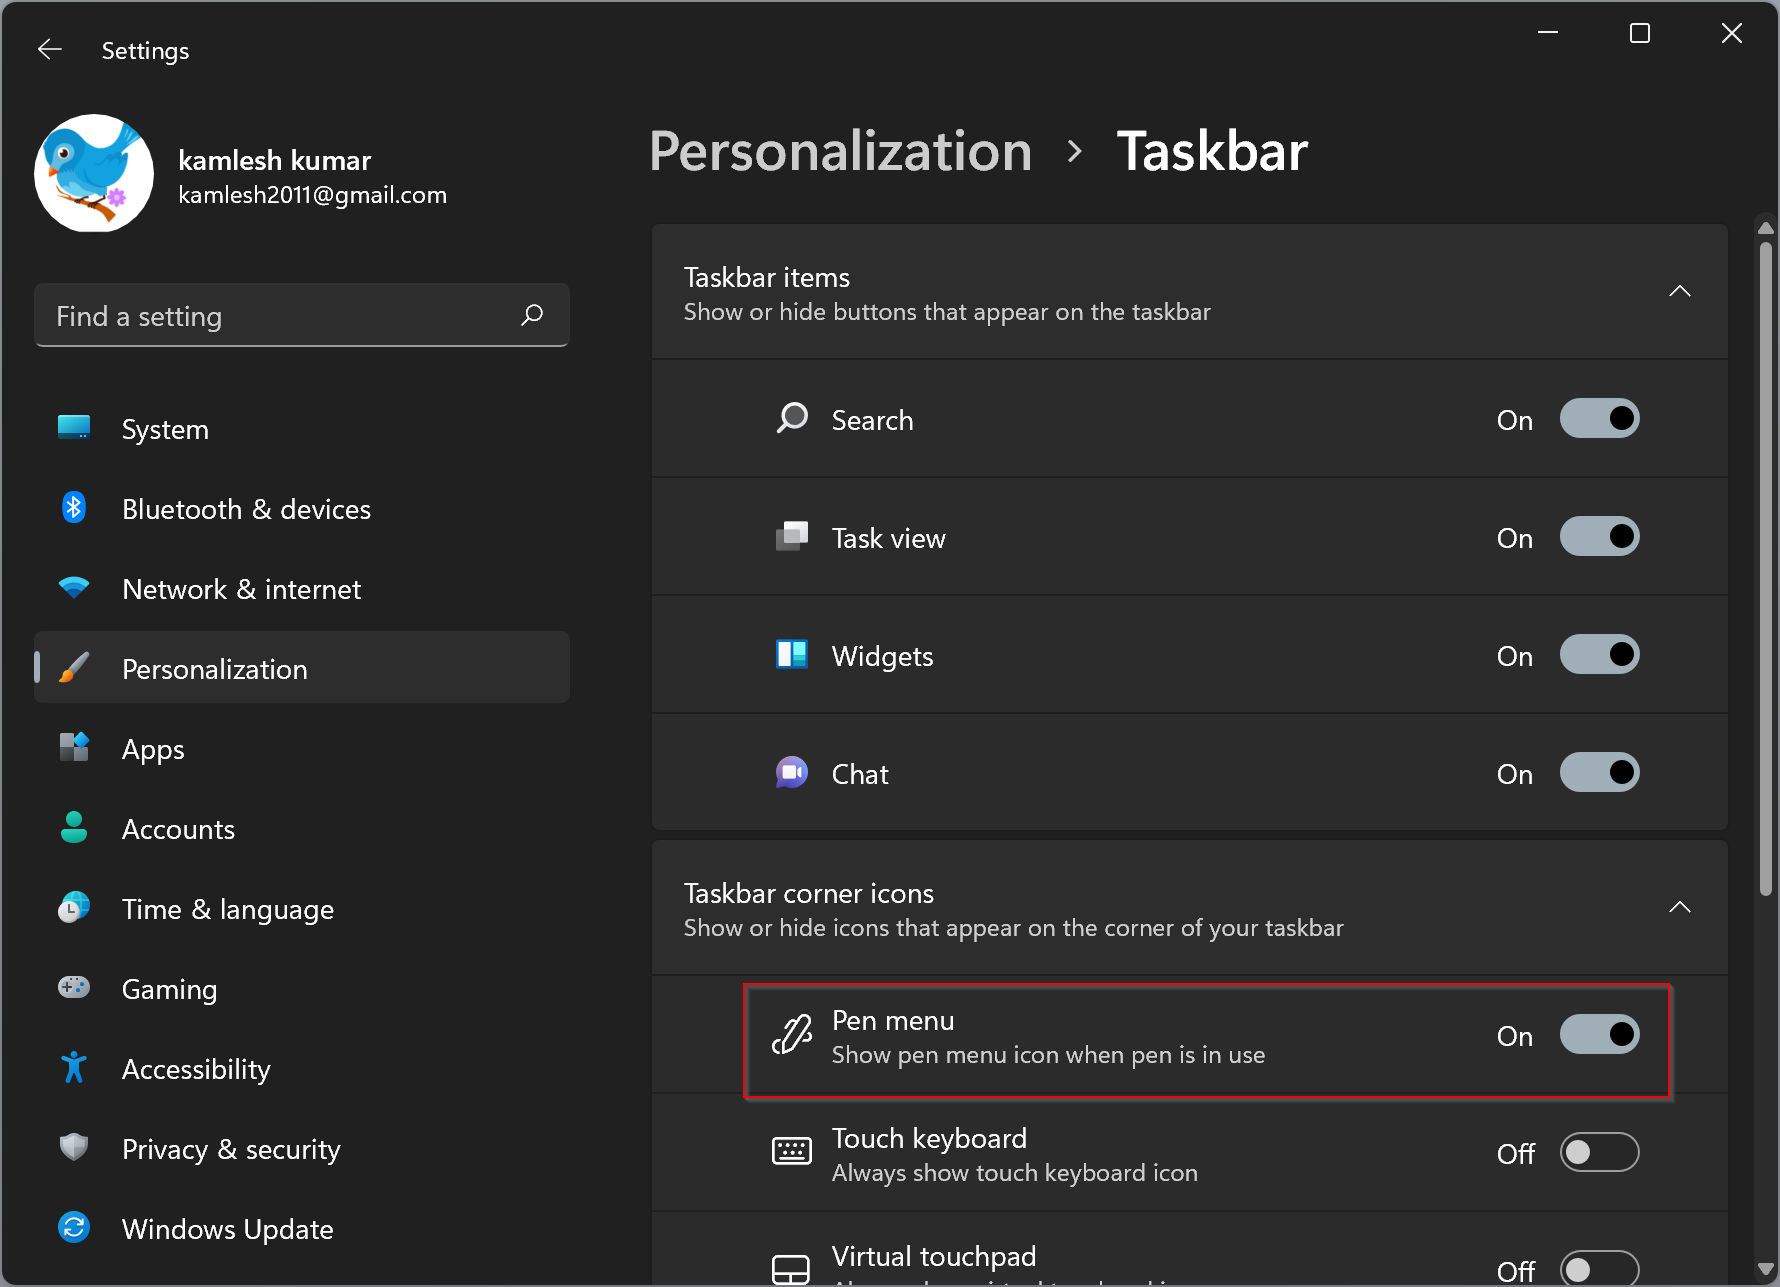
That’s it. When you plug the Stylus pen into your computer, the Pen menu will appear on the right side of the taskbar of Windows 11.
If you want to disable the Pen menu from the taskbar, repeat the above steps, and in step 4 above, turn the toggle switch off to the Pen menu. Now, it will disappear from the taskbar even if you connect Stylus to PC.
Conclusion
In conclusion, the Pen menu is a useful feature in Windows 11 for users with touchscreen computers and a stylus. By accessing the pop-up menu from the taskbar icon, users can easily access various apps and pin frequently used ones for quick access. Enabling or disabling the Pen menu is a simple process in the Settings app. If you’re interested in learning how to switch user accounts in Windows 11, check out our other article on the topic.
didnt work