Starting Windows 7, Microsoft has added a Safe mode, and it continues to Windows 10. Yes, Safe mode is still available in Windows 10 to help troubleshoot our machine. In the Safe mode, Windows 10 boots your PC with limited options, such as a limited set of services and drivers. Once you boot into safe mode and see no issues, the problem is not with drivers on your PC. Safe mode narrows down the source of a problem and can help you troubleshoot issues on your PC.
Windows 10 offers three different safe mode options. These are the following:-
- Safe Mode: In this mode, Windows 10 starts with a minimal set of drivers and services.
- Safe Mode with Networking: Starts Windows 10 in safe mode with network drivers and services needed to access the Internet or other computers on your network.
- Safe Mode with Command Prompt: Starts Windows 10 in safe mode with a command prompt window instead of the standard Windows interface.
After enabling safe mode to your boot options, it will make it much easier to boot to safe mode in the future if required.
In this gearupwindows post, we will guide you on the following:-
- Add Safe Mode to Boot Options in Windows 10
- Remove Safe Mode from Boot Options using Command Prompt
To enable the safe mode to your PC’s boot options, you must be signed in to your machine with an administrator account. Furthermore, one will only sign in using your account’s password while in Safe Mode unless you enable passwordless sign-in for a Microsoft account.
How to add Safe Mode to Boot Options in Windows 10?
Follow these steps to add Safe Mode to Boot Options in Windows 10:-
Step 1. Open Command Prompt with elevated rights.
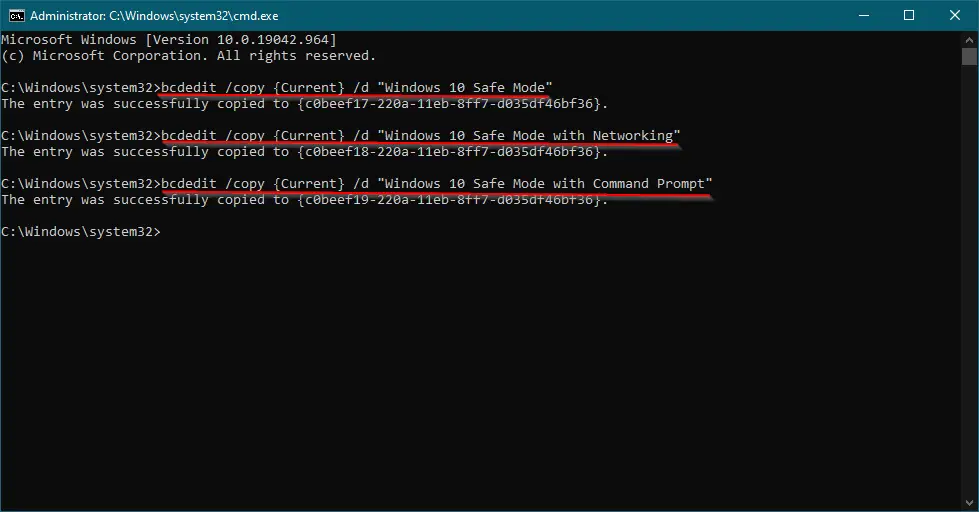
Step 2. Copy and paste the below commands in the Command Prompt for the safe mode you want to use, and press Enter from the keyboard:-
bcdedit /copy {Current} /d "Windows 10 Safe Mode"
OR
bcdedit /copy {Current} /d "Windows 10 Safe Mode with Networking"
OR
bcdedit /copy {Current} /d "Windows 10 Safe Mode with Command Prompt"
Note: If you want to enable all the safe mode options in the boot menu, you need to execute the above commands one by one.
Step 3. Close the command prompt now.
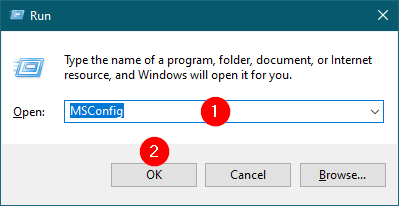
Step 4. Press the Windows logo + R keys to open the Run dialog box. In the Run box, type MSConfig and click on OK to open System Configuration.
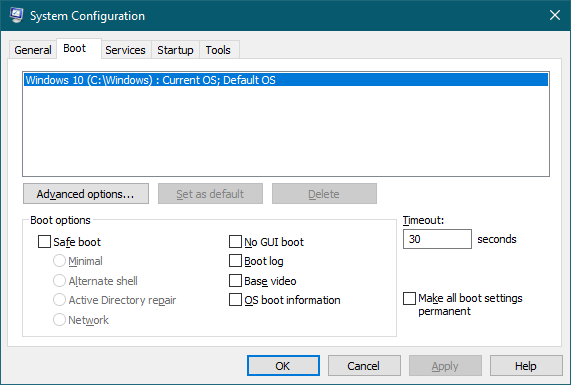
Step 5. In the System Configuration windows, click the Boot tab.
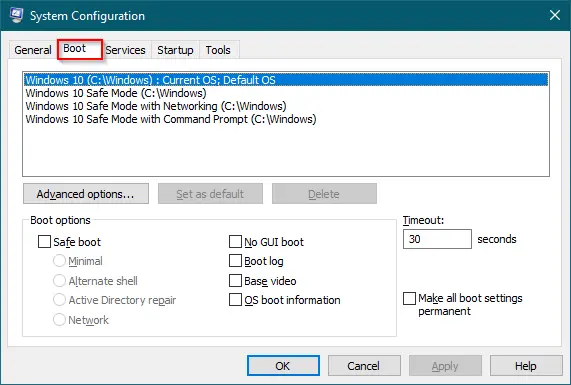
Step 6. Here, you will see all the boot options which you have added in Step 2 above. For instance, we have added Safe Mode, Safe Mode with Command Prompt, and Safe Mode with Networking in our boot menu.
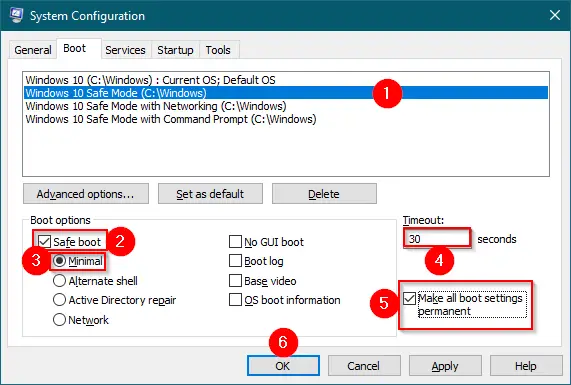
To configure the “Windows 10 Safe Mode,” select it. Check the checkmark “Safe boot” and select the “Minimal” radio button. Optionally, enter how many seconds you want for the Timeout value to have available to choose an operating system at boot before your default OS automatically boots. Finally, click the checkbox “Make all boot settings permanent.”
Similarly, for Safe Mode with Networking, select the “Network” and Safe Mode with the command prompt; select the “Alternate shell” option under “Safe boot.”
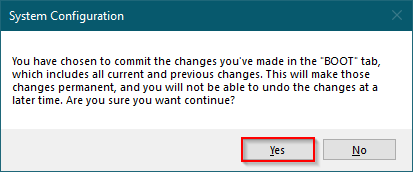
Step 7. Once you are ready with the configuration, click on Apply button. Click Yes to confirm.
Step 8. Windows PC will prompt for a restart to take effect.
Once you restart, you will see all the boot options which you have added.
How to remove Safe Mode from Boot Options using Command Prompt?
Follow these steps to remove Safe Mode from Boot Options using Command Prompt:-
Step 1. Press the Windows logo + R keys to open the Run dialog box. In the Run box, type MSConfig and click on OK to launch System Configuration.
Step 2. In the System Configuration windows, click the Boot tab.
Step 3. Here, you will see all boot options which are available on your PC. For instance, we have added Safe Mode, Safe mode with Command Prompt, and Safe Mode with Networking in our boot menu.
To remove any Safe Mode from the boot menu, select the entry and then click the Delete button.
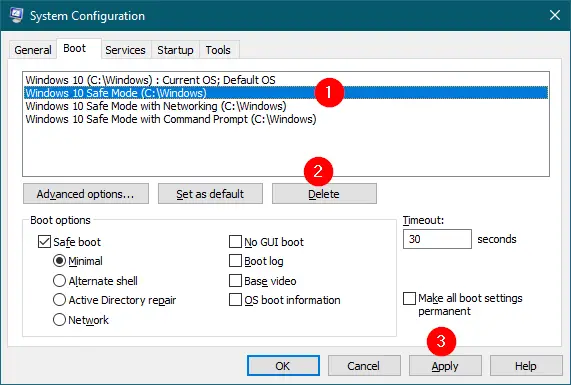
Step 4. Click Apply.
Once you complete the above steps, you should remove Safe Mode from Windows 10 boot menu.
Note: You can not remove a boot menu that is set as default on your PC.
Conclusion
In conclusion, Safe mode is a valuable troubleshooting tool that has been available since Windows 7 and continues to be an important feature in Windows 10. It allows users to start their PC with a minimal set of drivers and services, which can help diagnose and resolve issues with the system. Windows 10 offers three different safe mode options, including Safe Mode, Safe Mode with Networking, and Safe Mode with Command Prompt. By following the steps outlined in this article, users can easily add or remove Safe Mode from the boot options in Windows 10 using Command Prompt. Enabling Safe Mode in the boot options can make it easier to access this valuable feature in the future if needed.