If you are a Windows 11/10 user, you may want to share media files such as music, pictures, and videos with other users on the same network. To do this, you need to know how to allow, block, or remove DLNA devices. DLNA (Digital Living Network Alliance) is a standard that allows networked devices to share media files with each other. However, sometimes you may want to block a specific device from streaming media files or remove a device that is no longer needed. In this post, we will guide you on how to allow, block, or remove a DLNA device in Windows 11/10.
What is a DLNA device?
DLNA is a standard that enables devices such as smartphones, tablets, smart TVs, and PCs to share media files with each other. When a DLNA-certified device is added to a network, it can automatically communicate and share media files with other DLNA devices on the same network.
How to Allow, Block, or Remove a DLNA Device in Windows 11/10?
Follow these simple steps to allow, block, or remove a DLNA device in Windows 11/10:-
Step 1. First, open Control Panel.
To do that, click the Search or Windows icon on the taskbar and type Control Panel in the search box. Then, select Control Panel from the results.
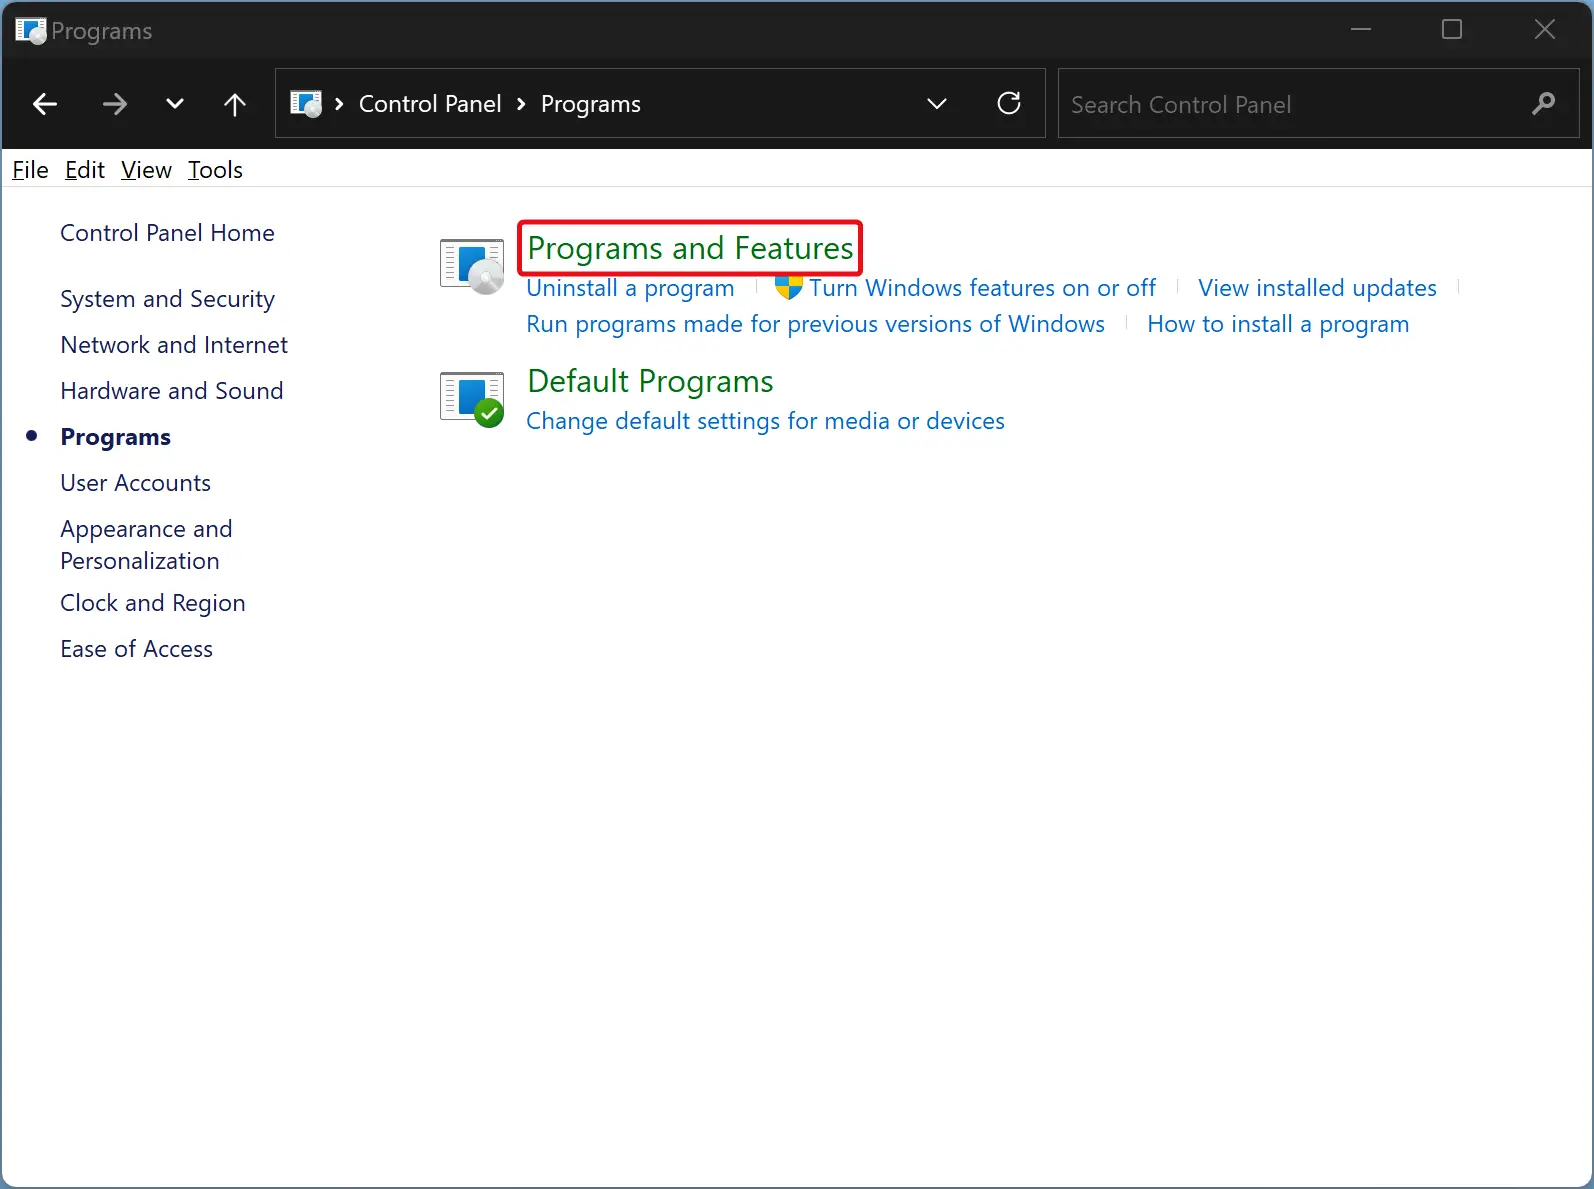
Step 2. Once the Control Panel opens, click on Network and Internet.
Step 3. Next, click on Network and Sharing Center in the Control Panel.
Step 3. Then, click the Media streaming options option in the left sidebar.
Step 4. In the following window, you can do the following:-
- Click on “Allow All”: To allow all devices to access your shared media, click “Allow All.” This will enable media streaming and allow all devices on your network to access your shared media.
- Click on “Block All”: To block all devices from accessing your shared media, click “Block All.” This will turn off media streaming and prevent all devices on your network from accessing your shared media.
- Select a media device: To manage individual device access to your shared media, select a media device from the list of connected devices. For example, you can select “Unknown Device” if you don’t recognize the device.
- Uncheck “Allowed”: If you want to block a specific device’s access to your shared media, uncheck “Allowed” for that device. This will prevent the selected device from accessing your shared media.
- Check “Allowed”: If you want to allow a specific device’s access to your shared media, check “Allowed” for that device. This will enable the selected device to access your shared media.
Step 5. After you have allowed, blocked, or removed a device, click on the “OK” button to apply the changes.
Conclusion
In conclusion, allowing, blocking, or removing a DLNA device in Windows 11 is easy and straightforward. By following these steps, you can manage your DLNA devices and control which devices can stream media files on your network.
