In the ever-evolving world of technology, Windows 11 has brought forth a plethora of exciting features, and one such feature is the ability to blur the background of your images using the Photos app. This feature not only adds a touch of professionalism to your photos but also allows your subject to stand out in a manner reminiscent of portrait mode on smartphones. In this comprehensive guide, we’ll walk you through the steps to master the art of background blurring in the latest update of the Photos app for Windows 11.
How to Blur Image Background in Photos on Windows 11?
To blue image background in Photos on Windows 11, use these steps:-
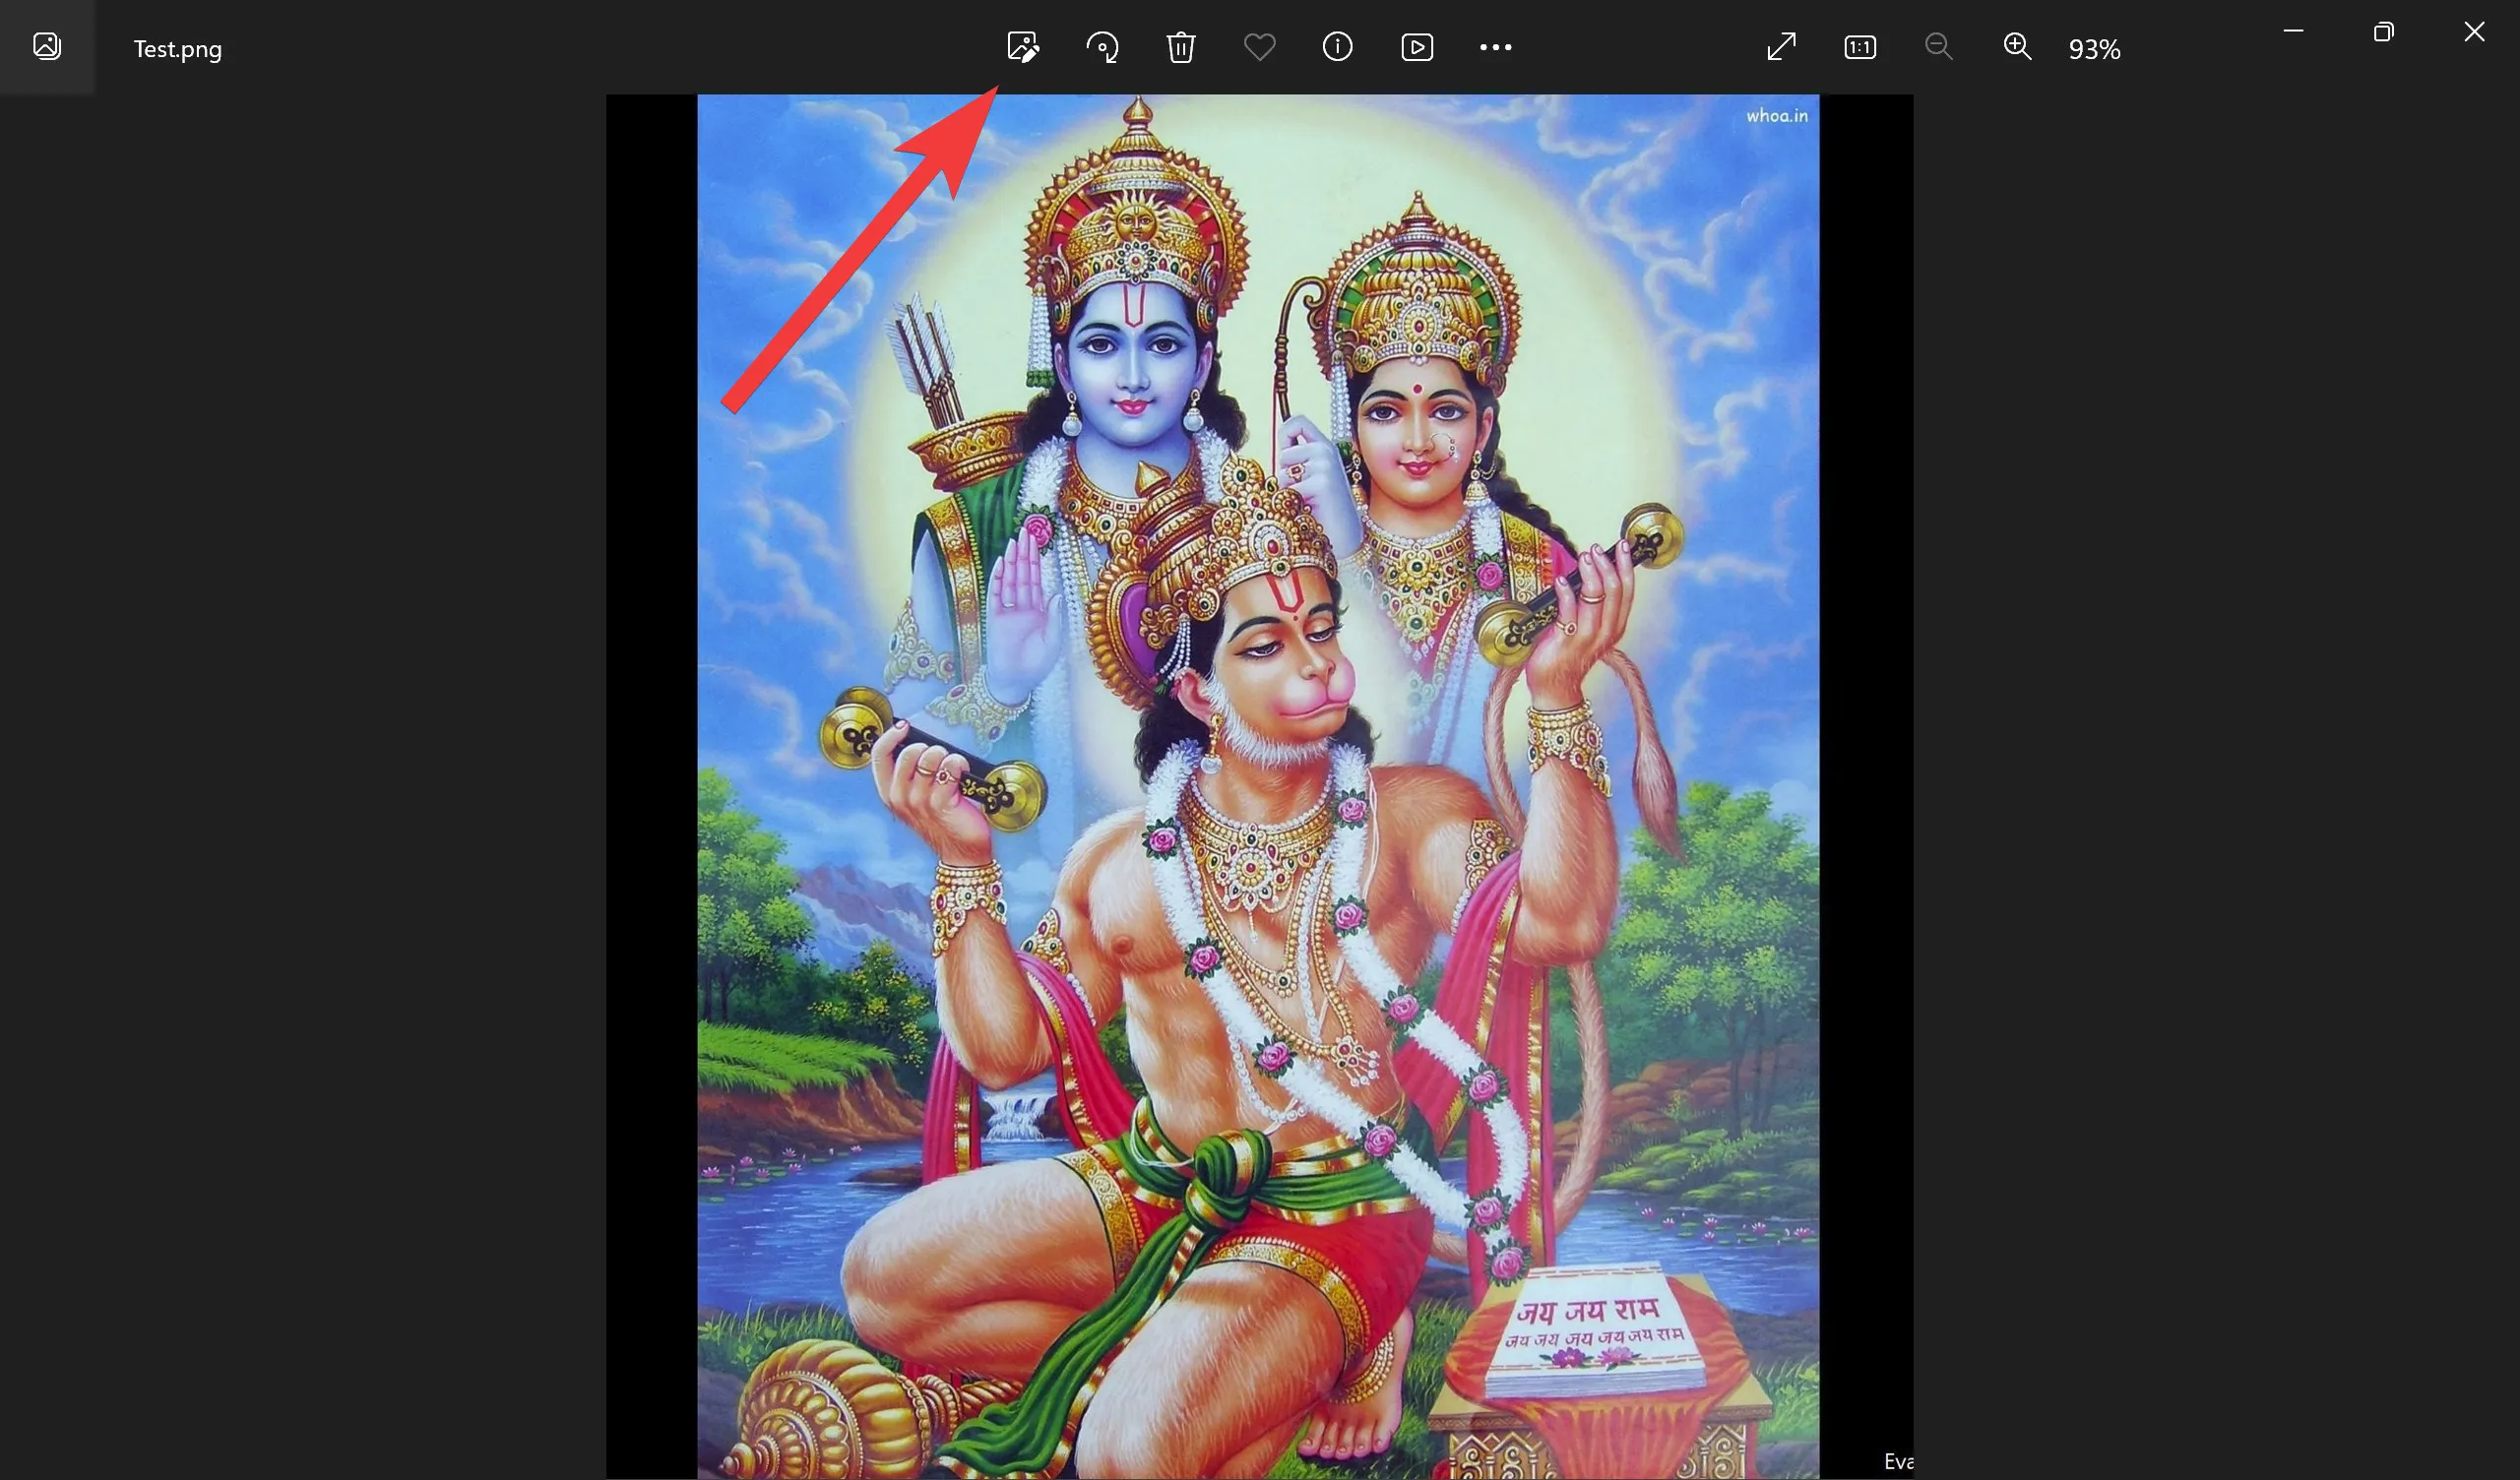
Step 1. The journey to achieving stunning background blur begins with opening the Photos app on your Windows 11 device. Once you’ve launched the app, navigate to the image you wish to edit.
Step 2. With your image open, it’s time to delve into the editing process. Click on the “Edit image” option, which can also be accessed using the keyboard shortcut Ctrl + E. This action will take you to the editing interface.
Step 3. Now, the magic begins. In the editing interface, keep your eyes peeled for the “Background blur” tool. It should be located in the command bar, typically on the top or side of the screen. Click on this tool to activate it.
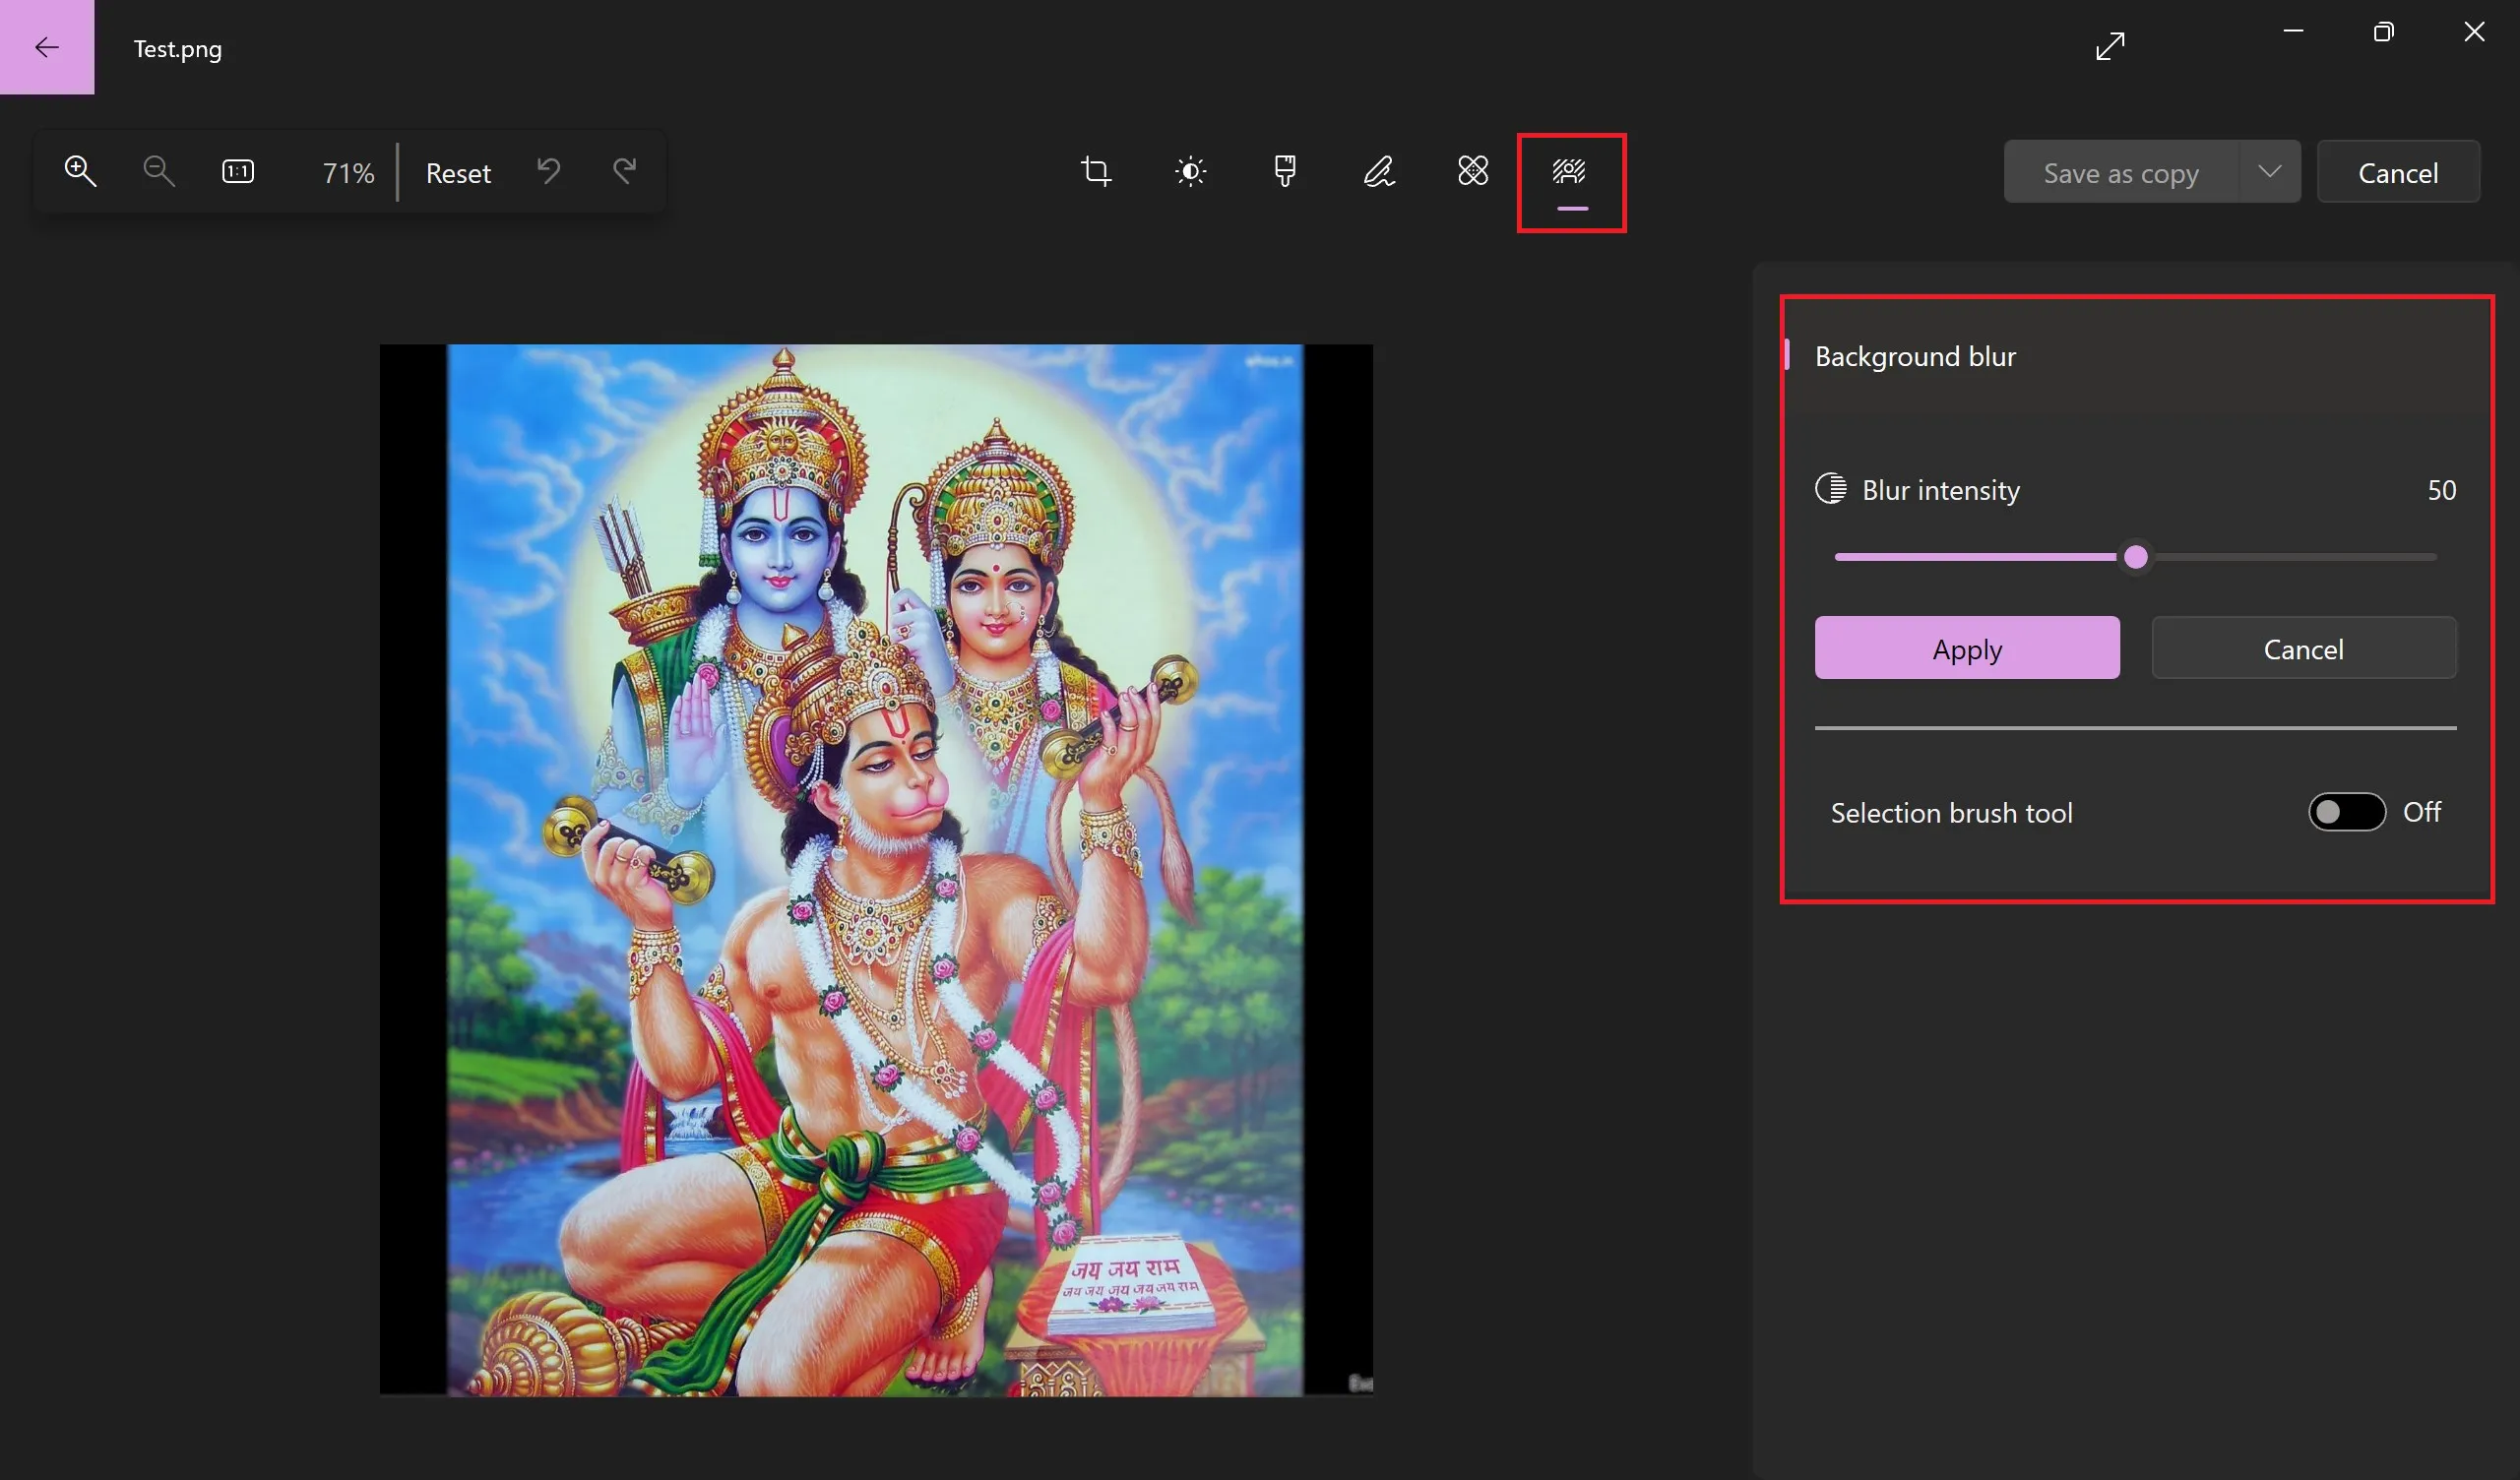
Step 4. One of the key aspects of background blur is controlling the intensity of the effect. You’ll notice a slider that allows you to adjust the level of blur. Slide it left for a subtle effect or right for a more pronounced blur, depending on your preference and the image’s requirements.
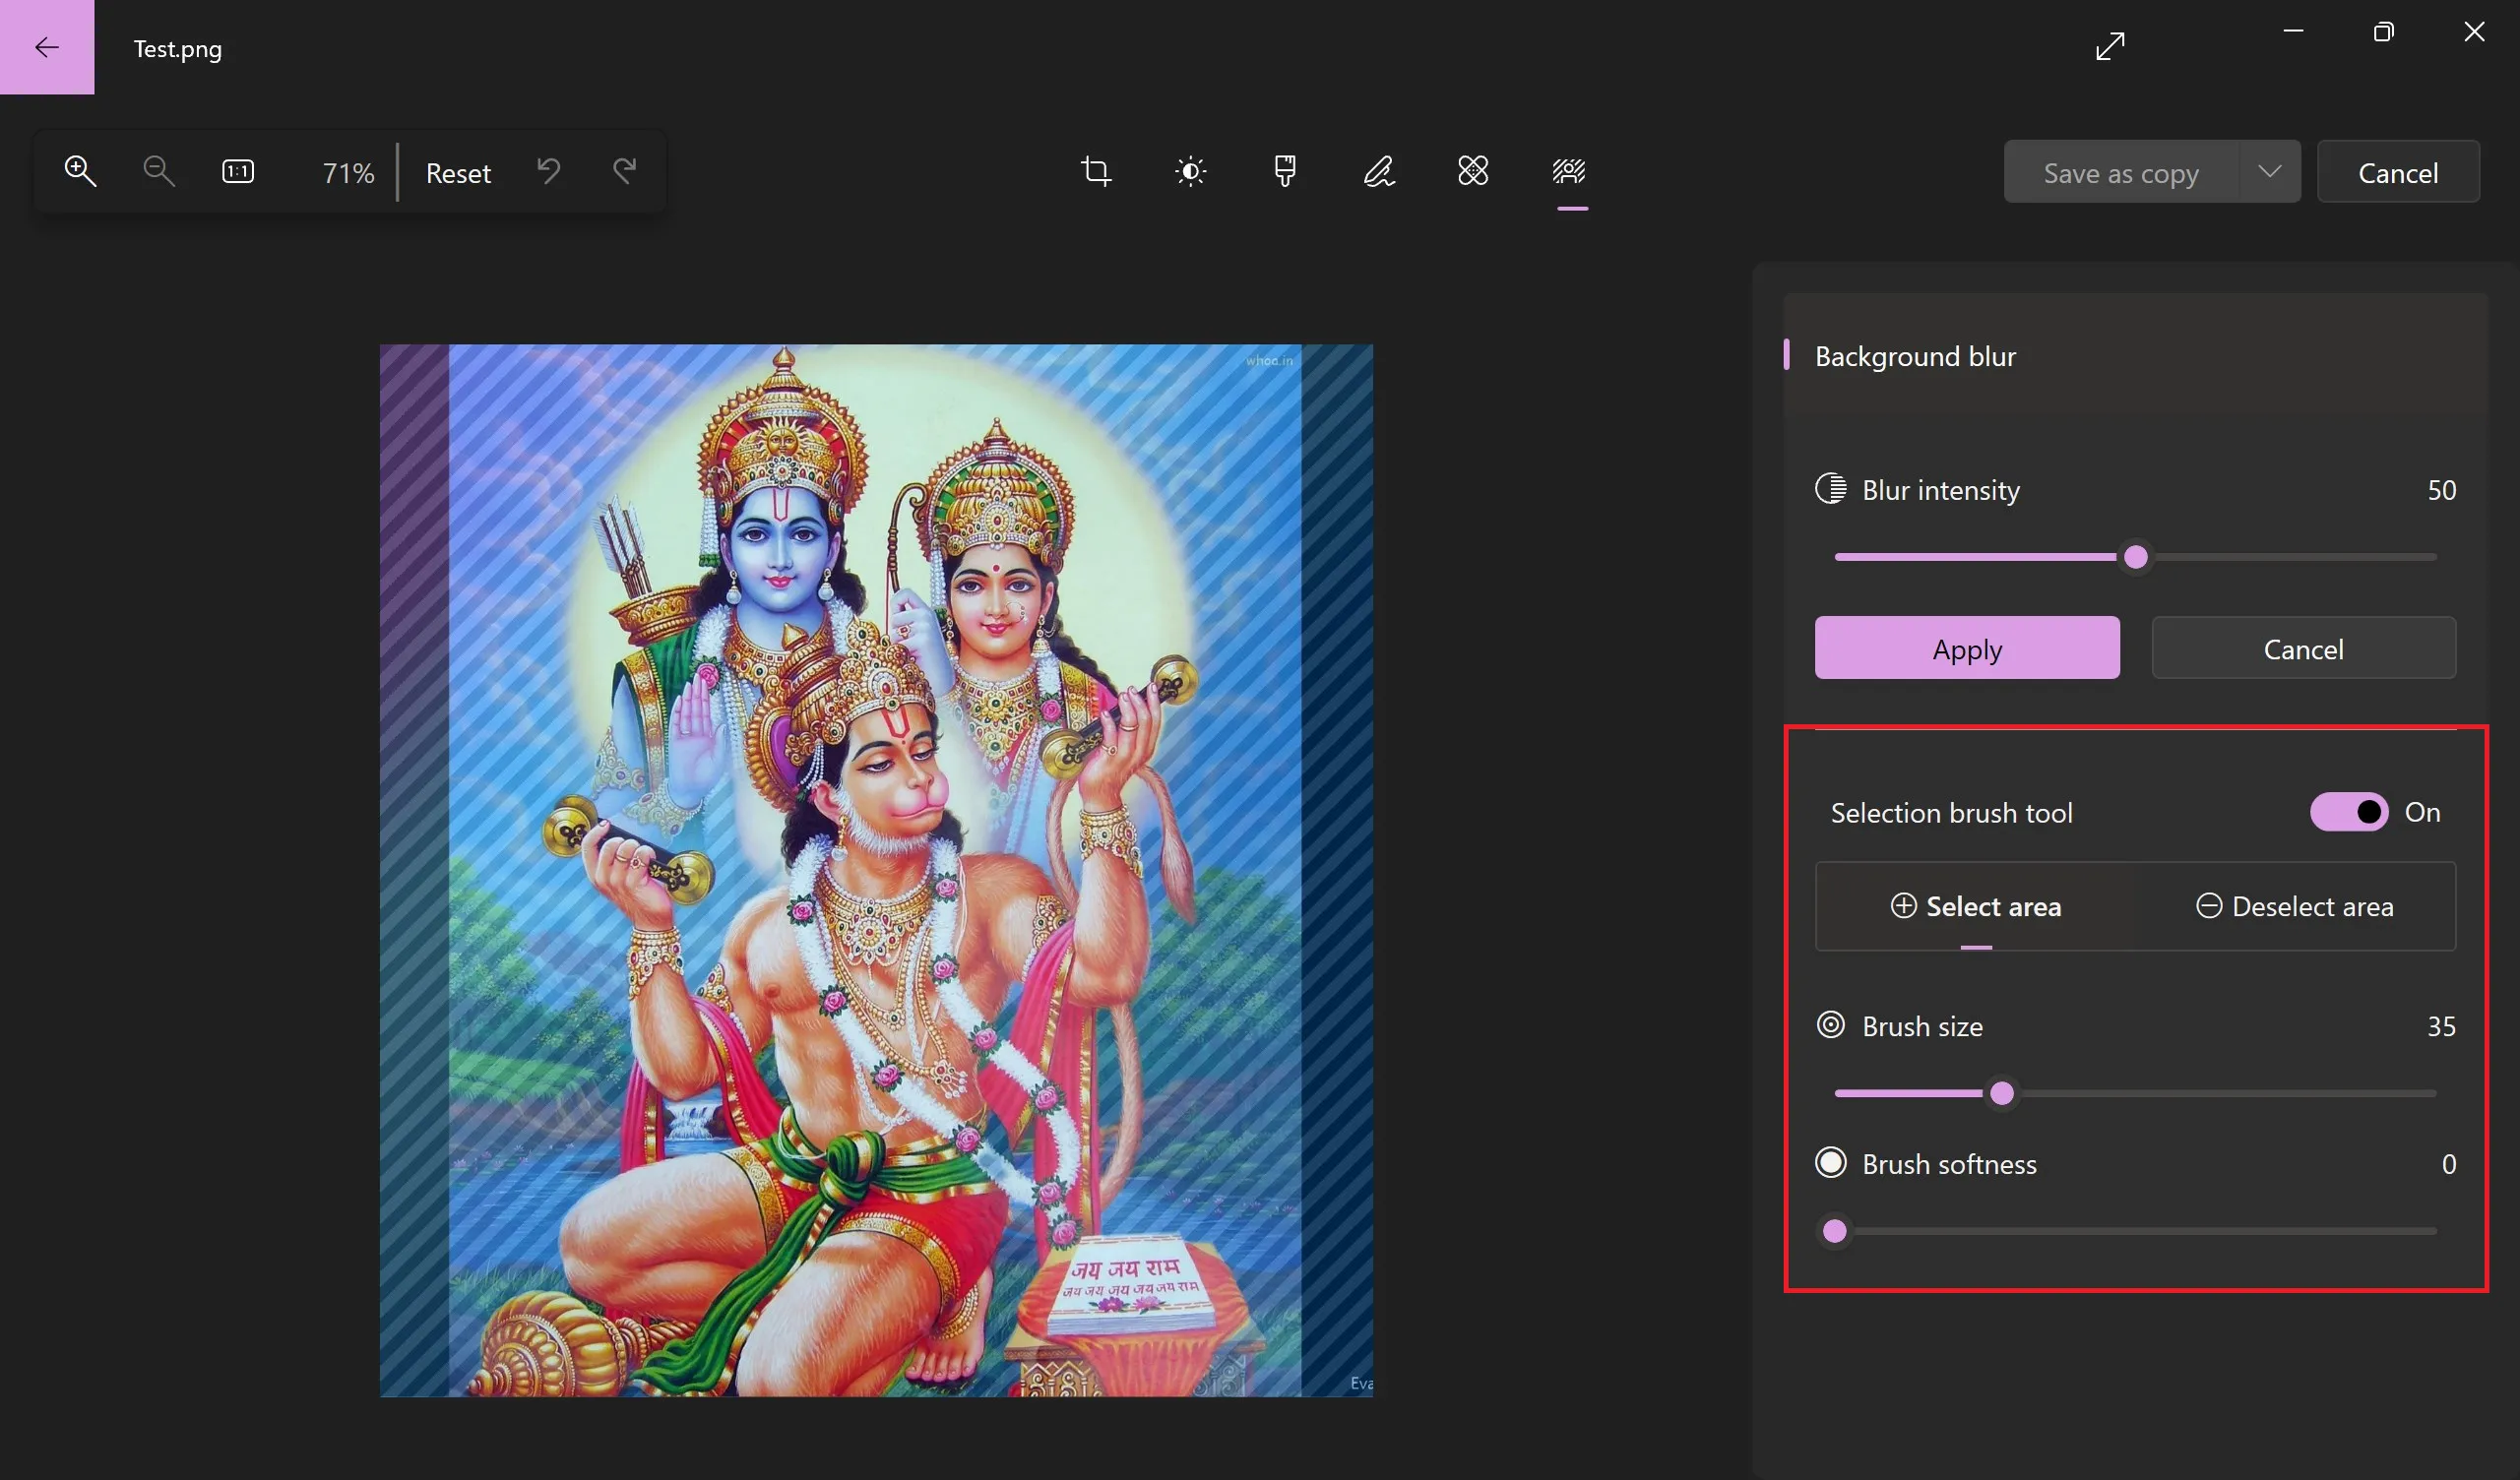
Step 5. For more precise editing, the Photos app offers an optional “Selection brush tool.” This tool is particularly handy when you want to customize the areas you’re blurring. Toggle it on if you wish to use it.
Step 6. If you’ve enabled the selection brush tool, you can further tailor your editing experience. Use the provided sliders to modify the brush’s size and softness. A larger brush size covers more area, while a softer brush creates a smoother transition between the subject and the background.
Step 7. With your editing adjustments in place, it’s time to put your plan into action. Use the selection brush tool to select the specific areas you want to apply the blur to. Alternatively, if you’re not using the selection brush tool, the app will automatically detect the subject and apply the blur to the background.
Step 8. Once you’re satisfied with your adjustments and background blur, click the “Apply” button. This will process your changes and transform your image with a beautiful background blur effect, akin to portrait mode photography on smartphones.
And there you have it! With these simple steps, you can take your photos to the next level by adding a professional touch with background blur. Your subject will now pop out from the background, creating a visually striking image.
Please note that the availability of this feature may depend on the specific version of Windows 11 you’re using. If you don’t see the background blur option in your Photos app, ensure that your app is up to date, or stay tuned for any announcements or updates from Microsoft regarding this feature. Happy editing!
