Microsoft Word is a versatile word processing software that offers a wide range of tools to make your documents more visually appealing and informative. Among these tools is the ability to rotate text, which can be a handy feature for creating eye-catching headers, labels, or any content that needs a different orientation. In this article, we will delve into the various methods to rotate text in Microsoft Word, catering to different needs and preferences.
How to Rotate Text in Microsoft Word?
Method 1: Using the Rotate Function
One of the most straightforward ways to rotate text in Microsoft Word is by utilizing the built-in Rotate function. Follow these steps:-
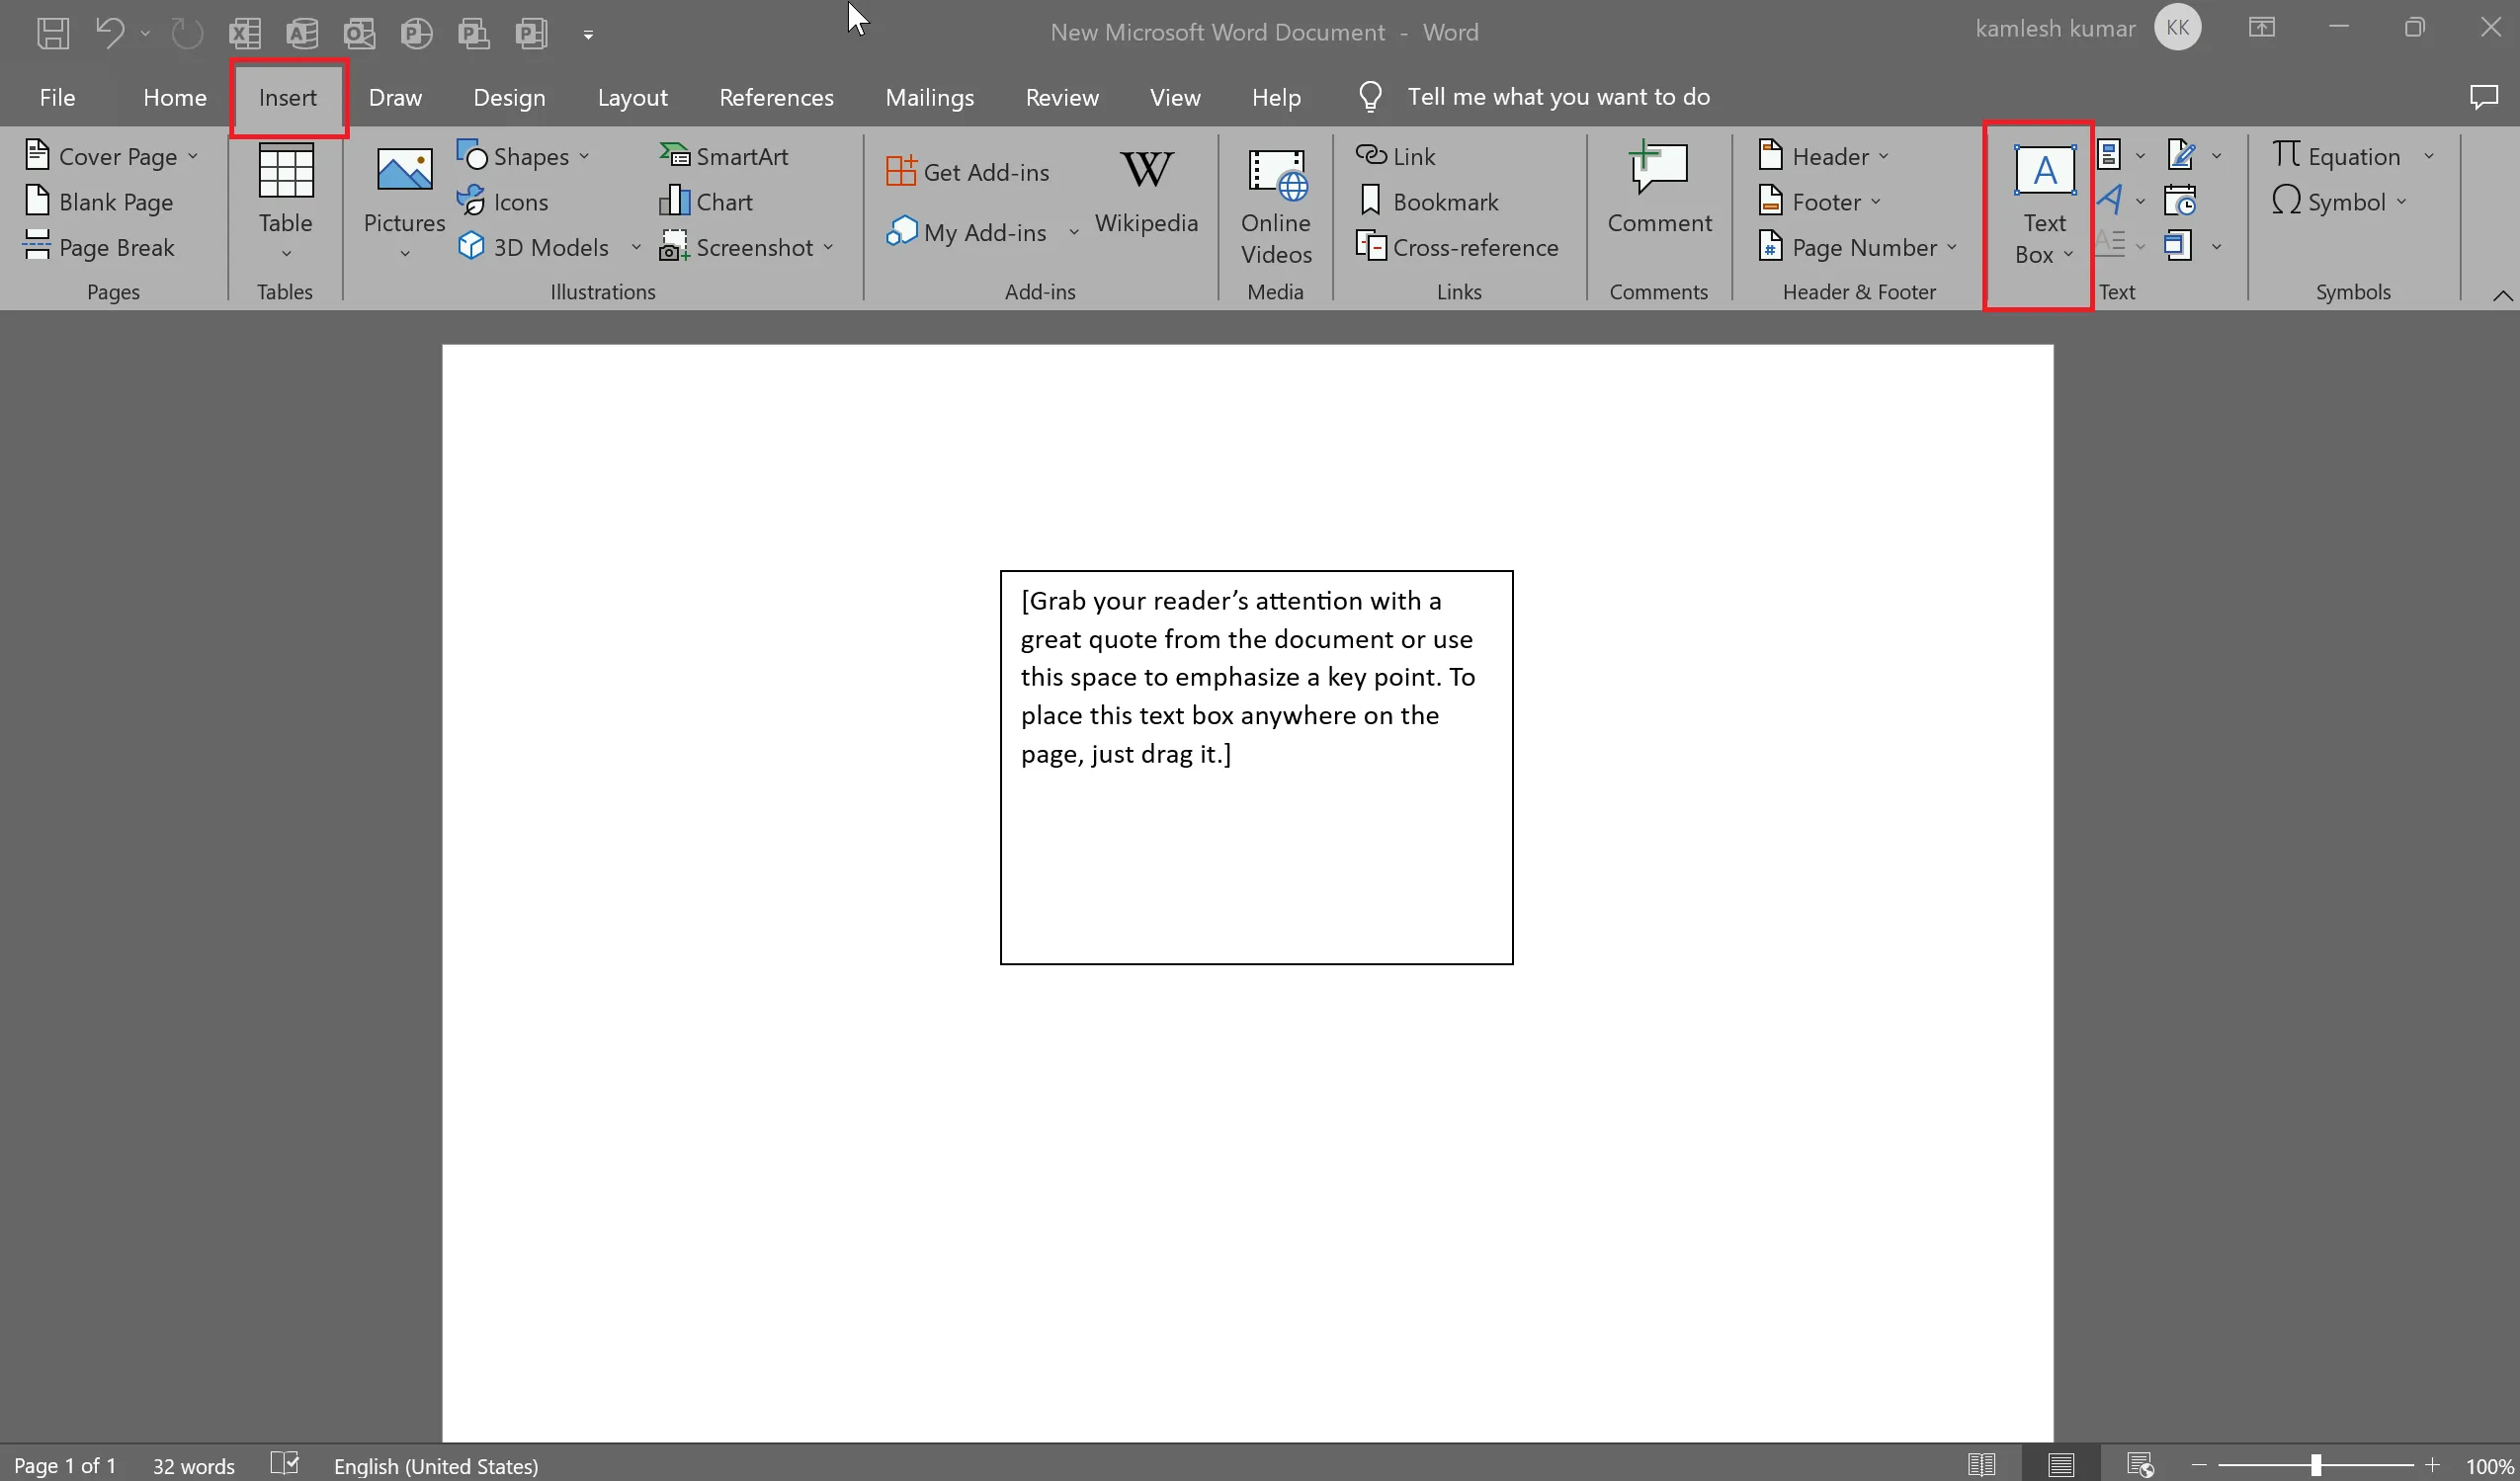
Step 1. Create a Text Box: Begin by placing your cursor where you want to insert the rotated text. Click on the “Insert” tab in the Word ribbon and choose “Text Box.” You can then draw the text box on your document.
Step 2. Add Your Text: With the text box in place, type or paste the text you wish to rotate into it.
Step 3. Rotate the Text Box: To rotate the entire text box, select it by clicking on its border. In the Word ribbon, you will find the “Rotate” option on the “Layout” tab. Here, you can choose from options like “Rotate Right 90°,” “Rotate Left 90°,” “Flip Vertical,” or “Flip Horizontal.” Clicking on one of these options will instantly rotate your text box accordingly.

Step 4. Rotate the Text Inside the Text Box: If you only want to rotate the text inside the text box, click inside the text box to select the text. Follow the same steps mentioned in the previous point to rotate just the text.
Step 5. Custom Rotation: For precise control, select “More Rotation Options” from the “Rotate” menu. A dialog box will appear where you can specify the rotation angle for both the text box and the text inside it.
Method 2: 3D Text Rotation
If you want to give your text a three-dimensional appearance, Word offers an option for that too:-
Step 1. Create a Text Box and Add Text: Begin by creating a text box and adding your text as described in Method 1.
Step 2. Apply 3D Rotation: After selecting the text box, go to the “Shape Format” tab and click on “Text Effects.” Here, you’ll find the “3-D Rotation” option. Choose between “Parallel,” “Perspective,” or “Oblique” to apply a 3D effect to your text. This feature adds depth and dimension to your rotated text.

Method 3: Manual Rotation
Sometimes, you might want to have more control over the rotation angle. Manual rotation allows you to freely adjust the text box or text direction:-
Step 1. Create a Text Box and Add Text: Start by creating a text box and inserting your text.
Step 2. Manually Rotate the Text Box: To manually rotate the entire text box, place your mouse cursor on the clockwise open circle arrow above the text box. Drag the box in your preferred direction to rotate it.
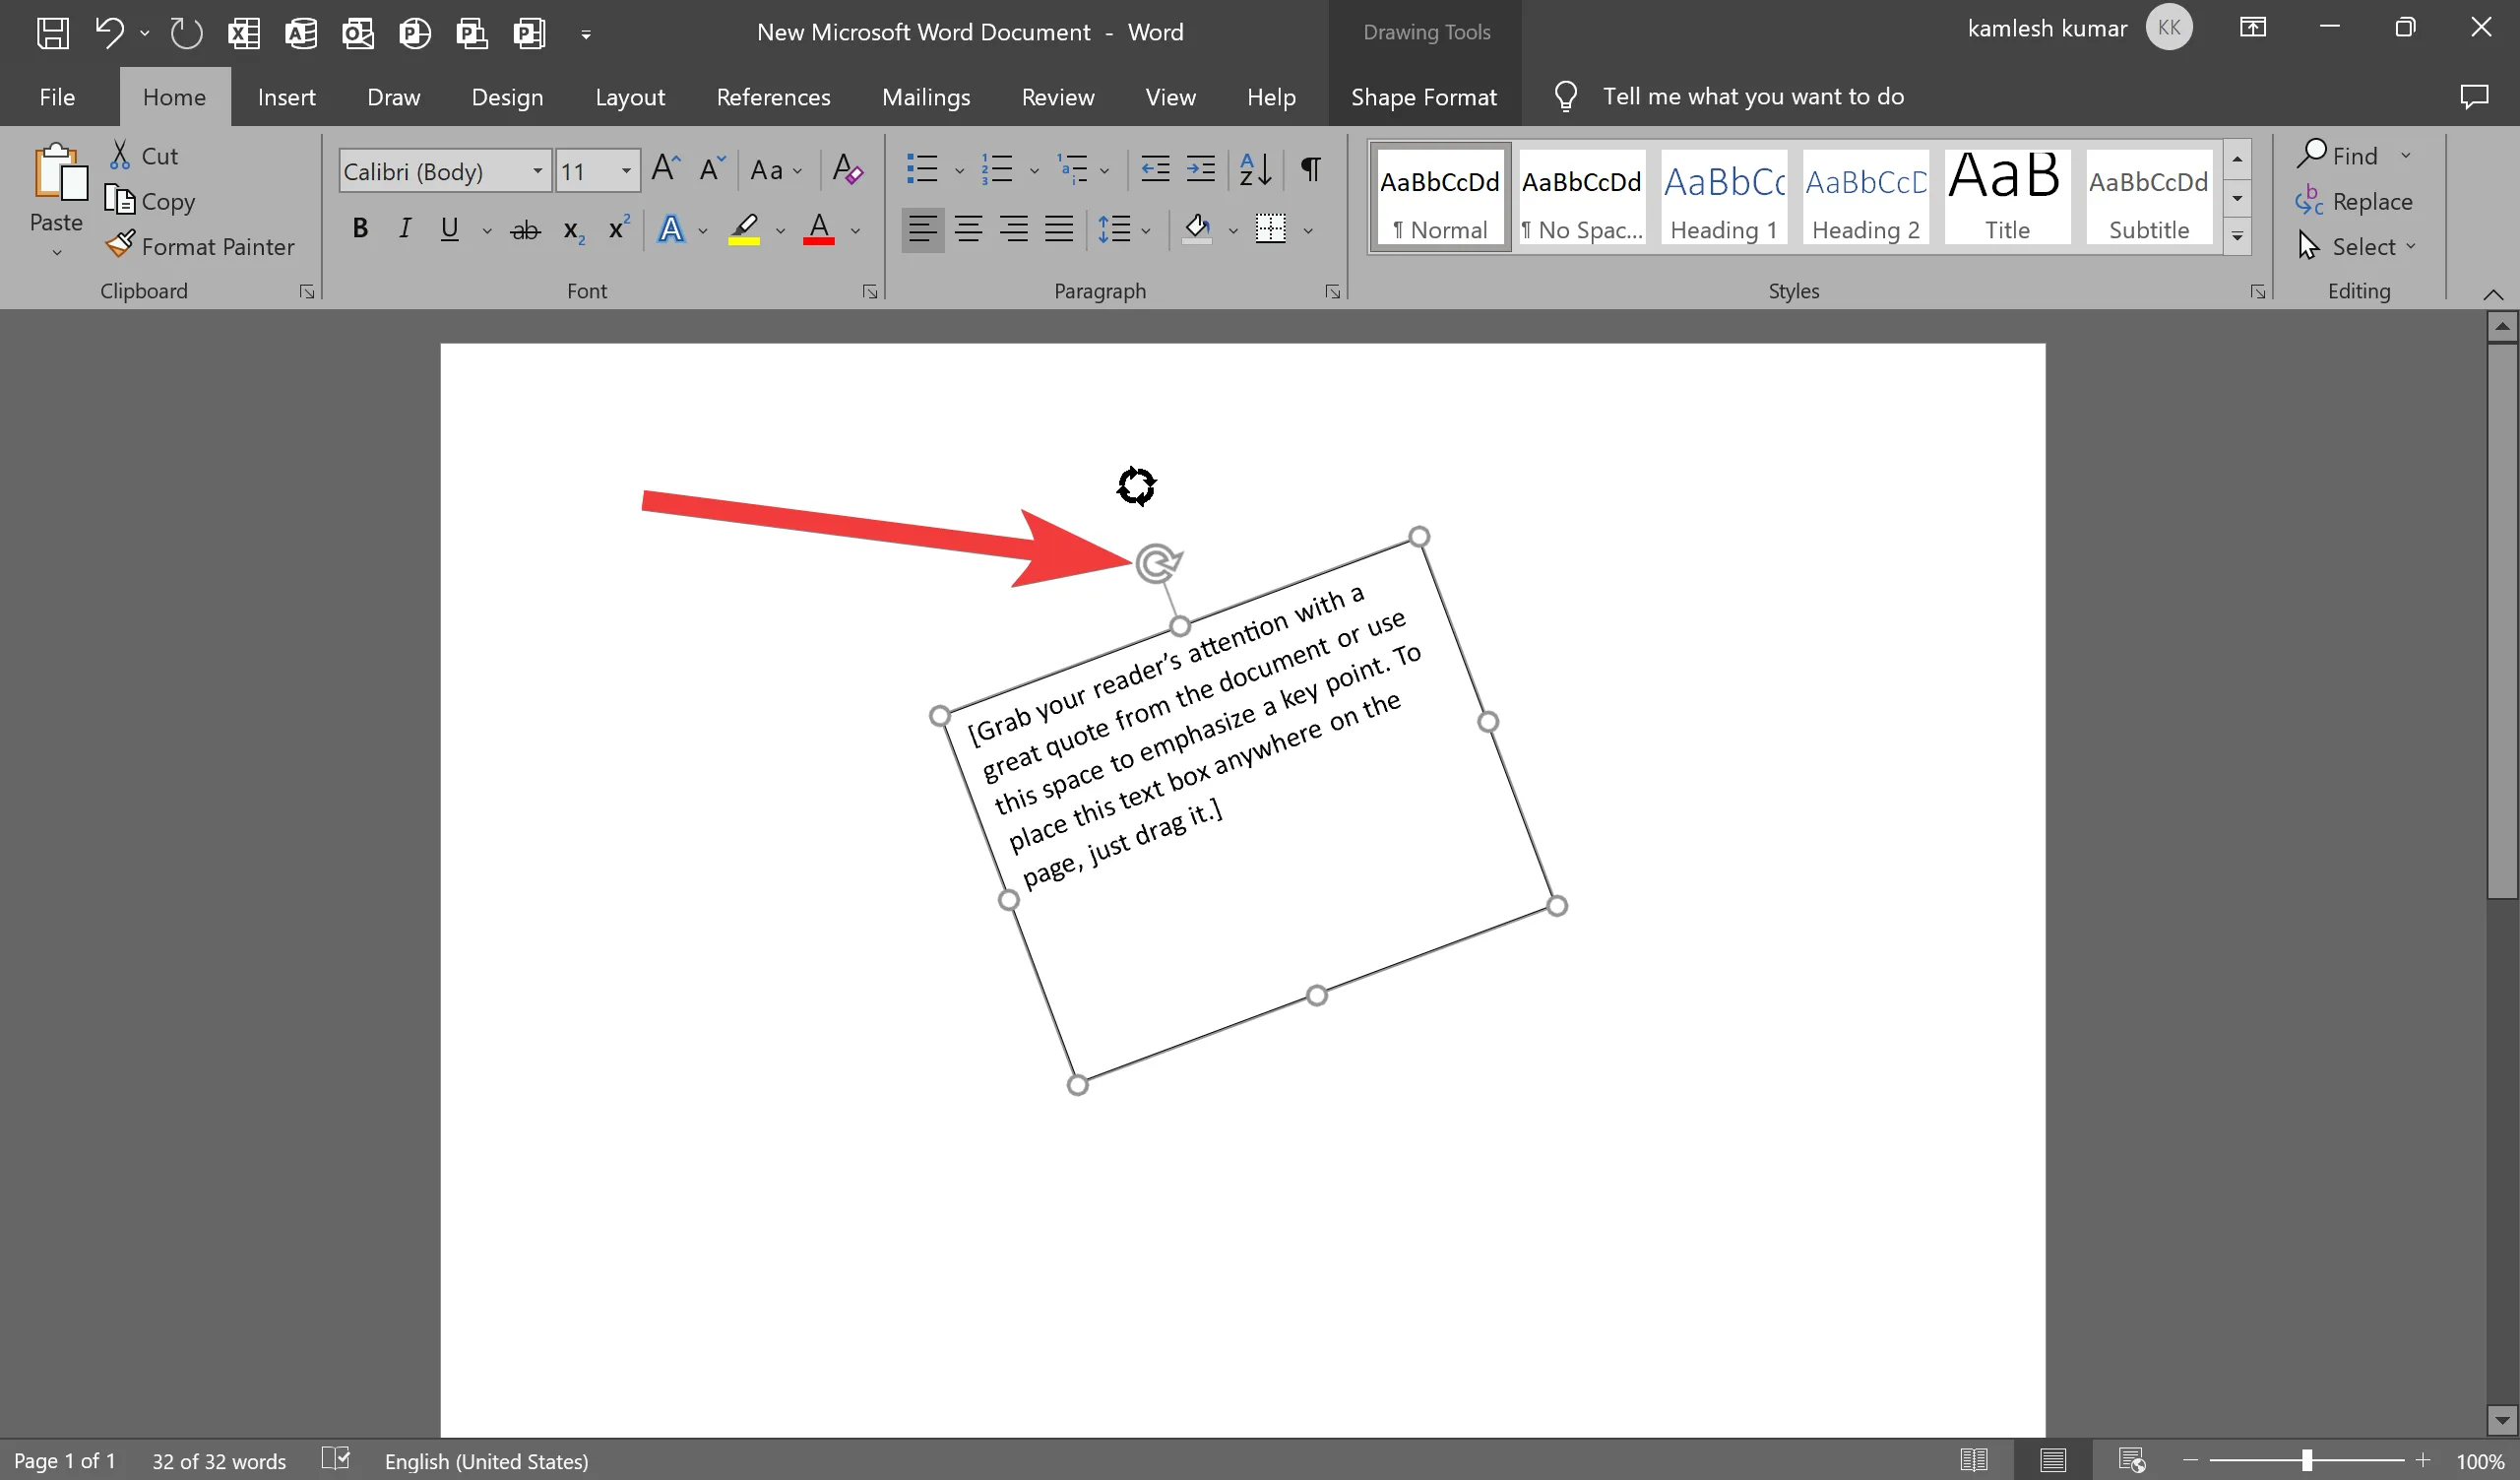
Step 3. Manually Rotate Text Inside the Text Box: If you only want to rotate the text inside the box, click inside the text box and use the same clockwise open circle arrow to drag the text in your preferred direction.
Method 4: Changing Text Direction
Changing the text direction is different from rotating the text box. This method lets you change the orientation of the text itself:-
Step 1. Select Text to Change Direction: Highlight the text inside the text box that you want to change the direction of.
Step 2. Access Text Direction Options: Go to the “Shape Format” tab and click on “Text Direction.” You can choose between options like “Horizontal,” “Rotate all text 90°,” or “Rotate all text 270°.” Additionally, you can select “Text Direction Options” for more orientation choices.

Method 5: Rotating Text in a Table
If you’re working with tables and need to rotate text within a cell, Word provides the means to do so:-
Step 1. Insert a Table: Start by inserting a table into your document and adding content to it.
Step 2. Rotate Text Within the Table: Select the table, and under the “Table Tools,” click on the “Layout” tab. Here, you’ll find the “Text Direction” option. Keep pressing it until you achieve the desired text angle. You can also adjust text alignment using the picture icons on the left.

Step 3. Alternative Method: Right-click on the table, and from the context menu, select “Text Direction.” This opens the “Text Direction – Table Cell” dialog, where you can set the orientation to “Landscape” or any other preferred angle.
Bonus Tip: Removing Text Box Borders
Sometimes, you may want to remove the border around your text box:-
Step 1. Select the Text Box: Click on the text box to select it.
Step 2. Remove the Border: Navigate to the “Shape Format” tab. In the “Shape Styles” group, click on “Shape Outline.” Choose “No Outline” to eliminate the border.
Conclusion
Rotating text in Microsoft Word is a valuable skill that can help you create visually appealing documents, presentations, and more. Whether you want to simply change the text direction or add a touch of 3D rotation, Word provides a variety of tools to cater to your needs. With a little practice, you can become proficient in using these methods to enhance the aesthetics and readability of your documents. So, go ahead, experiment, and let your creativity shine through in your Word documents!
Also Read: How to Rotate Picture in Microsoft Word?
