Android uses Chromecast technology to cast content onto other Chromecast-supported displays. On the other hand, Windows uses Miracast for the same purpose. However, starting with Windows 10, Microsoft allows users to cast Android screens onto Windows devices. Using the “Wireless Display” app, you can mirror the Android displays to Windows 11 devices. It can cast audio and video from an Android phone to a PC. This ensures that the Windows 11 computer serves as a Miracast wireless receiver, allowing users to view Android shows on a bigger screen.
Also Read: How to Project Android Display to a Windows 10 PC?
In this gearupwindows article, we will guide you on how to cast Android displays to Windows 11.
How to Turn Your Windows 11 PC into a Miracast Receiver?
To convert your PC into a Miracast receiver, you need to install Wireless Display first. For that, use the following steps:-
Step 1. Launch the Settings app.
To do that, use the Windows + I hotkey.
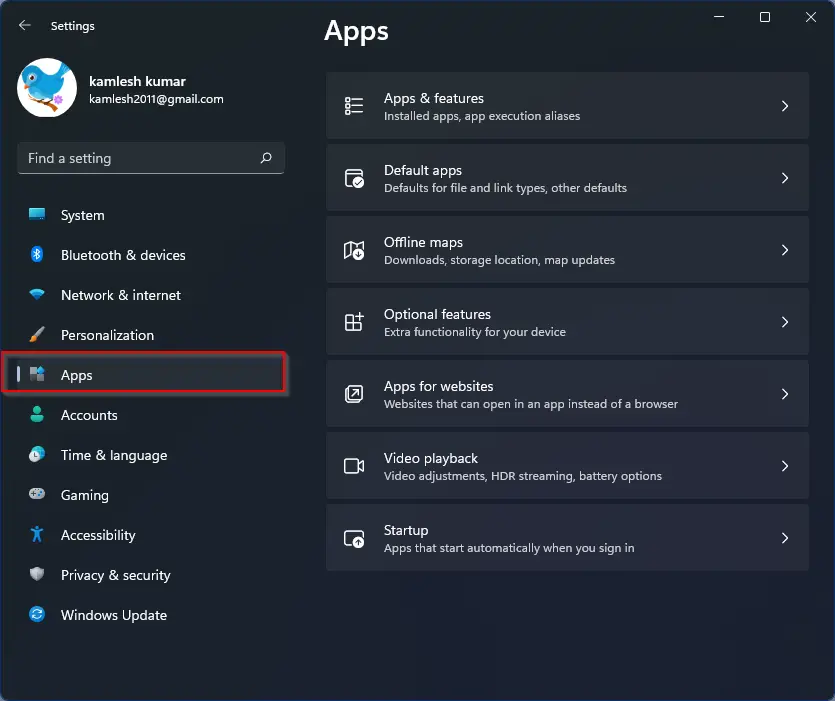
Step 2. On the Settings window, select Apps.
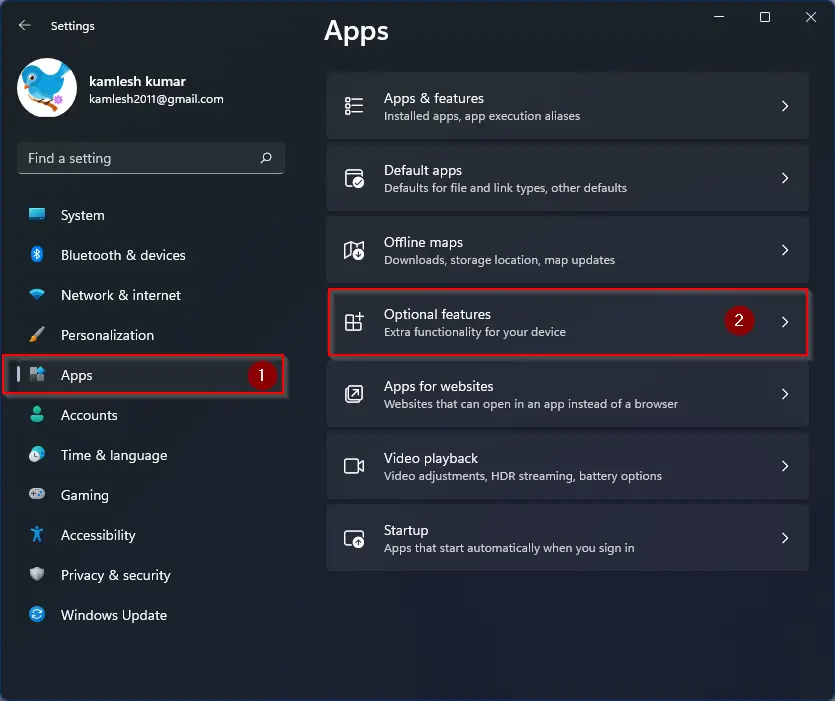
Step 3. Then, click on Optional features.
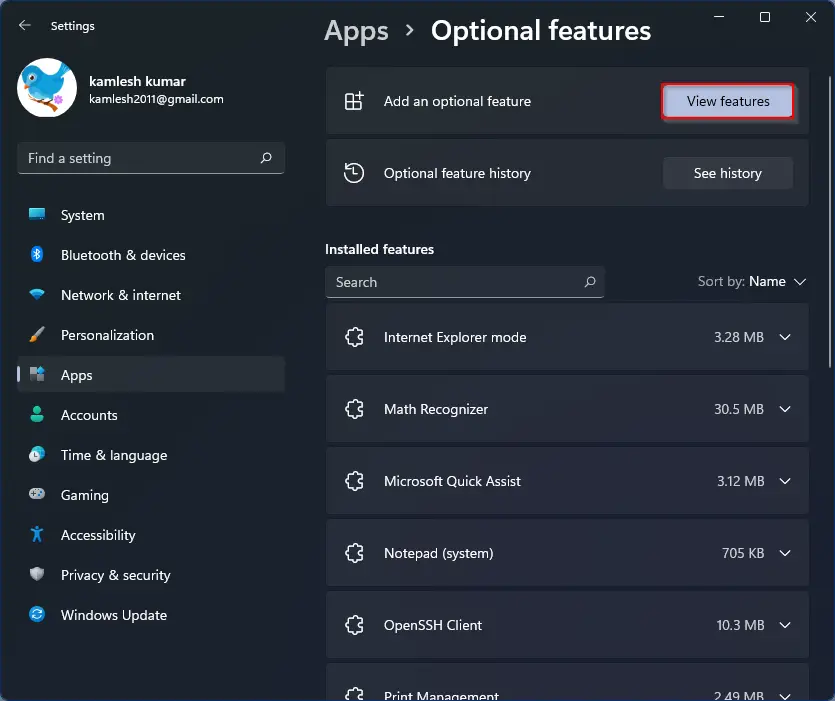
Step 4. After that, click on the View features button beside the “Add an optional feature” option.
Step 5. On the pop-up window, click the search bar and type Wireless Display.
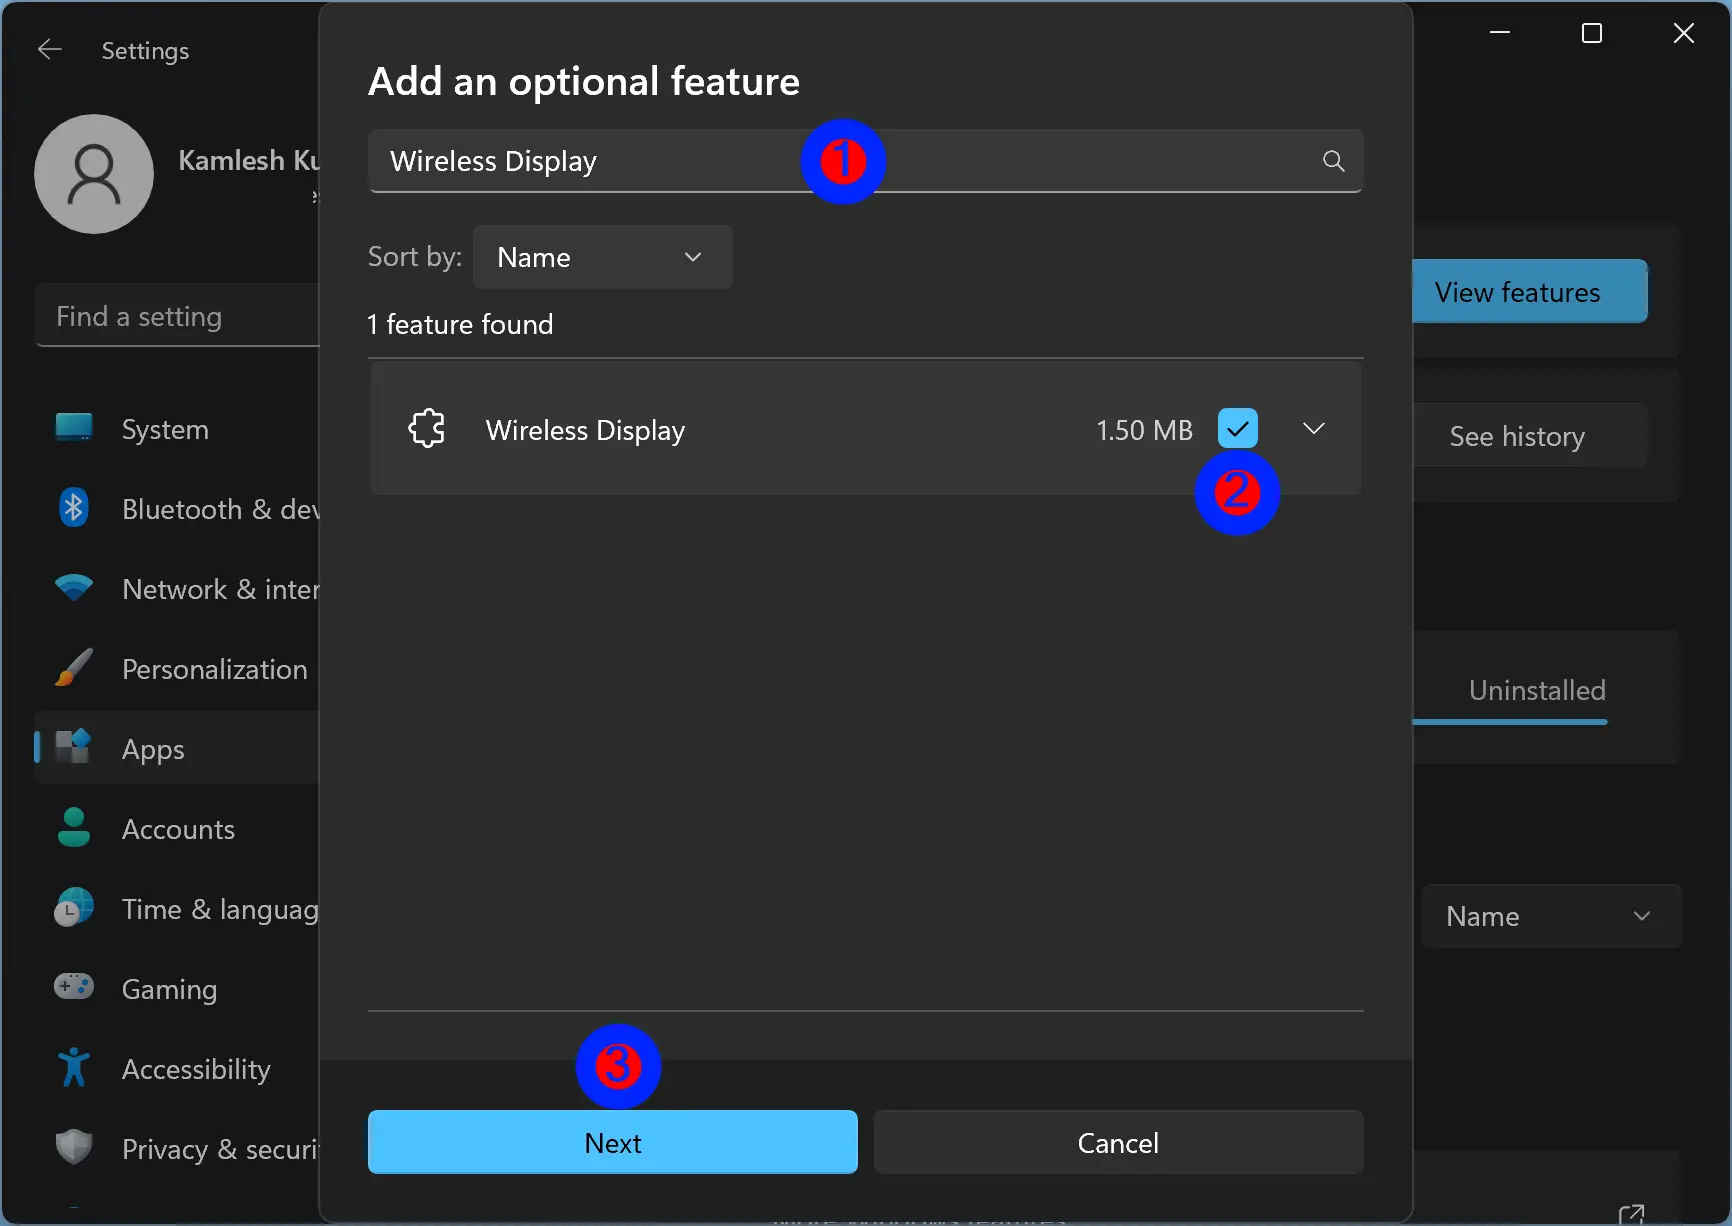
Step 6. Next, check the checkbox beside Wireless Display.
Step 7. After that, click the Next button.
Step 8. Finally, click the Install button.
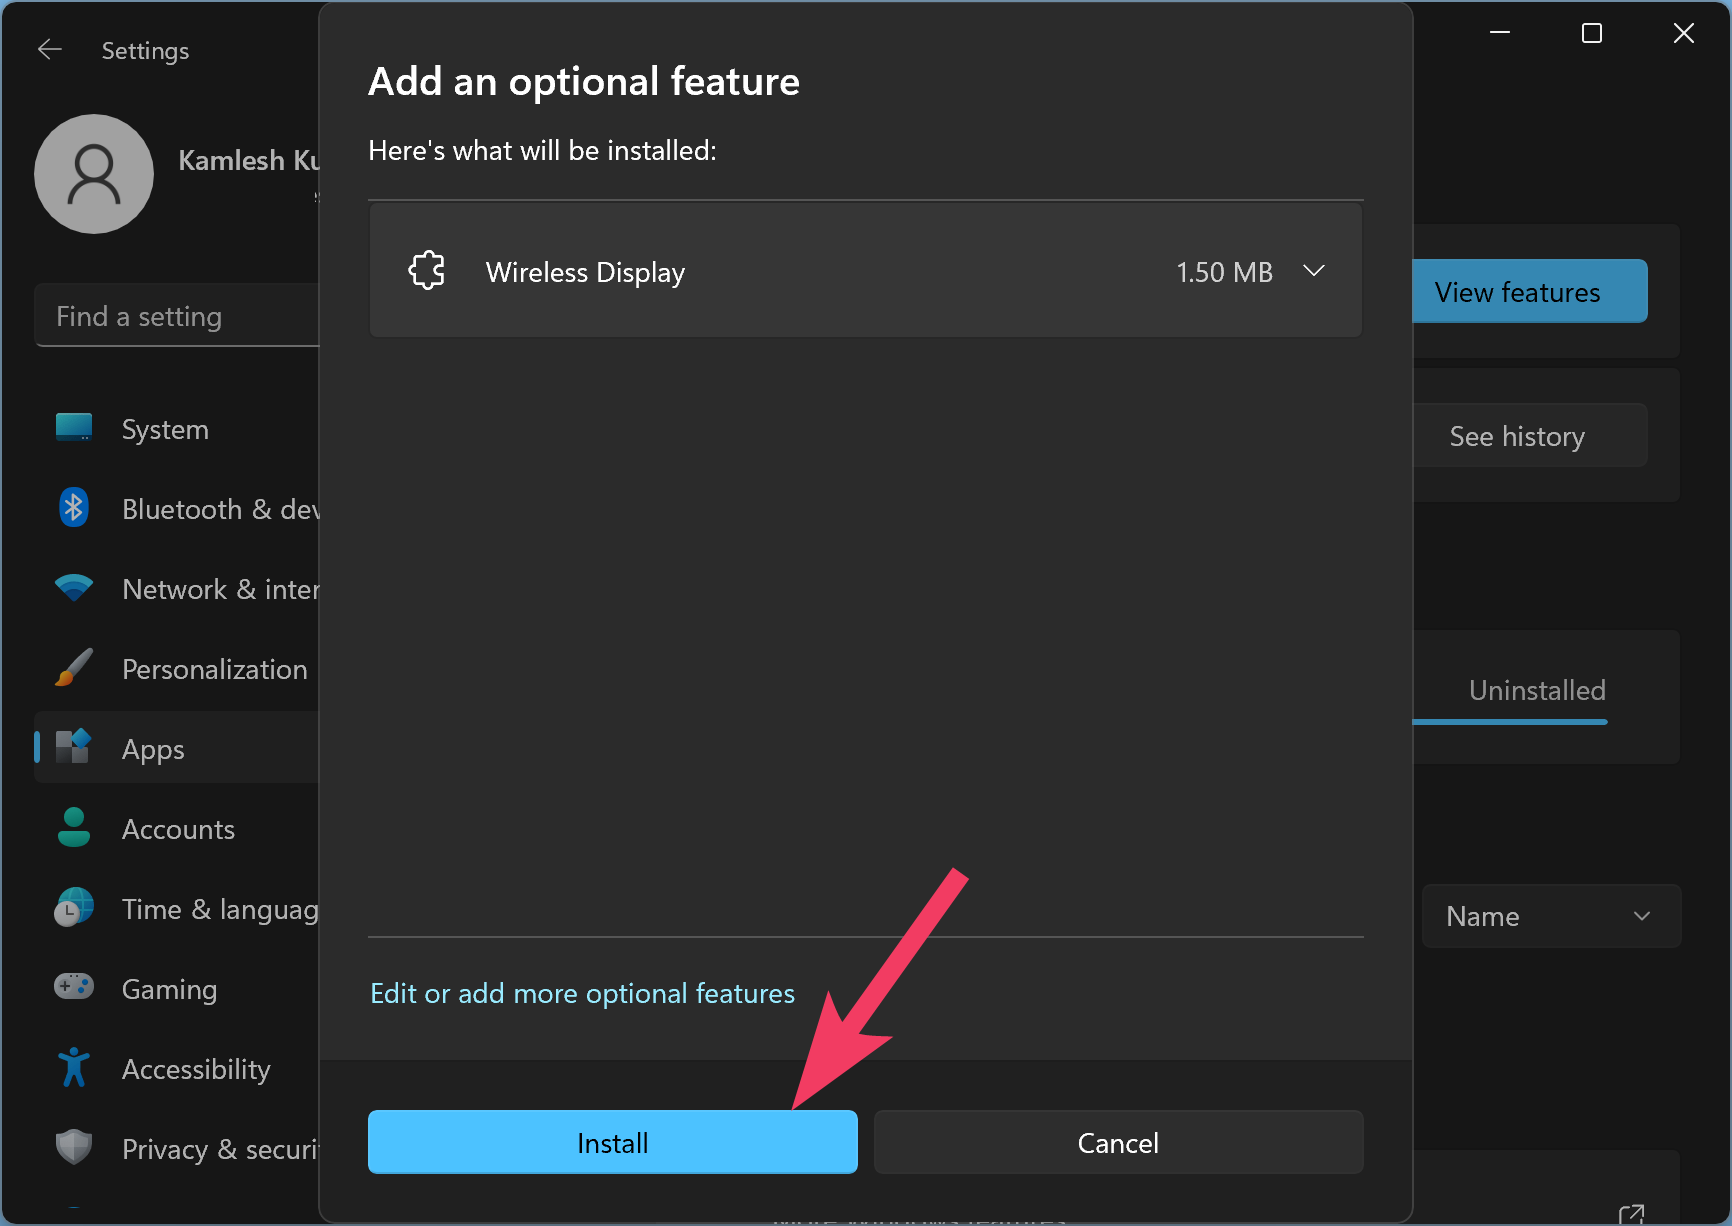
That’s it. Windows 11 will download “Wireless Display” and install the app.
How to Cast from Android phones to a Windows 11 PC?
Quick Note: Ensure that your Windows 11 and Android phones are connected to the same WiFi network.
Once you install the “Wireless Display,” you need to configure some settings to cast the display of the Android phone to Windows 11 PC. Here are the complete steps:-
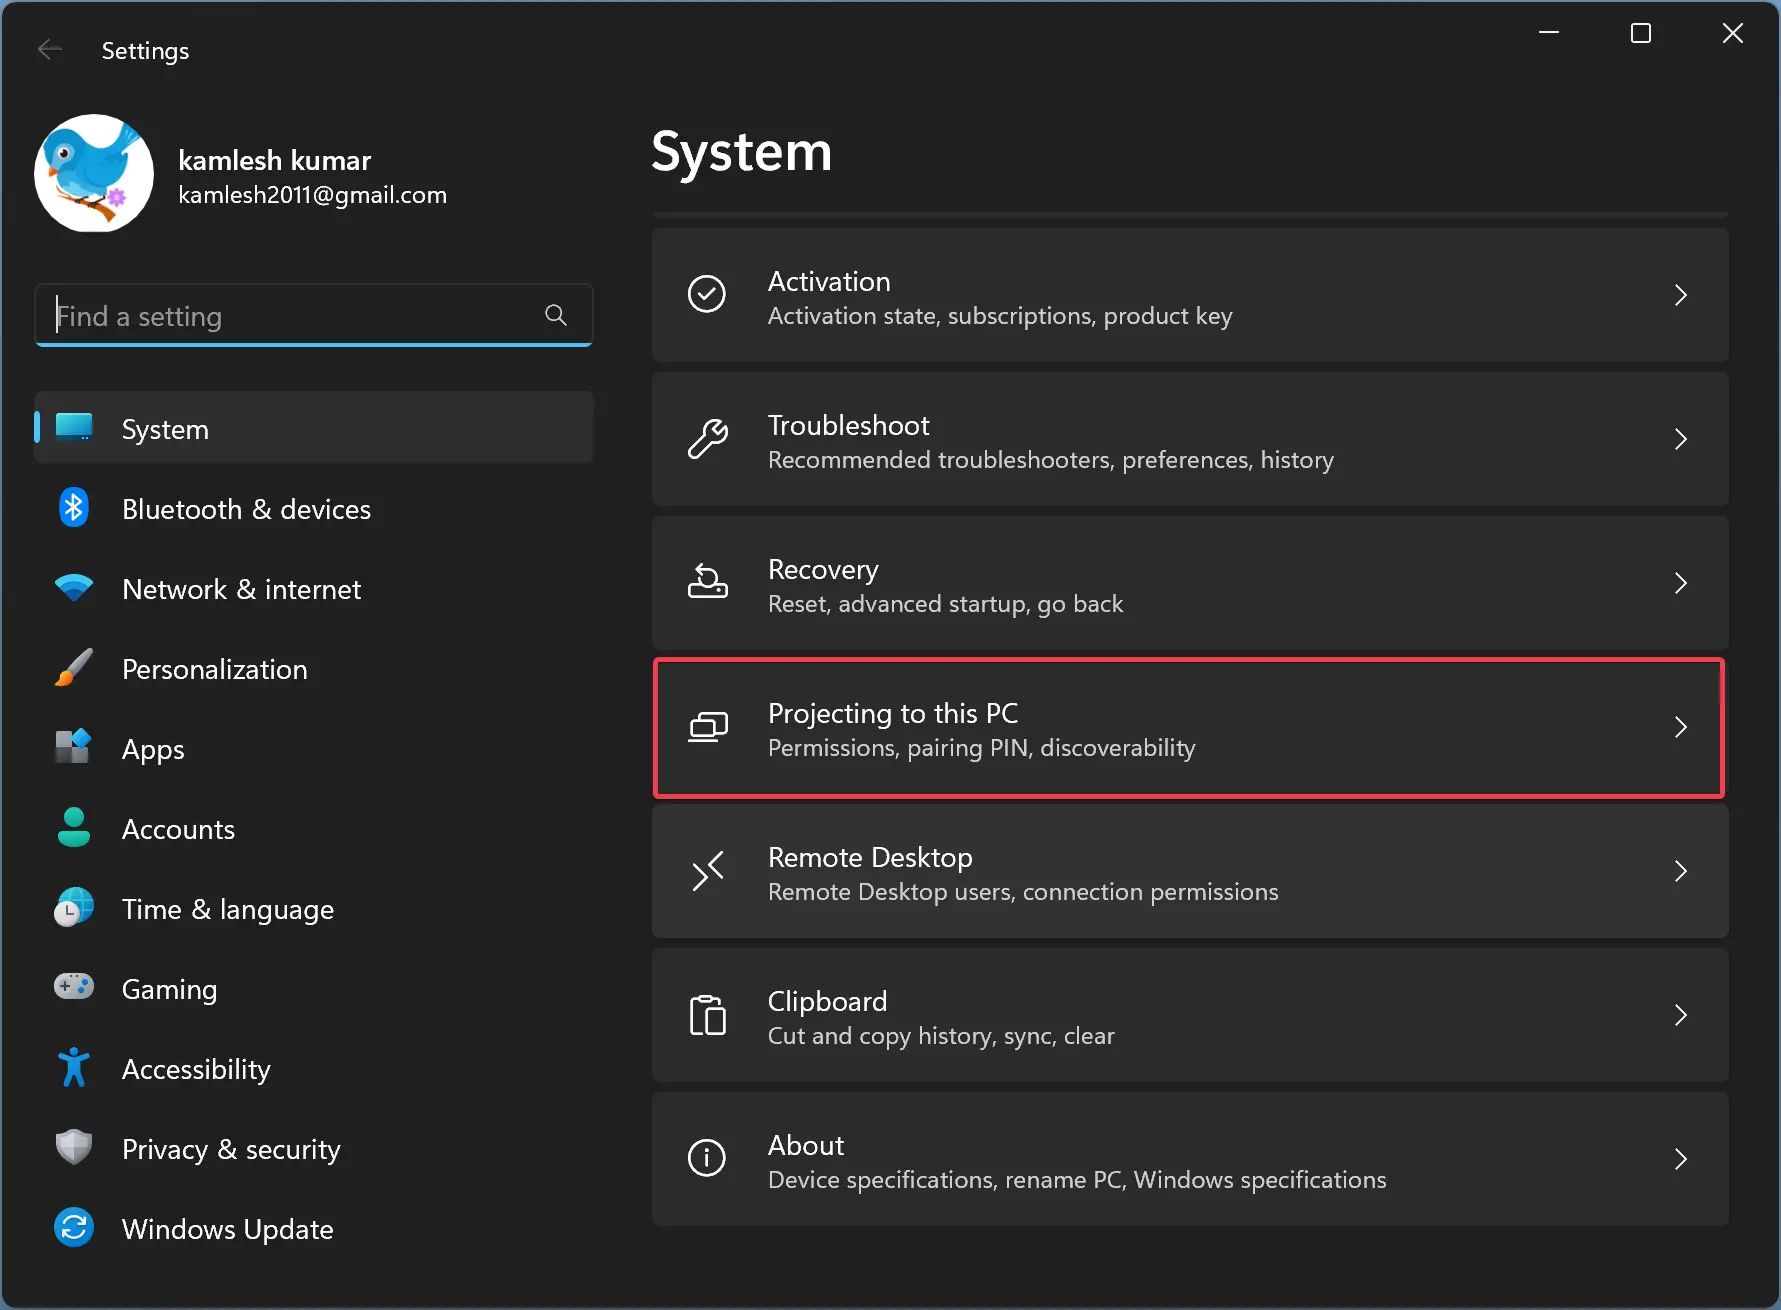
Step 1. Open the Settings app.
Step 2. Then, choose System in the left sidebar.

Step 3. After that, click on Projecting to this PC tile on the right-side pane.
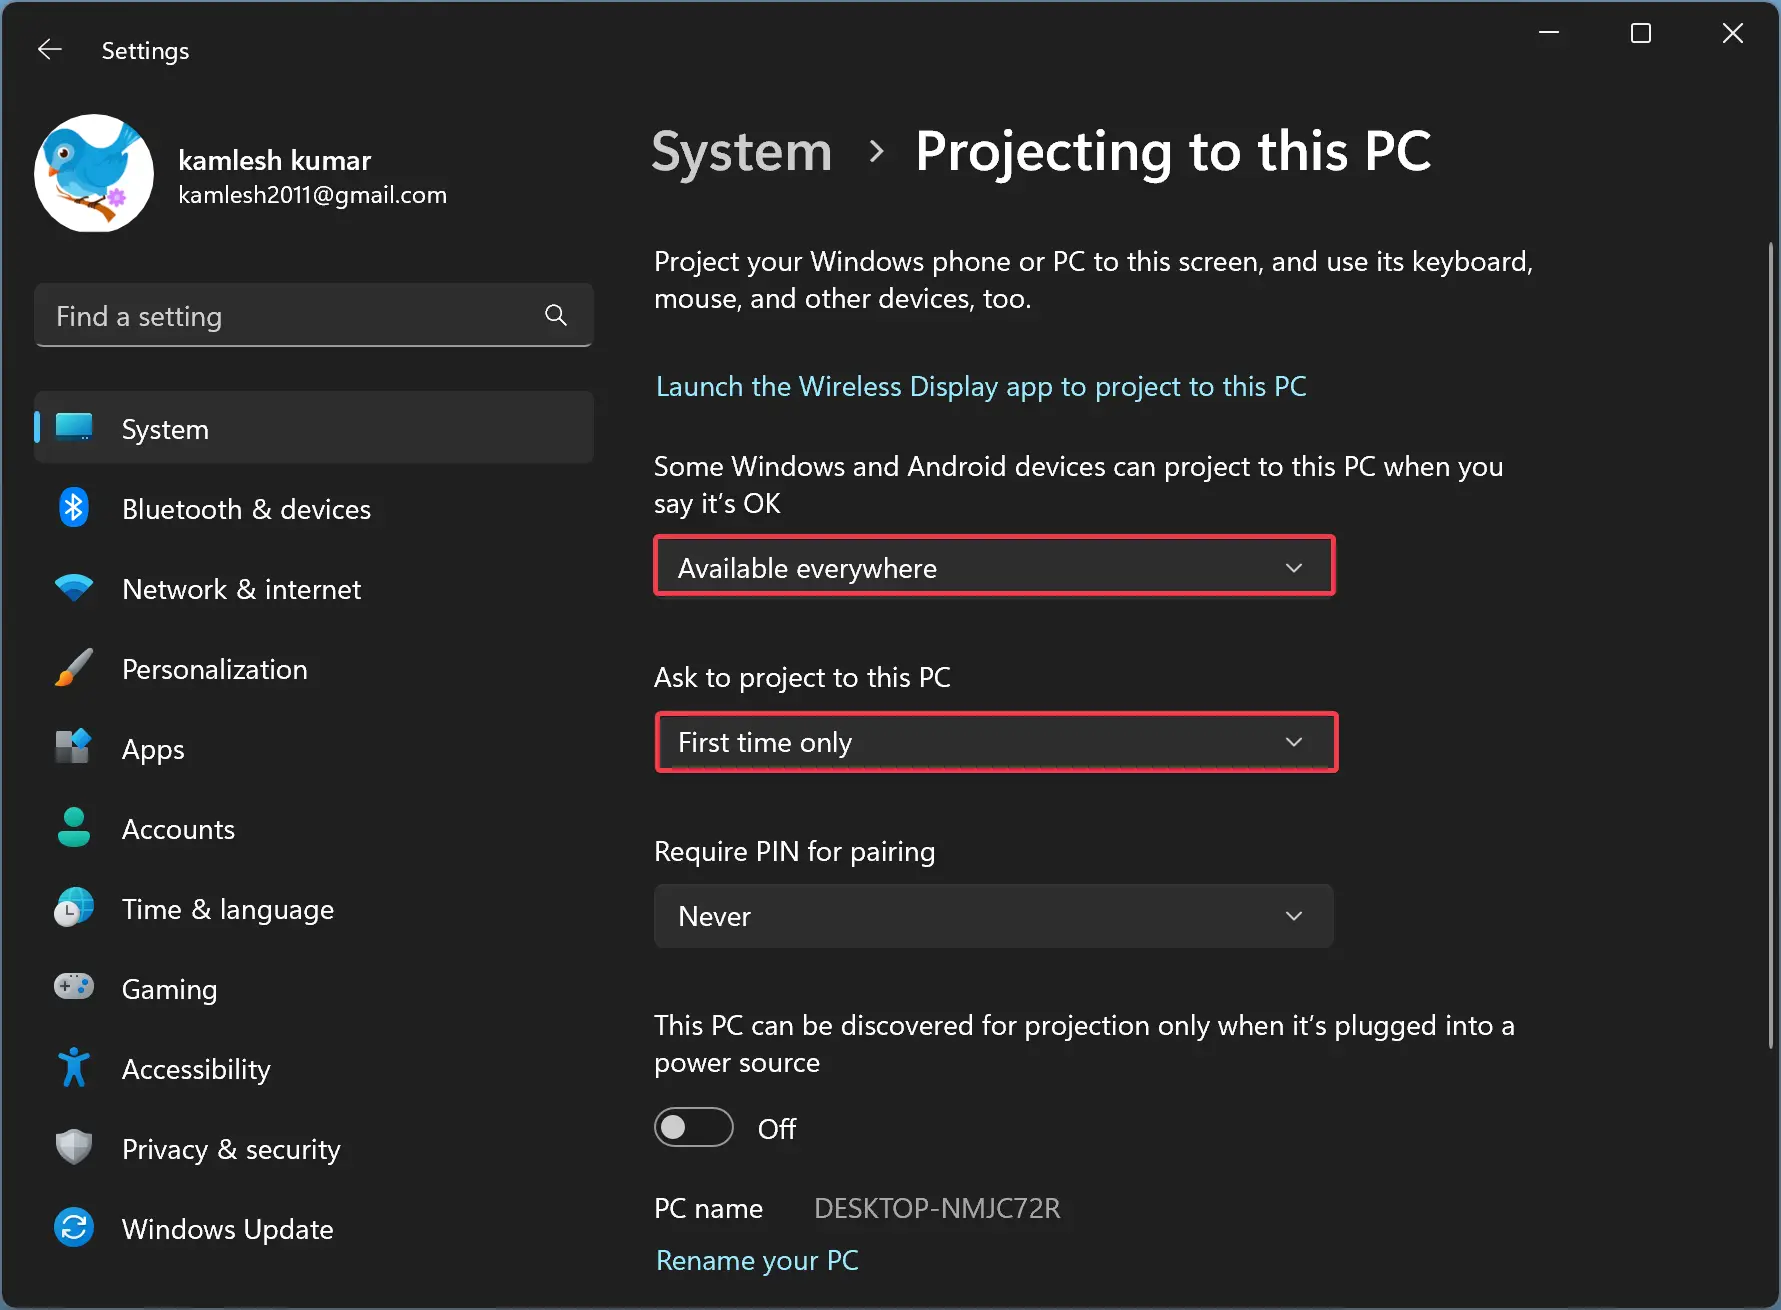
Step 4. On the following screen, select “Available Everywhere” or “Available everywhere on secure networks” in the top drop-down menu. Then, choose “First time only” or “Every time a connection is requested” under “Ask to project to this PC.”
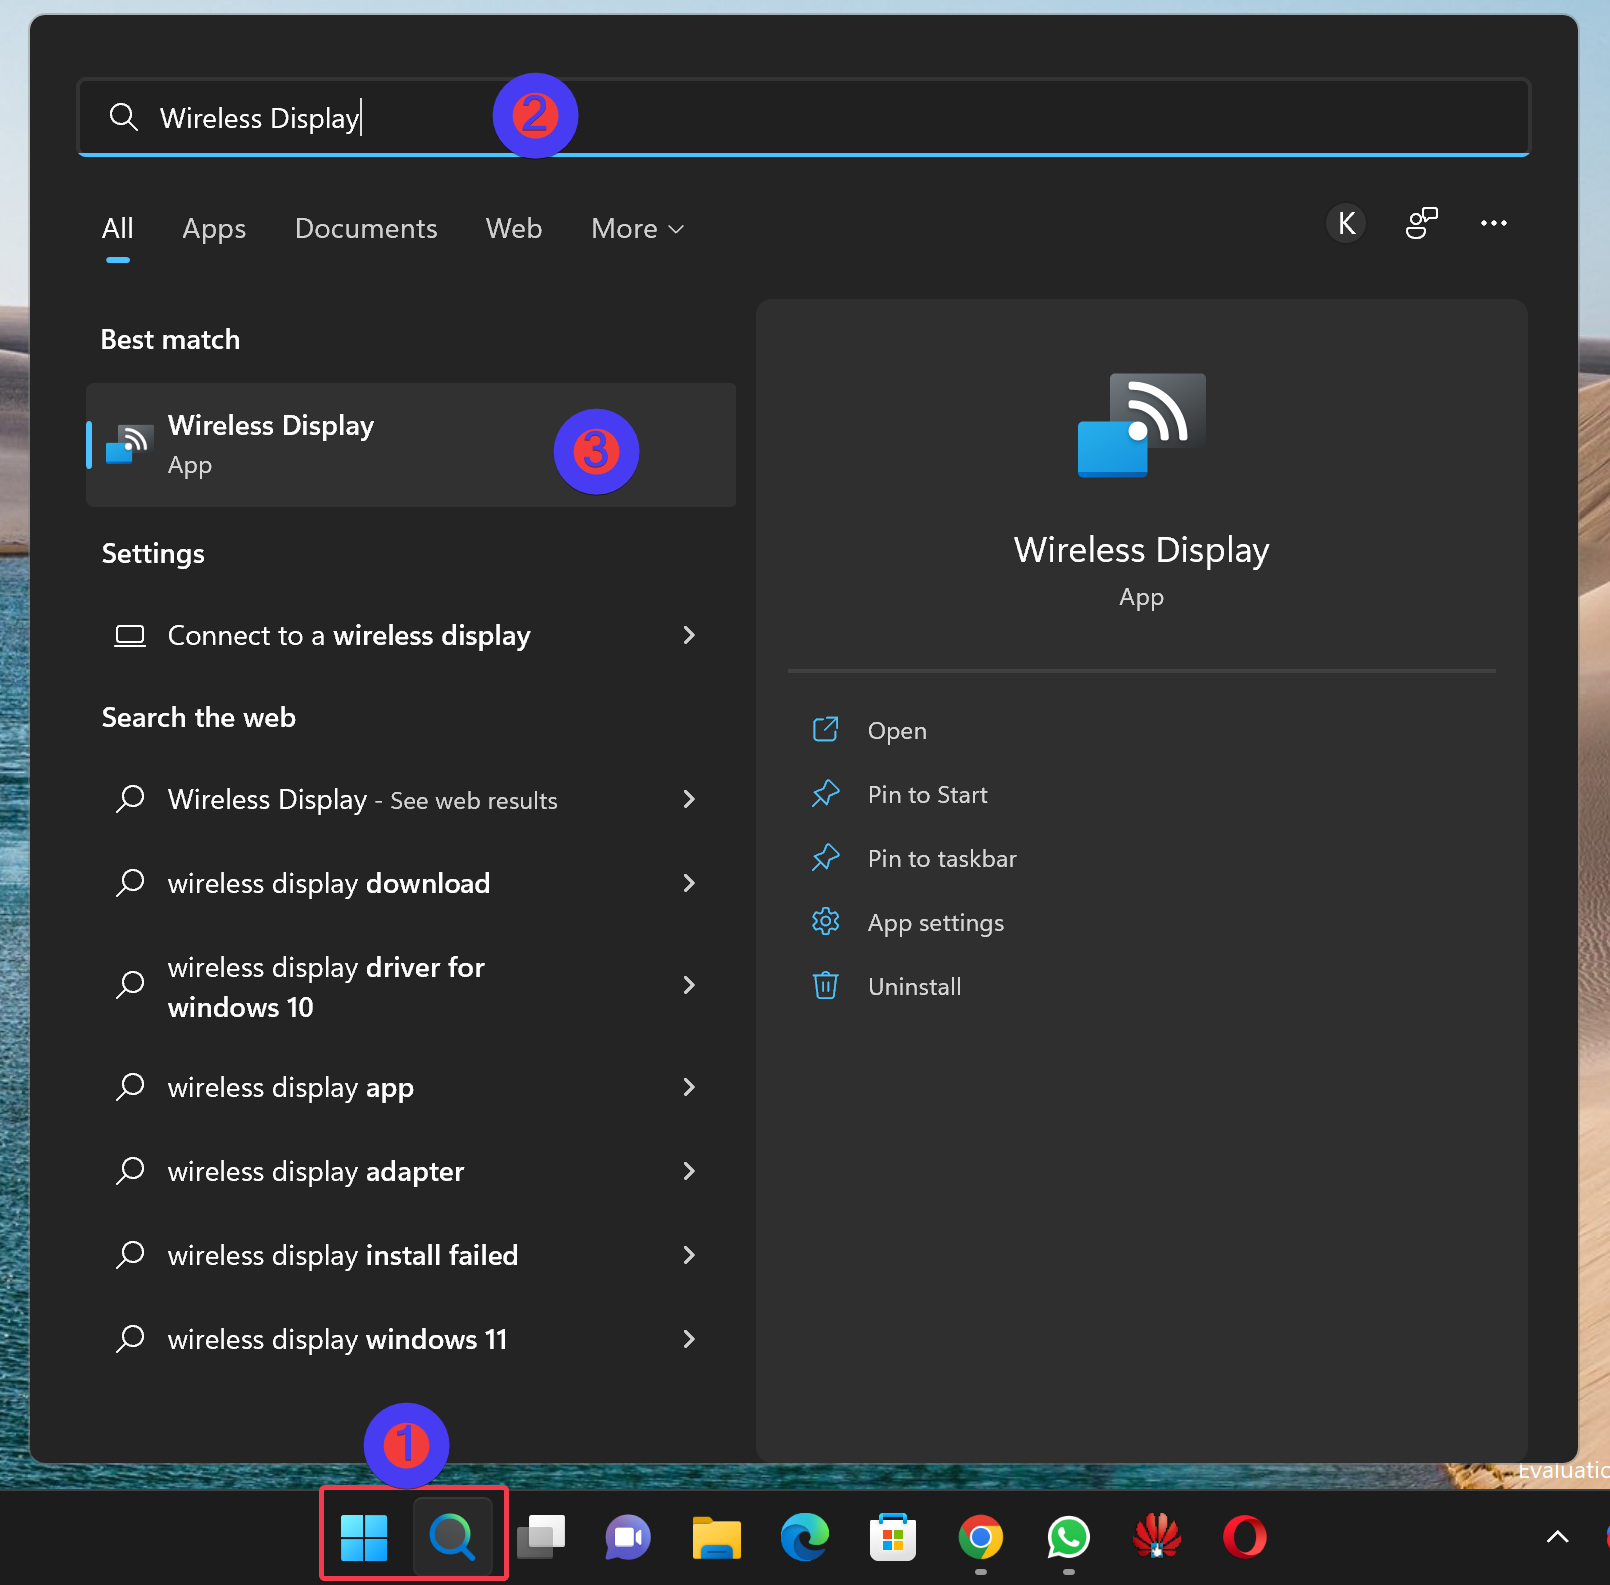
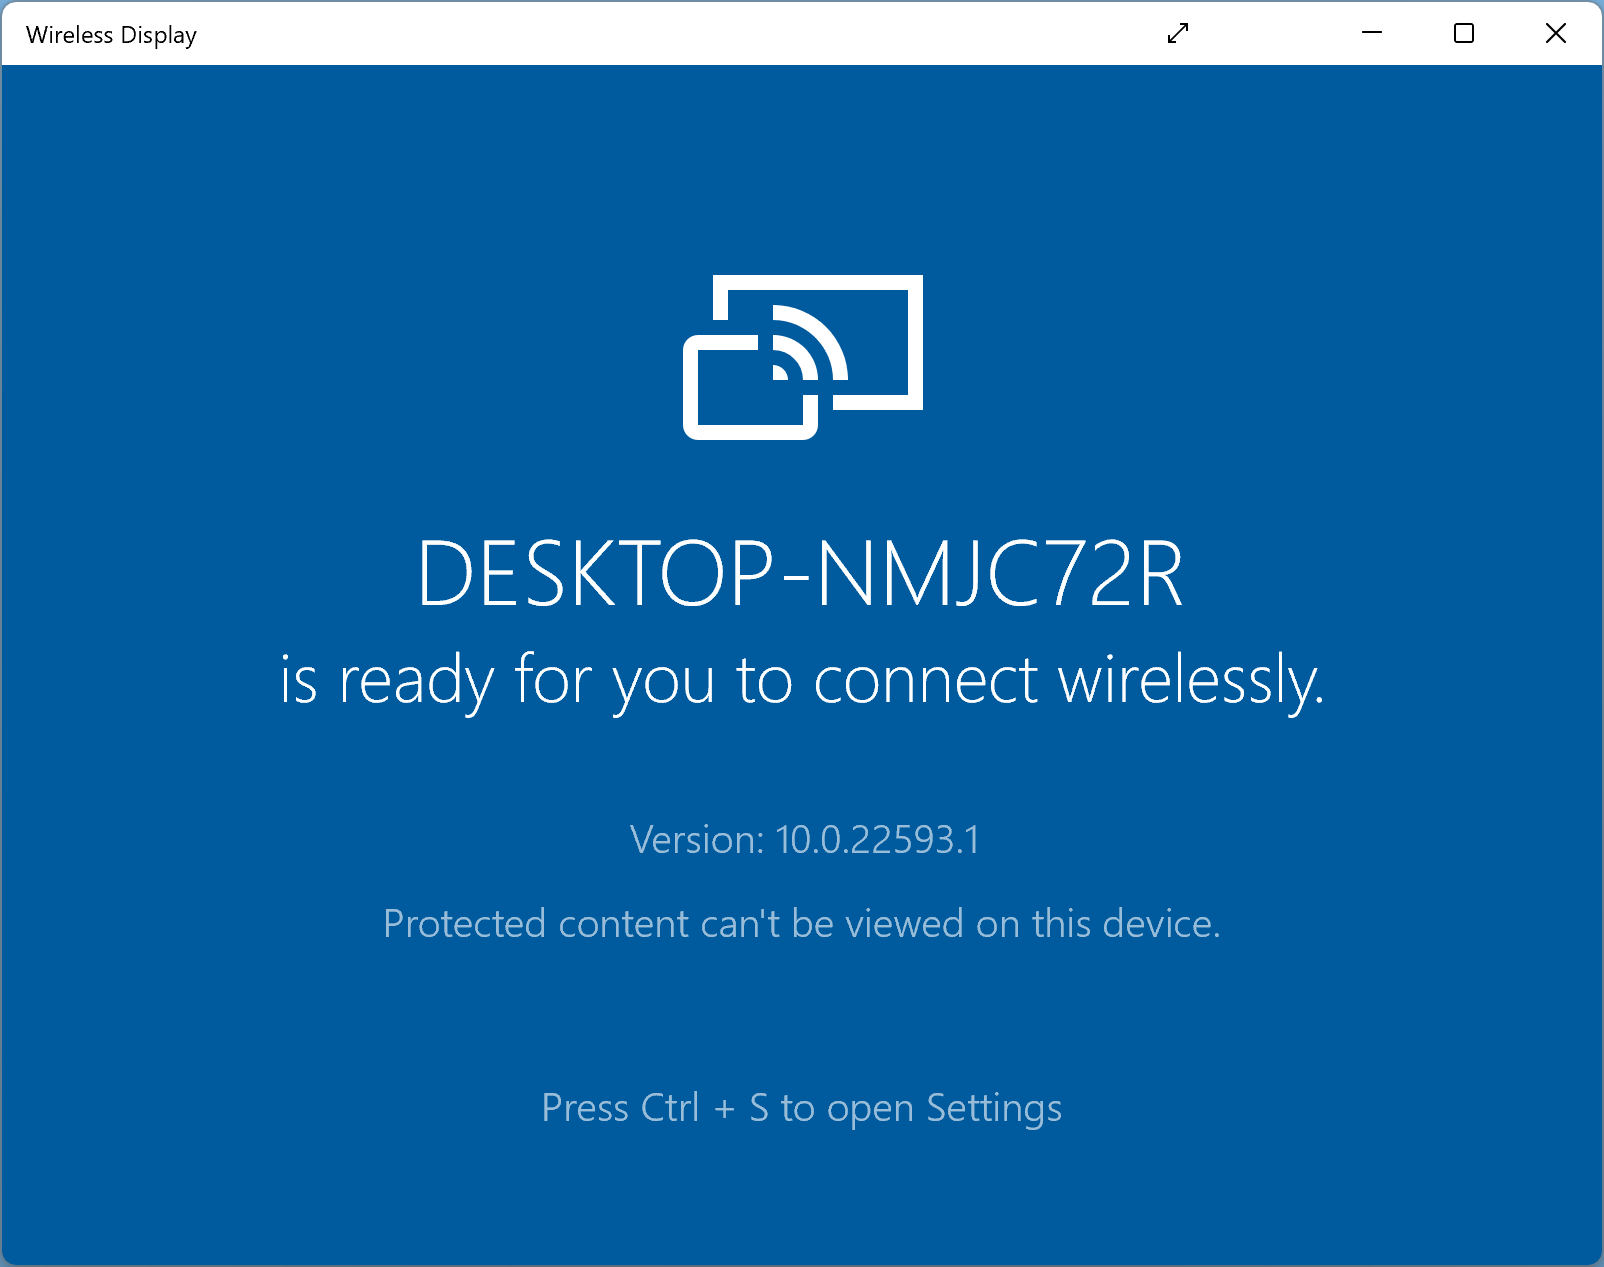
Step 5. Now, you’re ready to project your Android screen to your Windows 11 machine using the Wireless Display app. To do that, click the Start or Search button and type Wireless Display. In the search results, click the Wireless Display app to open it.
Step 6. Now, your Windows 11 PC is ready to be projected on. You need to pick up your phone and cast the screen.
You will see other names on different manufacturer phones for casting the screen. For example, on a Samsung phone, you will see “Smart View” on Oppo “Screencast.” Slide down/up the screen and turn on the Casting feature. If, after sliding up/down the screen, you did not find an option to cast, check the same under Settings of the phone.
Once you enable Screen Mirroring on your phone, you will see your PC name in the available devices list on your phone. Click on your PC name, then tap “Start now.”
Step 7. On your computer, you will see a pop-up message saying your phone is attempting to project. Click “OK” to start projecting, and your phone’s screen will be mirrored on your Windows 11 computer.
Conclusion
In conclusion, with the Wireless Display app, Windows 11 users can now cast their Android phone screens onto their PCs. By following the steps outlined above, users can convert their Windows 11 PCs into Miracast receivers and configure the necessary settings to project their Android displays. This provides a convenient way to enjoy Android shows on a larger screen, making it an ideal solution for streaming content at home or in the office. Overall, this feature highlights the interoperability between Android and Windows 11 devices, offering users more options for productivity and entertainment.