Like previous versions of Windows, Windows 11 also allows you to change the mouse pointer color and size according to your choice. Many people want to change the cursor size and color due to some reason. If you don’t like the default color and size of the mouse pointers, this gearupwindows article will guide you to change the same.
How to Change Mouse Pointer (Cursor) Color and Style in Windows 11?
To change the mouse pointer or cursor color and style, do the following:-
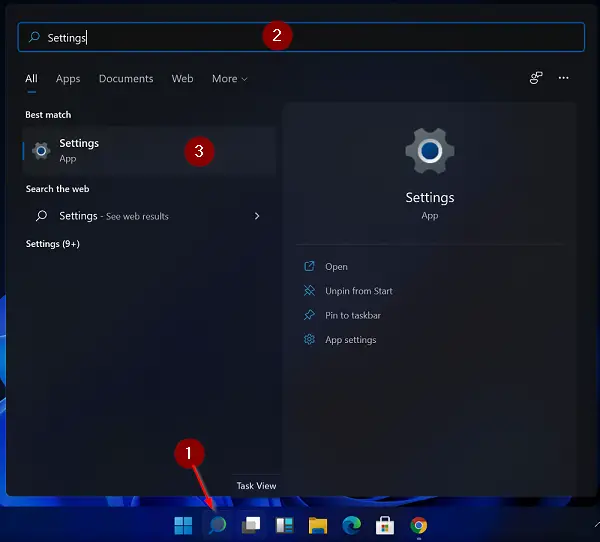
Step 1. Open the Settings app by pressing the Windows + I keys from the keyboard.
Alternatively, click on the Search button on the taskbar to open the Windows Search panel—type Settings in the search box. Click on Settings in the search result to open it.
Step 2. Click on the Accessibility category from the left side pane in the Settings app.
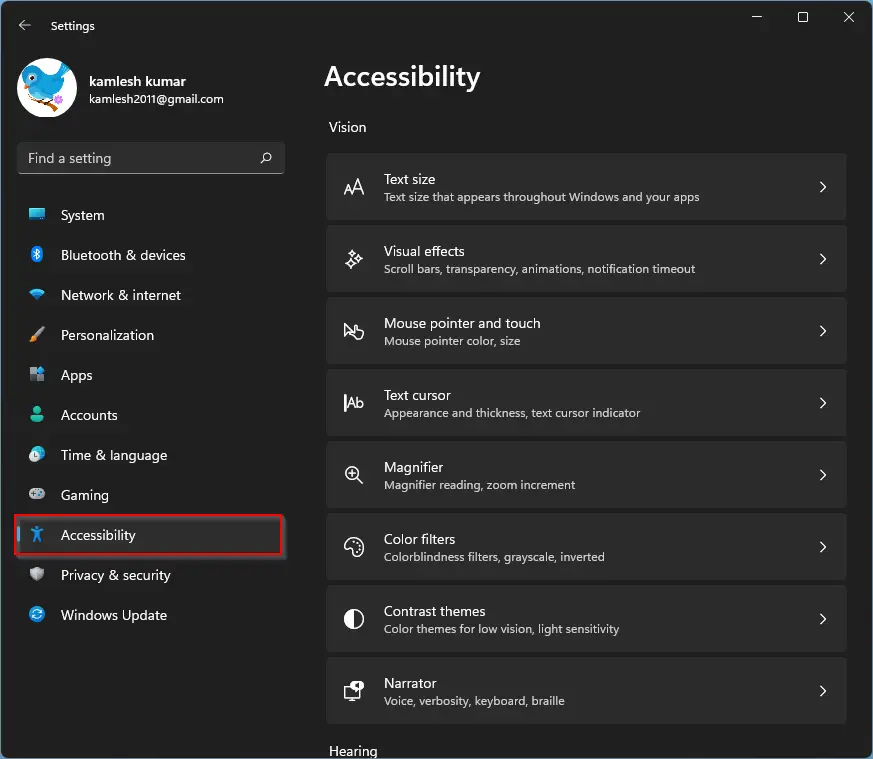
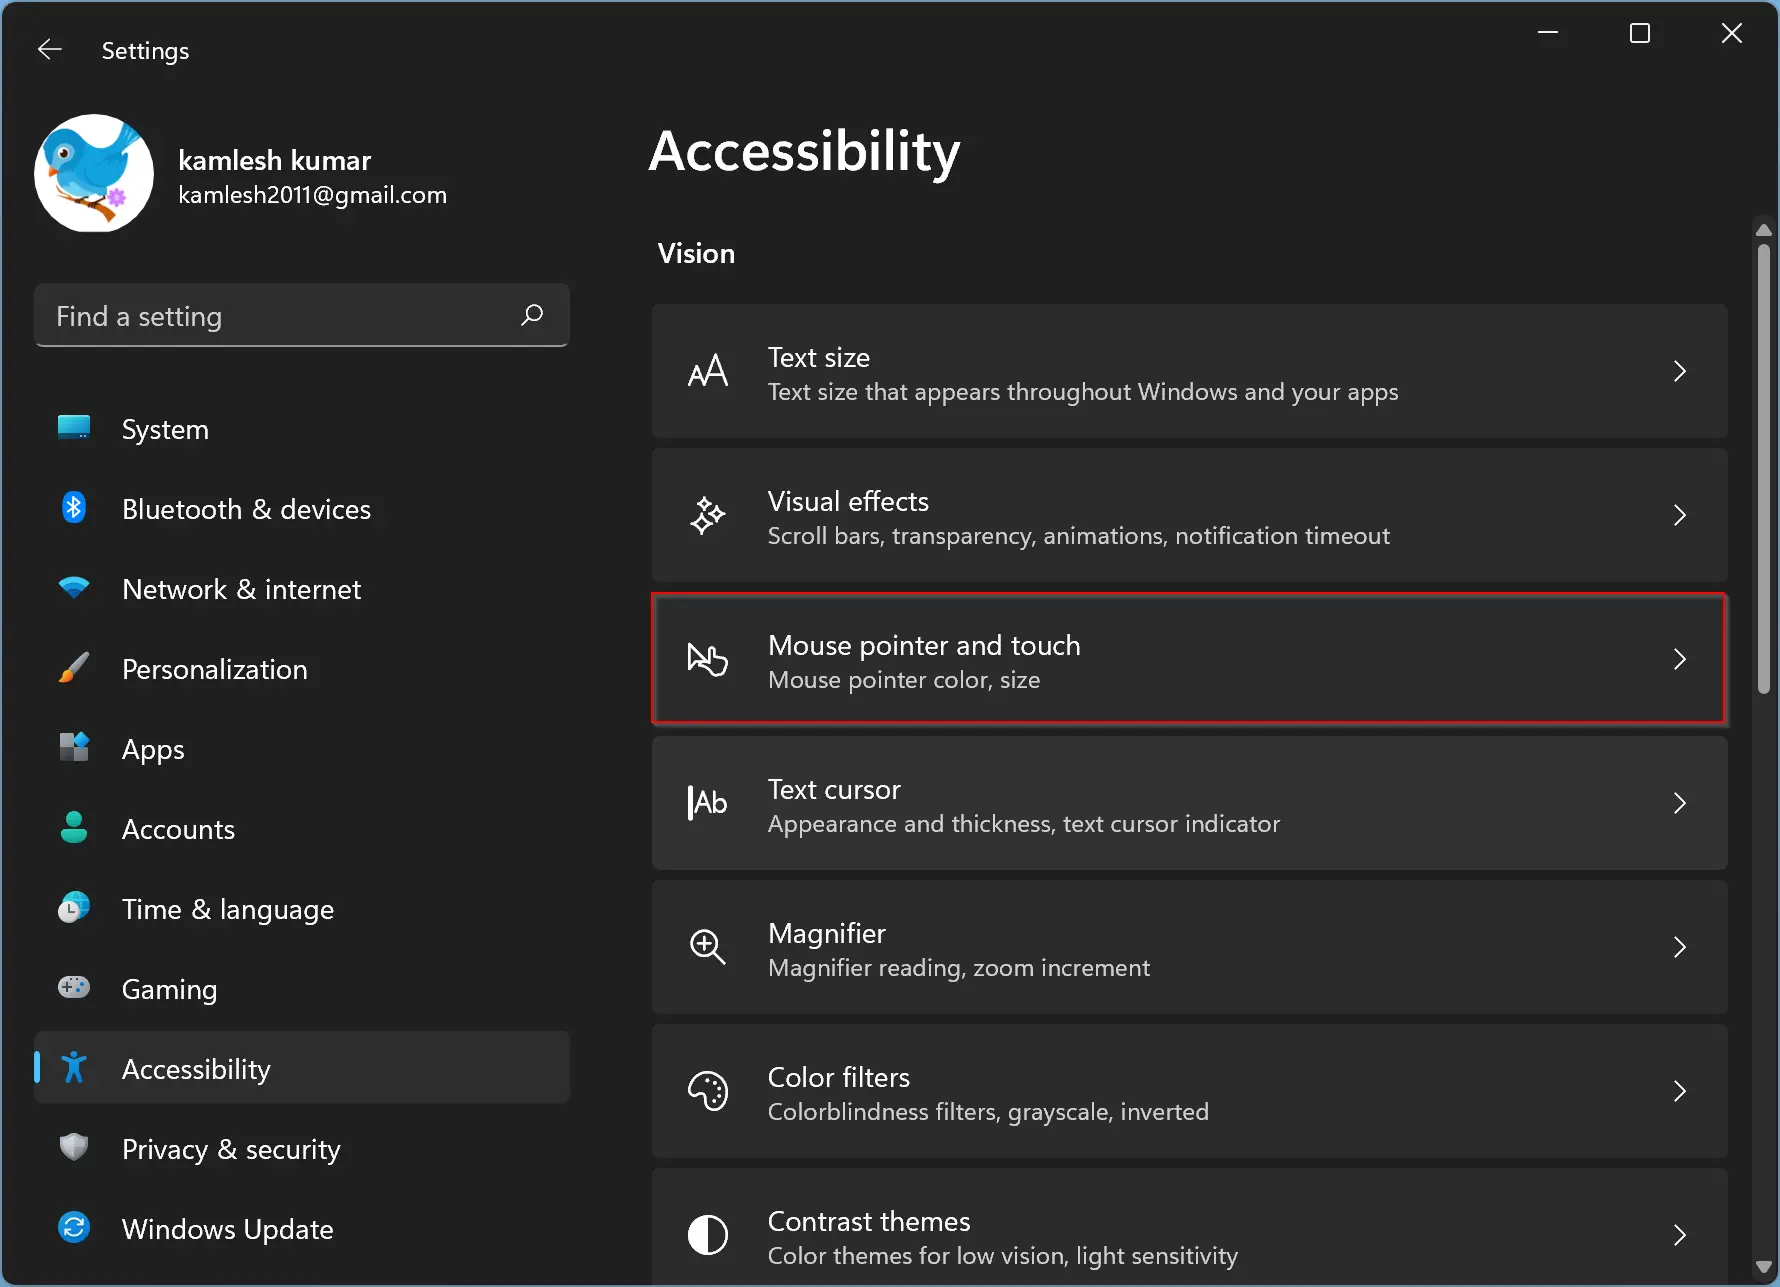
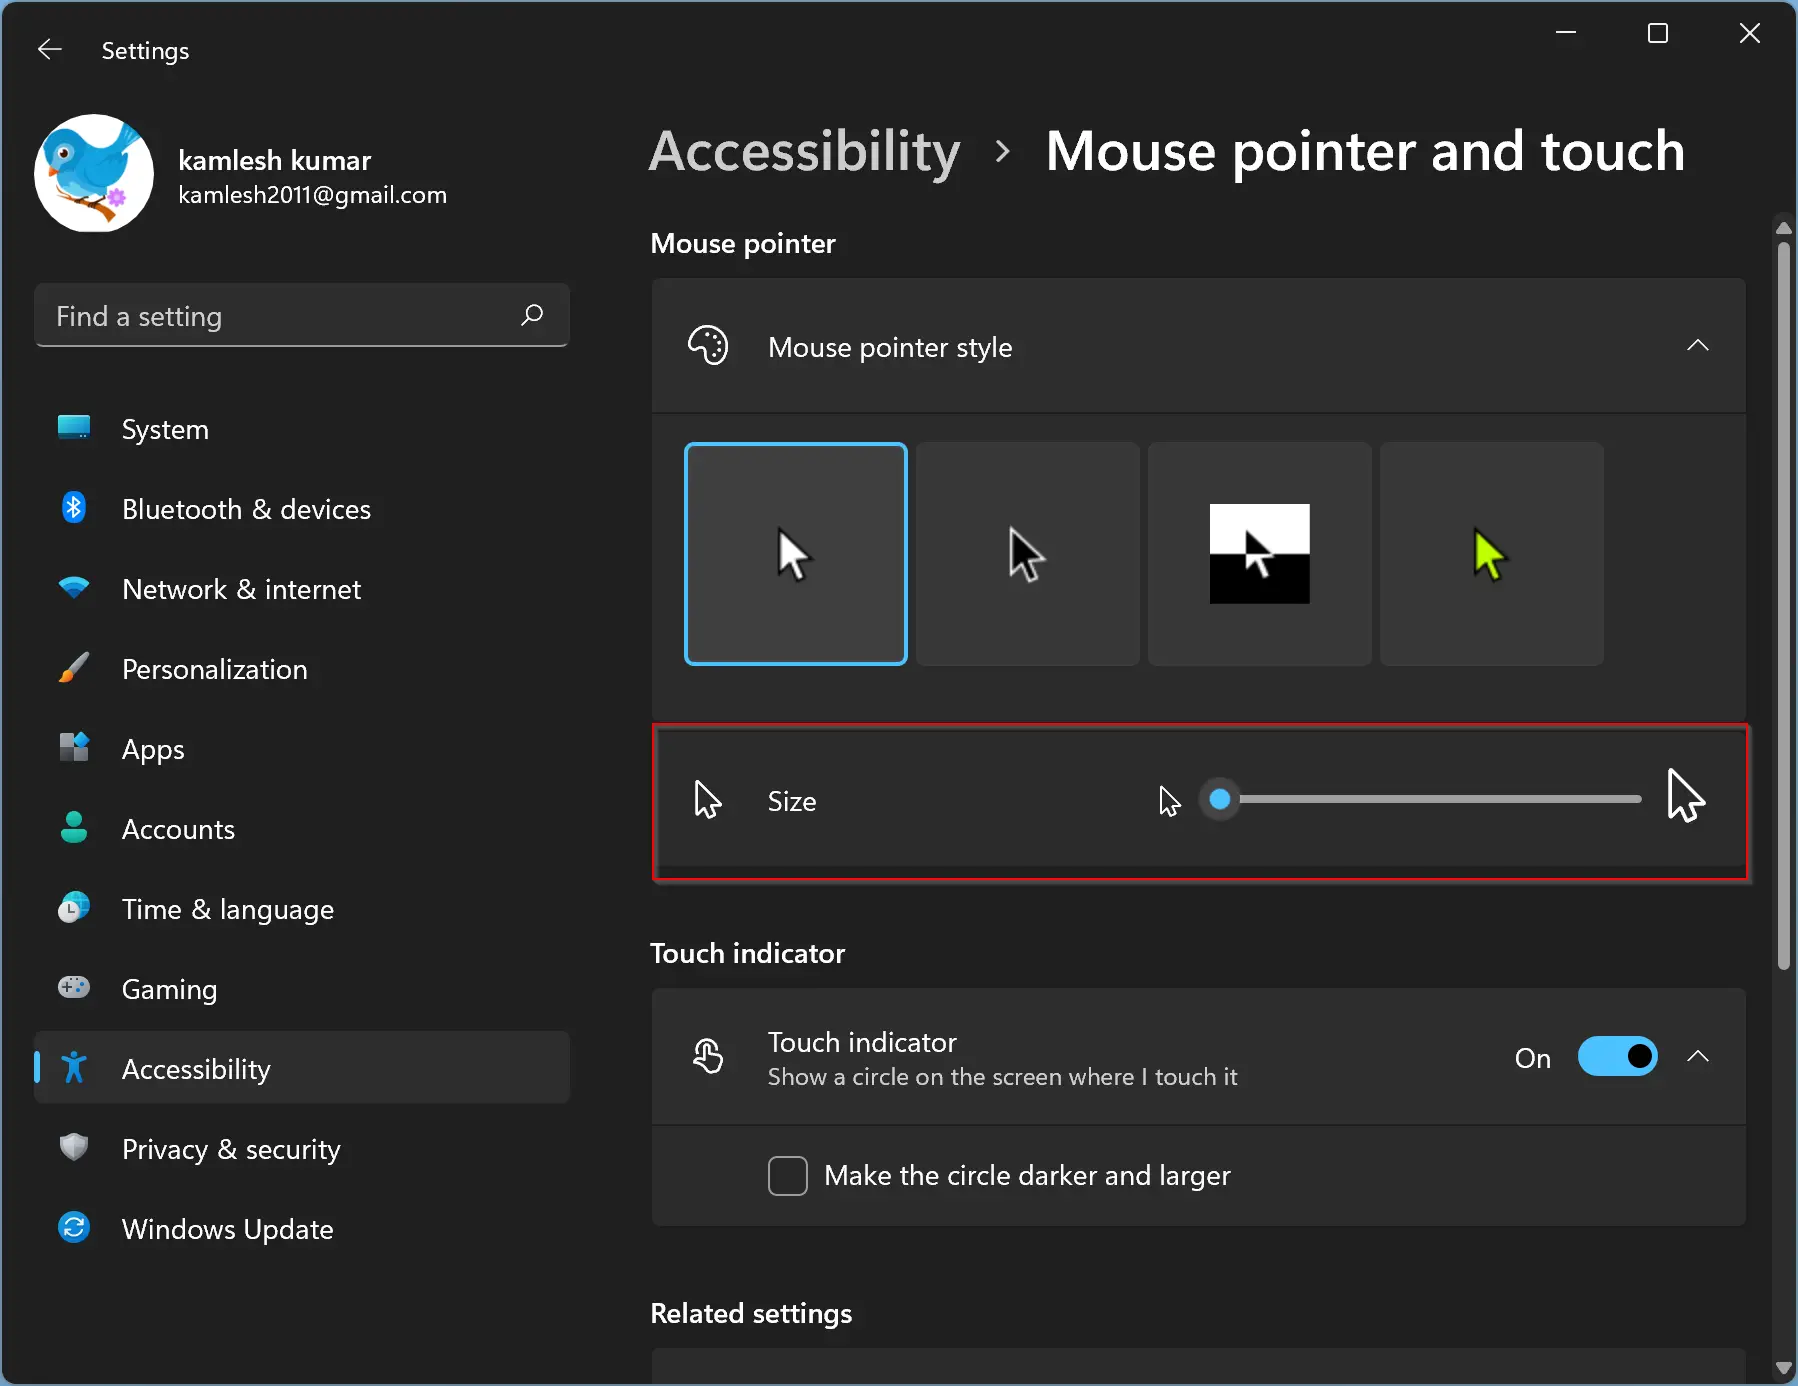
Step 3. On the right side pane of Accessibility settings, click the Mouse pointer and touch tab under the Vision section.
Step 4. Here, you will see four mouse pointer styles:-
- White: This is the first pointer and is selected by default.
- Black: The second mouse pointer is Black. When you select it, the cursor will wear Black color.
- Inverted: Inverted is a good mouse pointer. The cursor turns into Black on a White background and White on a Black background.
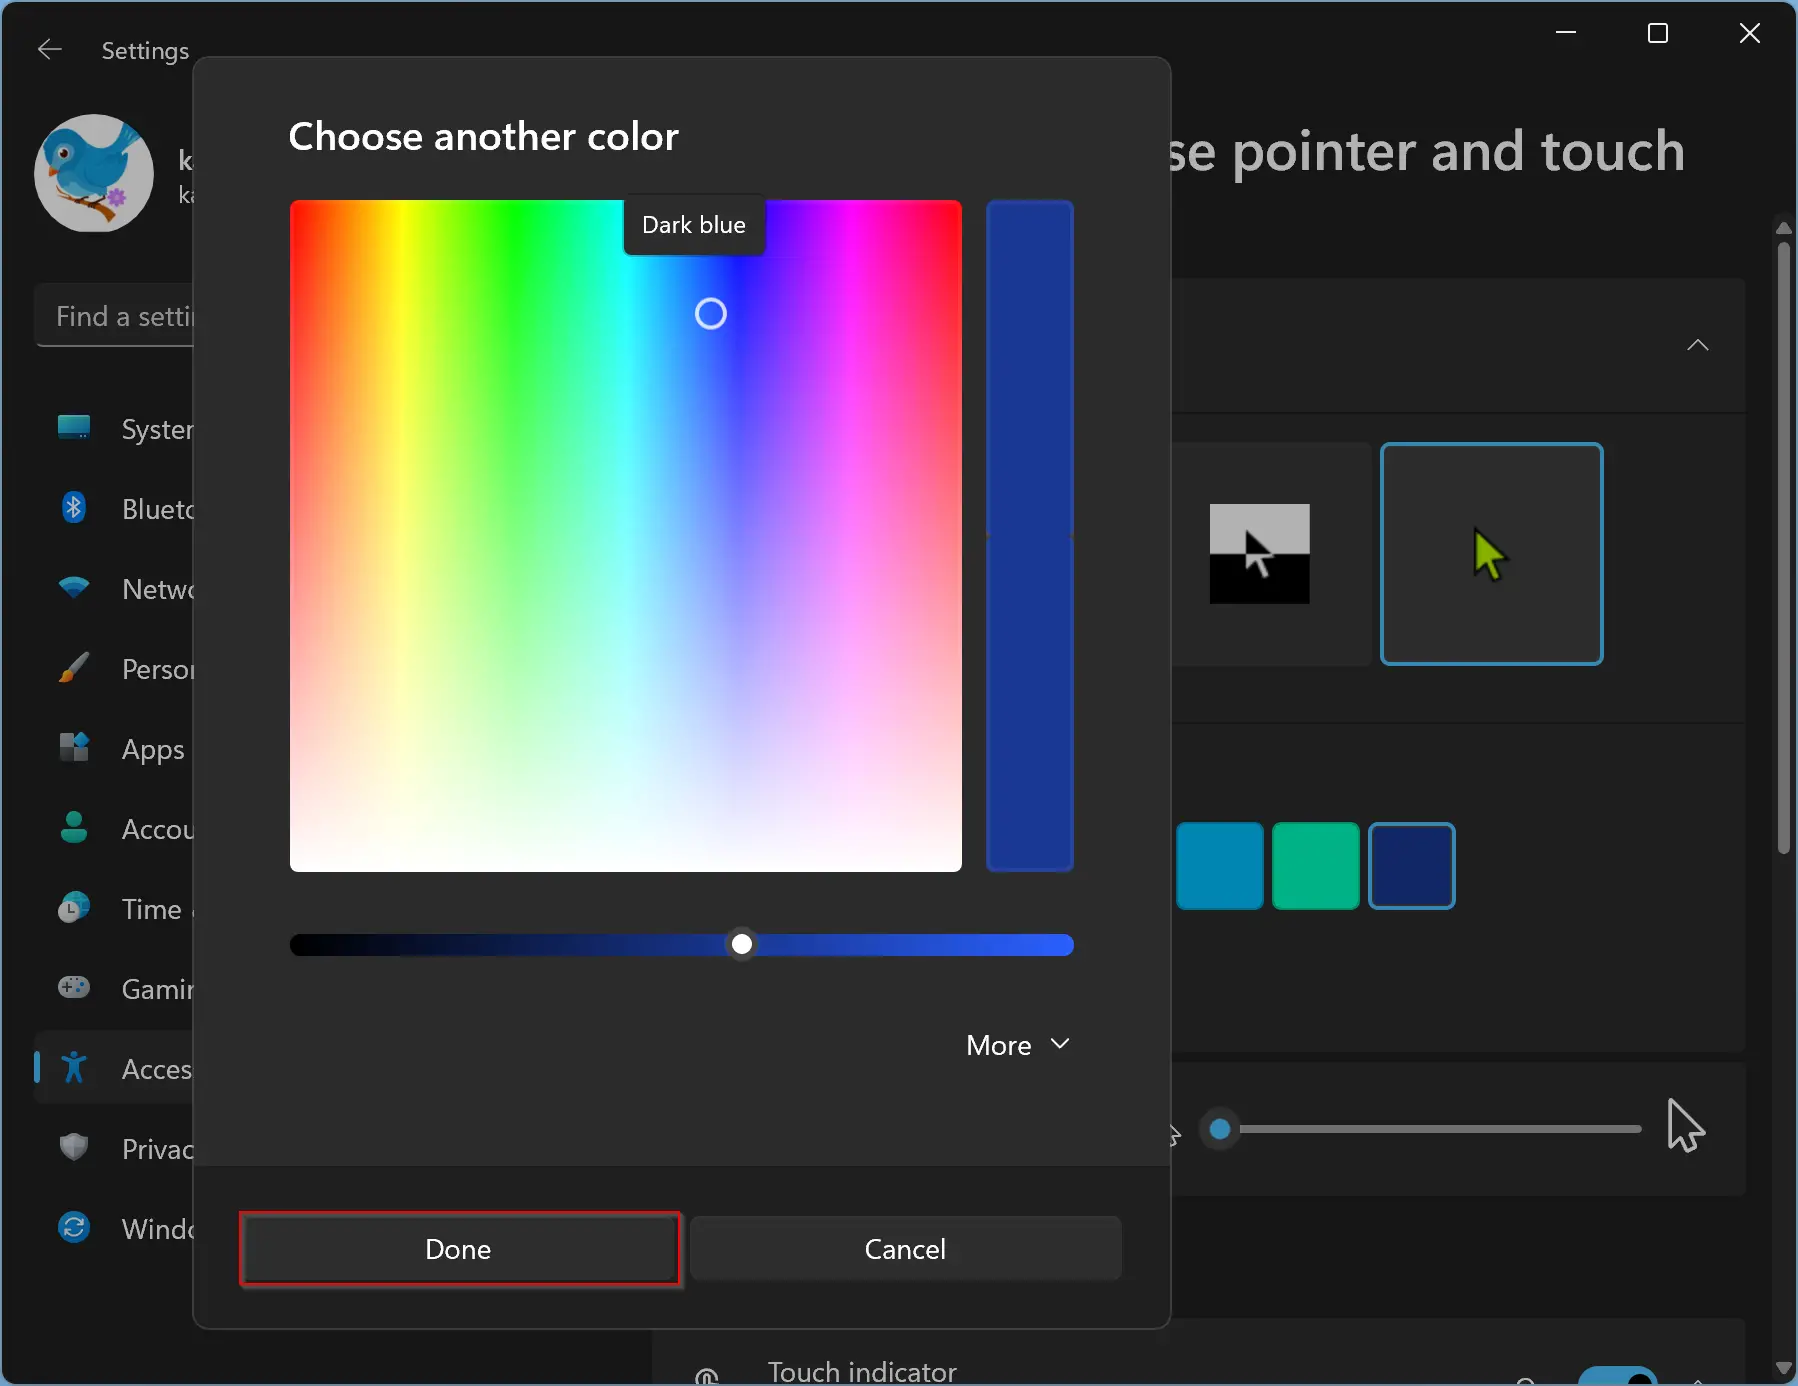
- Custom: The last option is Custom, which allows you to choose any color of your choice. When you select this option, the Lime color is set by default, and you will see a list of recommended colors. You can select any other color from the list. If a color is not listed of your choice, click the + icon before Choose another color option.

Now, the color palettes will open, where you can choose any color of your choice that you want to see for the pointer. Just click on a particular portion in the color box and then use the slider below to adjust the color value. Finally, click on the Done button to apply the changes to the mouse pointer color.
How to Change Mouse Pointer (Cursor) Size in Windows 11?
To change the mouse pointer or cursor size, do the following:-
Step 1. Open the Settings app by pressing the Windows + I keys from the keyboard.
Alternatively, click on the Search button on the taskbar to open the Windows Search panel—type Settings in the search box. Click on Settings in the search result to open it.
Step 2. Click on the Accessibility category from the left side pane in the Settings app.
Step 3. On the right side pane of Accessibility settings, click the Mouse pointer and touch tab under the Vision section.
Step 4. Here, drag the slider next to the Size option to the right to increase the pointer or cursor size. The pointer size is set to 1 by default, allowing you to increase it to 15. Adjust the size according to your choice. Once you release the mouse, the changes are applied immediately.
Conclusion
In conclusion, Windows 11 offers users the flexibility to customize their mouse pointer or cursor to their liking. This can be done easily through the Settings app by accessing the Accessibility category and navigating to the Mouse pointer and touch tab under the Vision section. Users can change the color and style of their mouse pointer to white, black, inverted, or a custom color of their choice. Additionally, users can also adjust the size of the cursor by dragging the slider next to the Size option. With these simple steps, users can enhance their Windows 11 experience and personalize their devices to suit their preferences.
