Windows 10 provides multiple ways to capture screenshots. The default location to save the screenshots is the Pictures folder, but users may want to save them in a different location based on their preference. This can be easily achieved by following the steps outlined in this post.
To take a screenshot in Windows 10, users can use third-party tools, the PrtScr keyboard button or the built-in Snipping Tool. The PrtScr button captures the entire screen, whereas the Snipping Tool allows users to capture a specific area of the screen. Third-party tools can provide additional features, such as editing tools and the ability to capture scrolling windows.
How to change the default folder location of Print Screen Screenshots in Windows 10?
Follow these steps to change the default folder location of Print Screen Screenshots in Windows 10:-
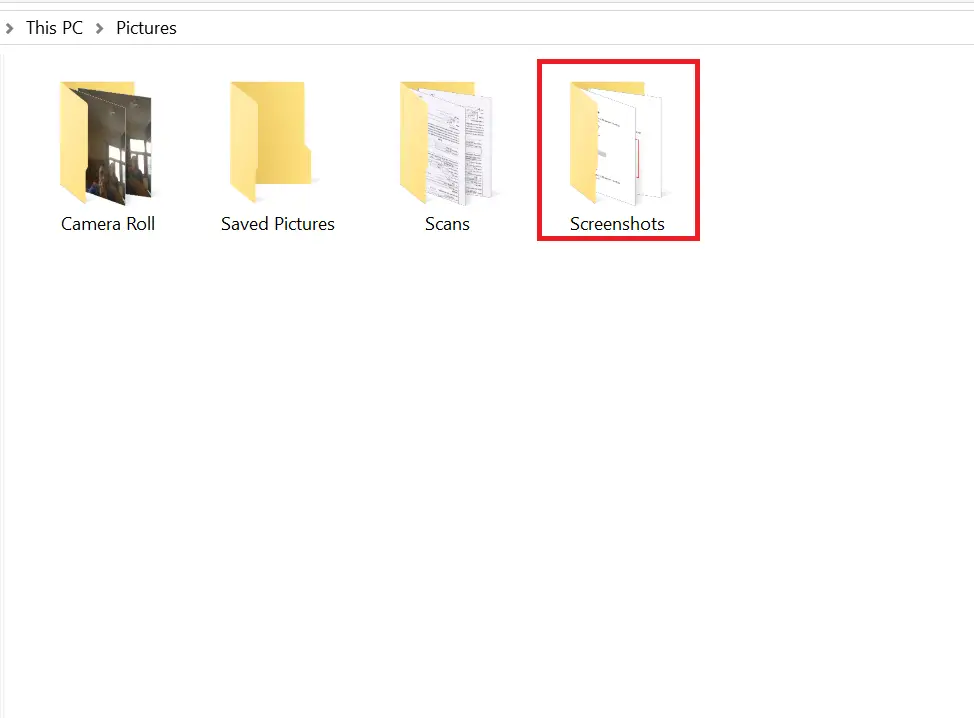
Step 1. To change the default folder location in Windows 10, navigate to the following location, where you will see a Screenshots folder:
C:\Users\<username>\Pictures
Note: If you do not see the Screenshots folder, press Windows + PrtScr keys to take a screenshot. This screenshot will be saved in the Screenshots folder created by Windows 10 to save your screenshots.
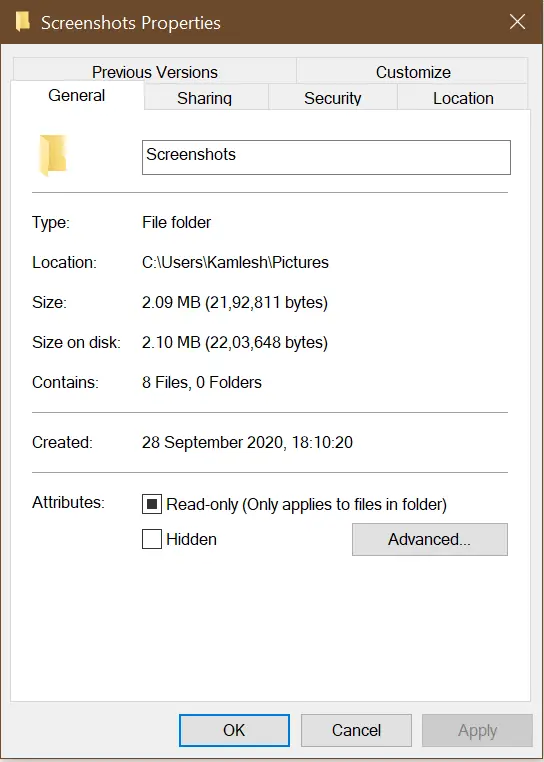
Step 2. Locate the Screenshots folder, right-click on it, and select Properties.
Step 3. Click on the Location tab.
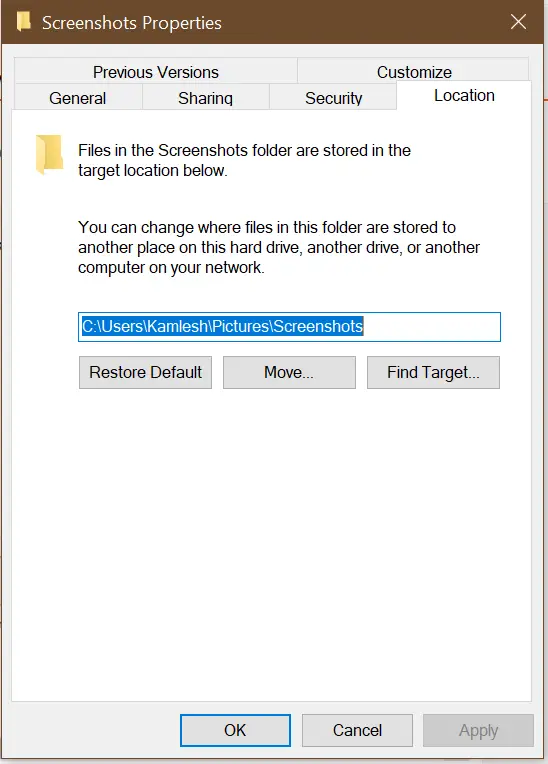
Here you can see the default path, where screenshots are getting saved by default.
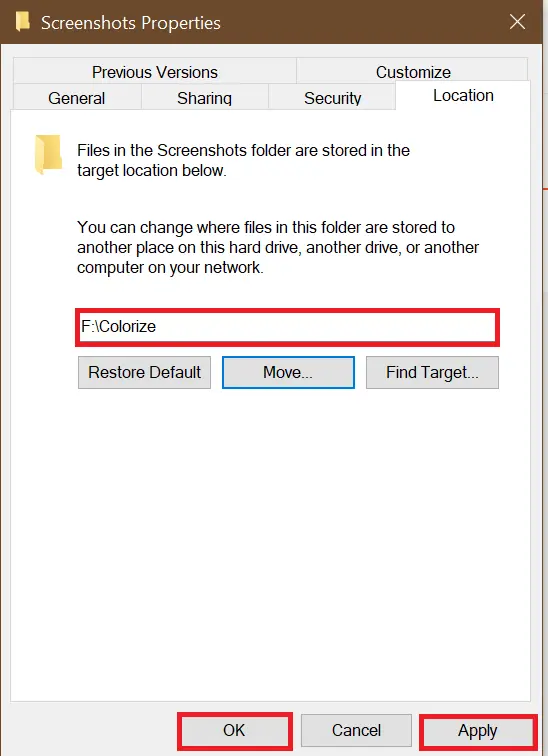
Step 4. Click on the Move button and select your desired folder location where you want to save the screenshot.
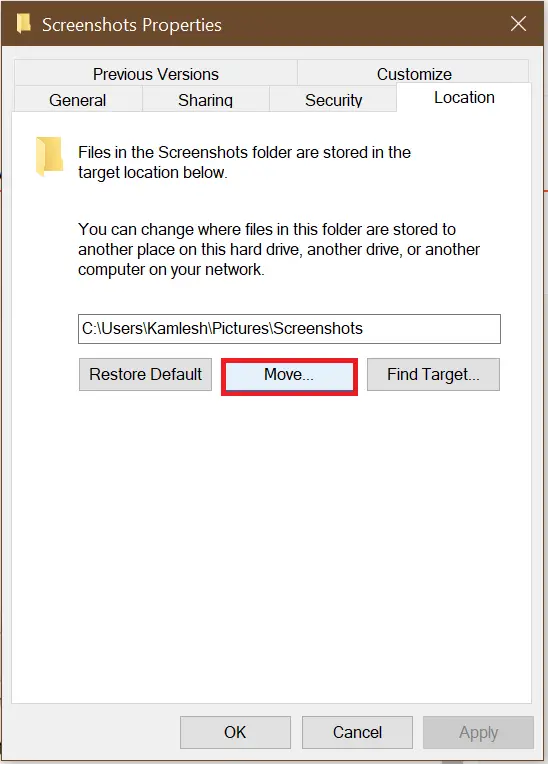
Note: For a new location, you can choose the Desktop, any other drive, or even another computer on your network.
Step 5. Once a new path/folder is selected, click on Apply and then the OK button.
From now onward, all new screenshots will be saved to a new location that you have selected in the above steps.
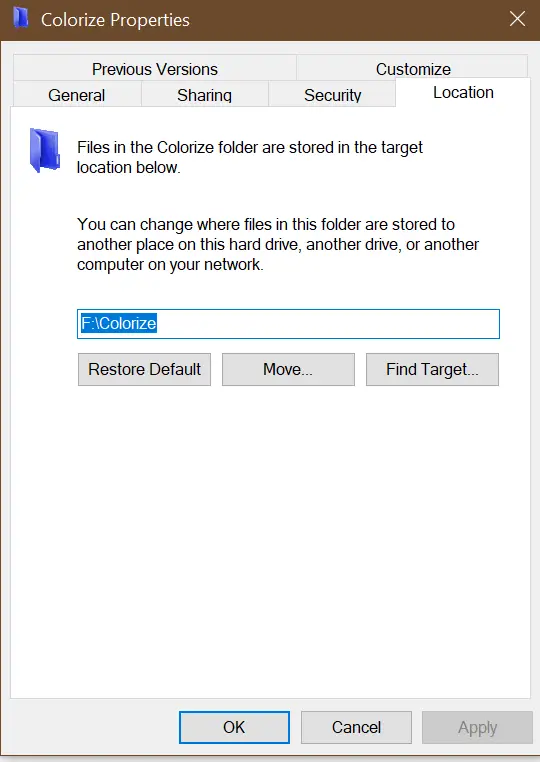
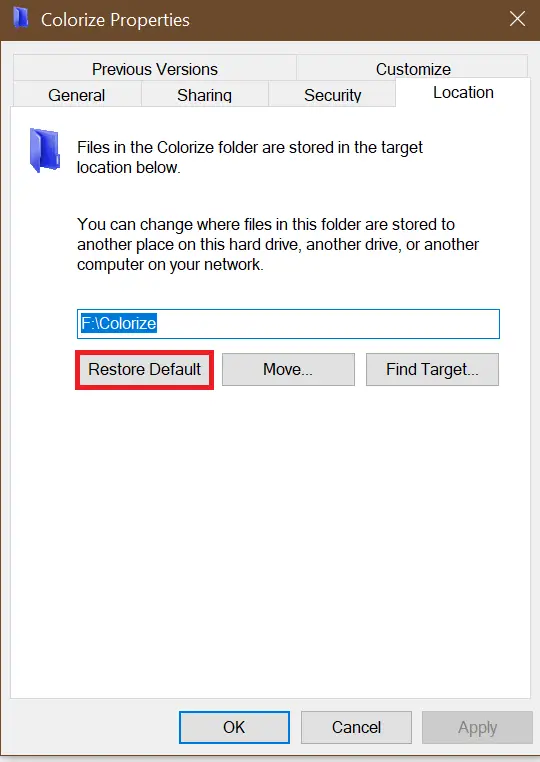
Step 6. To restore the default location of the screenshots folder, right-click on the folder (where your current screenshots are getting saved) and select properties.
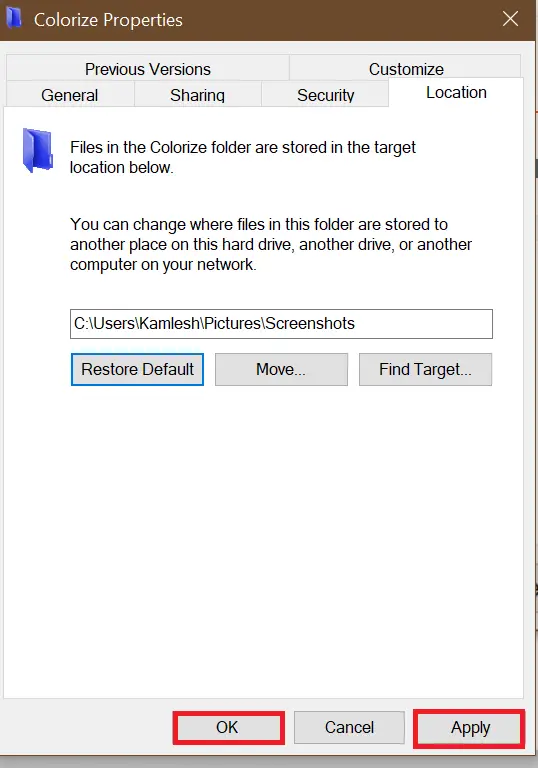
Now, the default folder location will be restored for your screenshots.
Conclusion
In conclusion, capturing screenshots in Windows 10 is an easy and straightforward process. Users can use the default PrtScr button or the built-in Snipping Tool to capture screenshots. However, if users want to change the default folder location where the screenshots are saved, it can be done by following a few simple steps. By changing the default location, users can save screenshots in a location that suits their preferences. Users can also restore the default folder location for screenshots if they wish to. With these simple steps, users can efficiently manage their screenshots in Windows 10.