In today’s digital age, personalizing our online presence has become an integral part of our identity. One way to add a touch of personality to your Windows 10 experience is by changing your account profile picture. Whether you’re tired of the default image or simply want to reflect your style, updating your profile picture is a simple yet effective way to make your user account feel more personalized. In this gearupwindows guide, we’ll walk you through the step-by-step process of changing your account profile picture in Windows 10.
Why Change Your Profile Picture?
Your profile picture is like your digital calling card. It appears in various places throughout Windows 10, such as the sign-in screen, the Start menu, and the Settings app. By changing it to something more personal, you can make your user account feel more like your own and distinguish it from others who may use the same device. Whether you want to use a photo of yourself, your favorite cartoon character, or a custom image, changing your profile picture allows you to express yourself in a small but meaningful way.
How to Change Your Account Profile Picture in Windows 10?
To change your profile picture in Windows 10, you’ll need to access your account settings. Here’s how to do it:-
Step 1. Click on the Start menu and select the gear icon to open the Settings app. Alternatively, you can press the `Windows key + I` on your keyboard to open Settings directly.
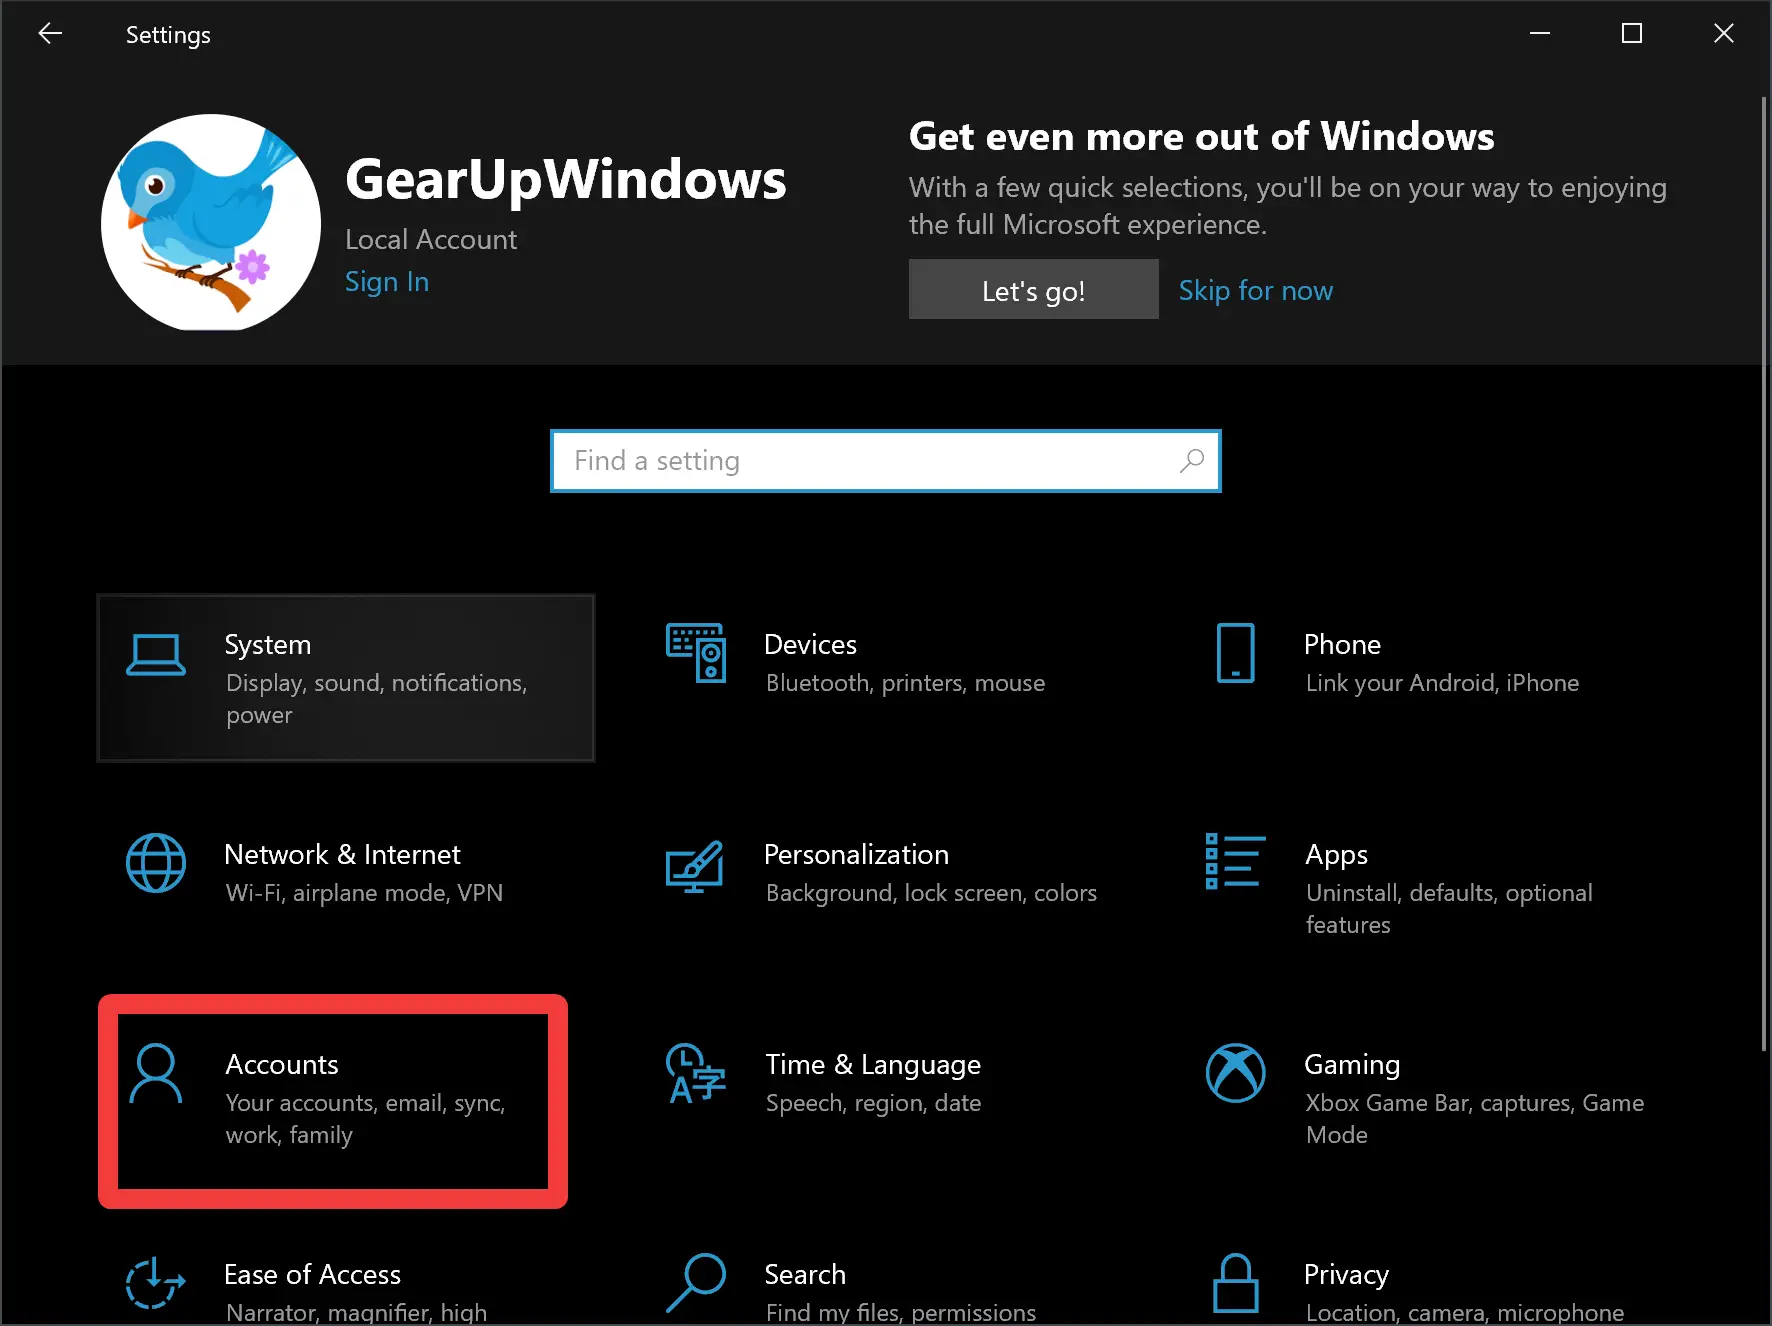
Step 2. In the Settings app, click on the “Accounts” option. This will take you to the Accounts settings page where you can manage various aspects of your user account.
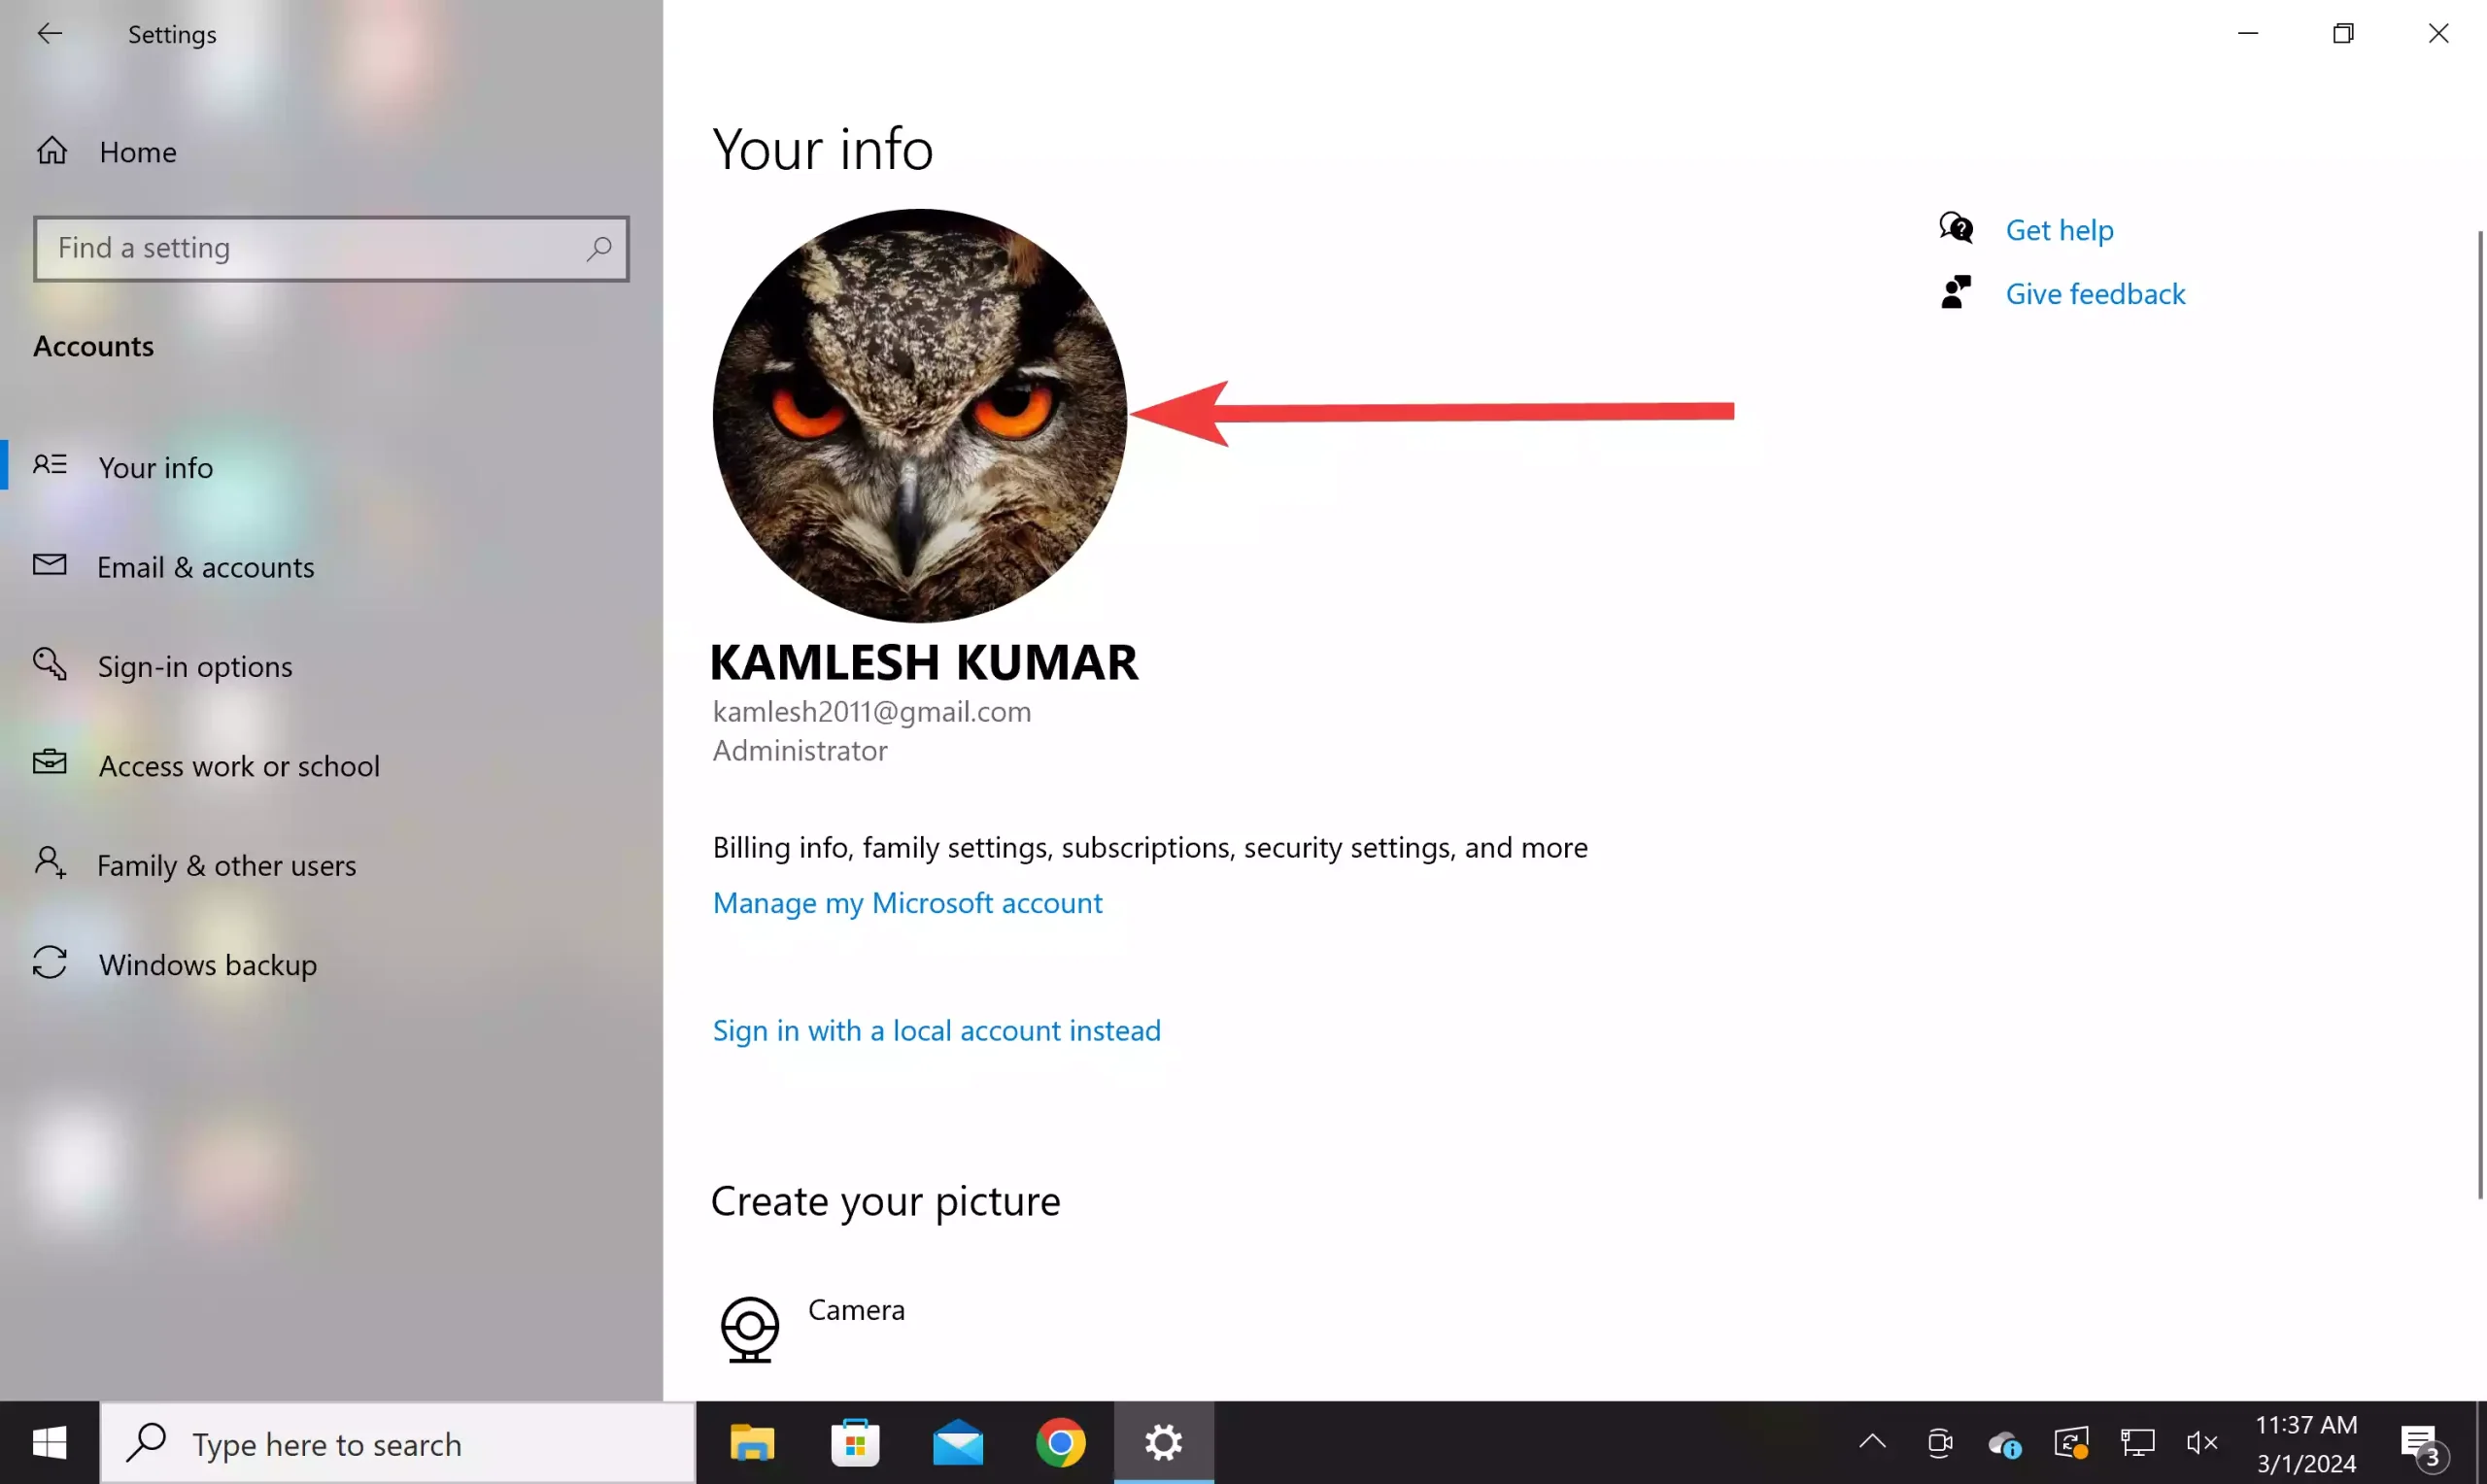
Step 3. Once you’re in the Accounts settings, on the left-hand side of the Accounts settings page, you’ll see a list of options. Click on “Your info.” This will display information about your user account, including your current profile picture.
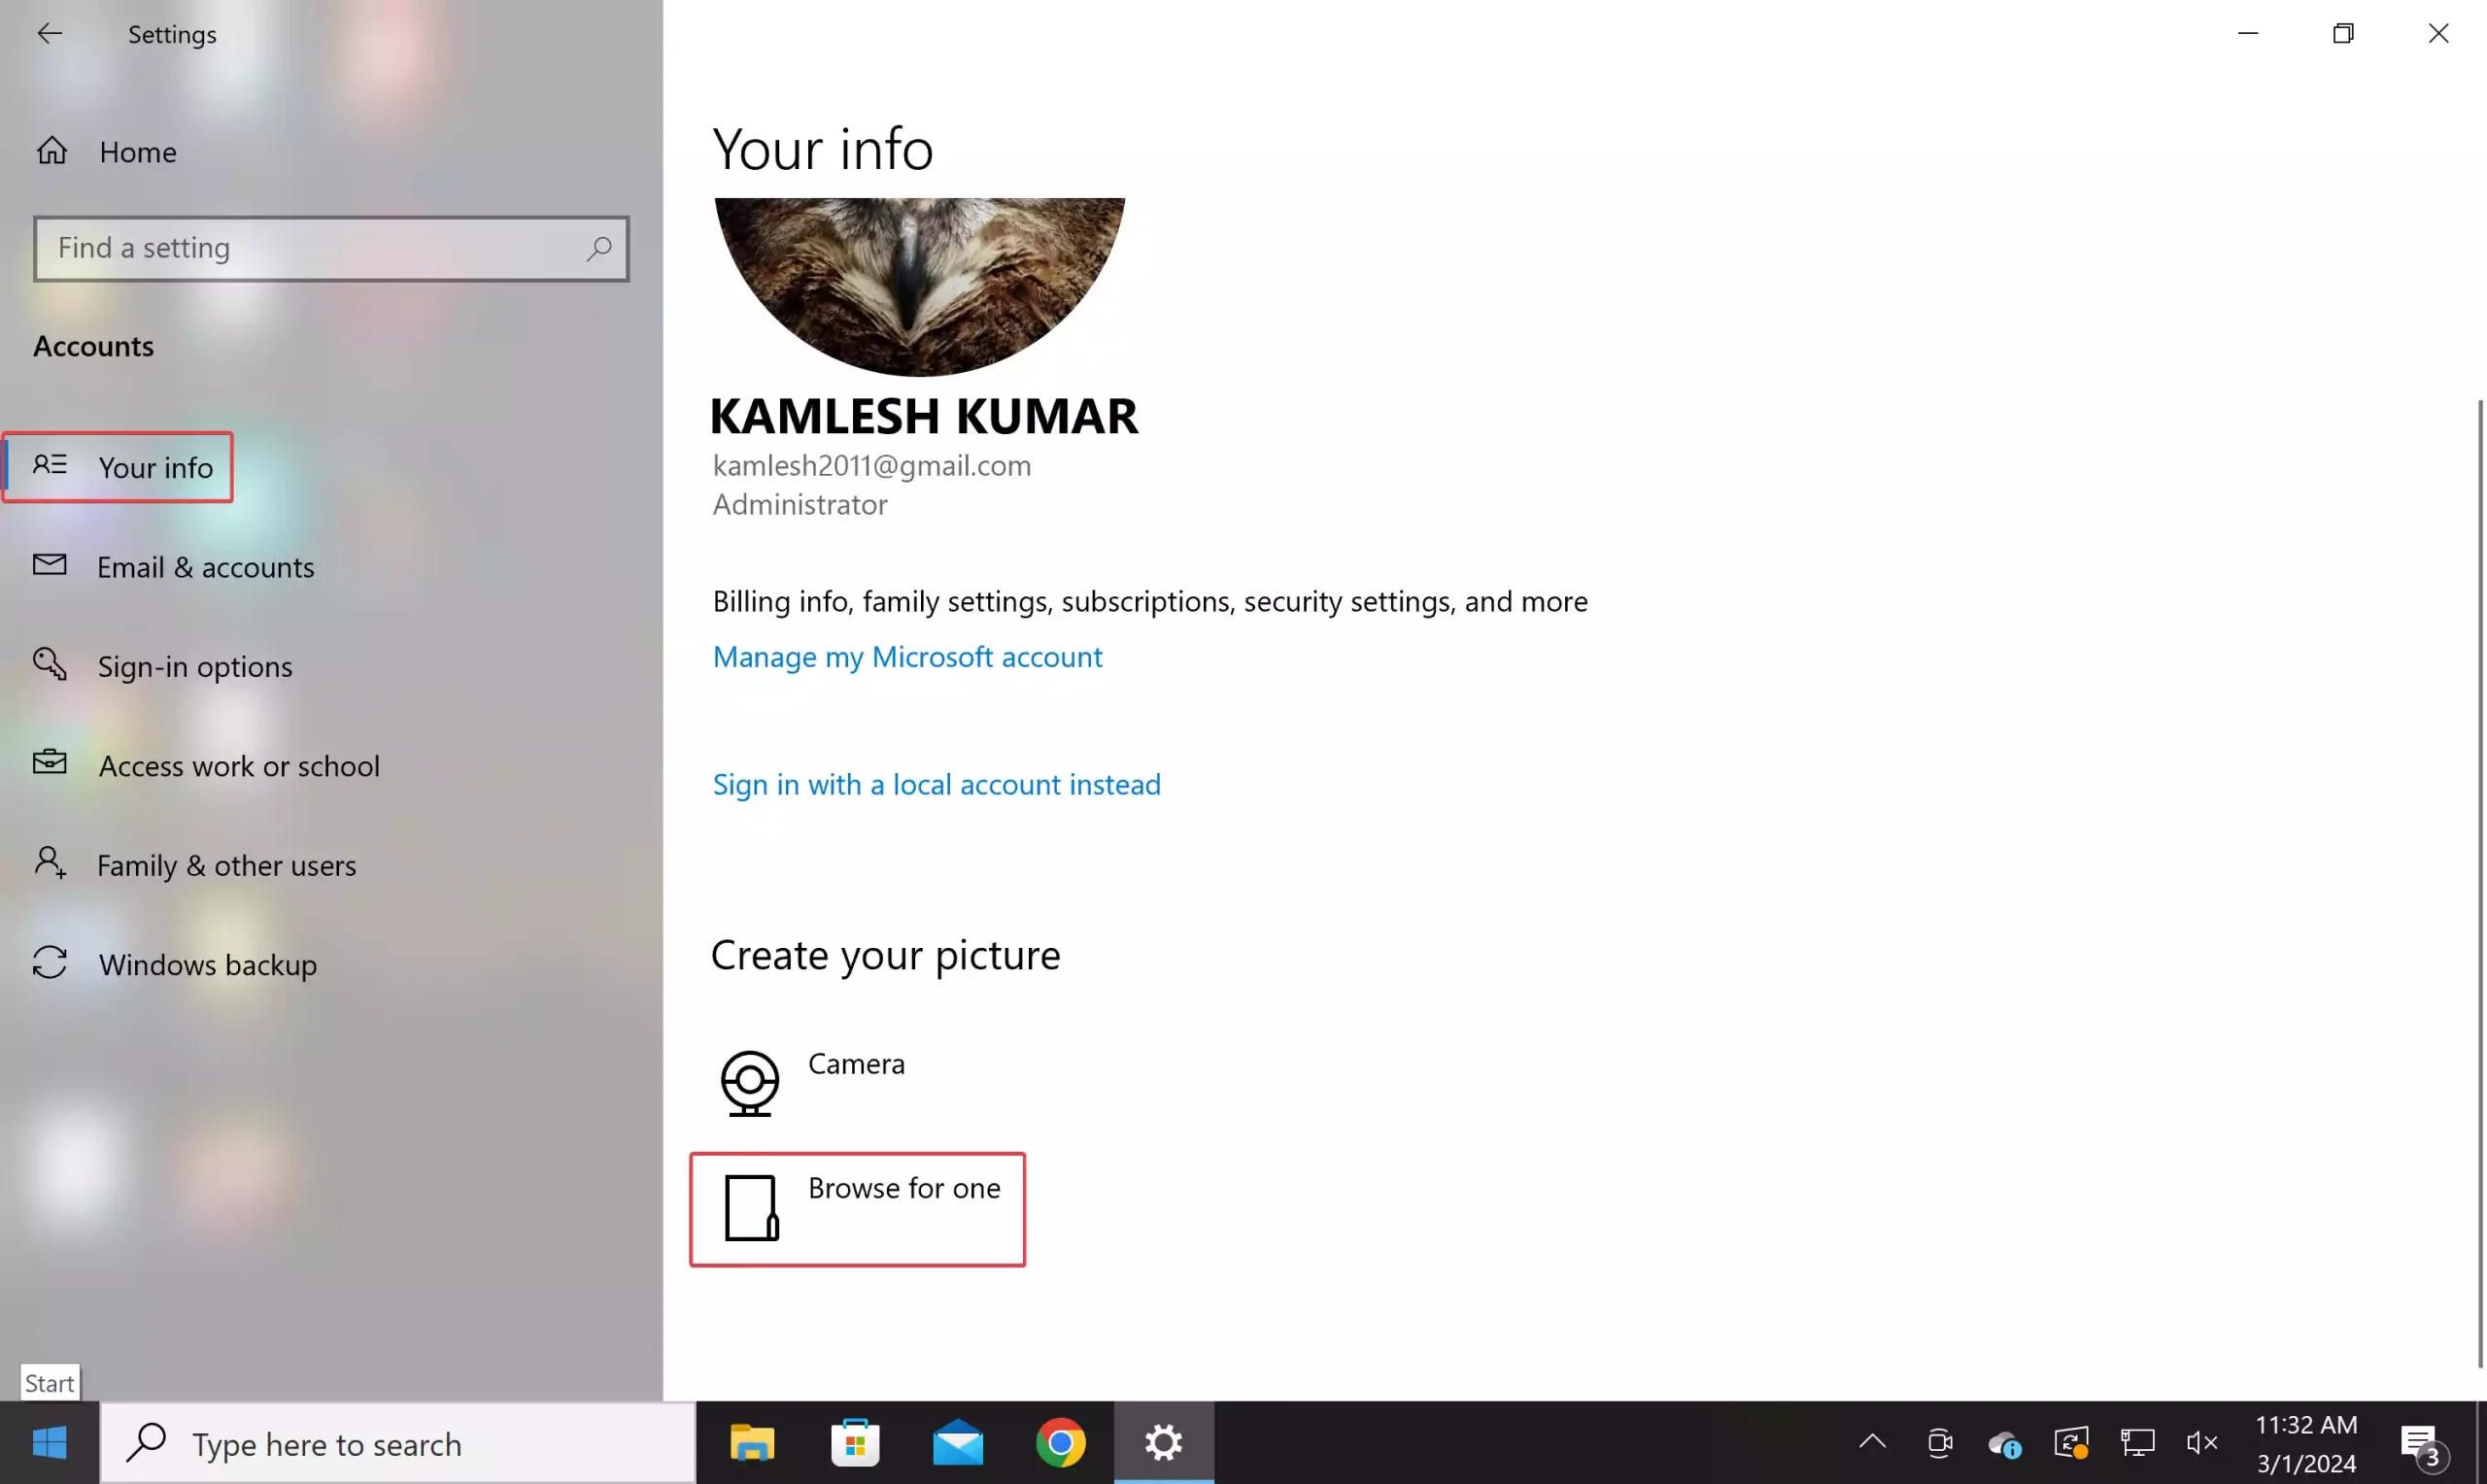
Step 4. Under the “Create your picture” section, you’ll see the option to “Browse for one.” Click on “Browse for one” to choose a new image from your computer.
Step 5. A file explorer window will appear, allowing you to navigate to the location of the image you want to use as your profile picture. Select the image file and click “Choose picture” to confirm your selection.
You should now see your new profile picture displayed under the “Your info” section. Take a moment to ensure that it looks as you intended.
In some cases, your new profile picture may not immediately appear in all areas of Windows 10. If this happens, try restarting your device to apply the changes fully.
Conclusion
Changing your account profile picture in Windows 10 is a straightforward process that allows you to personalize your user experience. Whether you prefer a photo of yourself, a favorite icon, or a custom image, updating your profile picture is an easy way to make your user account feel more unique and reflective of your personality. By following the steps outlined in this guide, you can quickly and easily change your profile picture to something that better suits you. So why wait? Give your Windows 10 user account a personal touch today!