For some reason, if you would like to change your Microsoft Account name to Windows 11/10 or Office 365, this gearupwindows article will help you. Luckily, it’s a straightforward process to change the Microsoft Account name by visiting the unique Microsoft Account website.
How to Change Microsoft Account Name?
To change the username connected with your Microsoft account, you will need to perform the following steps:-
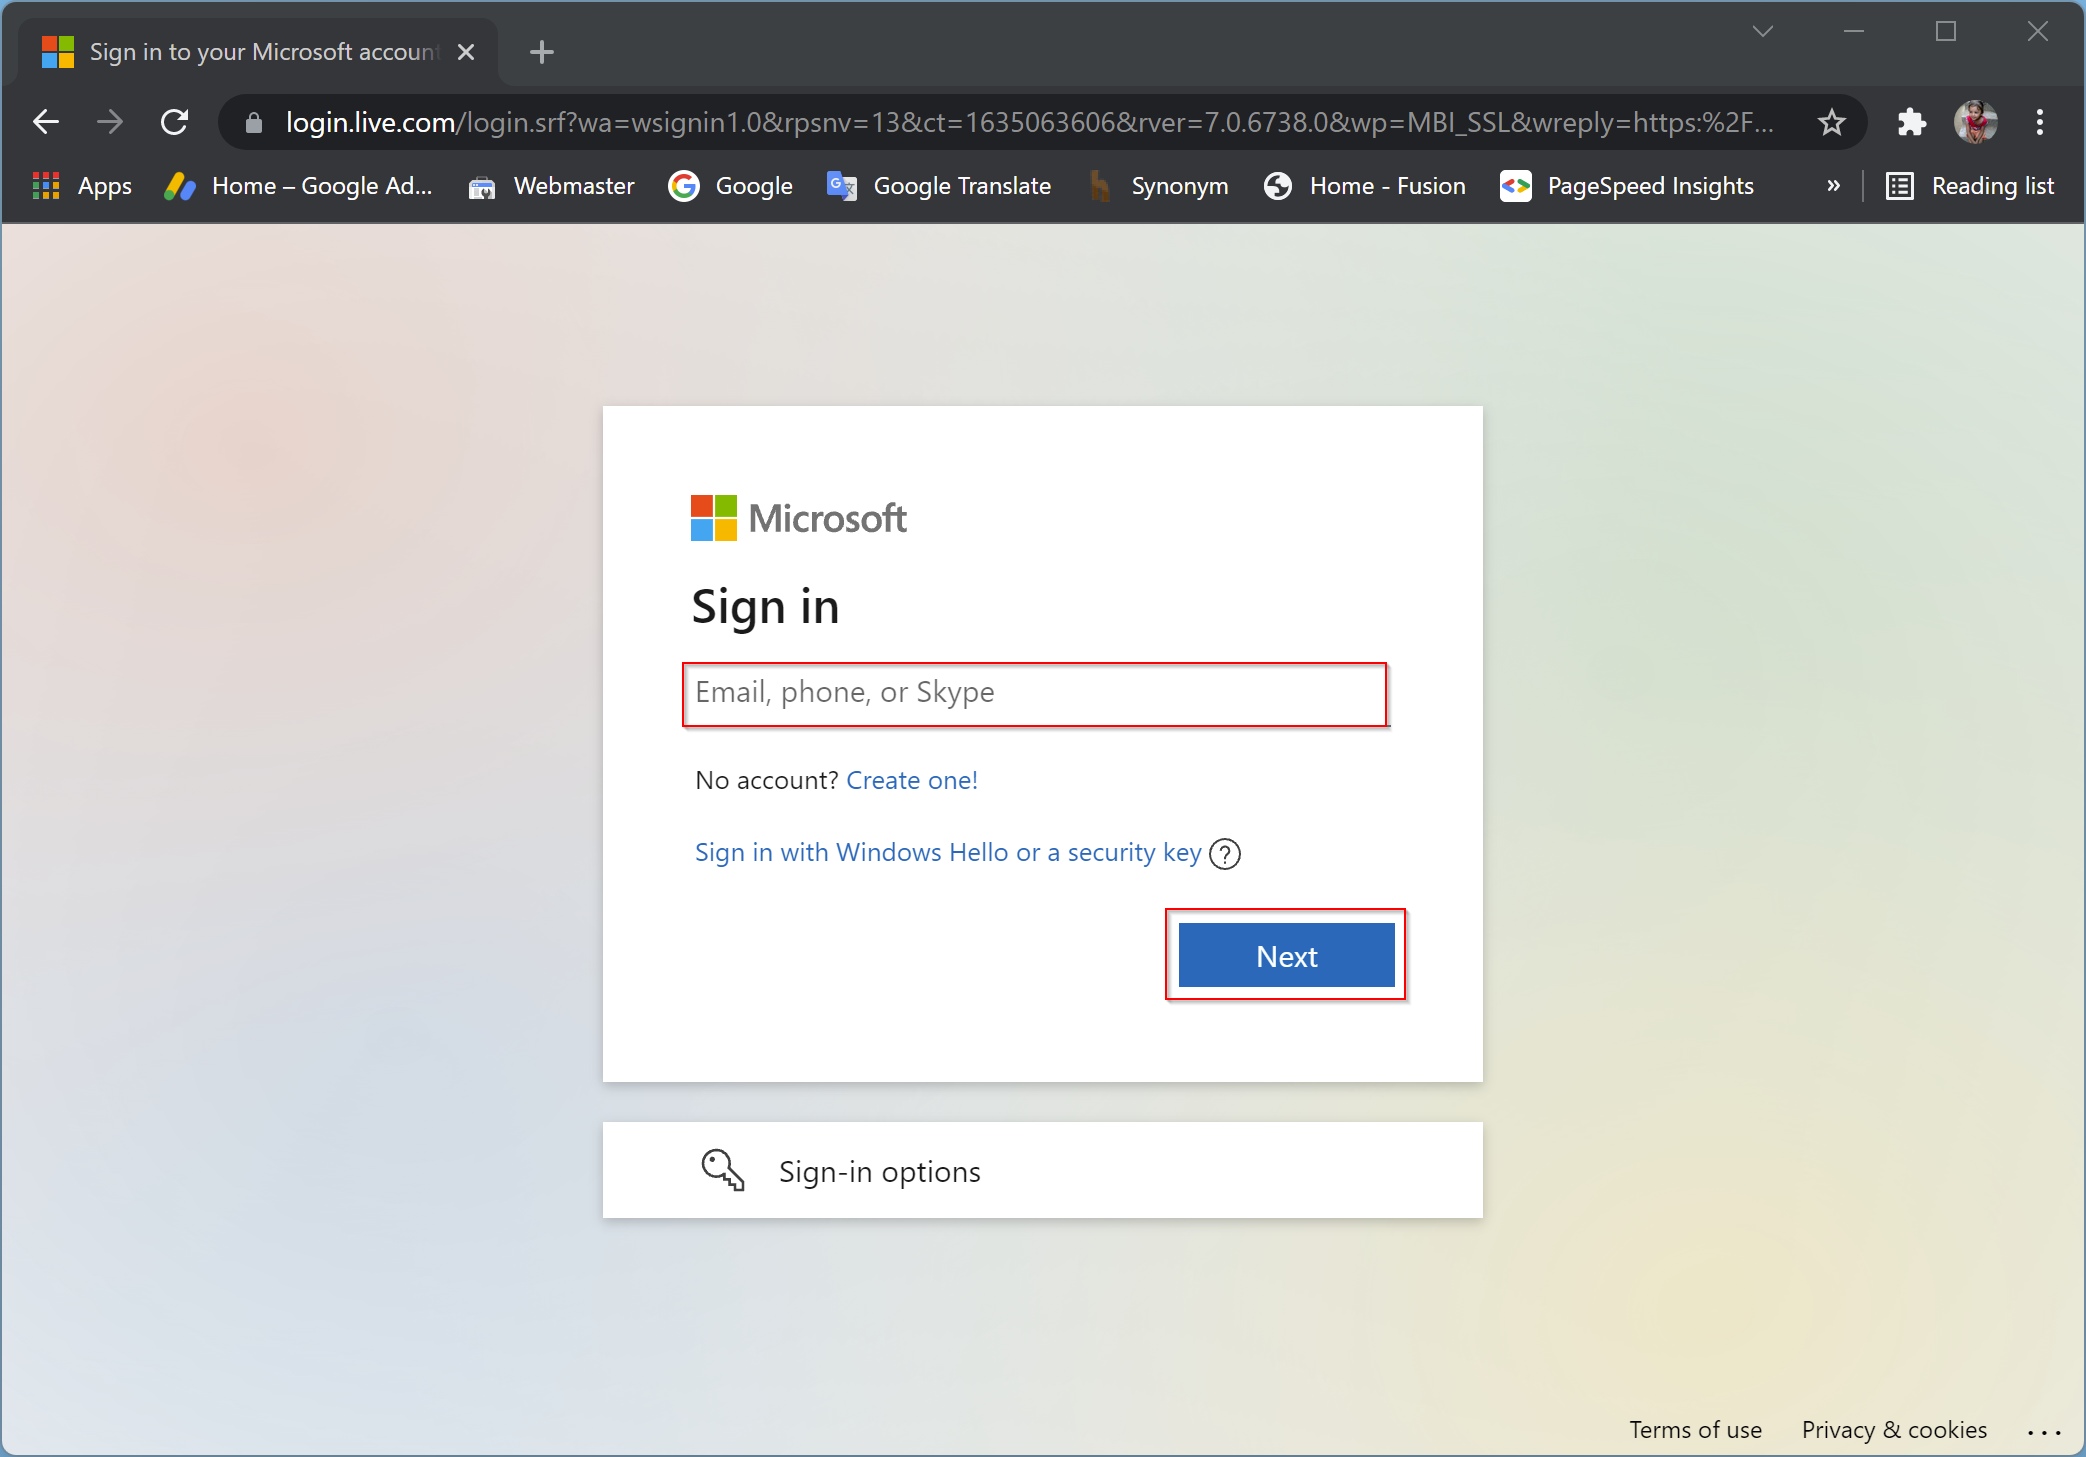
Step 1. First, browse the Microsoft Account Profile website and then click the Sign In button.

Step 2. After that, enter the email, phone, or Skype that you have used to create your account. When you’re done, click the Next button. Alternatively, you can use the link “Sign in with Windows Hello or security key” if you have configured it before.
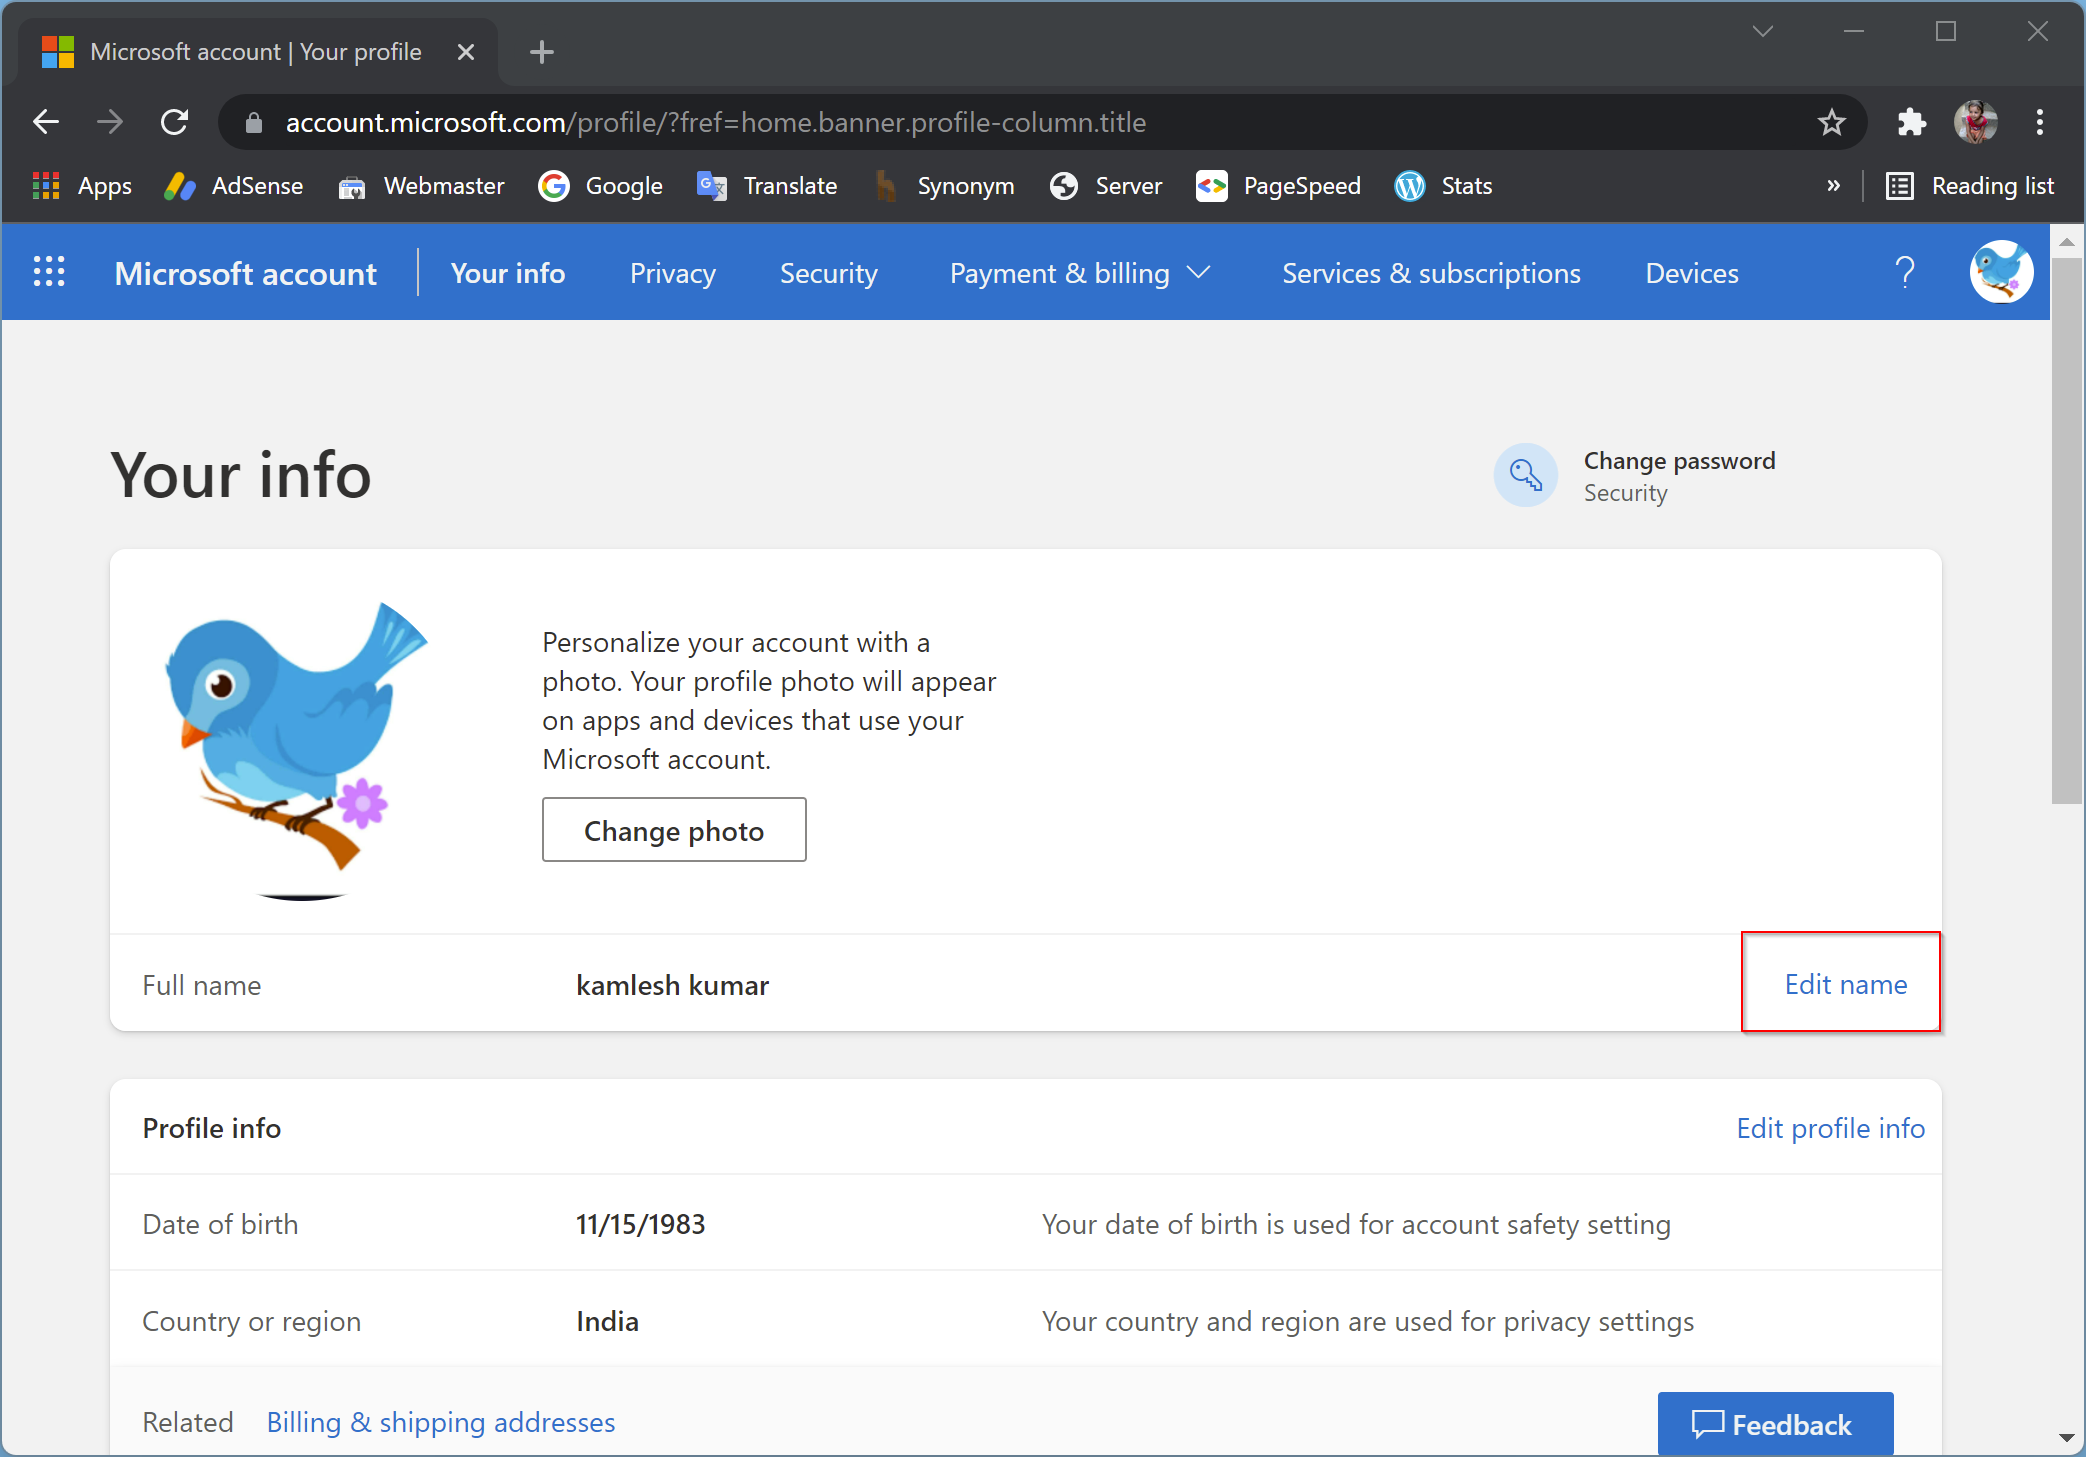
Step 3. After signing in to your Microsoft account, click on the user name beside the user profile picture.

Step 4. Then click on the Edit name link.
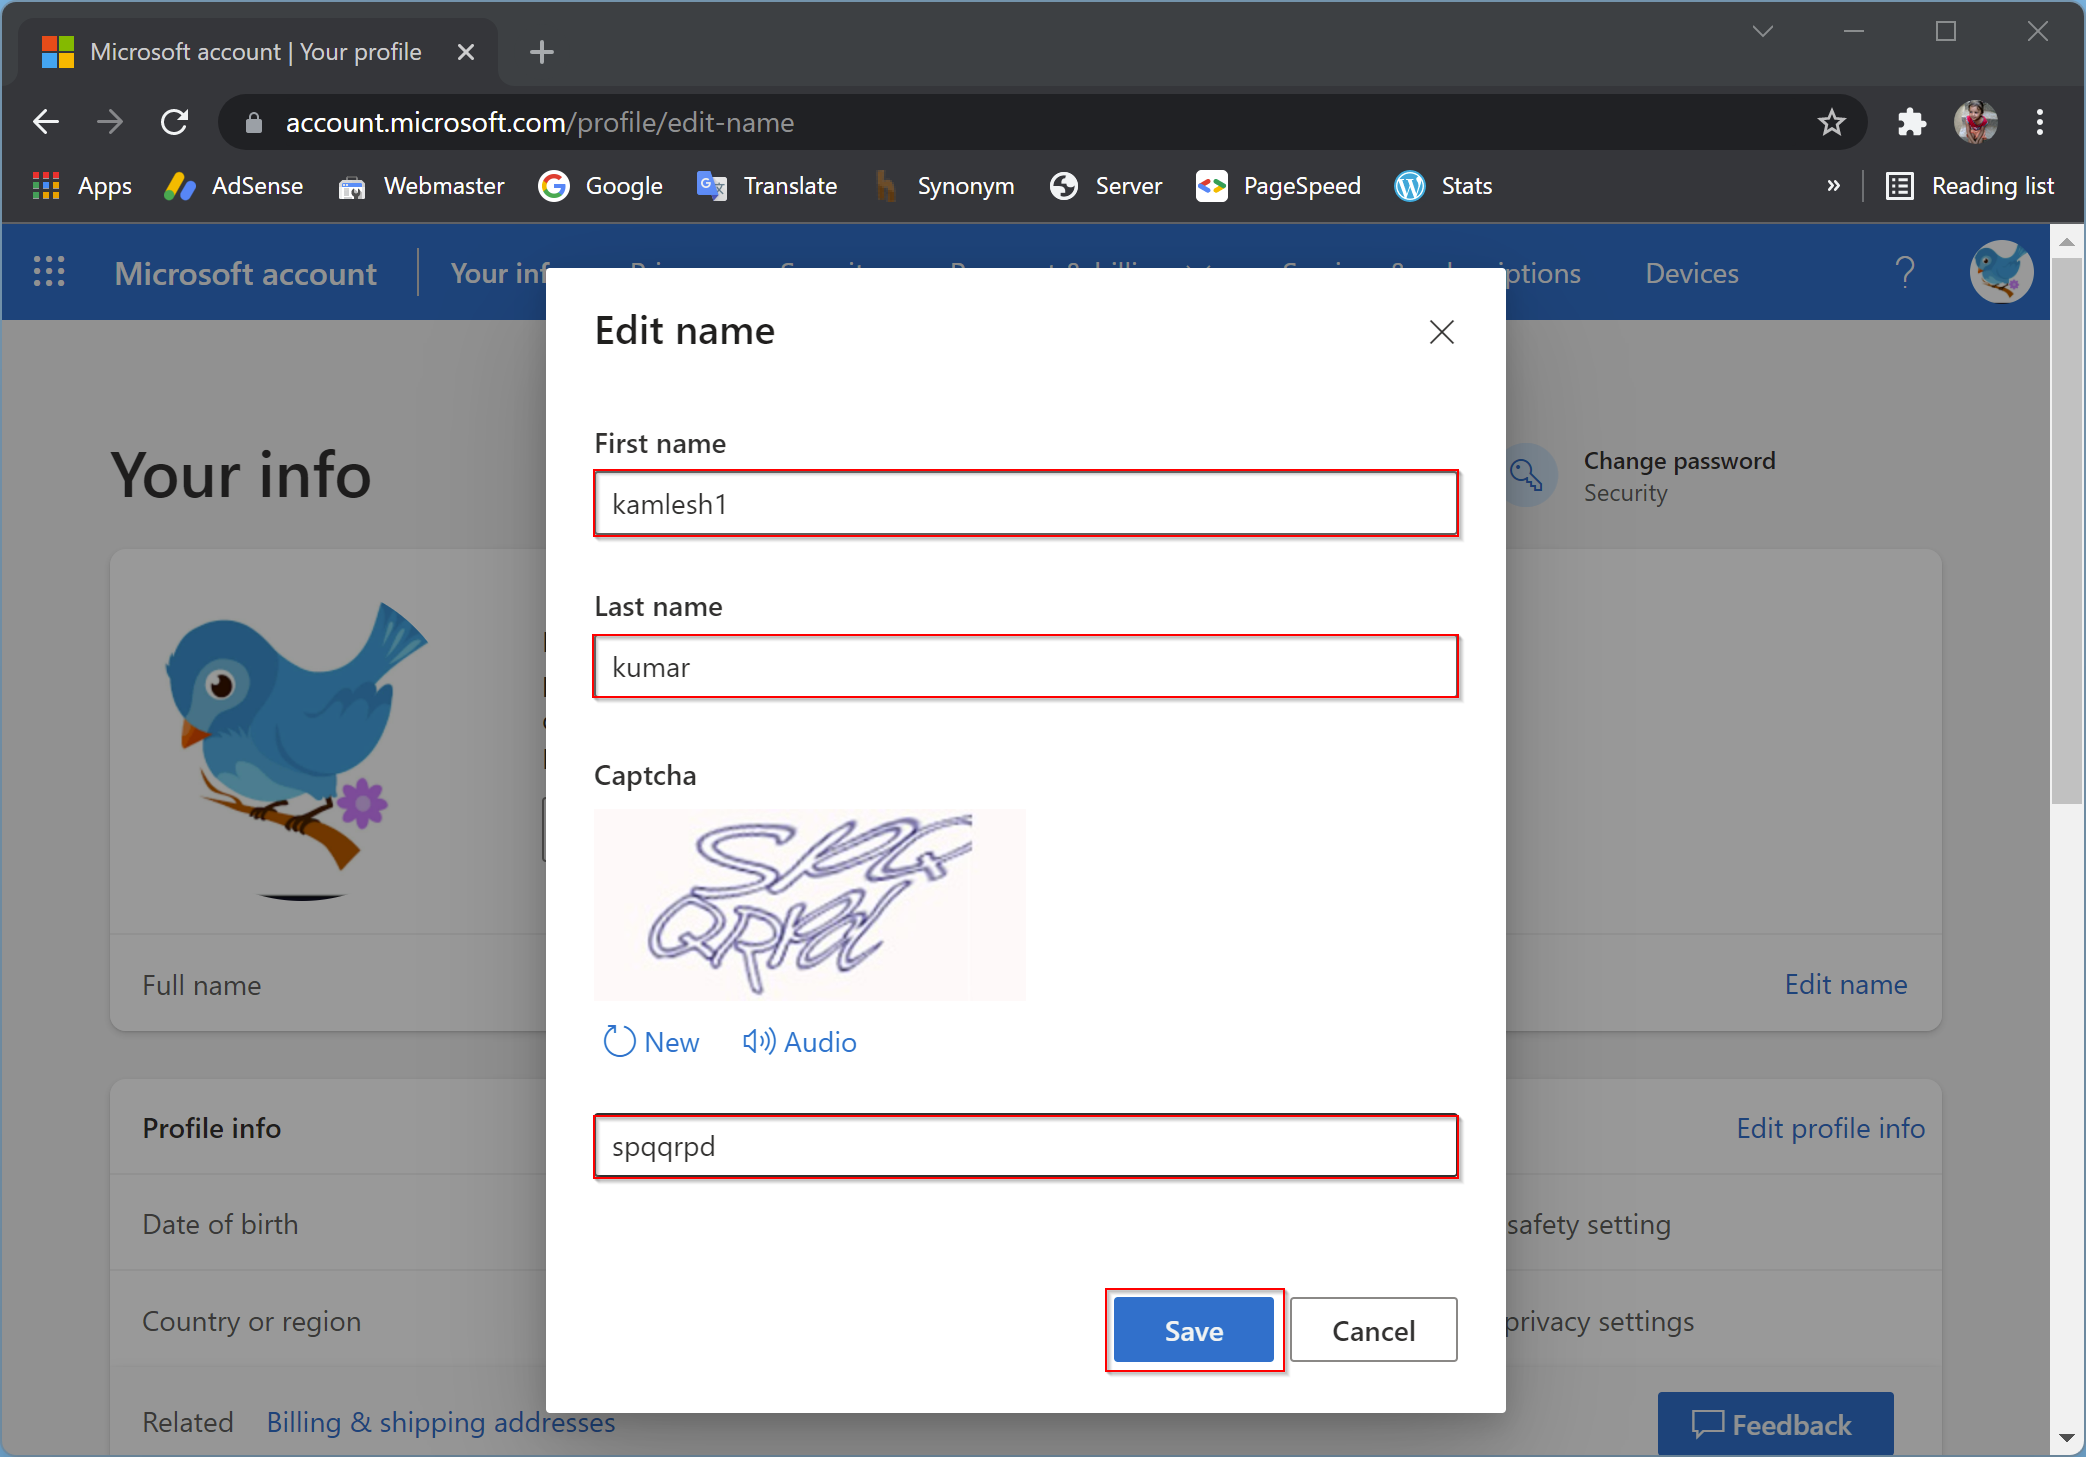
Step 5. In the pop-up window, type the new first name or last name, or both. Then enter the captcha. Finally, click the Save button.
When you’re done, restart your Windows 11/10 PC to see the changes.
To see the new name in Office 365, open an Office app and then navigate to File > Account. Select the Sign Out option. After that, click Sign in and log in with your Microsoft Account. Your new name should appear in your Office apps.
Good luck.
Conclusion
In conclusion, changing the Microsoft Account name on Windows 11/10 or Office 365 is a straightforward process that can be completed by following the steps outlined in this gearupwindows article. By accessing the Microsoft Account Profile website, users can quickly modify their account name by editing their first name, last name, or both. Additionally, to see the new name in Office 365, users will need to sign out and log back in with their Microsoft Account. With these simple steps, users can easily update their Microsoft Account name to reflect their current preferences.