If you have connected several printers to your computer, you can set any one of them as the default printer so that you can use that preferred printer to print most of your documents. Once you set any printer as default, all the apps will use that printer for printing by default. This gearupwindows article will guide you in setting a default printer on Windows 11 and 10.
How to Set the Default Printer on Windows 11?
To set the default printer on Windows 11, do the following steps:-
Step 1. First, open the Settings app by pressing Windows + I keys on the keyboard.
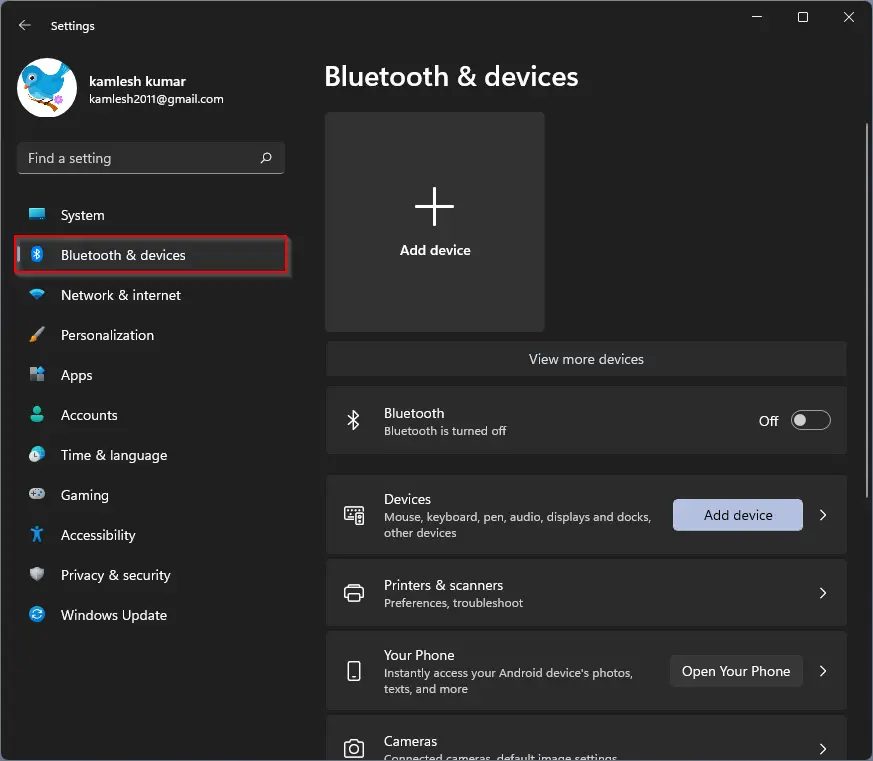
Step 2. Then, click Bluetooth & devices in Settings left sidebar.
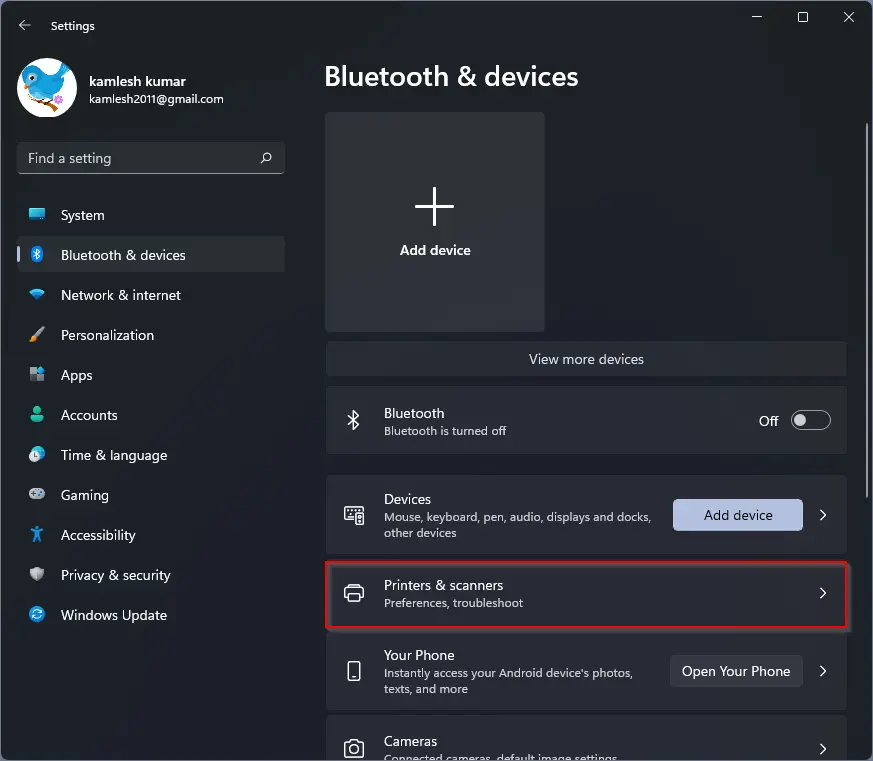
Step 3. After that, click Printers & scanners to view all installed printers on the right pane.
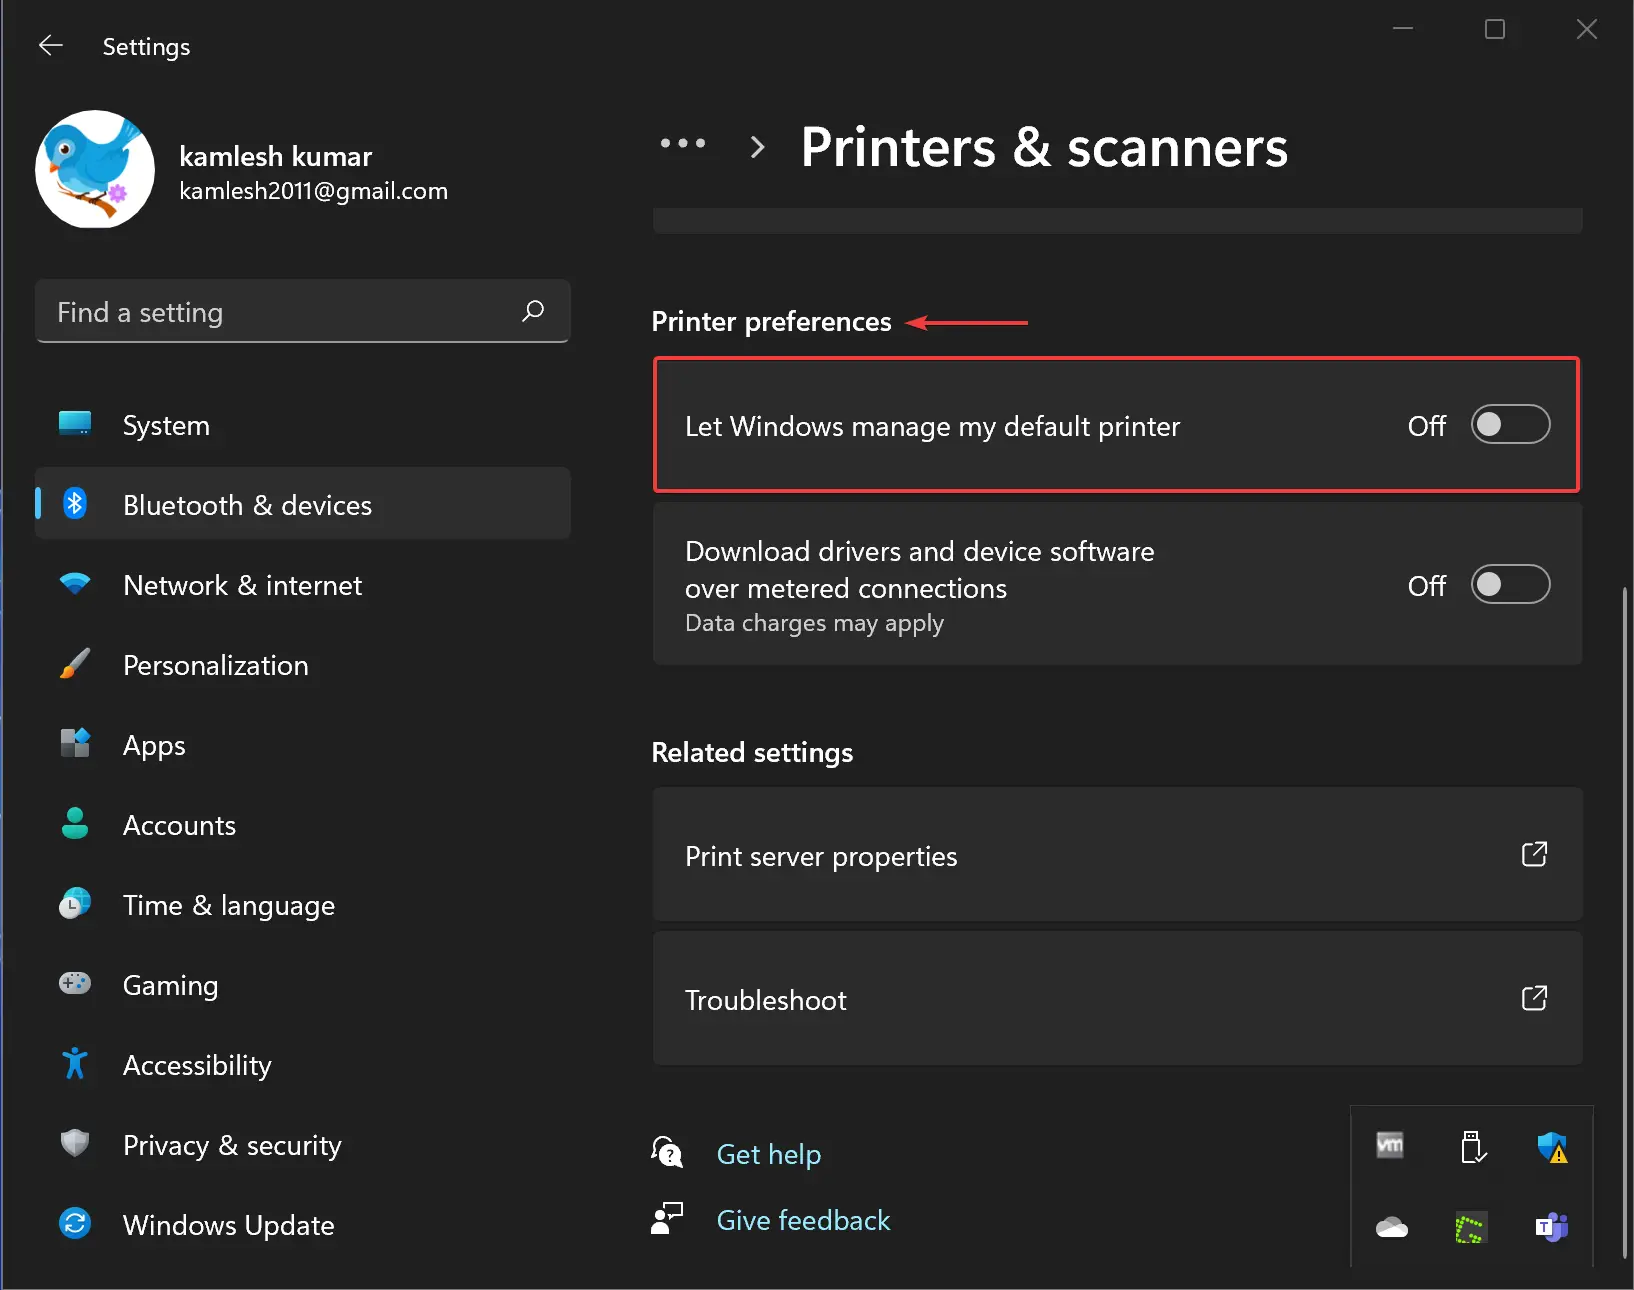
Step 4. Now, scroll down the “Printers & scanners” page to find the “Printer Preferences” section. Here, turn off the toggle switch beside Let Windows manage my default printer.
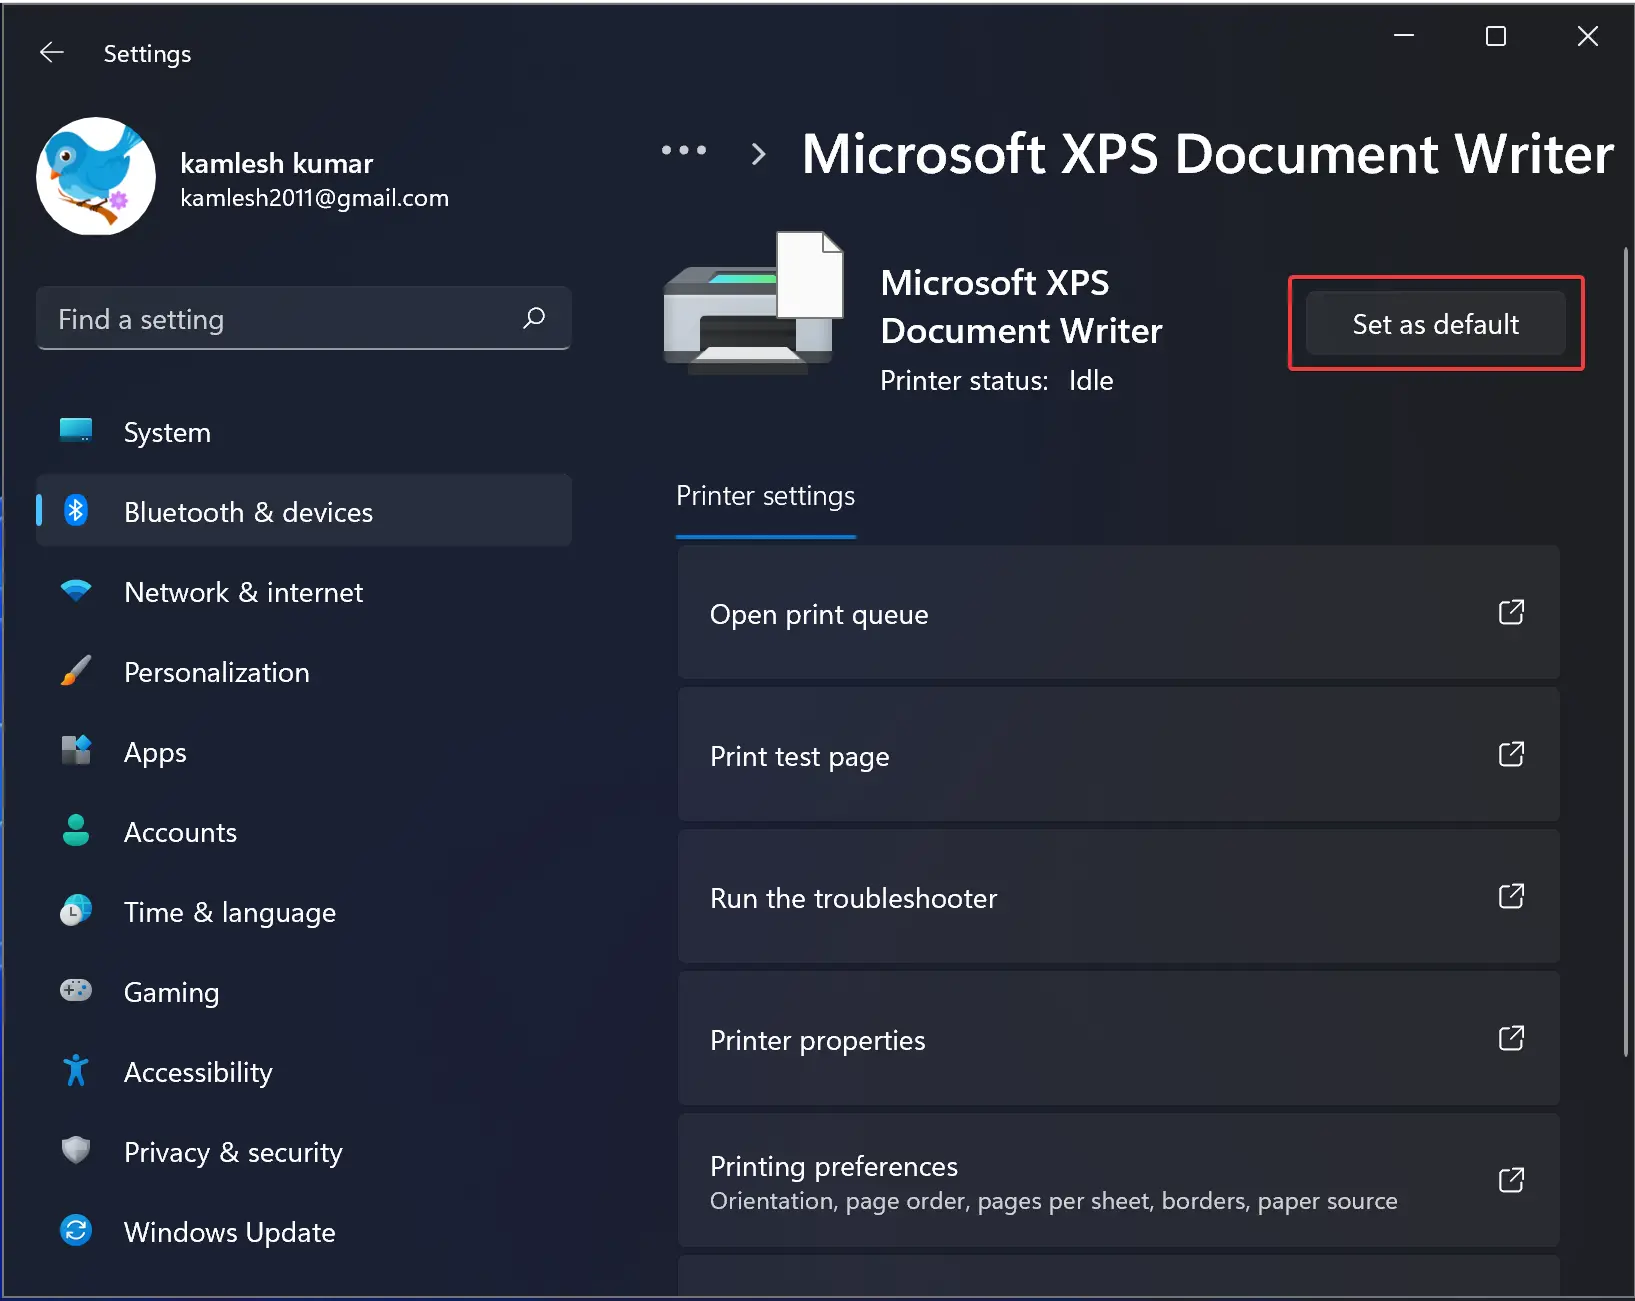
Step 5. After that, scroll up and select the printer you want to set as the default.
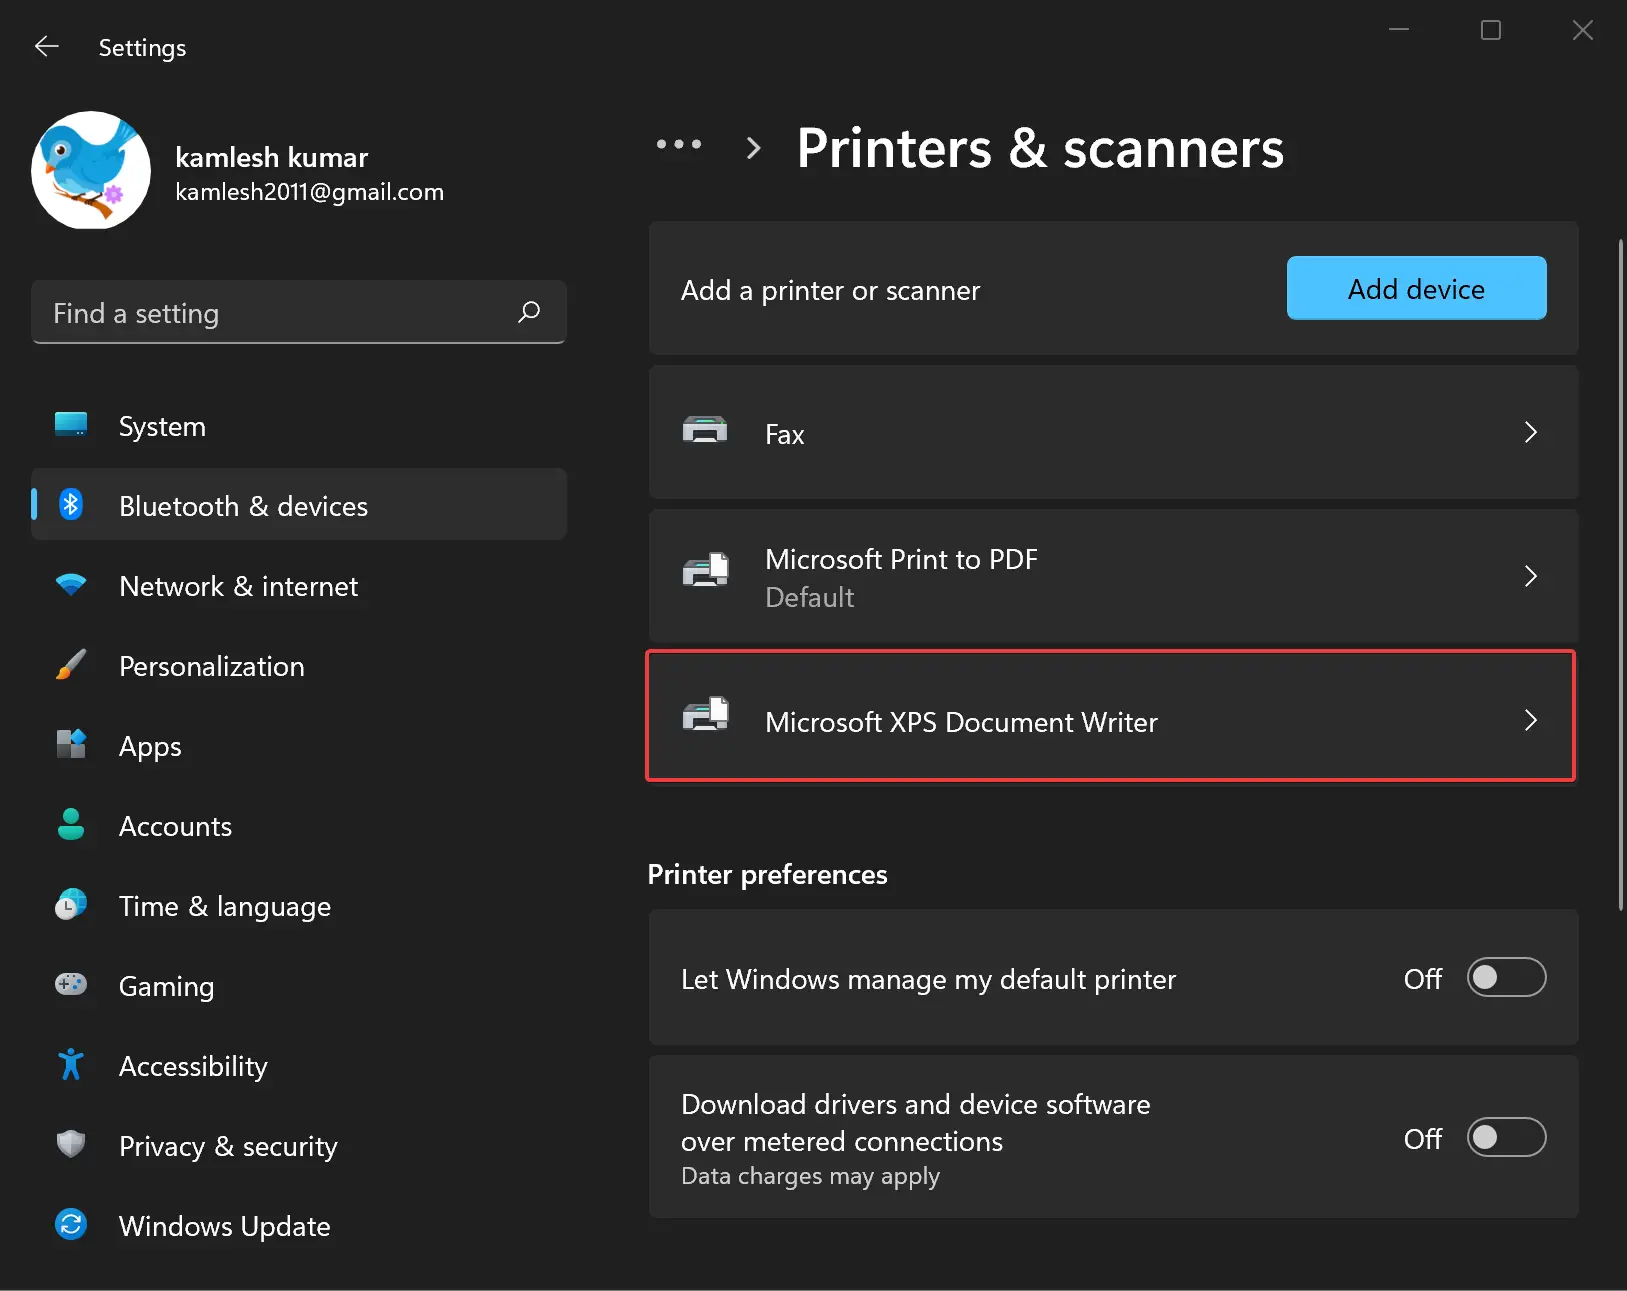
Step 6. Finally, click the Set as default button at the top of the printer’s page.
That’s it. Your selected printer is now the default printer on your computer. That means, whenever you will print any document on your PC without selecting a printer, it will print on your default printer by default. If you wish to print on any other printer connected to your PC, you need to select that printer in the Print dialog box.
How to Set the Default Printer on Windows 10?
To set your preferred printer as default on Windows 10, use the following recommended steps:-
Step 1. Very first, open the Windows Settings by pressing Windows + I keys on the keyboard.
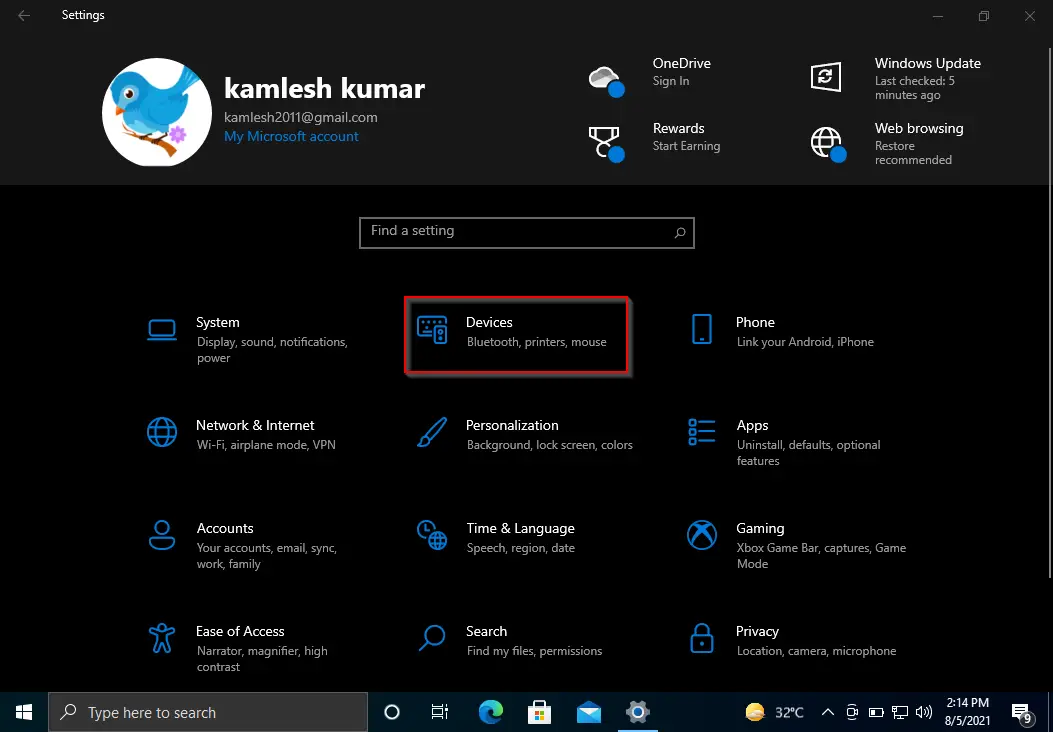
Step 2. When Windows Settings opens, click the Devices category.
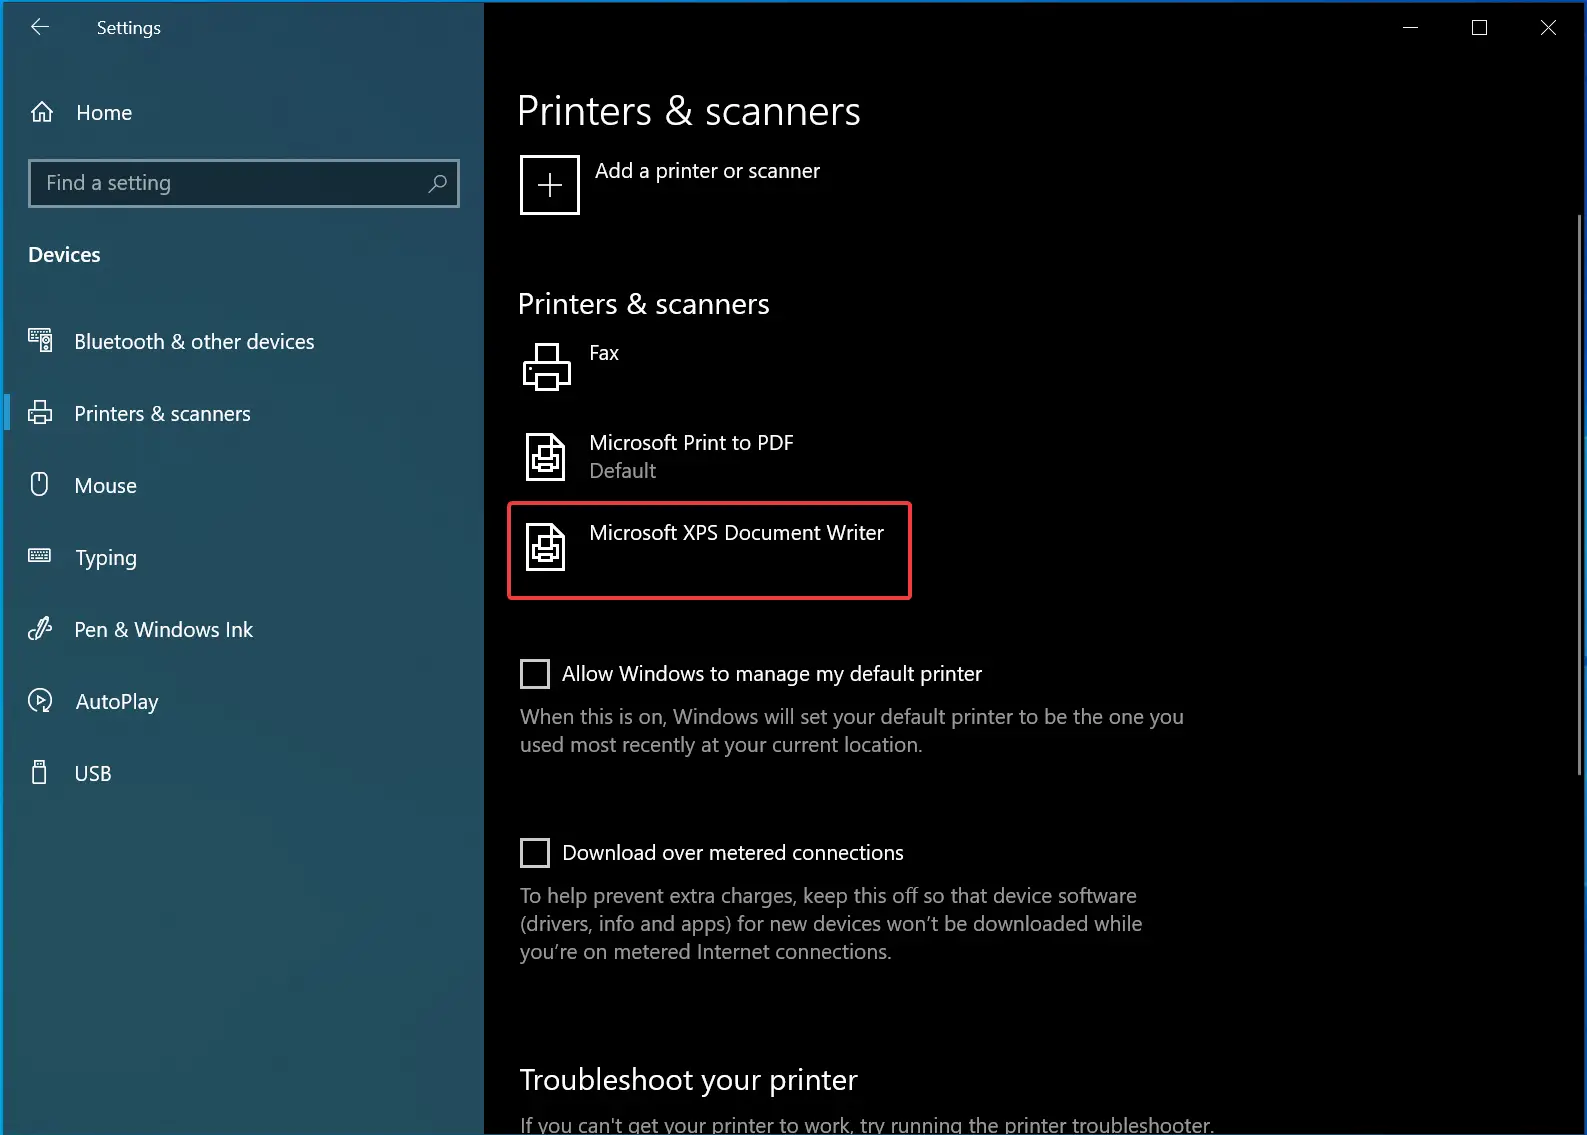
Step 3. Then, on the “Devices” settings page, in the left sidebar, select Printers & scanners.
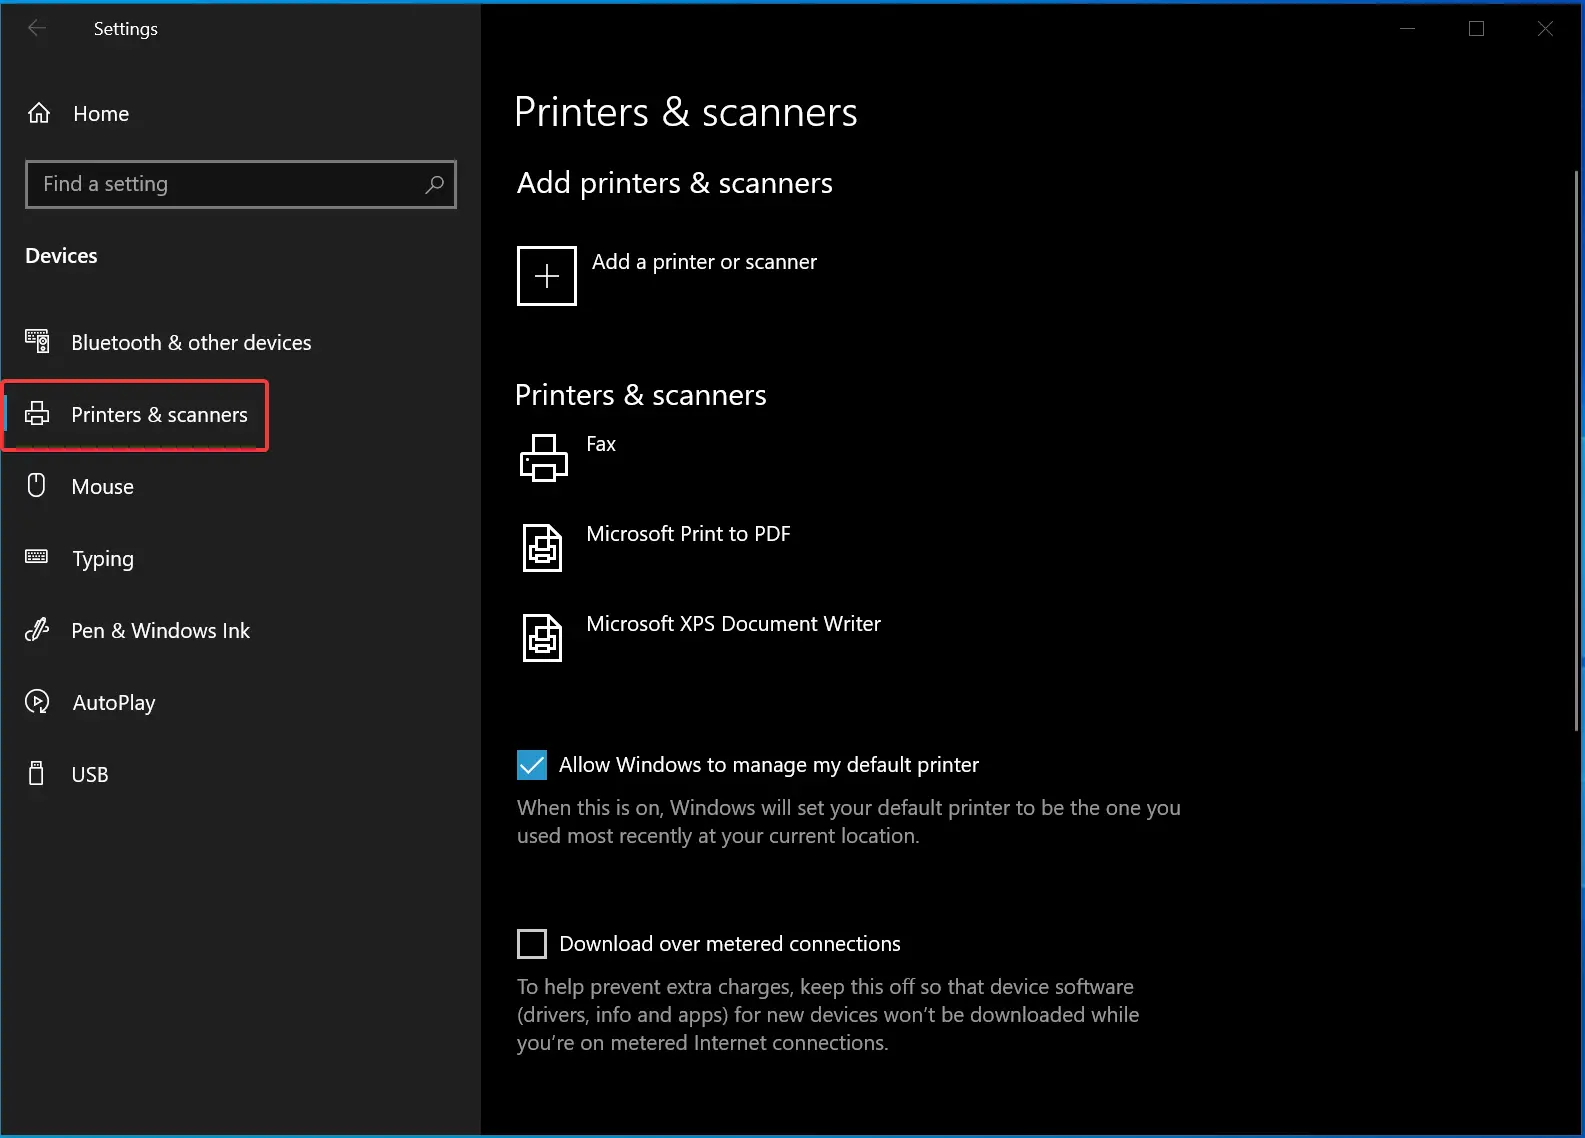
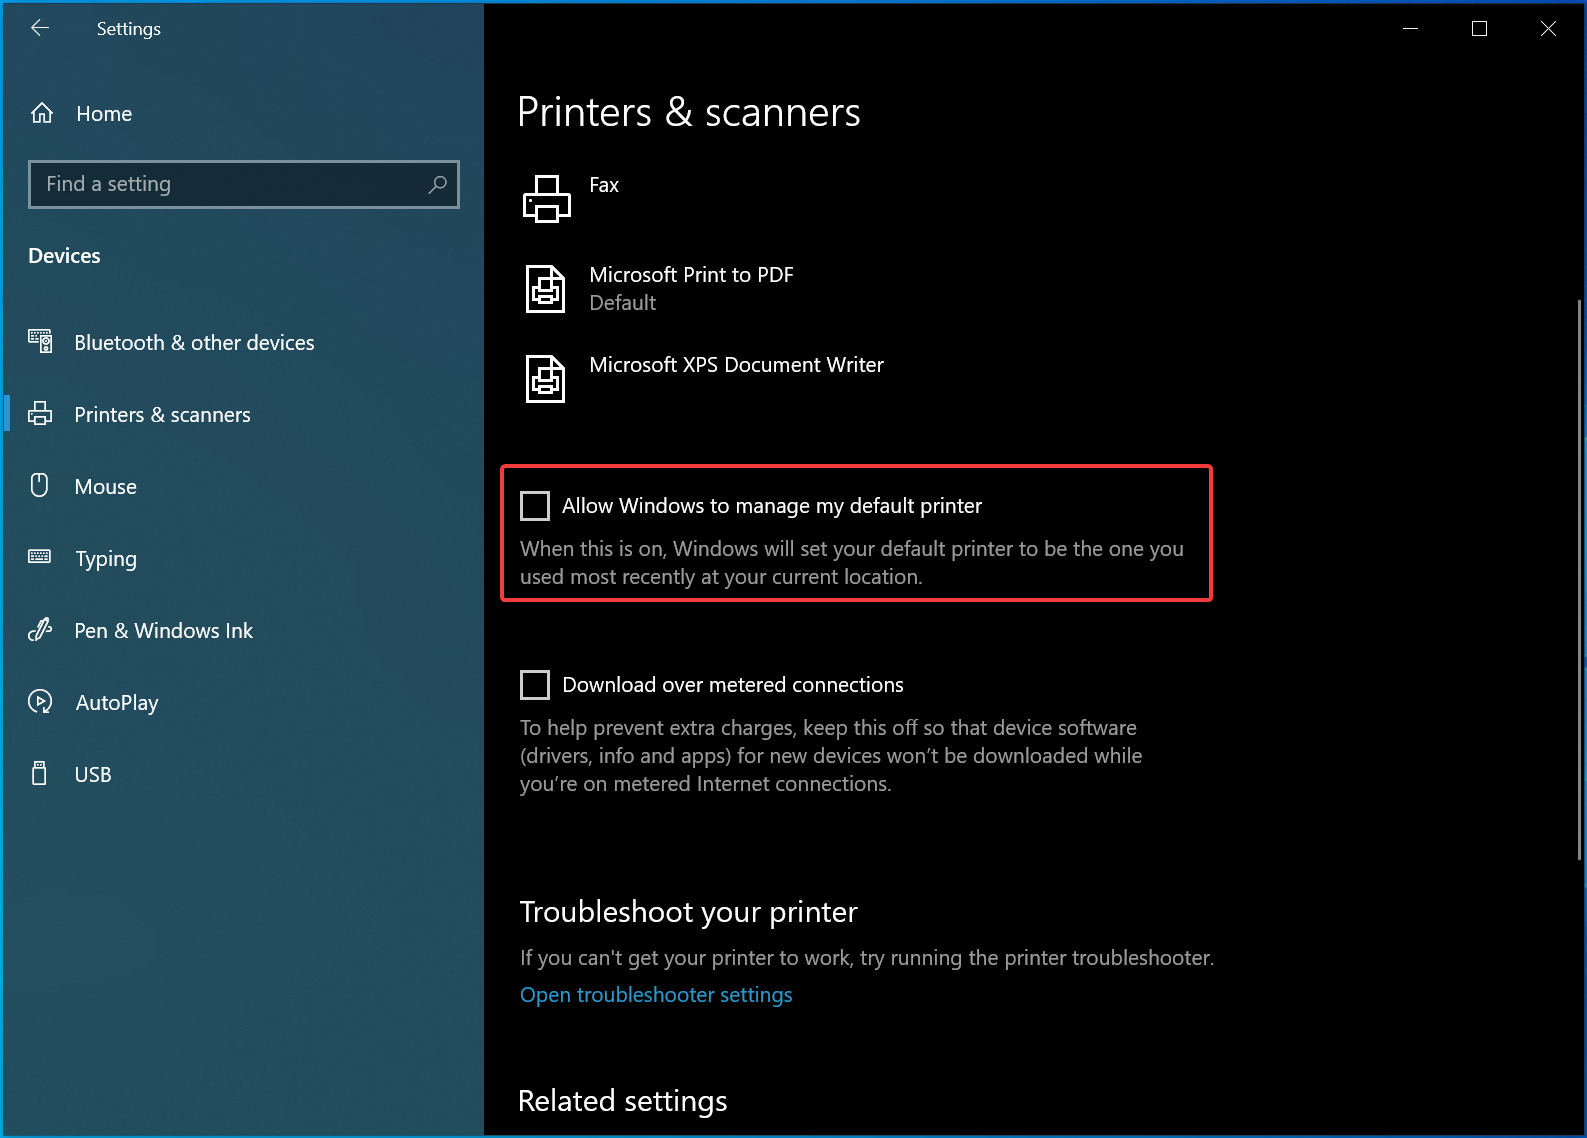
Step 4. After that, scroll down on the “Printers & Scanners” page and uncheck the Allow Windows to manage my default Printer option.
Step 5. Now, click the printer you want to make the default.
Step 6. In the menu that appears, click the Manage button.

Step 7. Click the Set as default button on the printer page that opens.
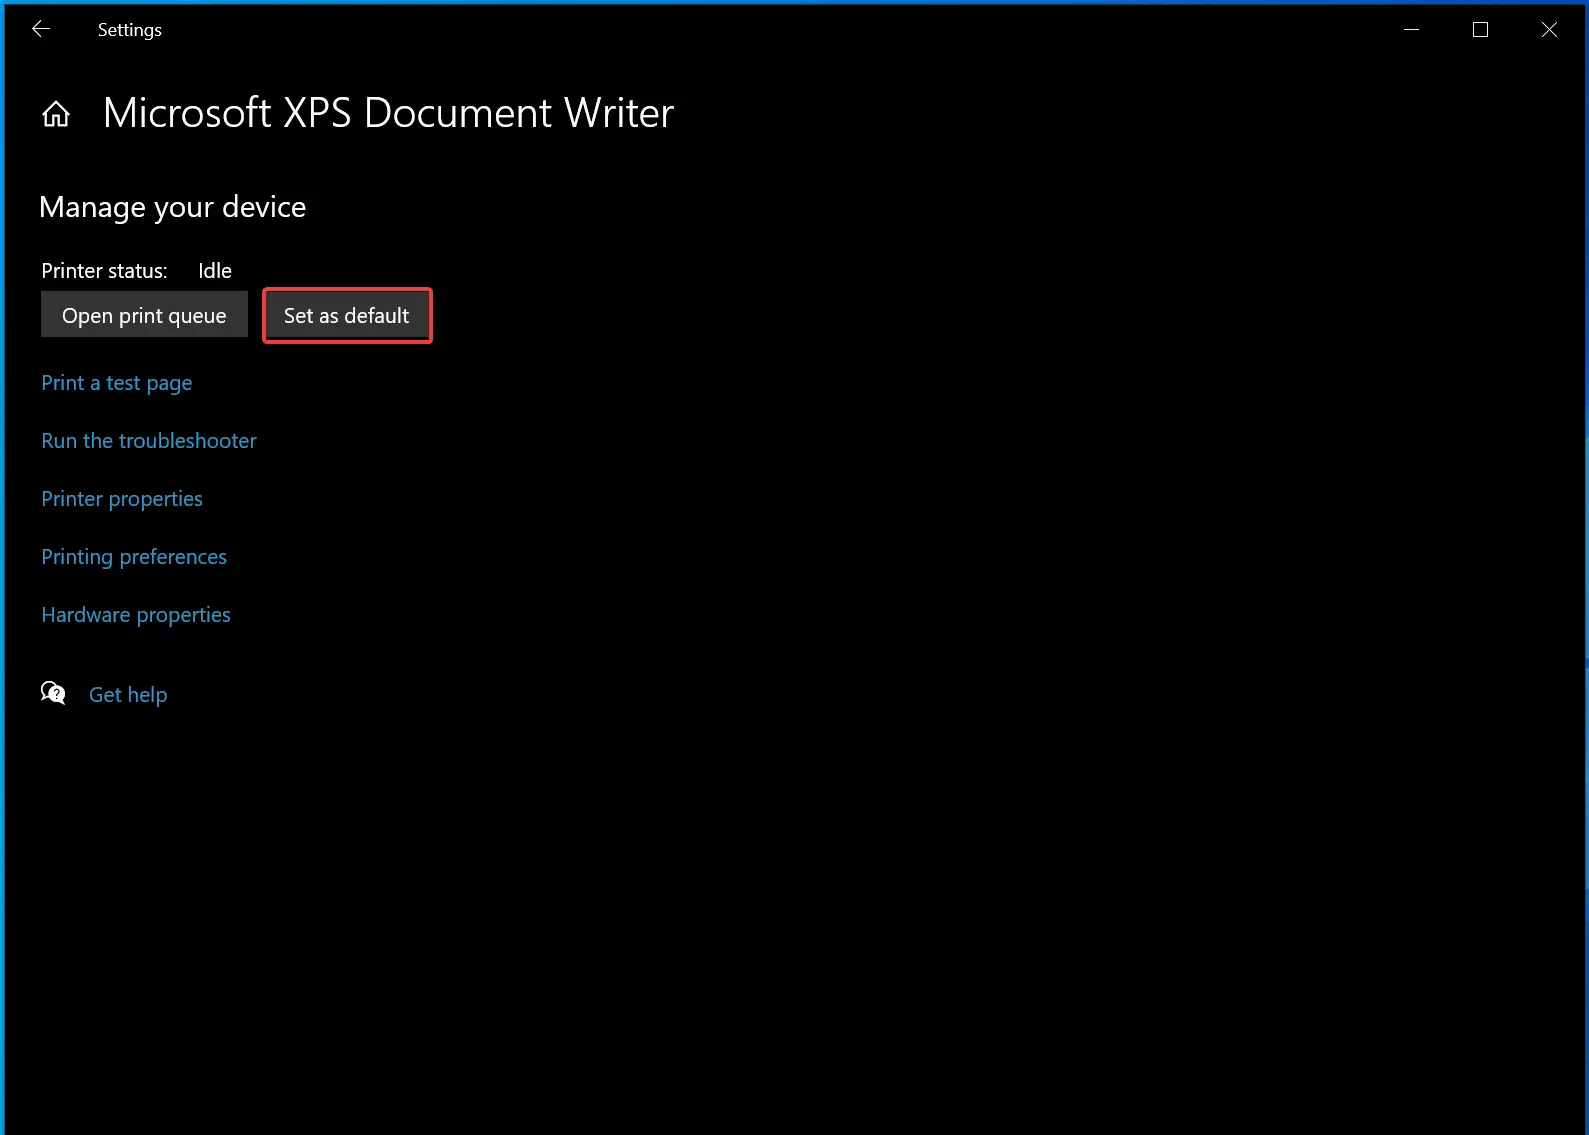
After doing the above steps, next to “Printer Status,” you will see a “Default” message. This indicates your selected printer is now the default printer on your PC.

Good luck.
Conclusion
In conclusion, setting a default printer on your Windows 11/10 computer can save you time and make your printing process smoother. By following the simple steps outlined in this gearupwindows article, you can easily set your preferred printer as the default printer on your PC. Once you set a default printer, all the apps will use that printer for printing by default. It’s also important to note that you can always change your default printer if you need to. Overall, setting a default printer is a simple process that can greatly improve your productivity when it comes to printing documents.
