Windows uses a thumbnail database for media files like photos and videos and documents like PDFs, Word documents, PowerPoint presentations, etc. These small graphic files are used by Windows 11 to show a quick preview of the content within the files present inside a folder. These thumbnails are automatically generated and removed by Windows whenever you create, copy, or delete a file on your computer. So that the next time thumbnail is picked directly from the thumbnail database instead of creating a new thumbnail, this makes your computer run smoother.
However, if the Thumbnails Cache Database is too large as you frequently add and remove files on your computer or the database is corrupt for some reason, you may see the missing thumbnail issue in Windows 11.
In such a condition, you need to delete the thumbnail cache database so that Windows may create a new database. This will solve the missing thumbnail issue if it has happened due to a database error.
In this gearupwindows article, we will guide you on clearing and resetting Thumbnails Cache in Windows 11.
How to View Thumbnail Cache on Windows 11?
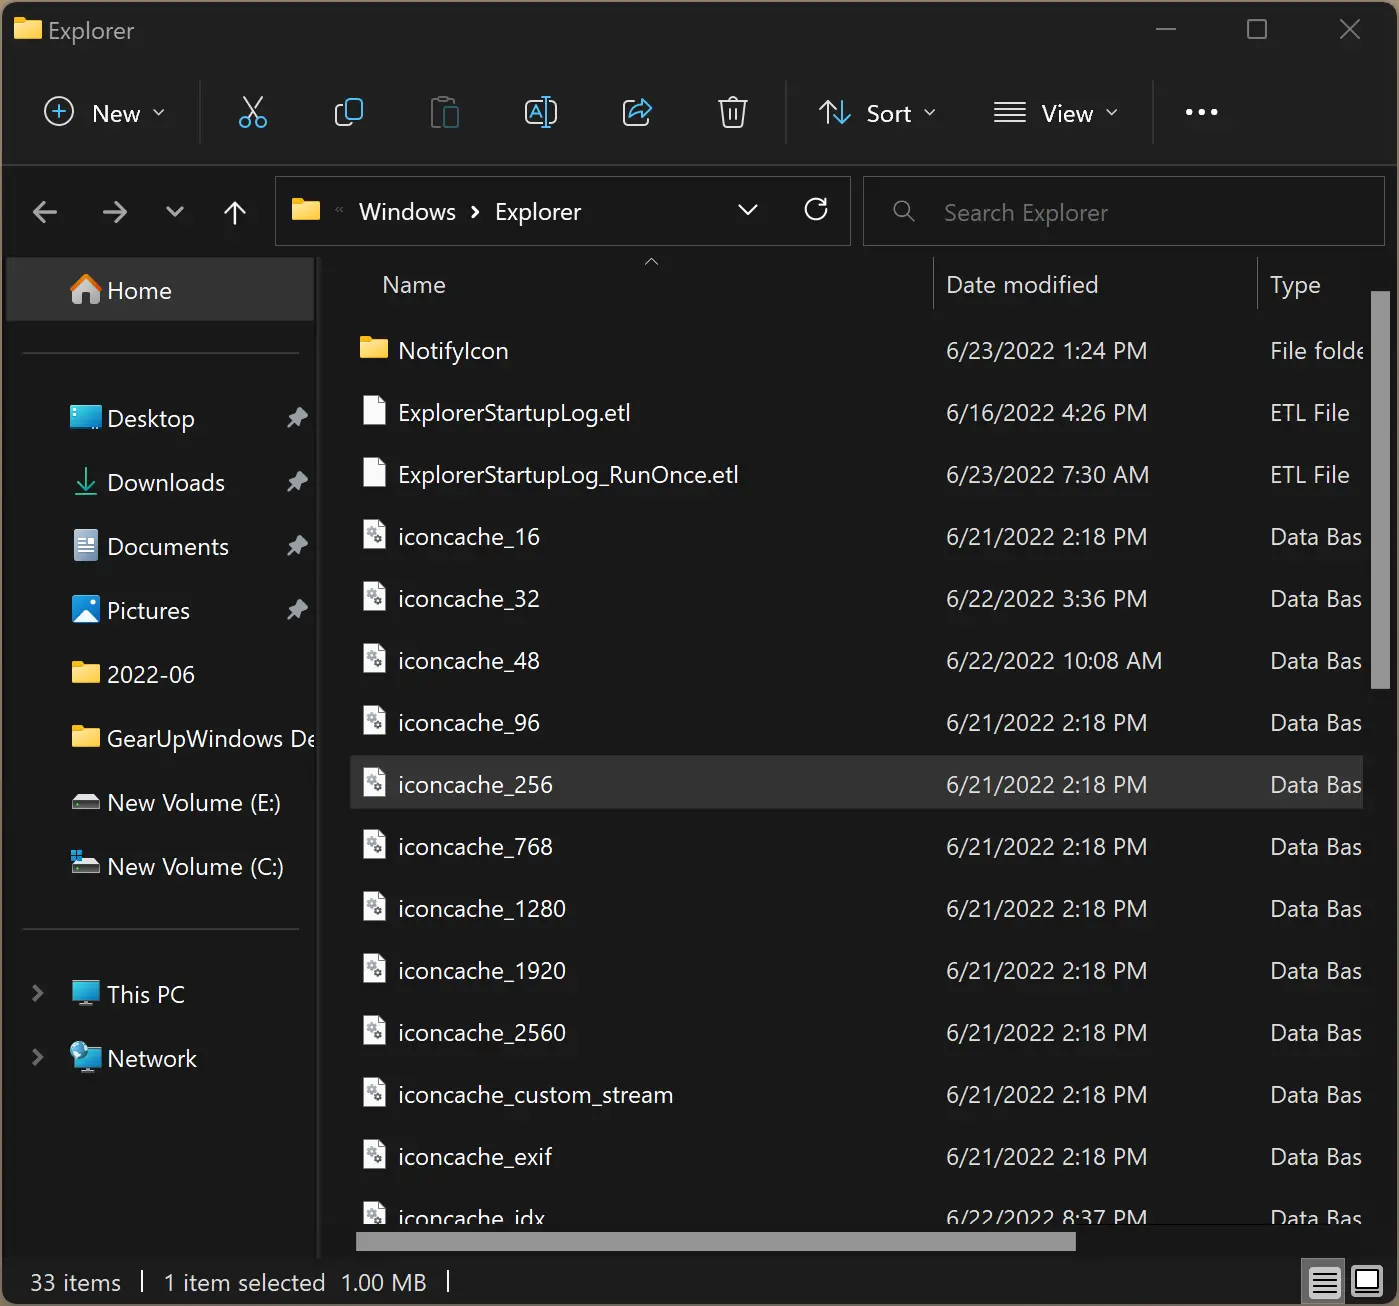
If you want to see the thumbnail cache database, press the Windows + R keys on the keyboard to open the Run dialog box. Here, type the following and hit the Enter key on the keyboard:-
%LocalAppData%\Microsoft\Windows\Explorer

Here, you can find several database (.db) files in the Explorer folder.
How to Enable Thumbnails in File Explorer Options?
If thumbnails do not appear on your PC, ensure it is enabled in File Explorer Options.
To turn on thumbnails on Windows 11, use these steps:-
Step 1. Open File Explorer Options.
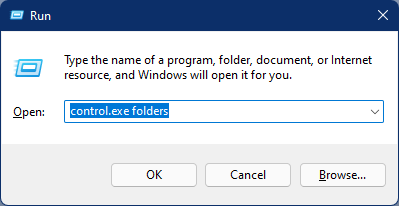
To do that, press the Windows + R keyboard shortcut to open the Run dialog box. Then, type the following command in the Run box and press Enter on the keyboard:-
control.exe folders
Step 2. When the File Explorer Options window appears on the screen, switch to the View tab.
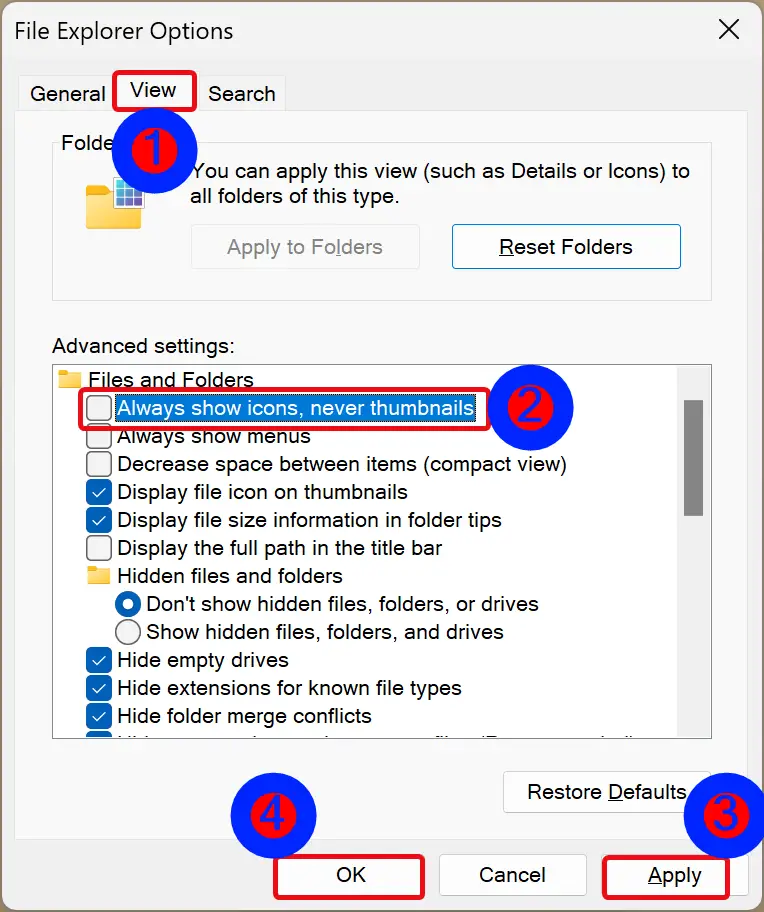
Step 3. Uncheck Always show icons, never thumbnails option under the “Advanced settings” section.
Step 4. Click Apply.
Step 5. Click OK.
How to Erase Thumbnail Cache Using Disk Cleanup?
To delete the thumbnail cache using Disk Cleanup, use these steps:-
Step 1. Open the Disk Cleanup tool.
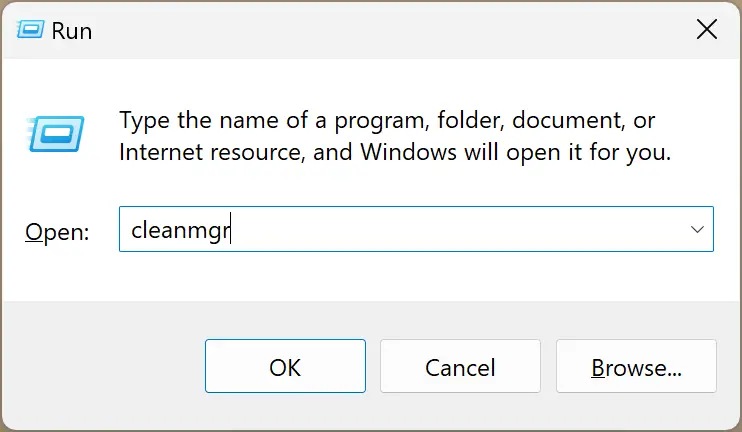
To do that, use the Windows + R hotkey to launch the Run dialog box. In the Run box, type the following and hit Enter on the keyboard:-
cleanmgr
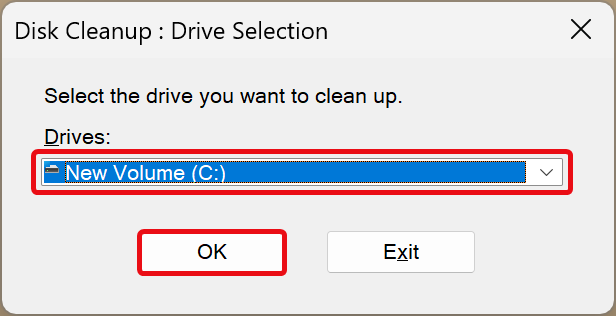
Step 2. Next, select a drive you want to clean up (Windows installation drive, usually “C” drive) and click the OK button.
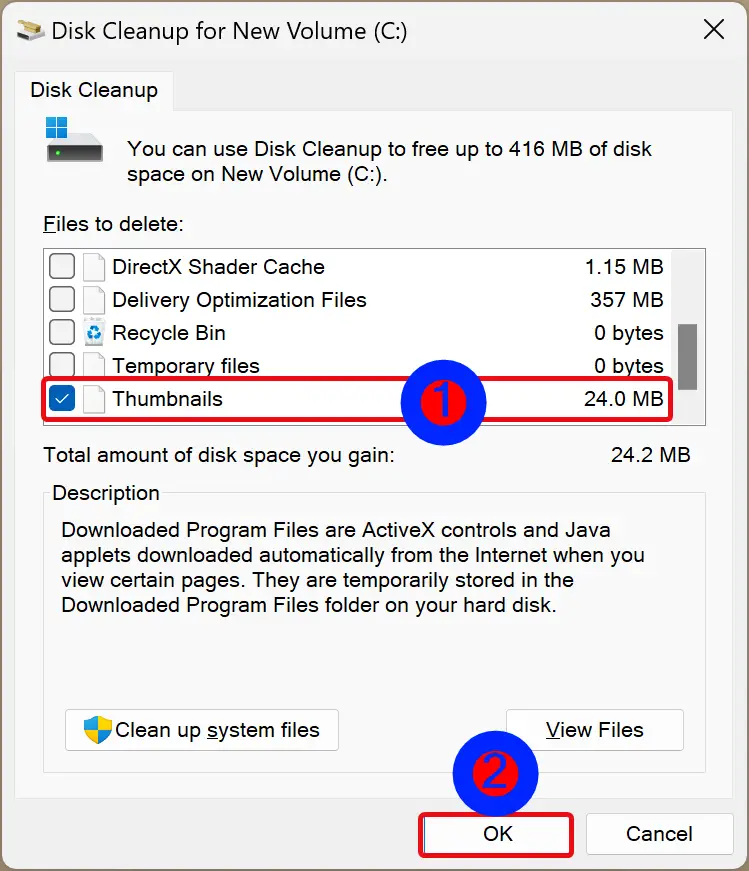
Step 3. Check the Thumbnails and click the OK button.
Once you complete the above steps, the thumbnail database cache will be deleted and reset. After restarting your computer, the thumbnail issue should be fixed.
How to Delete Thumbnail Cache using Command Prompt?
To remove the thumbnail cache through Command Prompt, use these steps:-
Step 1. Open an elevated Command Prompt.
Step 2. Then, type the following commands one by one and hit Enter key on the keyboard to erase the thumbnail cache on Windows 11:-
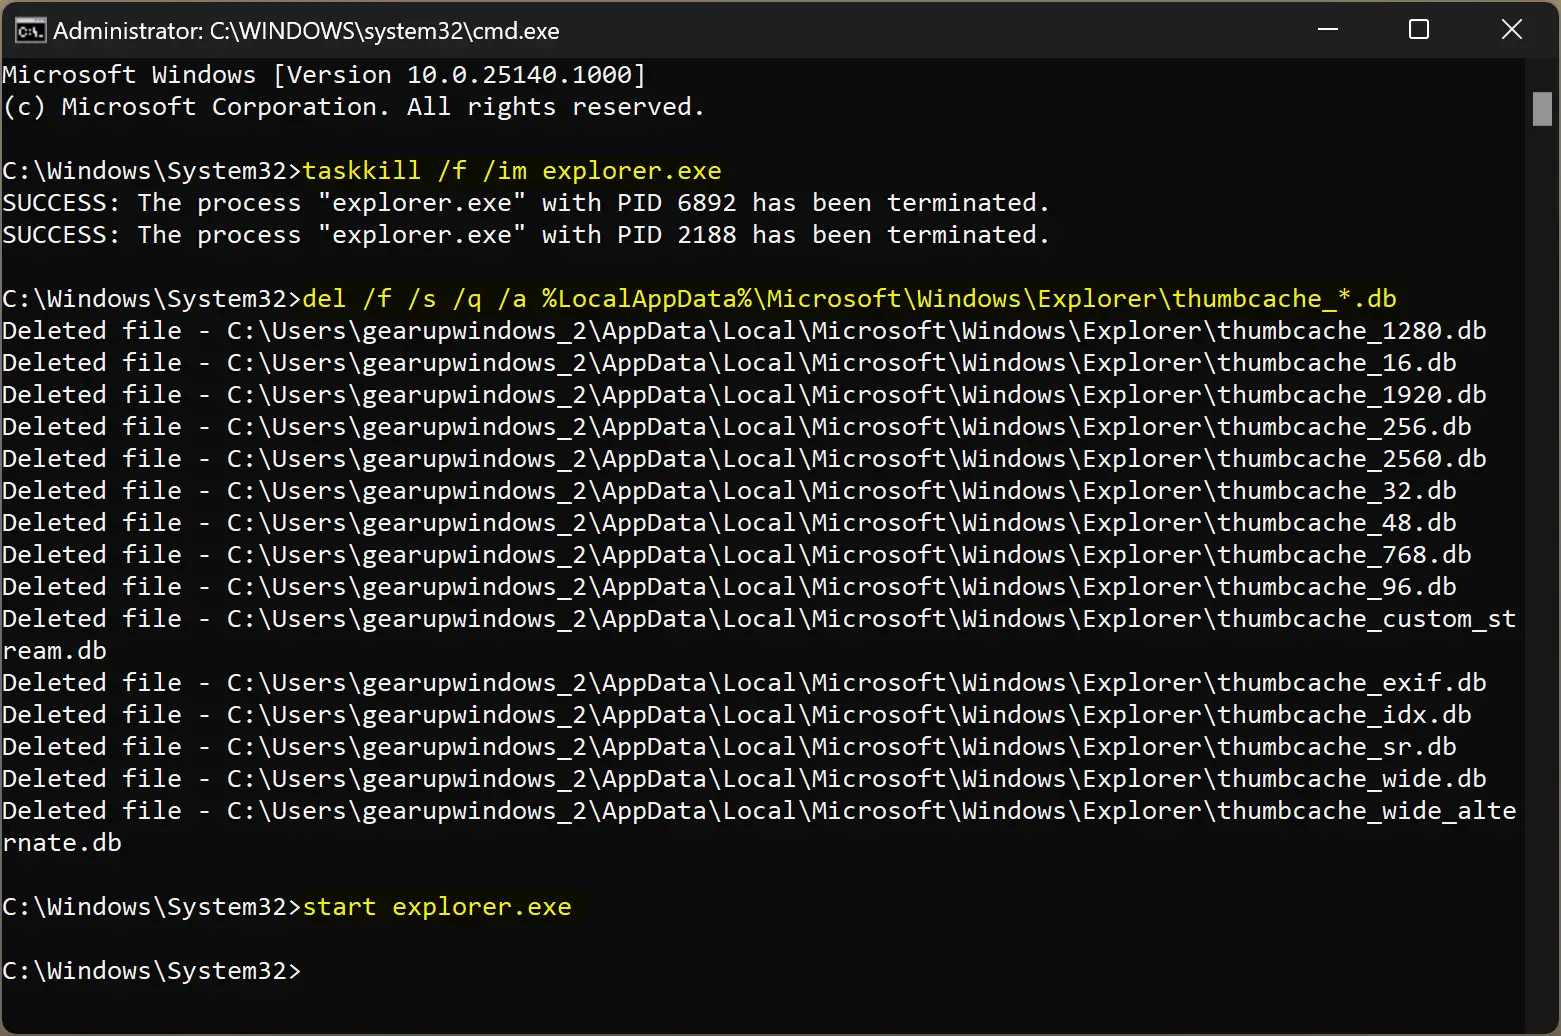
taskkill /f /im explorer.exe
del /f /s /q /a %LocalAppData%\Microsoft\Windows\Explorer\thumbcache_*.db
start explorer.exe
The first command will terminate File Explorer, and the second command will erase the thumbnail cache. And the last command will again start File Explorer.
How to Clear the Thumbnail Cache on Windows 11 from Settings?
To clear the thumbnail cache from Windows 11 Settings, follow these steps:-
Step 1. Open Windows 11 Settings.
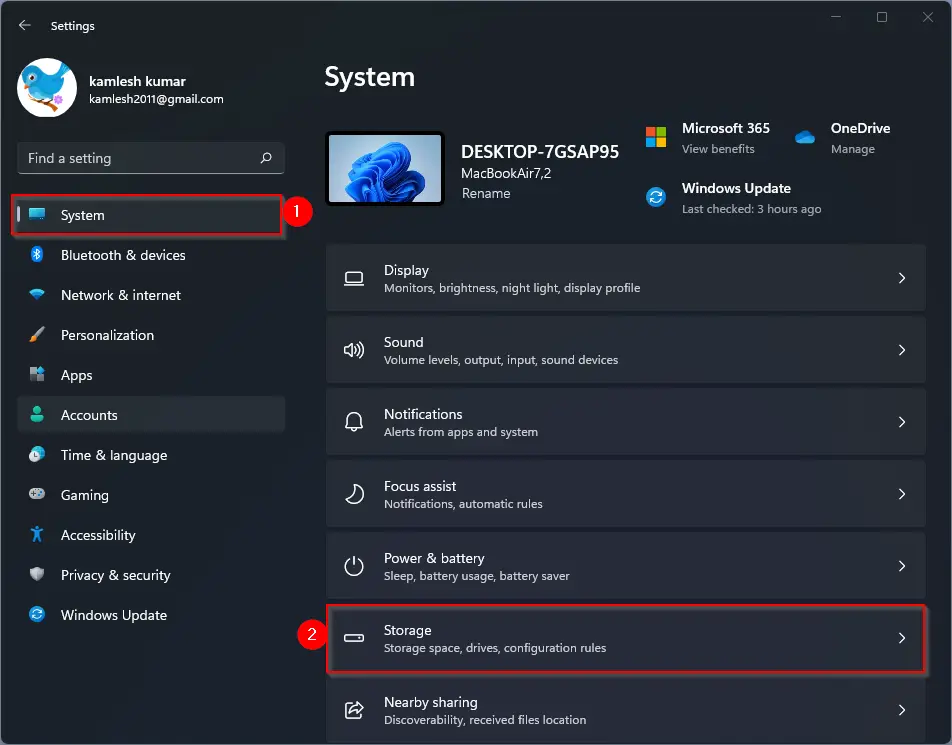
Step 2. Select System in the left sidebar.

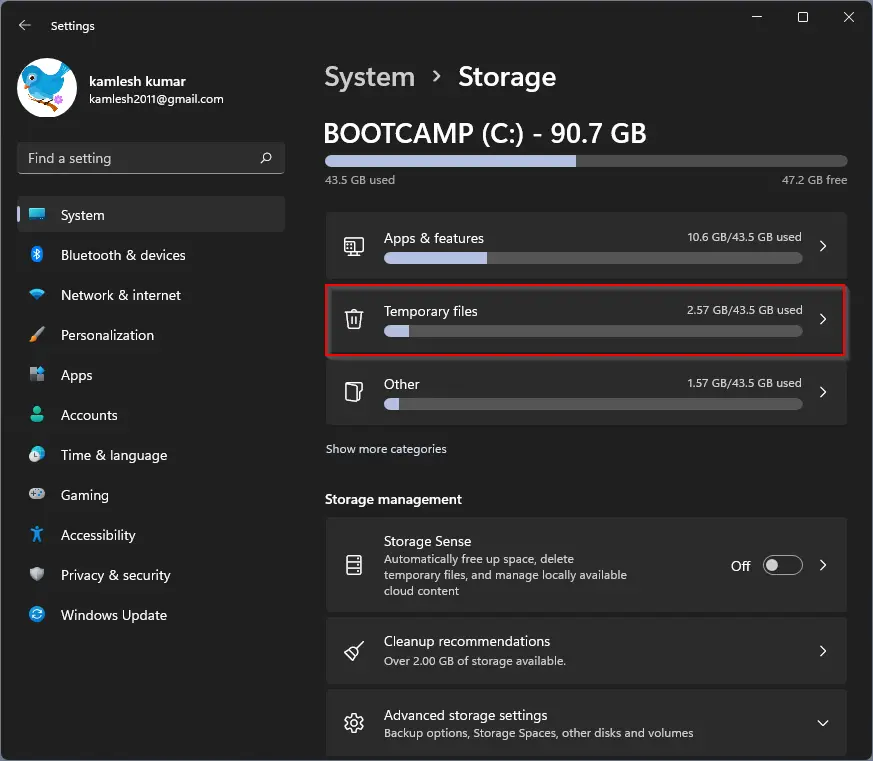
Step 3. On the right pane, click on the Storage tab.
Step 4. Next, click on the Temporary files tile.
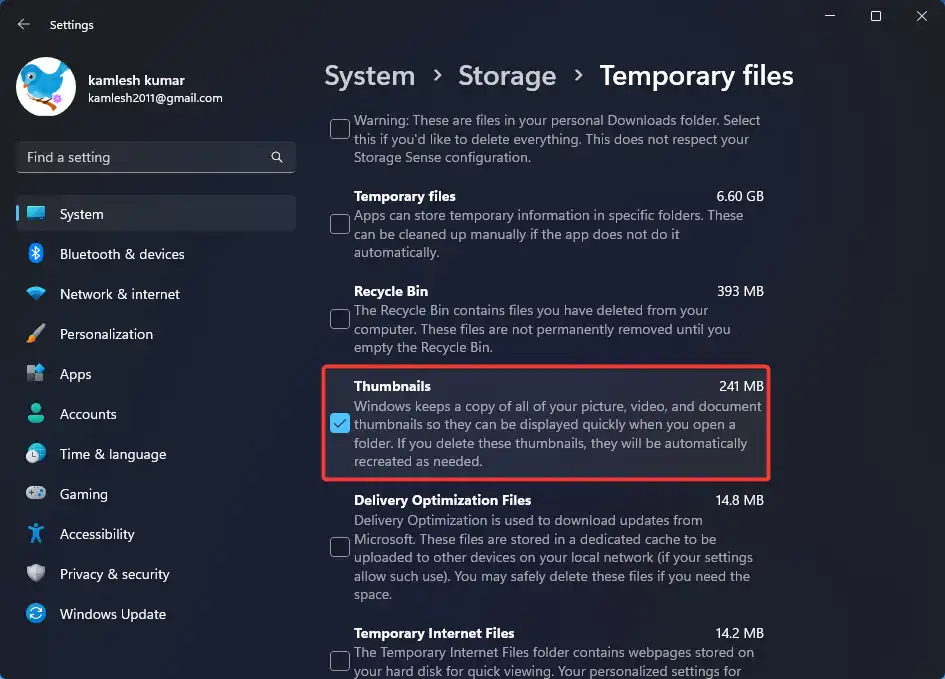
Step 5. Uncheck all except the Thumbnails option.
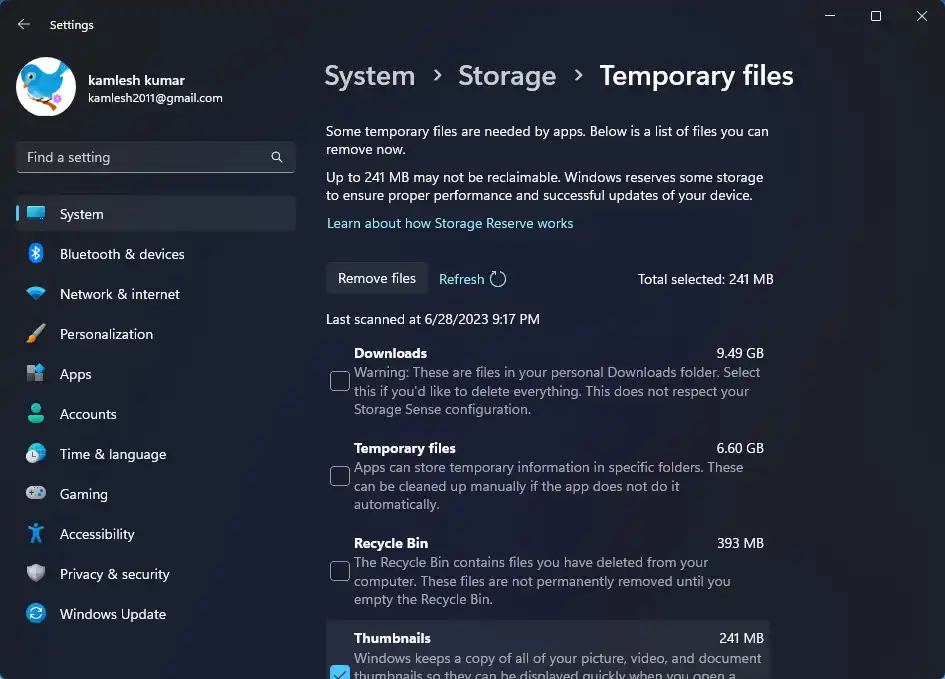
Step 6. Now, scroll up to the top of the page.
Step 7. Finally, hit the “Remove files” button.
Conclusion
To summarize, the thumbnail cache in Windows 11 plays a crucial role in providing quick previews of media files and documents. However, problems can arise if the cache becomes corrupt or too large. In such cases, deleting the cache database can resolve missing thumbnail issues. This can be done through Disk Cleanup, Command Prompt, or the Windows 11 Settings. Users can also ensure that thumbnails are enabled in File Explorer Options. By following these steps, users can effectively clear and reset their thumbnail cache, allowing for smoother operation and resolving any thumbnail-related problems.