If you have planned to reinstall Windows 10 operating system or want to share your desktop design and Windows look of Windows 10 with friends, Windows 10 lets you create your own theme with a custom desktop background, windows border, and Start menu accent color. Windows 10 provides an option to save these settings as a new theme file to use again or send to others.
This post will guide you on creating your own Windows 10 theme to reuse or share.
How to make your own Windows 10 Theme?
To make your own Windows 10 Theme for any reason, perform the following steps:-
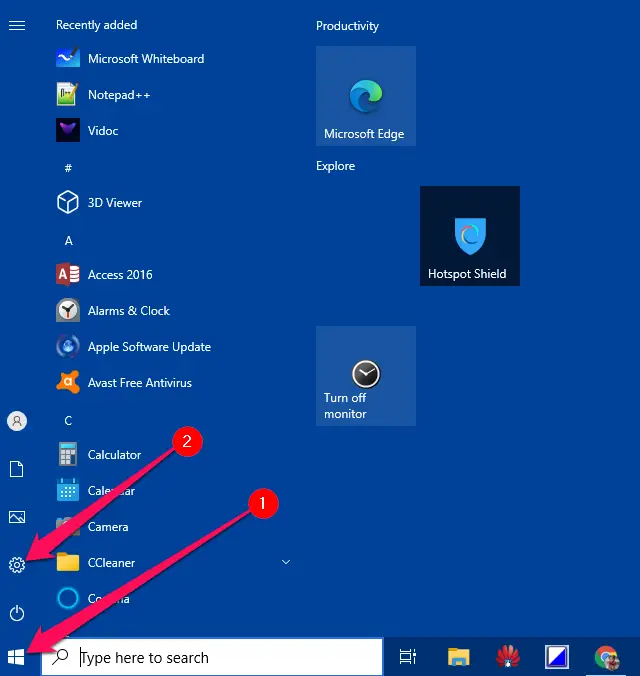
Step 1. Click on the Start menu and select Settings or use any other method to open the Settings app.
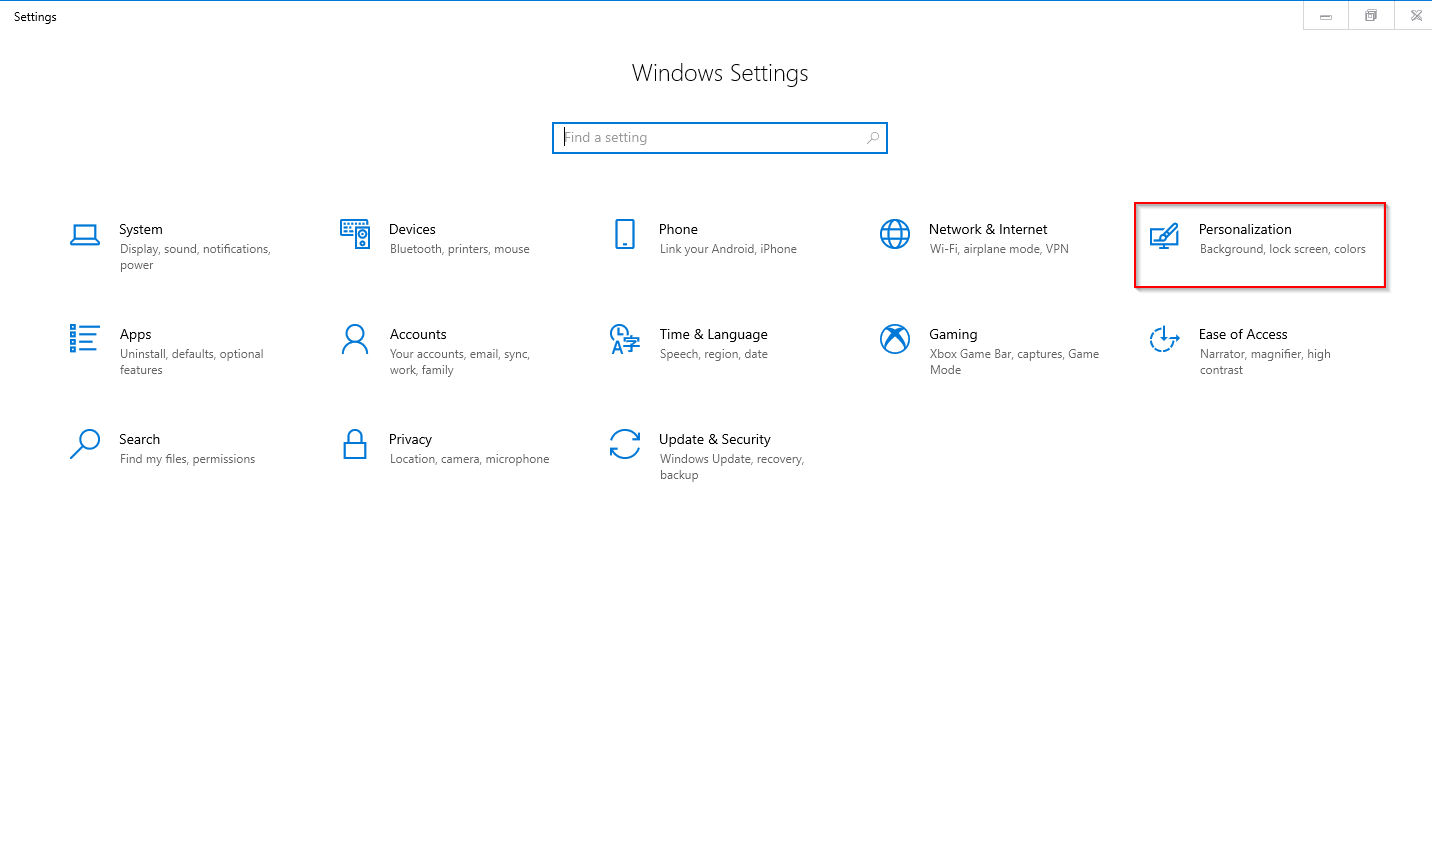
Step 2. In the Settings window that appears, click the Personalization category.
Step 3. Here, you can change the background, colors, Lock screen, Font, and Taskbar settings in the Personalization category.
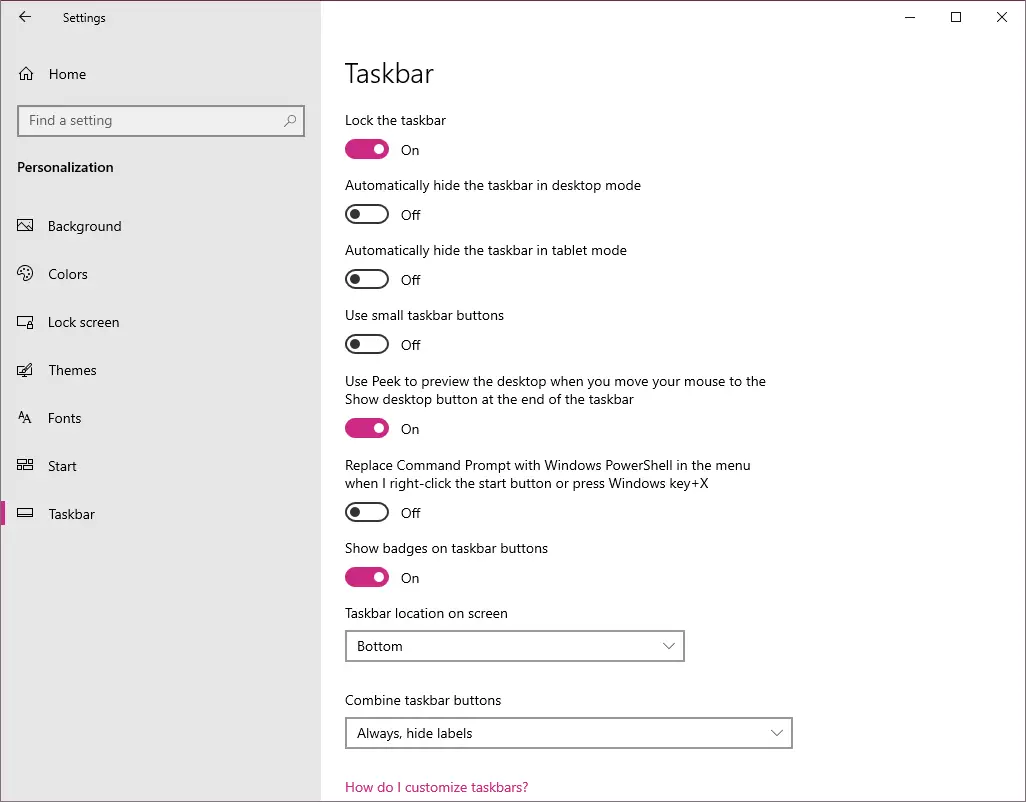
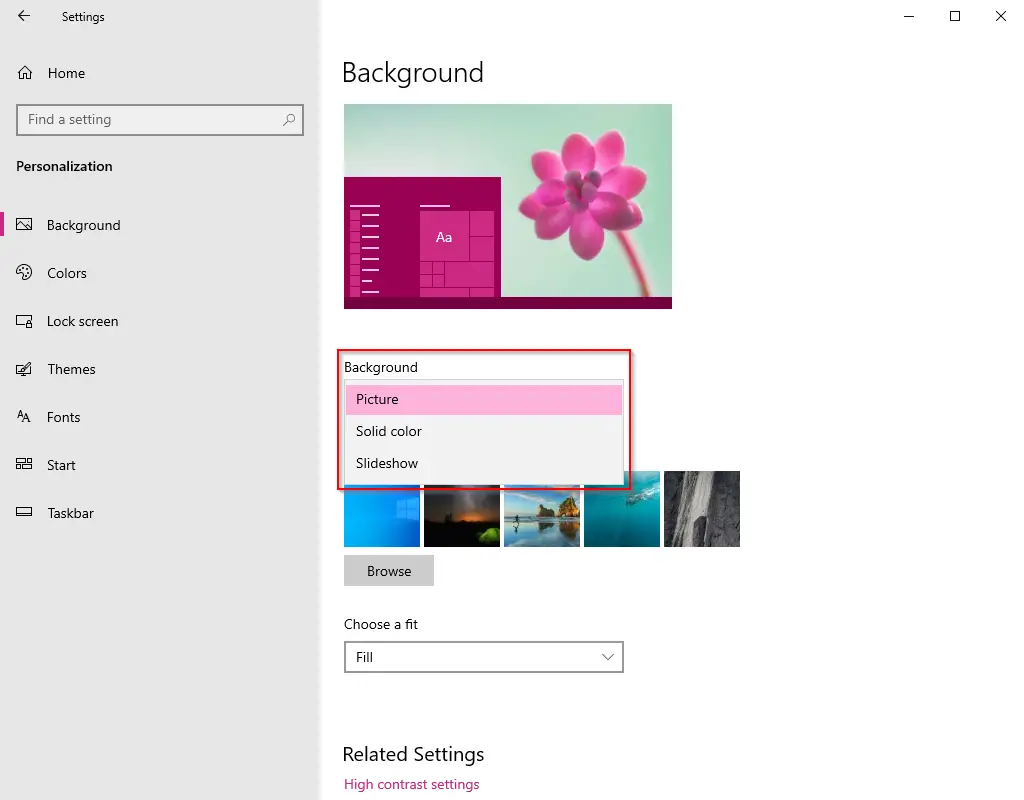
Similarly, you can make the changes according to your choice in the sub-categories colors, Lock screen, Font, and Taskbar.
Step 4. Once you make the desired changes in the Personalization category, click the Themes sub-category from the left side menu.

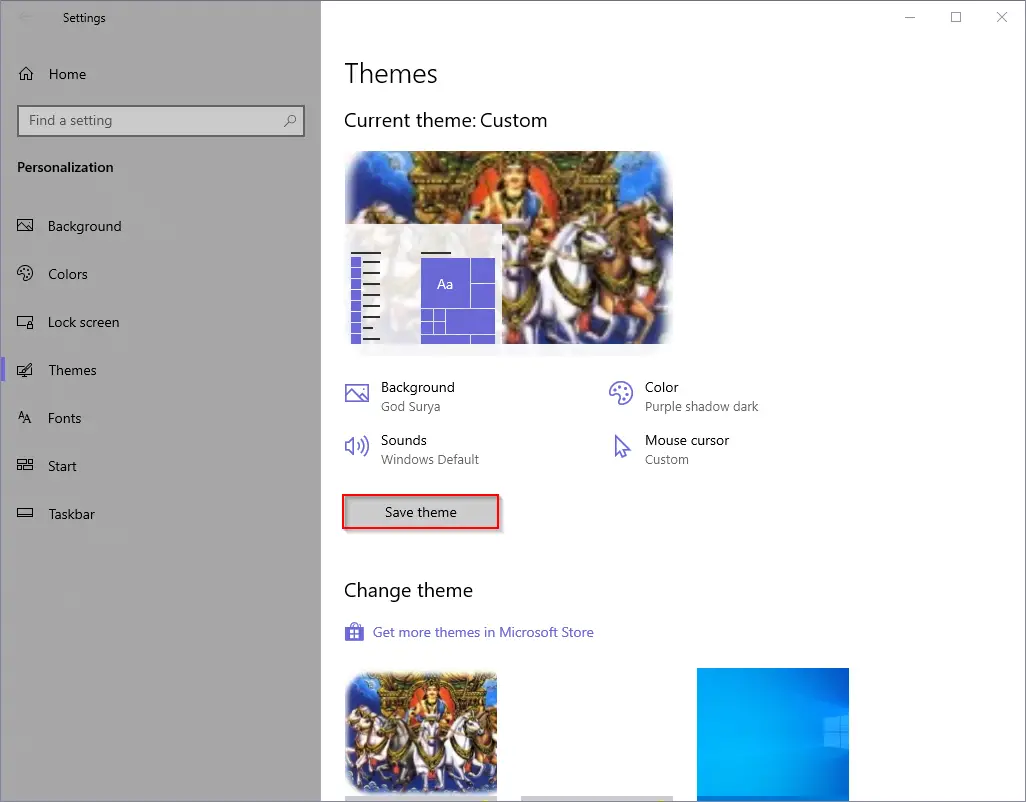
Step 5. Click the Save theme button on the right-side pane will be visible.
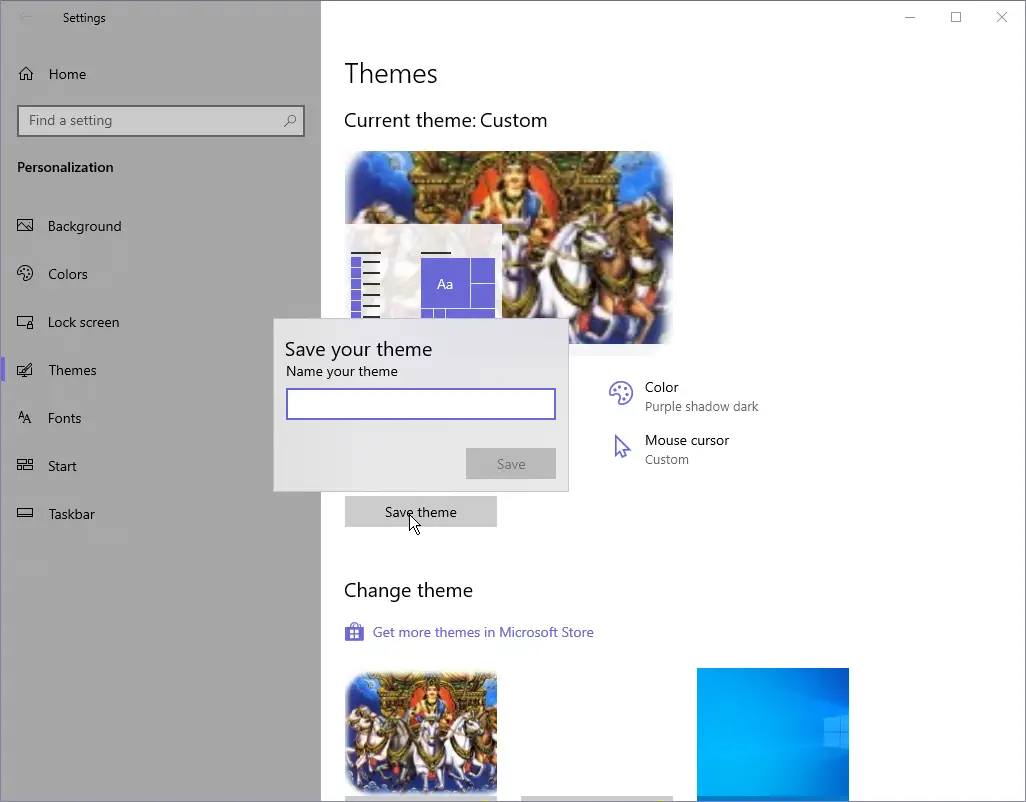
Step 6. A new dialog box will appear with the name “Save your theme.”
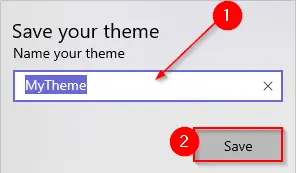
Step 7. Name your theme and click the Save button to save it.
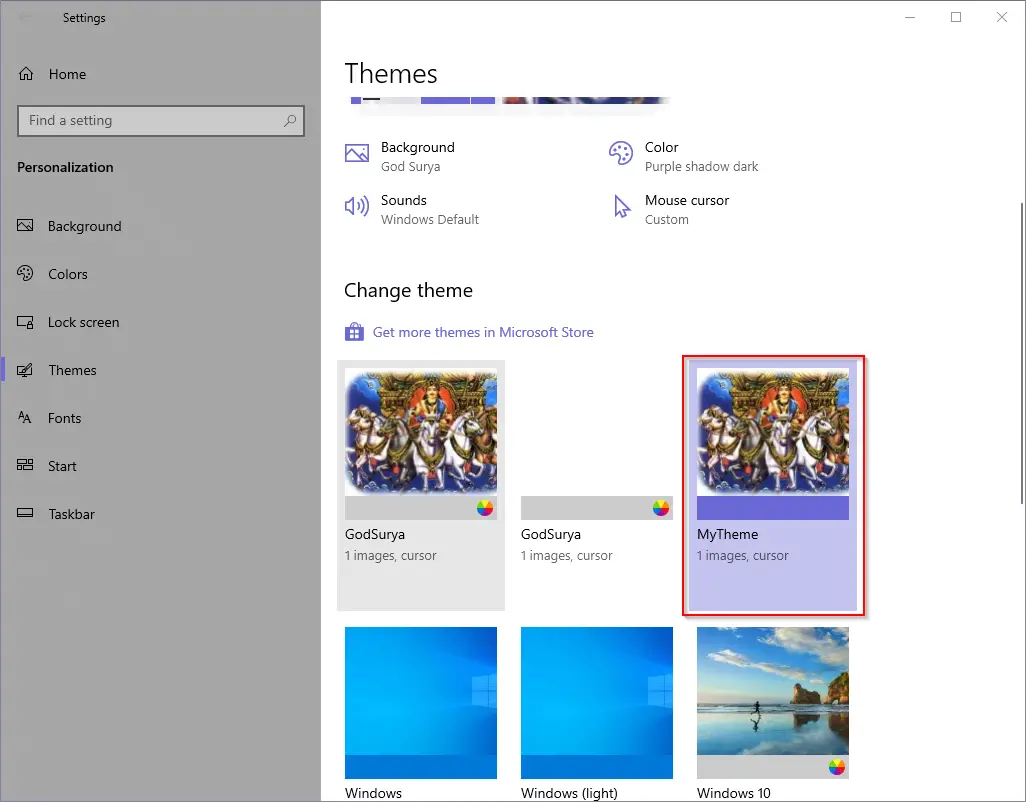
Step 8. Now, this newly created theme will appear in the Themes sub-category.
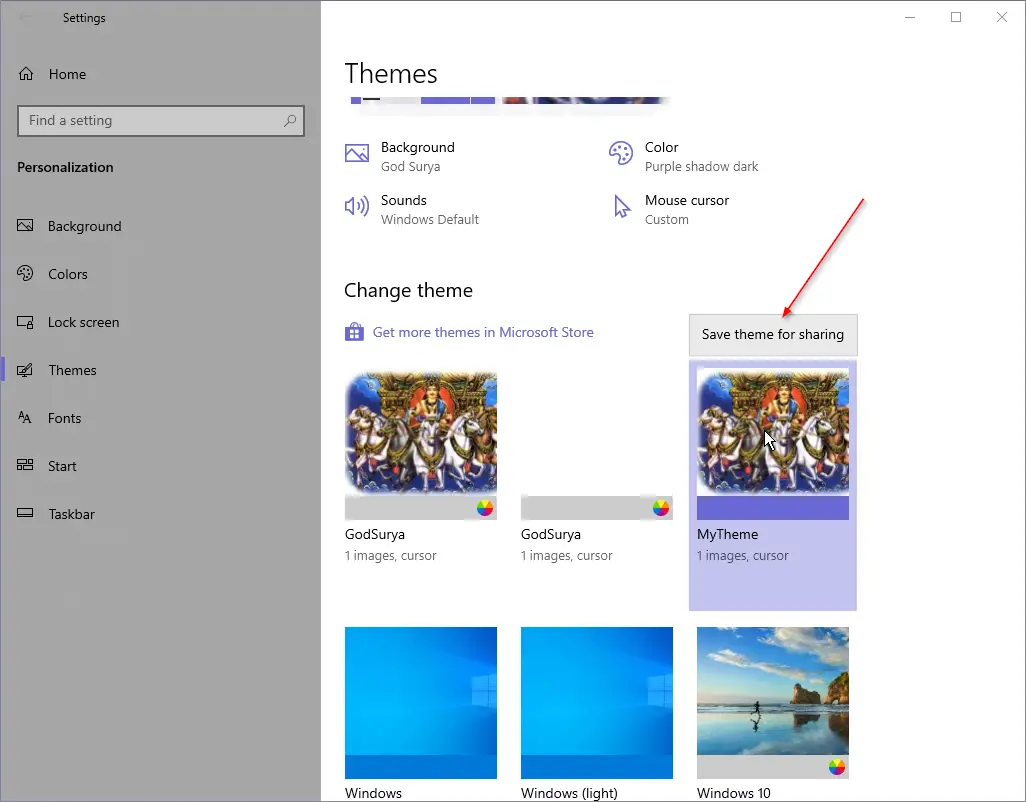
Step 9. If you want to save the theme on your computer to share with someone else, right-click on the newly created theme and select the option “Save theme for sharing.”
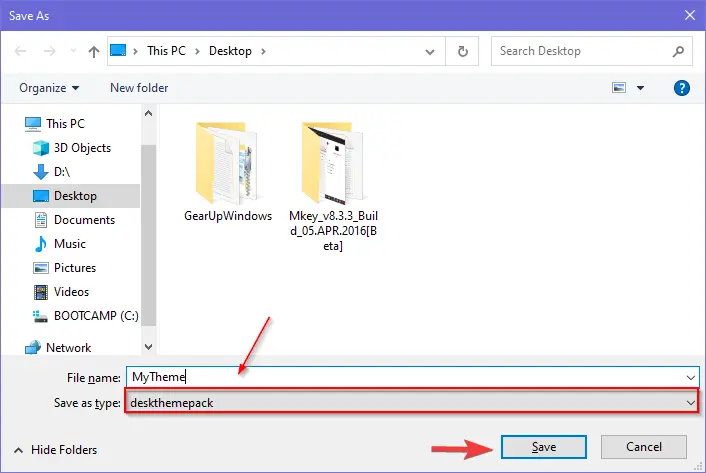
Step 10. Select the location where you to save the theme, write the name of the theme, and click on the Save button to save the theme as a .deskthemepack file.
You can share the newly created .deskthemepack file with anyone else, or you can use this theme pack yourself to apply this theme after re-installing your Windows.
To apply the saved theme from your PC, double-click on the .deskthemepack file. It will be immediately activated on your Windows 10 computer or laptop.
Once you complete the above steps, you can easily create a theme on Windows 10 PC without any third-party tool to share with your friend or family.
That’s all!!!
Conclusion
In conclusion, creating your own Windows 10 theme is an easy and convenient way to personalize your computer’s look and feel. By following the simple steps outlined in this guide, you can easily customize your desktop background, windows border, and Start menu accent color and save your settings as a new theme file to use again or share with others. Windows 10 provides a built-in option to save your personalized settings as a theme pack, making it easy to apply your custom theme on any computer. With this guide, you can easily create a theme on Windows 10 PC without the need for any third-party tools. So, go ahead and create your own unique Windows 10 theme and give your computer a personalized touch.
