In today’s world, security is of utmost importance, especially when it comes to our personal computers. Windows 11/10 has a feature that allows you to display information about previous logons on your computer. This feature can come in handy in a business environment or if you share your computer with others, as it enables you to keep track of who accessed your computer last. In this article, we will explore two methods to enable this feature: using the Windows Registry and using Group Policy.
How to Display Information about Previous Logons Using the Windows Registry?
To enable this feature, you will have to tweak the Windows Registry. Follow the steps below:-
Step 1. Press the Windows key + R on your keyboard to open the Run dialog box.
Step 2. Type “regedit” in the Run dialog box and press Enter. This will open the Registry Editor.
Step 3. In the Registry Editor, navigate to the following key:-
HKEY_LOCAL_MACHINE\SOFTWARE\Microsoft\Windows\CurrentVersion\Policies\System
Step 4. Locate the DWORD (32-bit) Value named “DisplayLastLogonInfo” in the right pane of the Registry Editor.
Note: If “DisplayLastLogonInfo” is not available in the right pane, right-click on the free space on the right side and select New > DWORD (32-bit) Value. Name it DisplayLastLogonInfo.

Step 5. Double-click on the “DisplayLastLogonInfo” value to modify it.

Step 6. In the Value data field, change the value from “0” to “1.”
Step 7. Click OK to save the changes.
Step 8. Restart your computer for the changes to take effect.
Once you have completed these steps, the following information will be displayed:-
- Name of the User(s).
- Date and time of the last successful login by that user.
- Date and time of the last unsuccessful login attempt with the same username.
- The number of failed login attempts since the last successful login with the same username.
How to Display Information about Previous Logons Using Group Policy?
If your copy of Windows ships with the Group Policy Editor, you may use it to enable this feature. Follow the steps below:-
Step 1. Press the Windows key + R on your keyboard to open the Run dialog box.
Step 2. Type “gpedit.msc” in the Run dialog box and press Enter. This will open the Local Group Policy Editor.
Step 3. In the Local Group Policy Editor, navigate to the following setting:-
Computer Configuration > Administrative Templates > Windows Components > Windows Logon Options
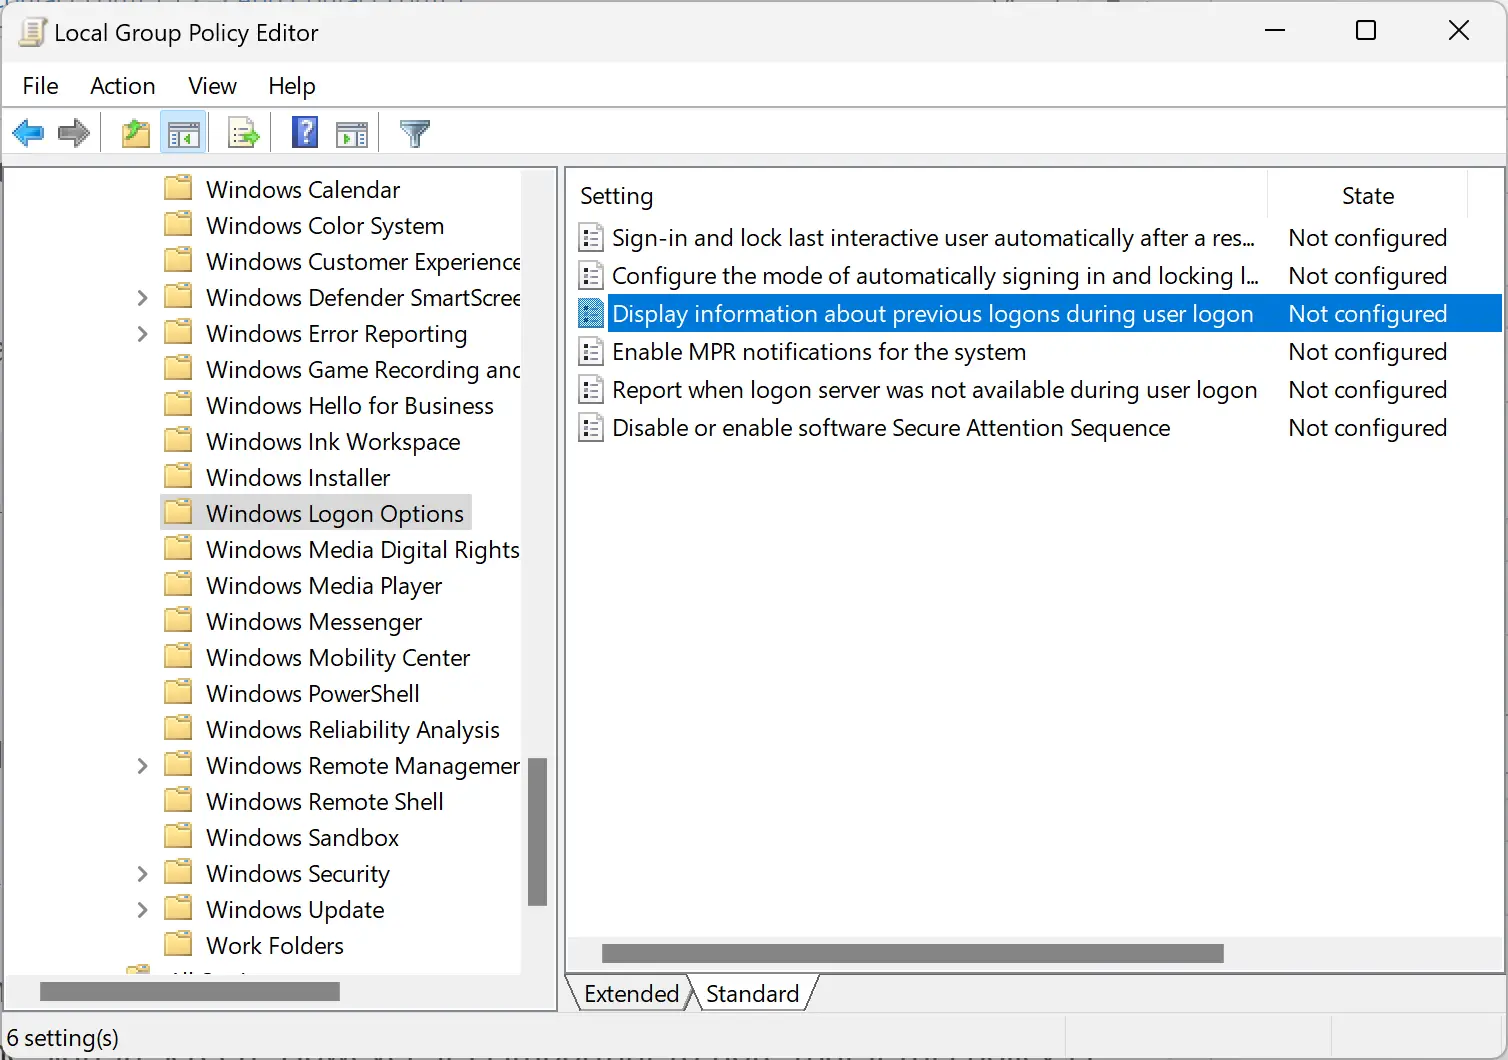
Step 4. Double-click on “Display Information about previous logons during user logon” to open its Settings and select “Enabled.”
Step 5. Click on “Apply” and then “OK.”
Step 6. Restart your computer for the policy to take effect.
Once you have completed these steps, the information about previous logons will be displayed before the sign-in screen. However, it is important to note that if this policy is enabled and the Windows-based computer is not joined to a Windows Server functional-level domain, a warning message will appear stating that the information could not be retrieved, and the user will not be able to log on. Therefore, do not enable this policy setting unless the Windows computer is joined to a Windows Server functional-level domain.
Conclusion
Enabling the feature to display information about previous logons in Windows 11/10 can come in handy in a business environment or if you share your computer with others. By following the steps outlined in this article, you can enable this feature using either the Windows Registry or Group Policy. Remember to take note of the warning messages that may appear when enabling this feature, and only enable it if your Windows computer is joined to a Windows Server functional-level domain.
